Android 入门第五讲02-QQ主界面demo(网络图片,圆形图片,RecyclerView点击事件,下拉刷新,上拉加载,开源控件的使用,底部按钮的样式切换)
Android 入门第五讲01-Fragment(Fragment介绍(与activity类似),创建,逻辑操作(静态引入+动态添加),Fragment之间的跳转,Fragment跳Activity)
今天主要讲一个QQ主界面的demo,用到的技术点大致如下
1.RecyclerView和Fragment整合(QQ界面)
2.网络图片和圆形图片(QQ头像)
3.底部按钮的样式切换(按钮选中和未选中的不同样式)
4.RecyclerView点击事件(QQ列表点击进入聊天界面)
5.RecyclerView下拉刷新,上拉加载更多(QQ列表的刷新)
6.开源控件的使用
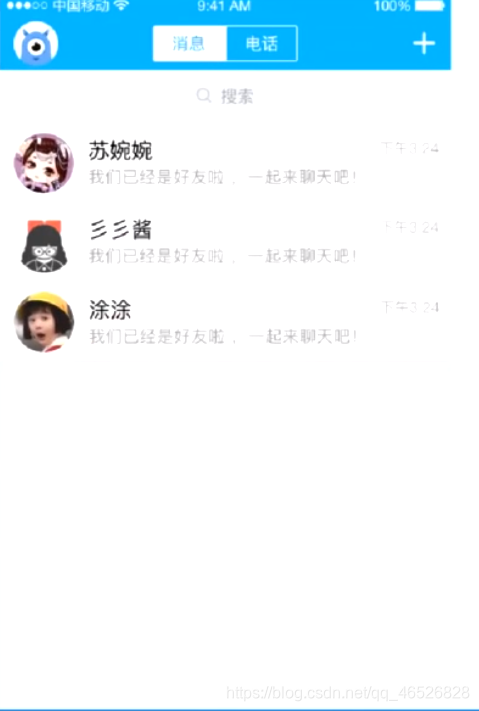
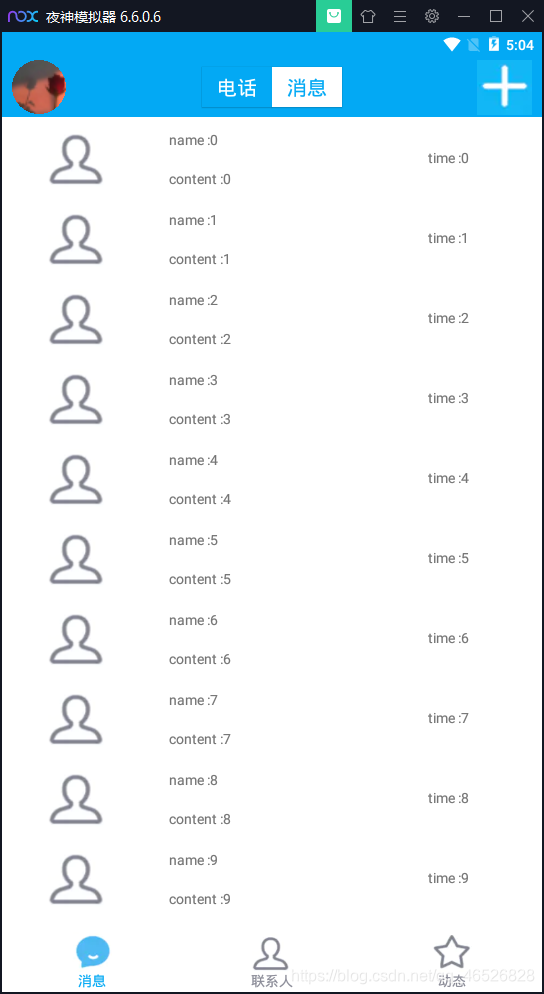
demo演示
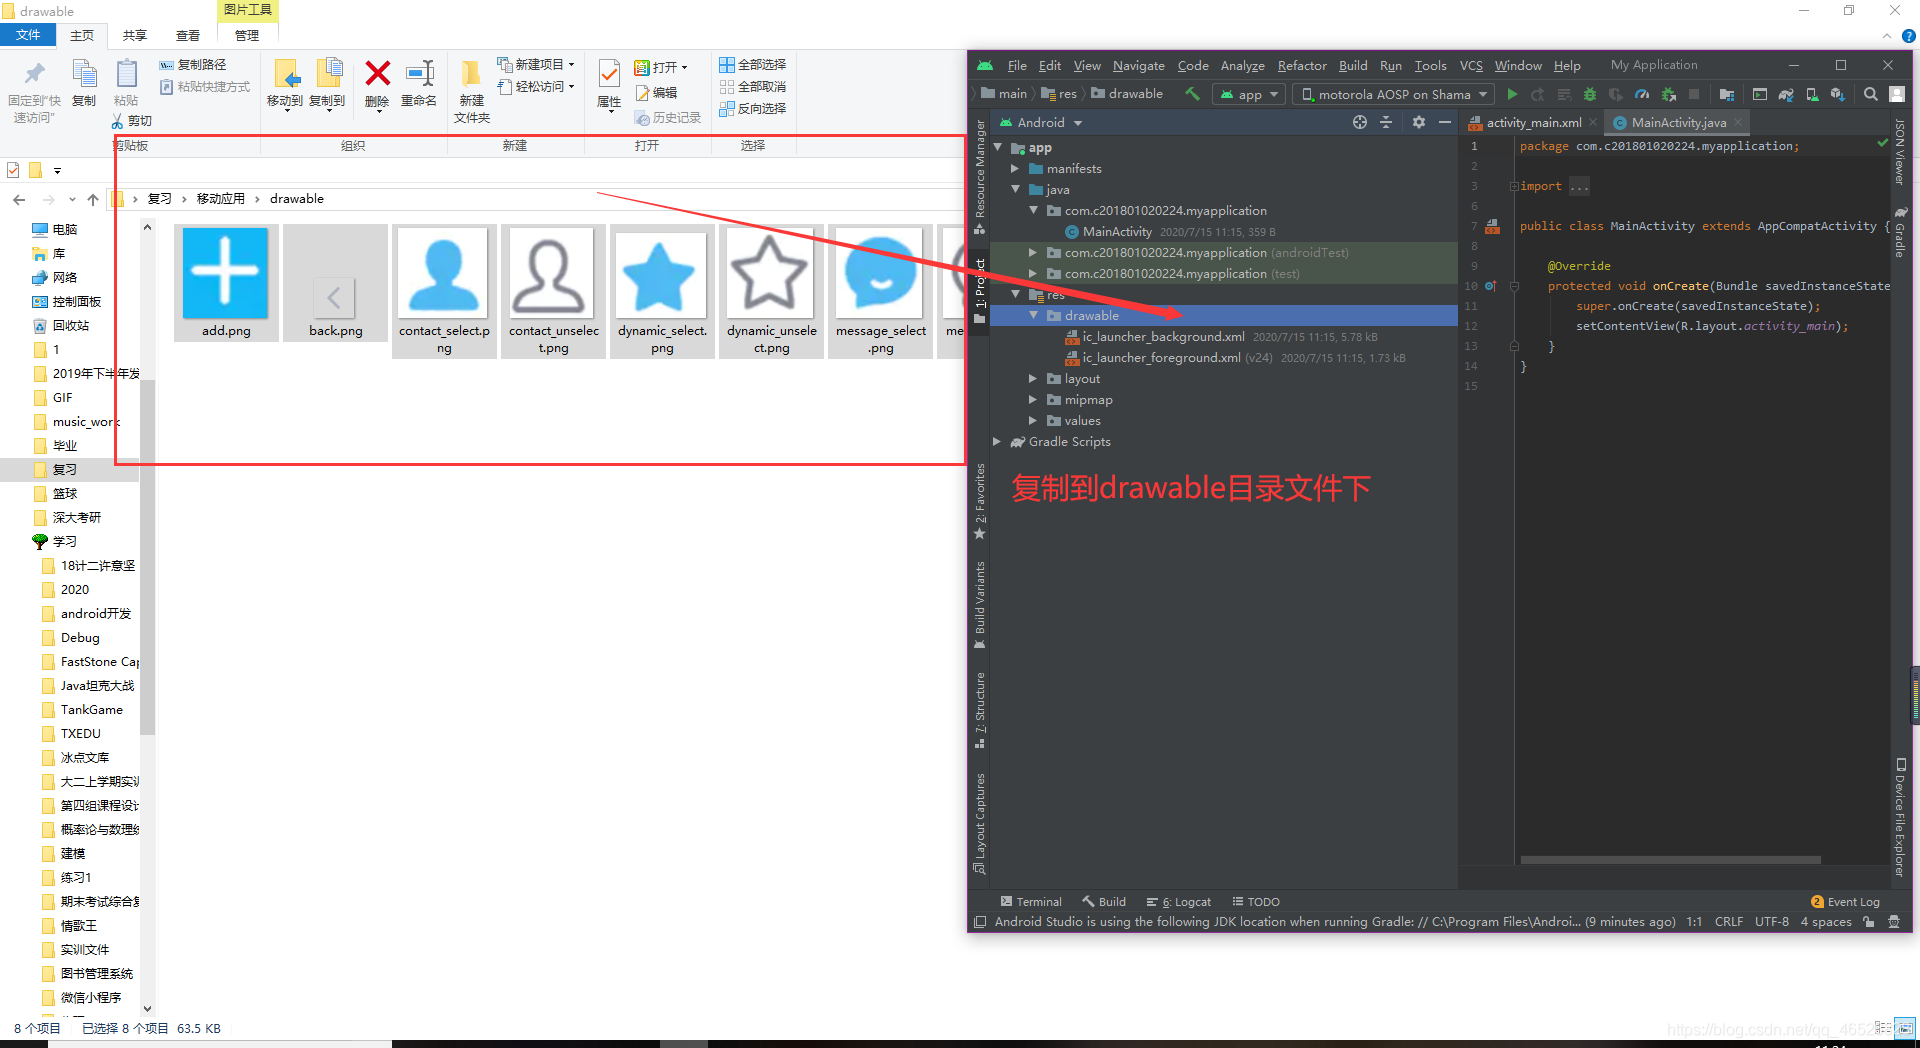
1.准备图片资源
准备材料,需要用到的图片资源文件,链接如下(免费下载)
https://download.csdn.net/download/qq_46526828/12618398
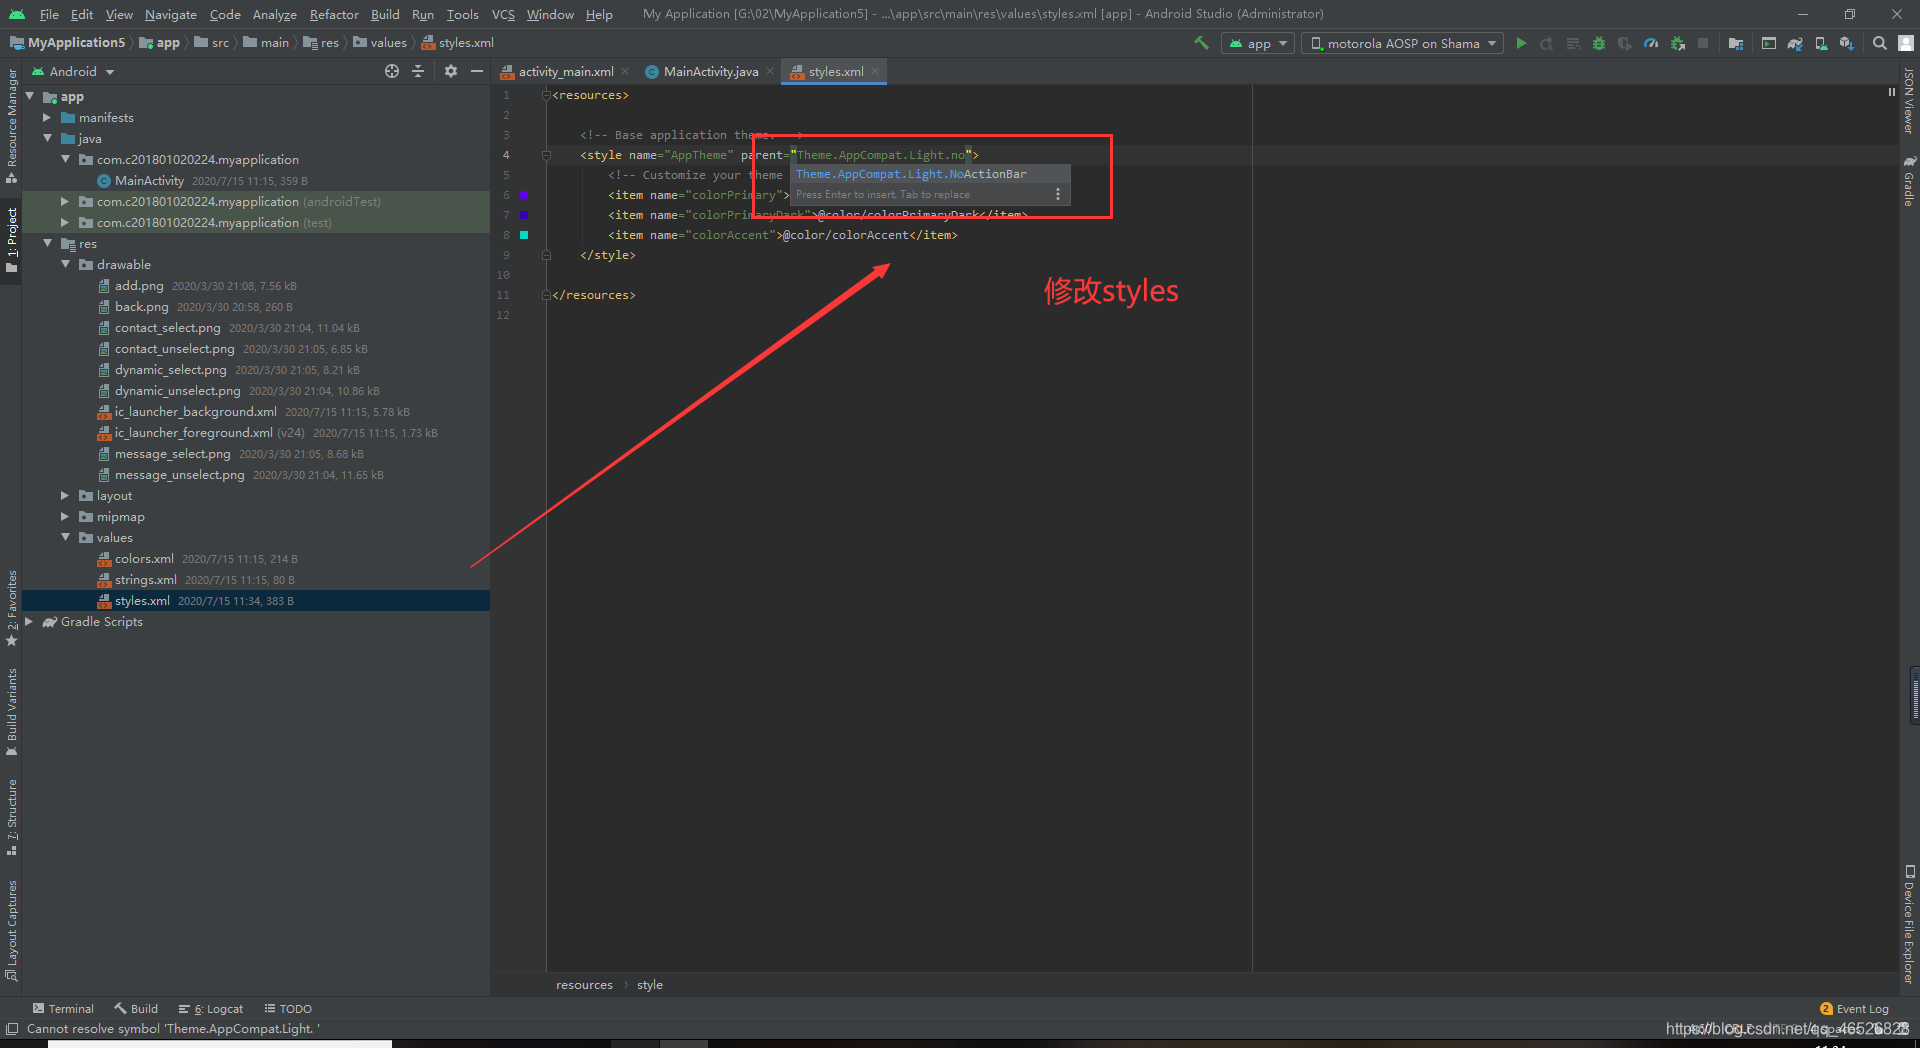
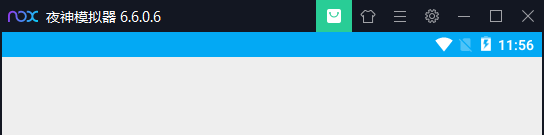
2.去掉默认标题
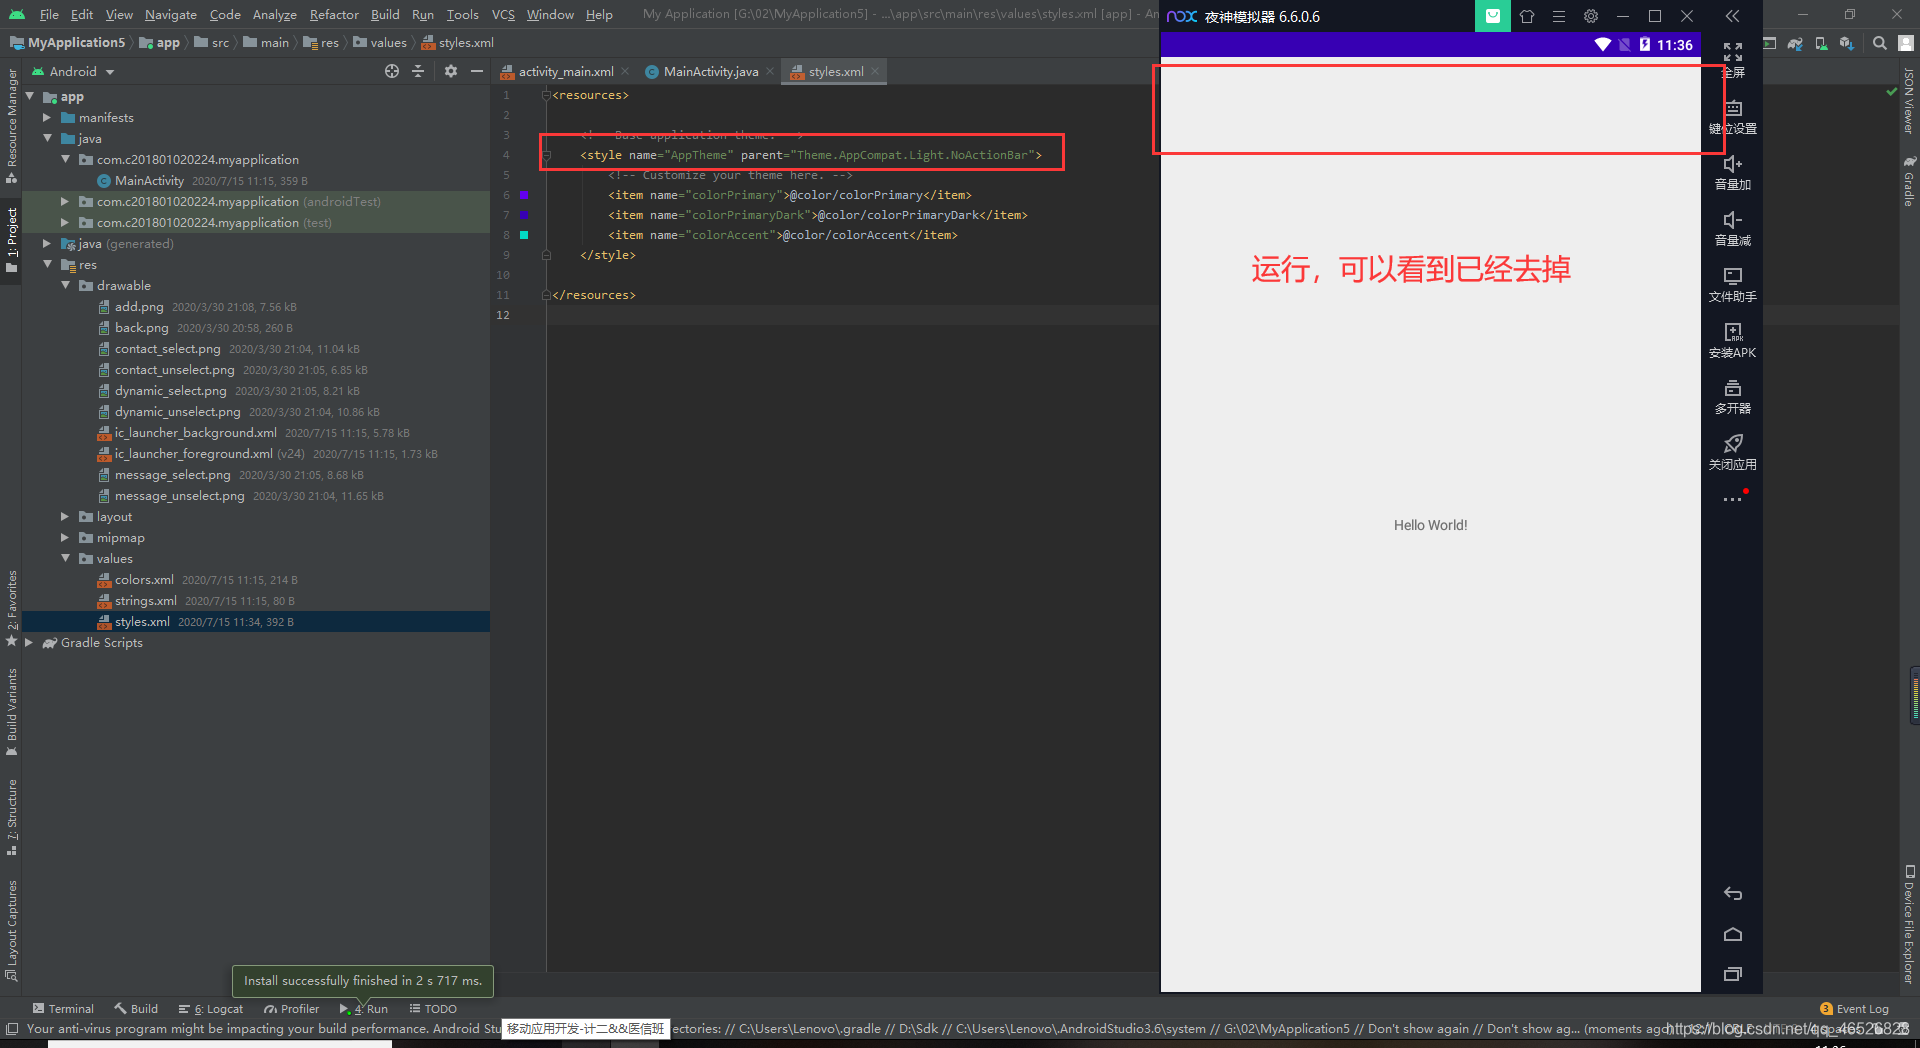
把styles改为NoActionBar
3.修改顶部颜色
修改styles里的colorPrimaryDark的颜色
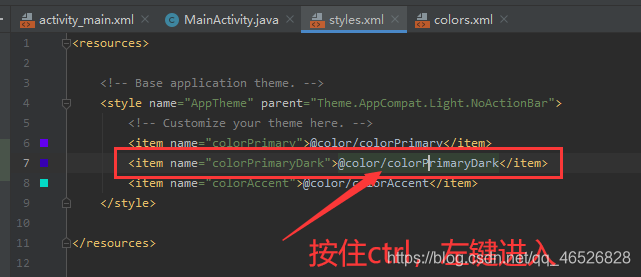
方法一,可以使用取色器,截取颜色
截取到的颜色是#12b7f6

方法二,可以使用肉眼观察法,修改颜色

运行(已经修改)
3.添加底部按钮
首先,我们得注意一个问题,如果我们把点击事件写在单个按钮上或者文字上,那么如下图黑色的空白区域就点击无效了,这样显然是不符合我们的设计的

所以我们的解决方法是,把按钮和文字嵌套到一个布局里,然后再给布局添加点击事件

第二步添加布局,需要用到chains链实现均分,布局宽度0dp,添加底部约束
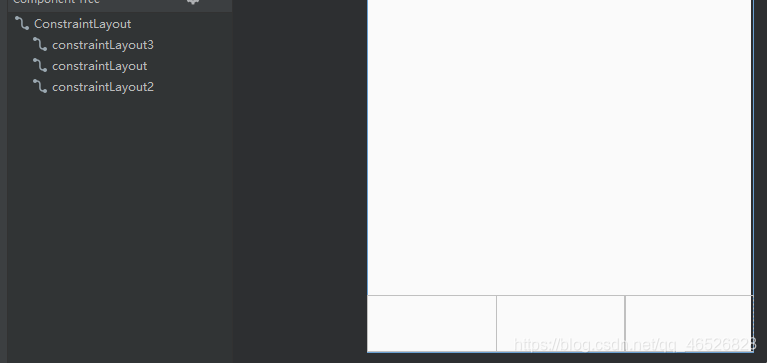
第三步,添加图片和文本(这里我的图片资源是截取下来的,与原背景会有误差,把父布局颜色改为白色可以消除误差,仅供参考,实际可以去图标网选取最适合自己的图标)
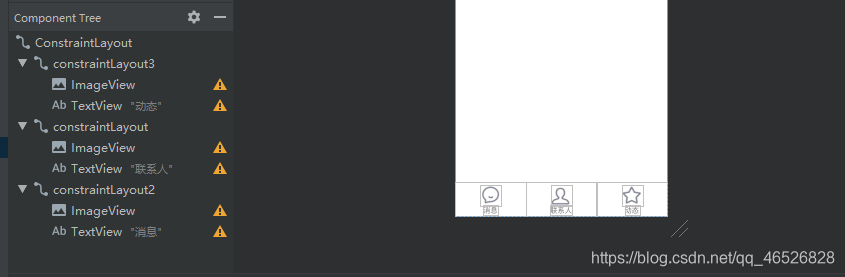
单个布局代码(可直接先复制,粘贴三个再进行修改)
 <androidx.constraintlayout.widget.ConstraintLayout
        android:id="@+id/constraintLayout2"
        android:layout_width="0dp"
        android:layout_height="65dp"
        app:layout_constraintBottom_toBottomOf="parent"
        app:layout_constraintEnd_toStartOf="@+id/constraintLayout"
        app:layout_constraintHorizontal_bias="0.5"
        app:layout_constraintStart_toStartOf="parent">
        <ImageView
            android:layout_width="40dp"
            android:layout_height="40dp"
            android:background="@drawable/message_unselect"
            app:layout_constraintEnd_toEndOf="parent"
            app:layout_constraintStart_toStartOf="parent"
            app:layout_constraintTop_toTopOf="parent"
            android:layout_marginTop="5dp"/>
        <TextView
            android:layout_width="wrap_content"
            android:layout_height="wrap_content"
            app:layout_constraintEnd_toEndOf="parent"
            app:layout_constraintStart_toStartOf="parent"
            app:layout_constraintBottom_toBottomOf="parent"
            android:layout_marginBottom="2dp"
            android:text="消息"/>

    </androidx.constraintlayout.widget.ConstraintLayout>
然后再给三个布局先初始化,再拿到布局并依次添加点击事件
初始化
ConstraintLayout constraintLayout2;
单个点击事件代码(记得初始化)
  constraintLayout1=findViewById(R.id.constraintLayout2);//id注意别搞错了
        constraintLayout1.setOnClickListener(new View.OnClickListener() {
            @Override
            public void onClick(View v) {

            }
        });
4.点击底部布局文字颜色切换
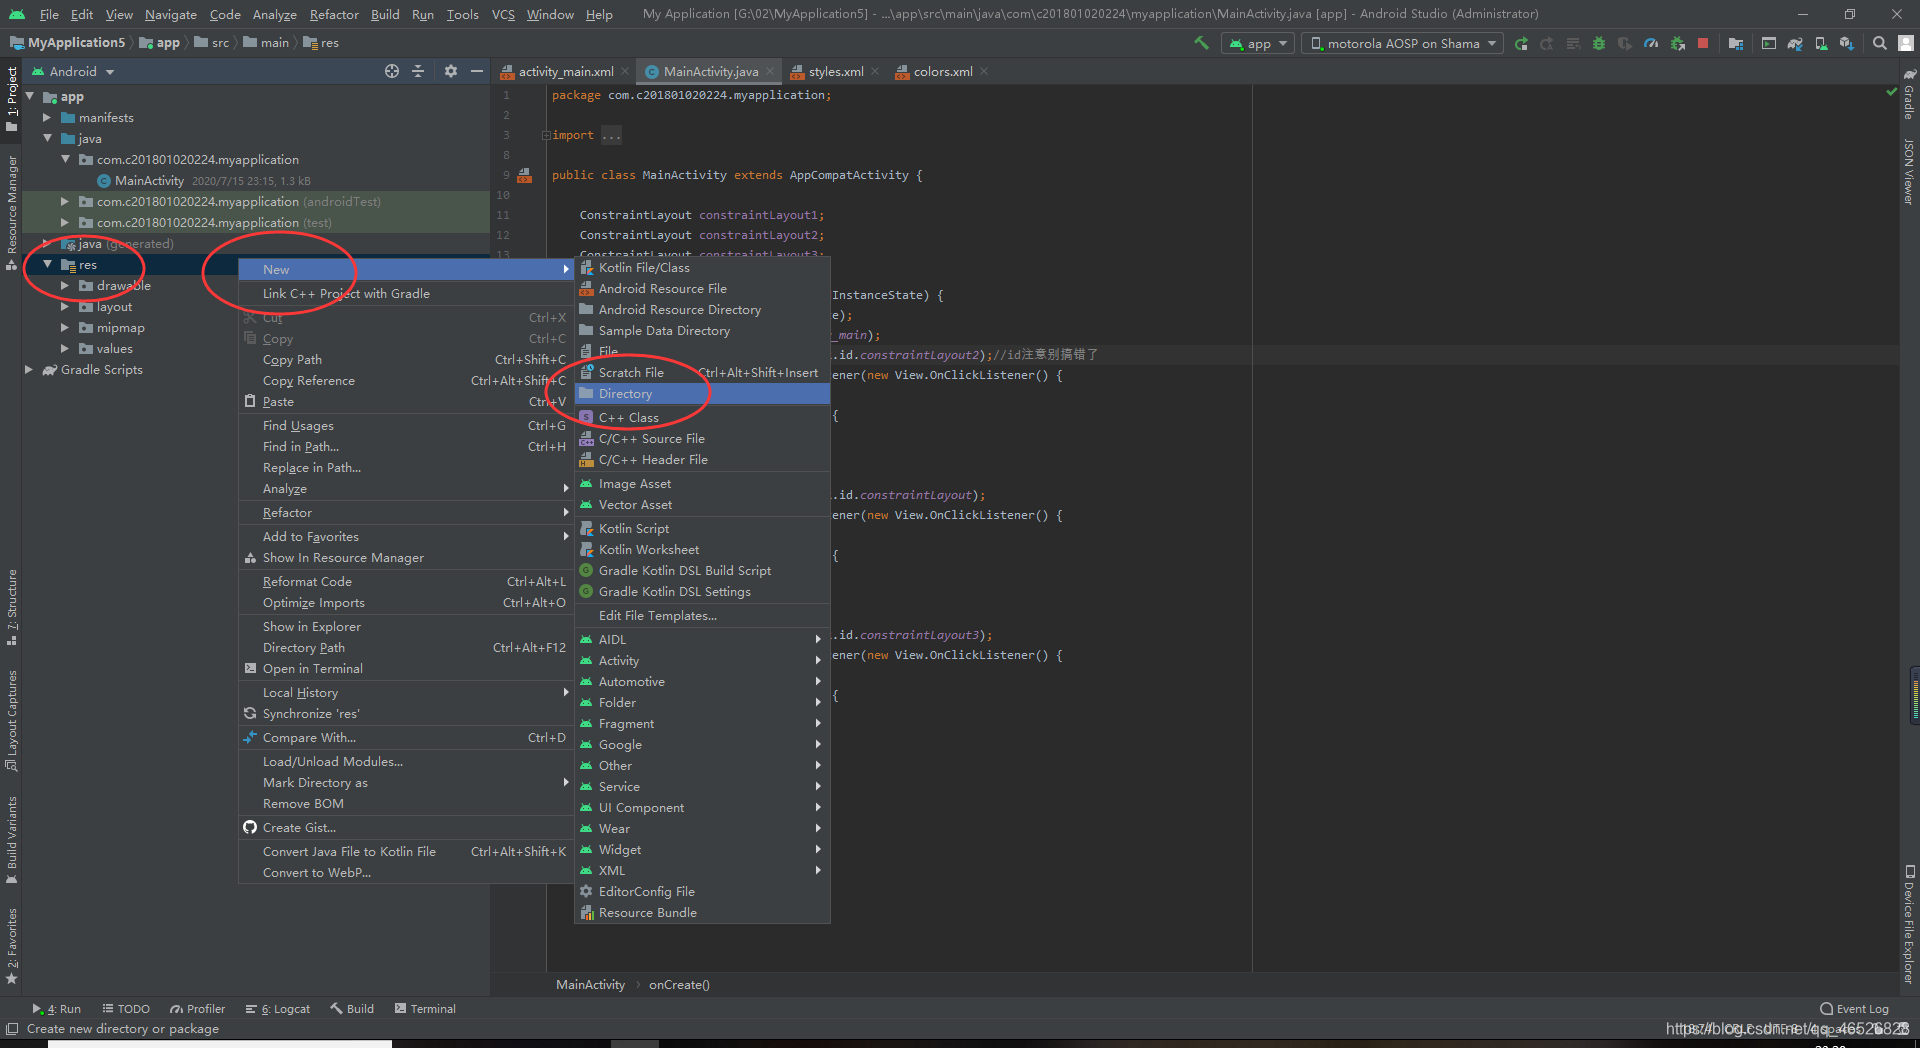
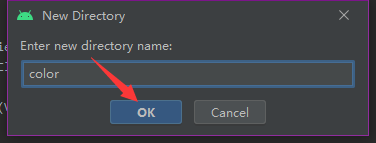
第一步,先创建颜色文件夹
命名,然后OK
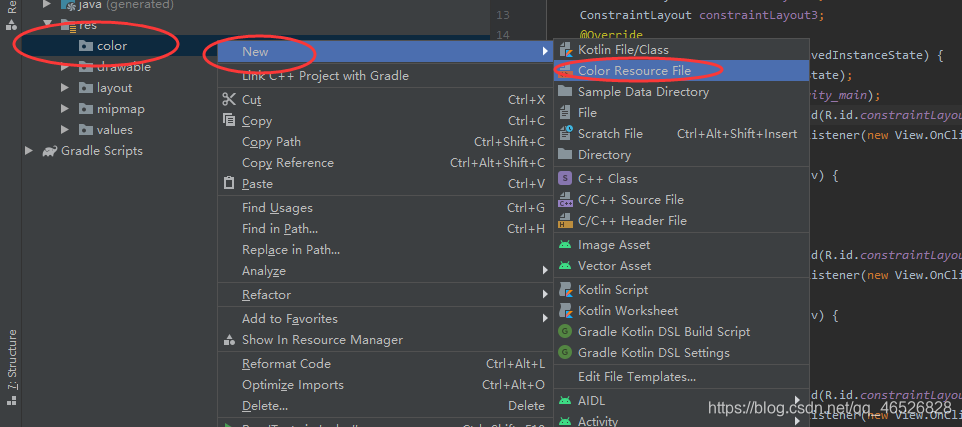
第二步,在刚才创建的颜色文件夹里创建一个颜色的资源文件
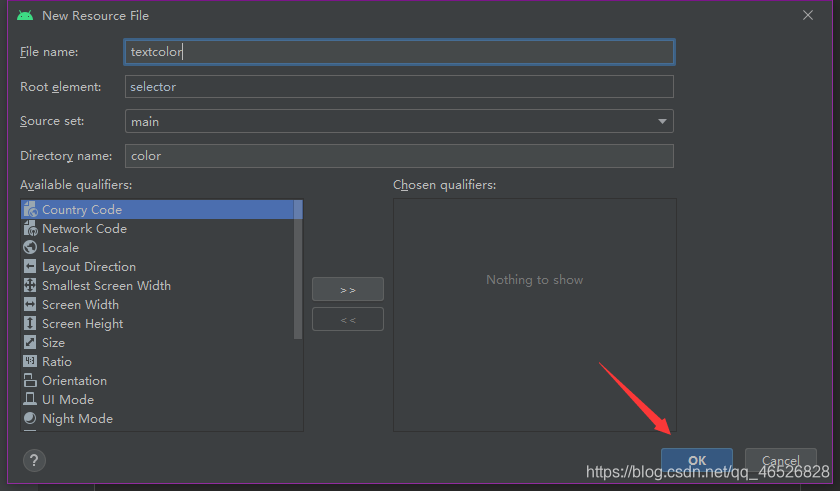
命名,然后OK
第三步,设定被选中和未被选中文字的颜色变化
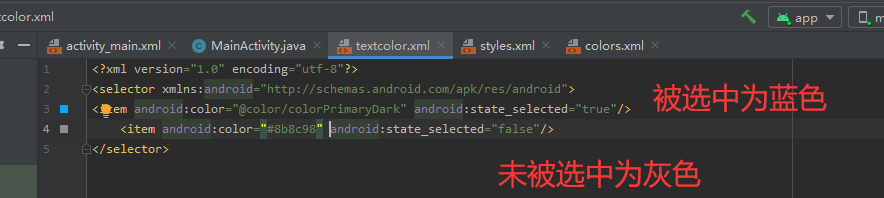
代码
<?xml version="1.0" encoding="utf-8"?>
<selector xmlns:android="http://schemas.android.com/apk/res/android">
<item android:color="@color/colorPrimaryDark" android:state_selected="true"/>
    <item android:color="#8b8c98" android:state_selected="false"/>
</selector>
第四步,给布局文件中的文本控件添加颜色属性(设置为刚才创建的颜色资源文件)
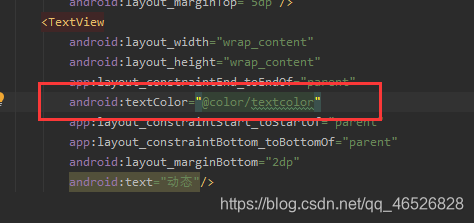
android:textColor="@color/textcolor"
第五步,设置点击底部文字颜色切换,思路为点击布局,里面的文字颜色切换
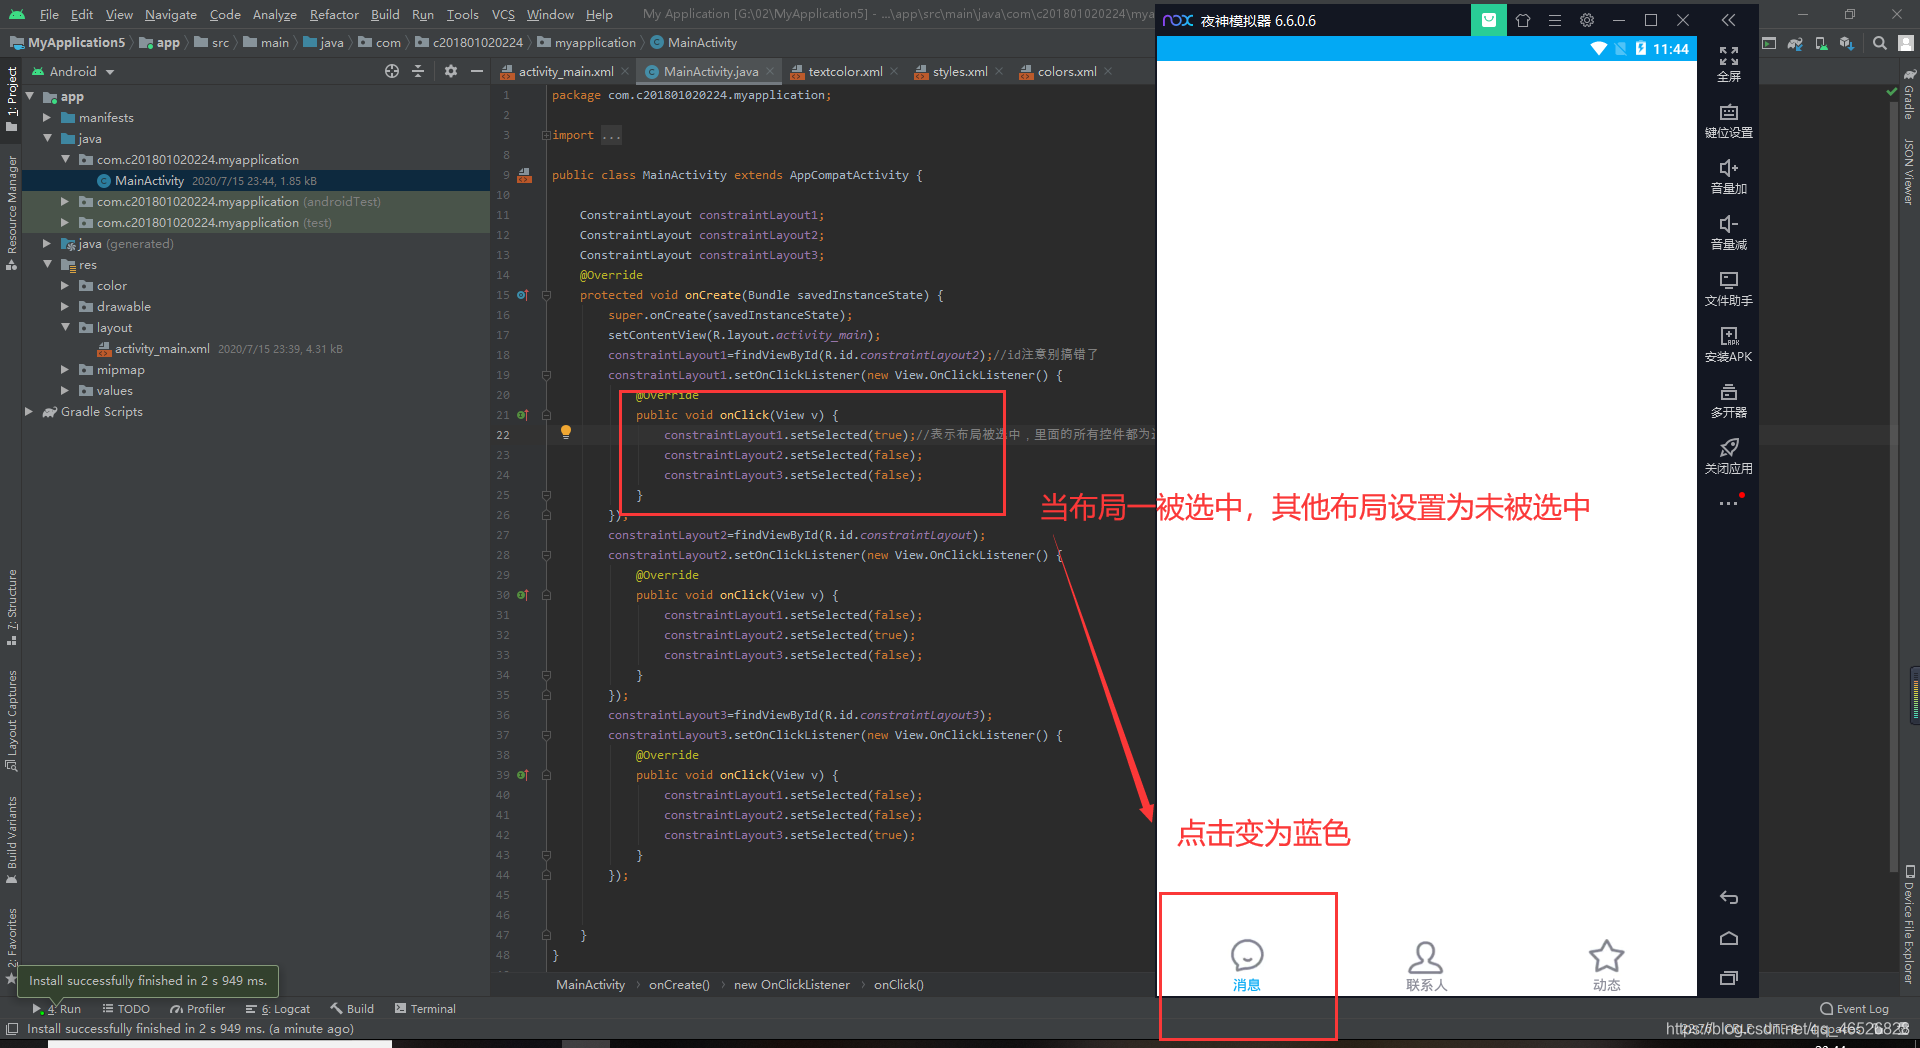
核心代码
       constraintLayout1.setSelected(true);//表示布局被选中,里面的所有控件都为选中状态
       constraintLayout2.setSelected(false);
       constraintLayout3.setSelected(false);
5.点击底部布局图片颜色切换
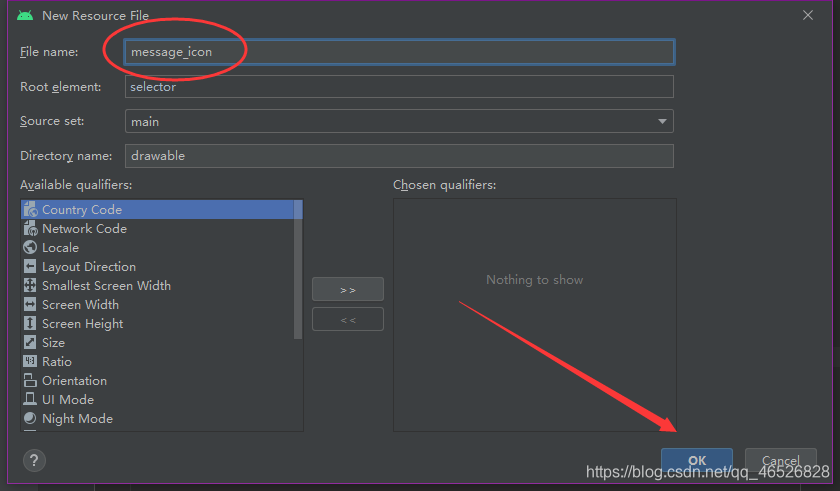
第一步,先创建一个图片资源文件(其他两个图片设置样式方式相同)
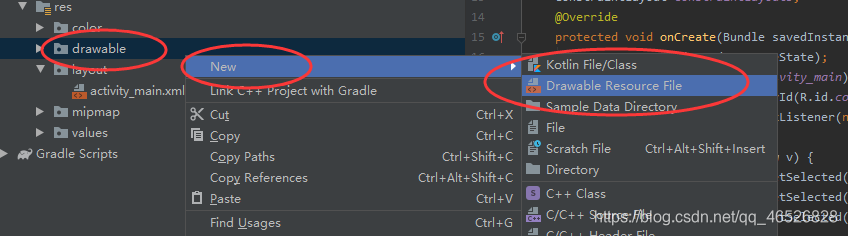
命名,然后ok
第二步,设置选中图片样式,和未被选中图片样式
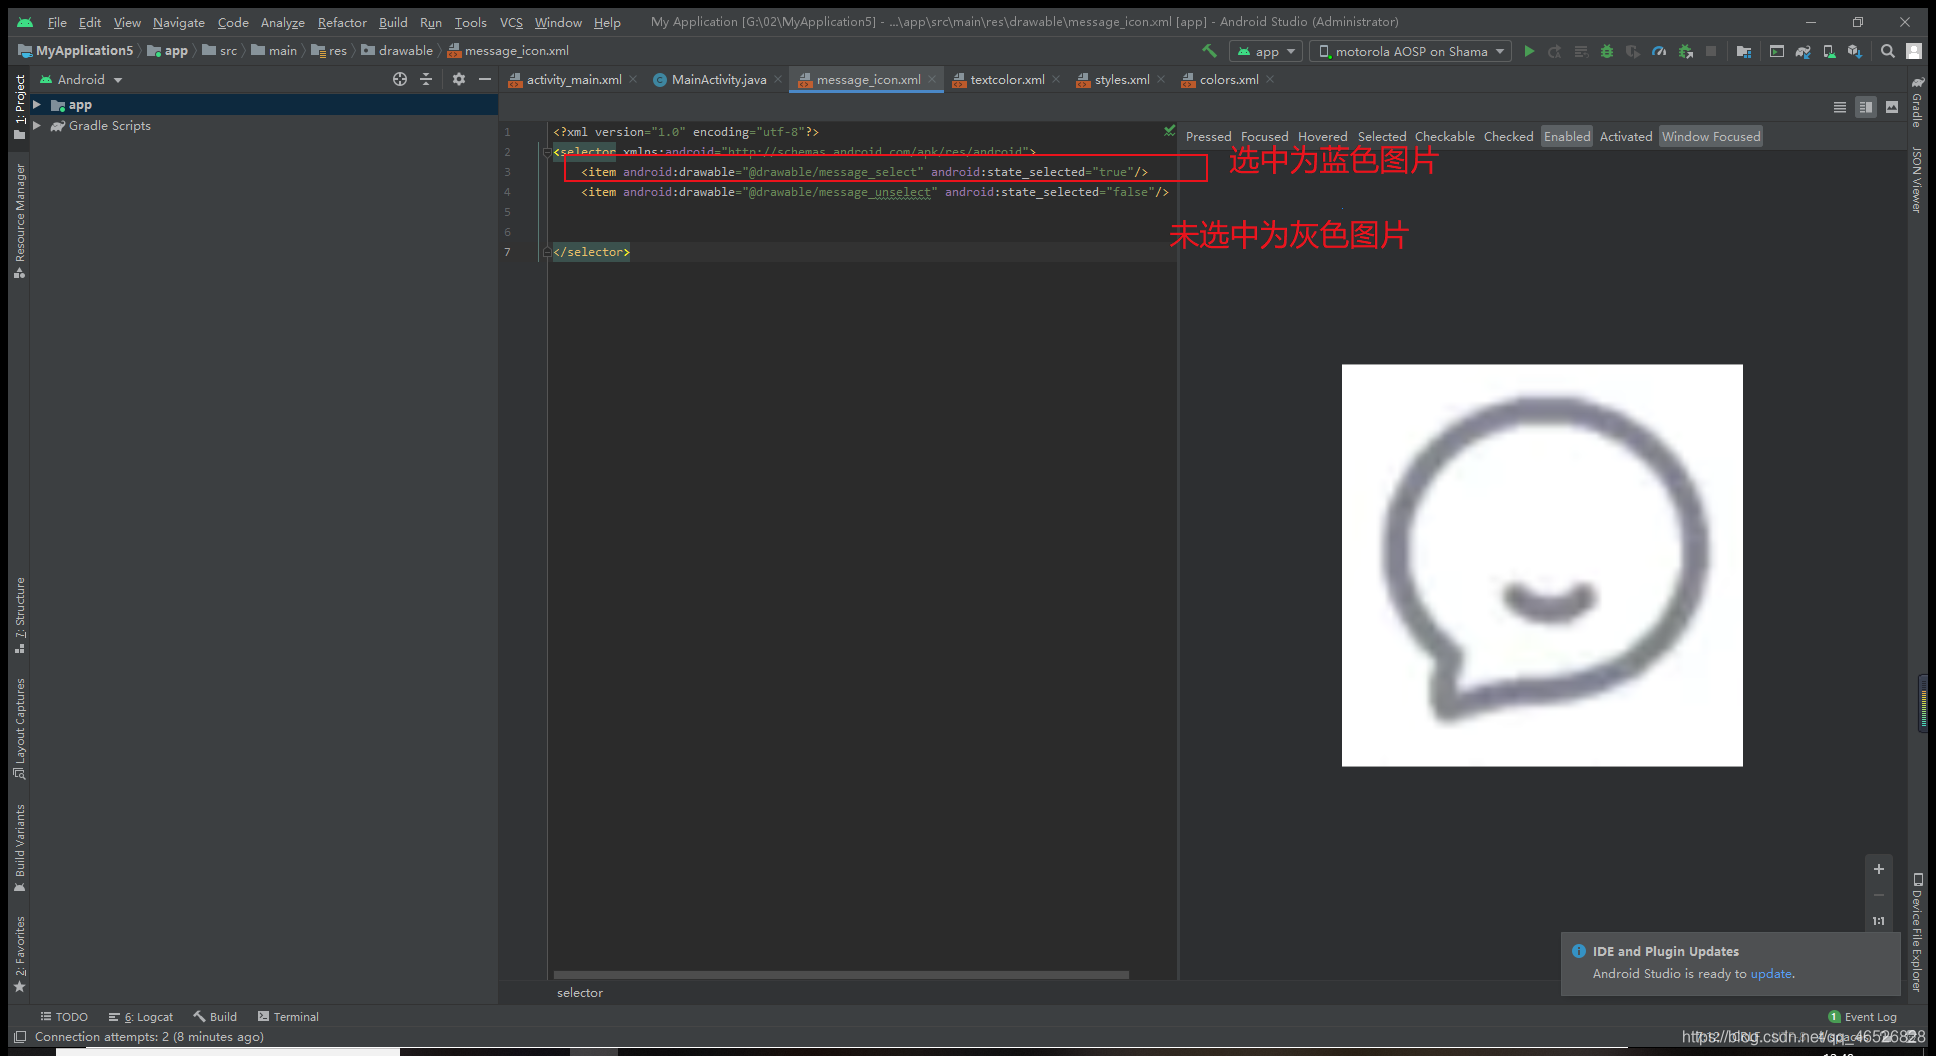
<?xml version="1.0" encoding="utf-8"?>
<selector xmlns:android="http://schemas.android.com/apk/res/android">
    <item android:drawable="@drawable/message_select" android:state_selected="true"/>
    <item android:drawable="@drawable/message_unselect" android:state_selected="false"/>
</selector>
第三步,设置底部布局图片的背景为刚才创建的图片资源文件(这样就可以根据状态成为可变图片)
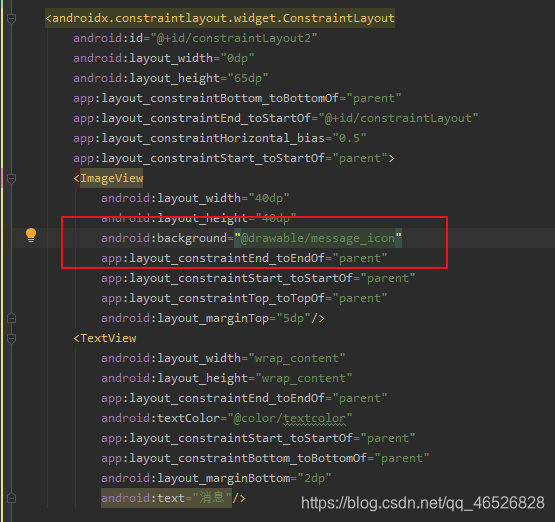
android:background="@drawable/message_icon"
联系人图片资源文件
<?xml version="1.0" encoding="utf-8"?>
<selector xmlns:android="http://schemas.android.com/apk/res/android">
    <item android:drawable="@drawable/contact_select" android:state_selected="true"/>
    <item android:drawable="@drawable/contact_unselect" android:state_selected="false"/>
</selector>
布局文件(记得设置)
android:background="@drawable/contact_icon"
动态资源文件
<?xml version="1.0" encoding="utf-8"?>
<selector xmlns:android="http://schemas.android.com/apk/res/android">
    <item android:drawable="@drawable/dynamic_select" android:state_selected="true"/>
    <item android:drawable="@drawable/dynamic_unselect" android:state_selected="false"/>
</selector>
布局文件(记得设置)
android:background="@drawable/dynamic_icon"
运行
刚才忘记设置默认消息布局被选中
这里设置一下,在activity的onCreate方法里面,在findviewbyid的后面添加
constraintLayout1.setSelected(true);//表示布局被选中,里面的所有控件都为选中状态

6.设置底部按钮对应布局
第一步,创建三个对应的fragment,
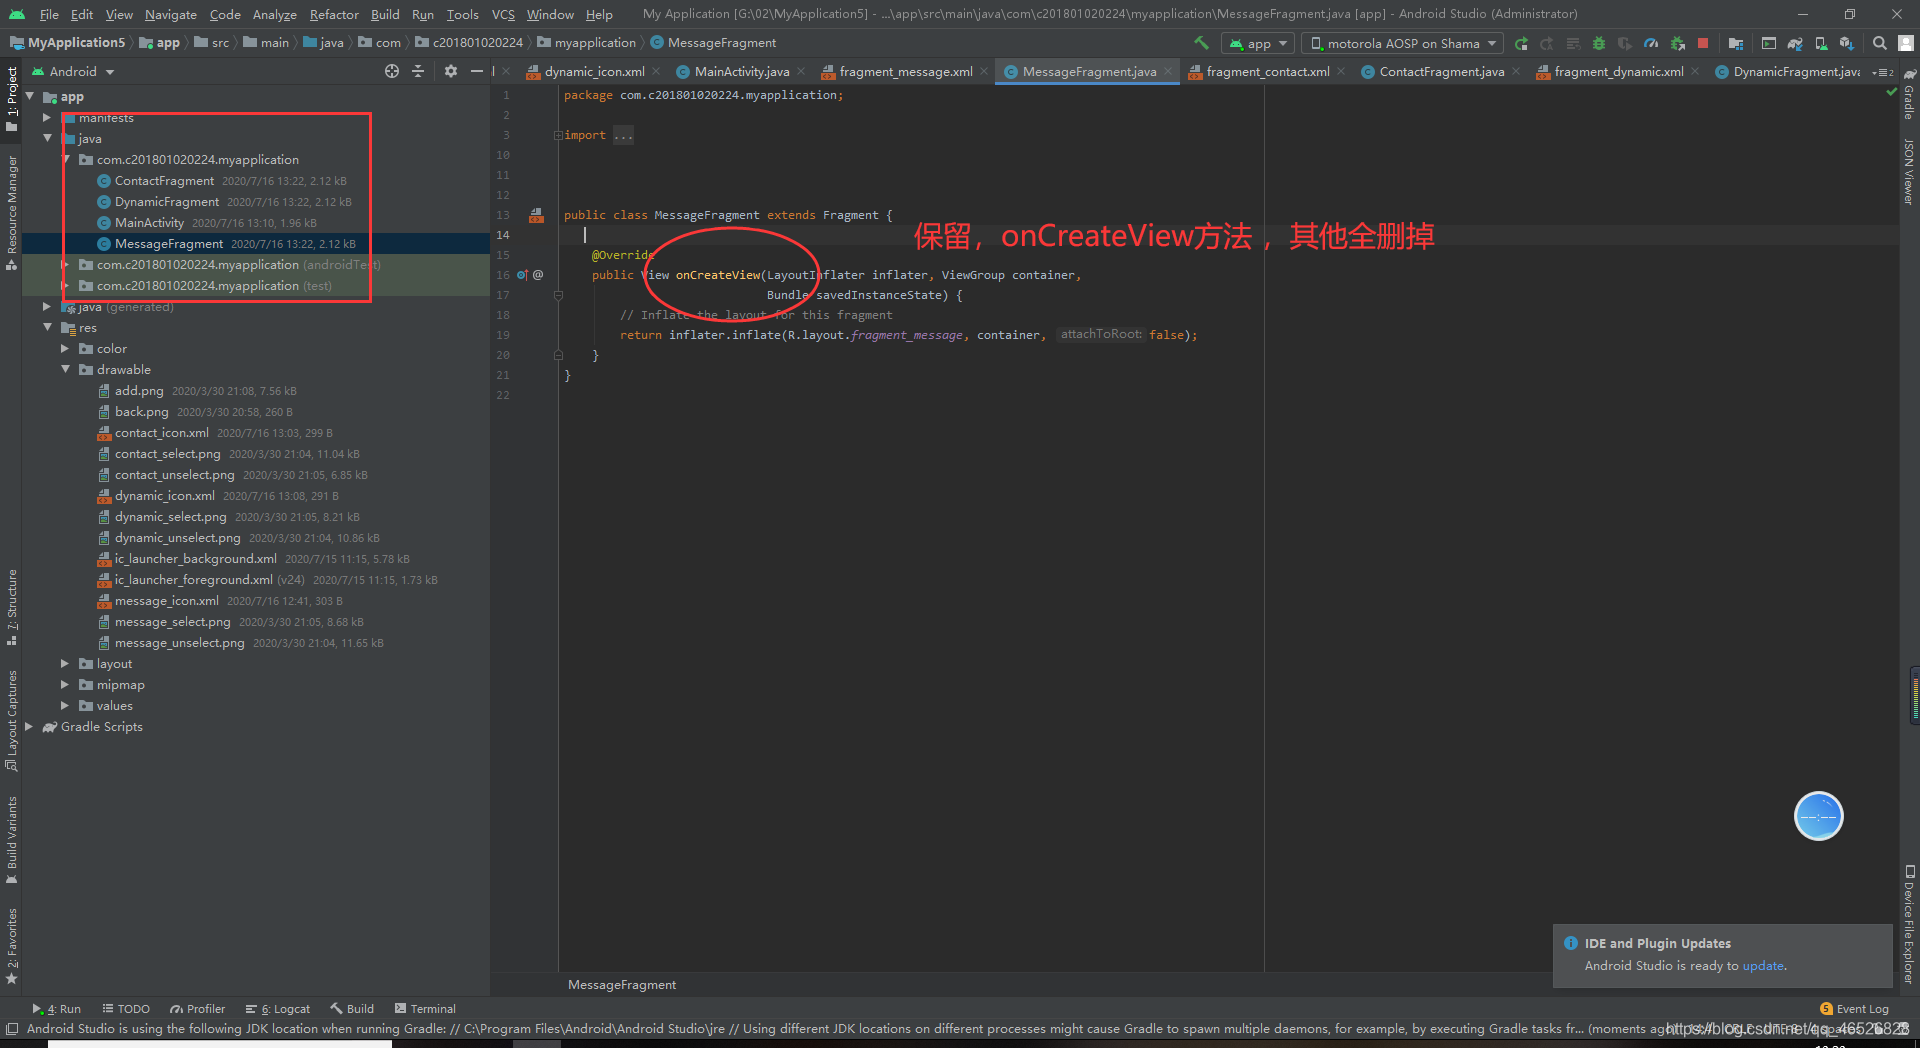
第二步,在activity指定区域添加布局作为fragment的视图界面
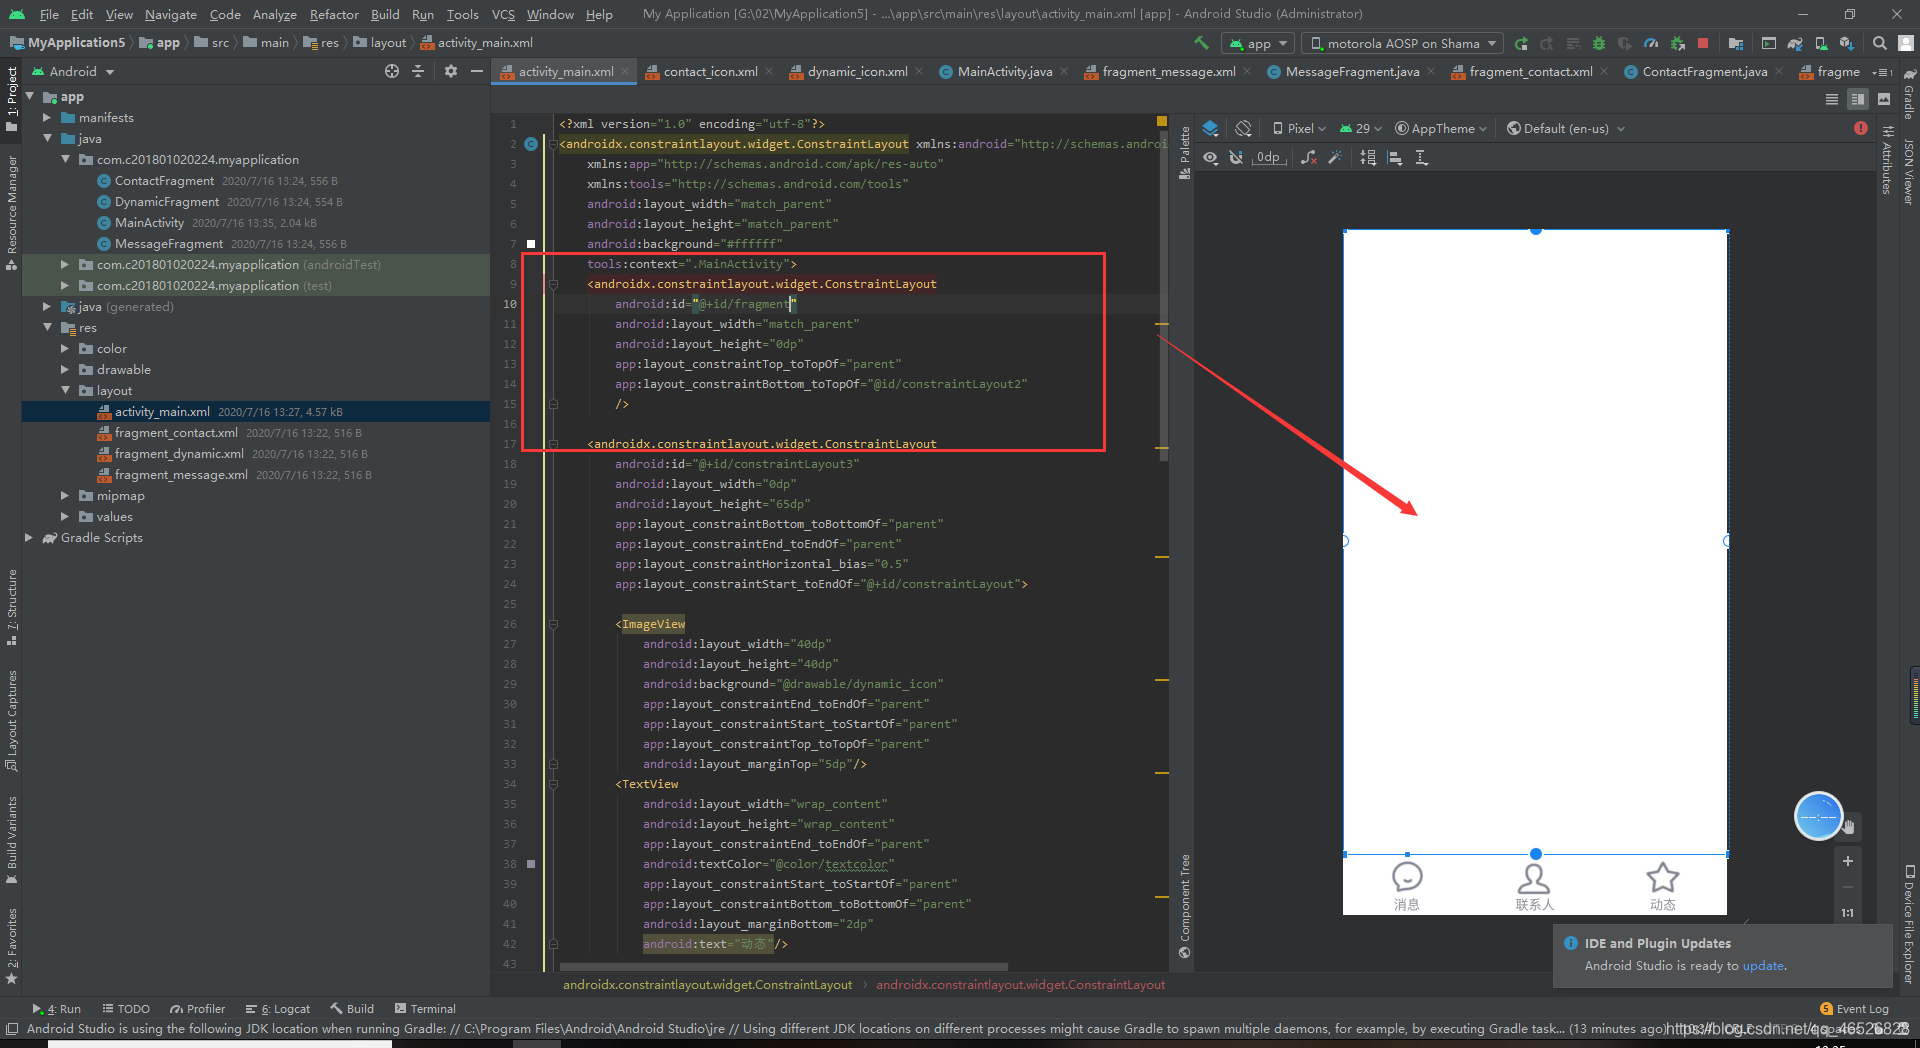
代码
 <androidx.constraintlayout.widget.ConstraintLayout
        android:id="@+id/fragment"
        android:layout_width="match_parent"
        android:layout_height="0dp"
        app:layout_constraintTop_toTopOf="parent"
        app:layout_constraintBottom_toTopOf="@id/constraintLayout2"
        />
第三步,设置点击按钮切换fragment的java代码
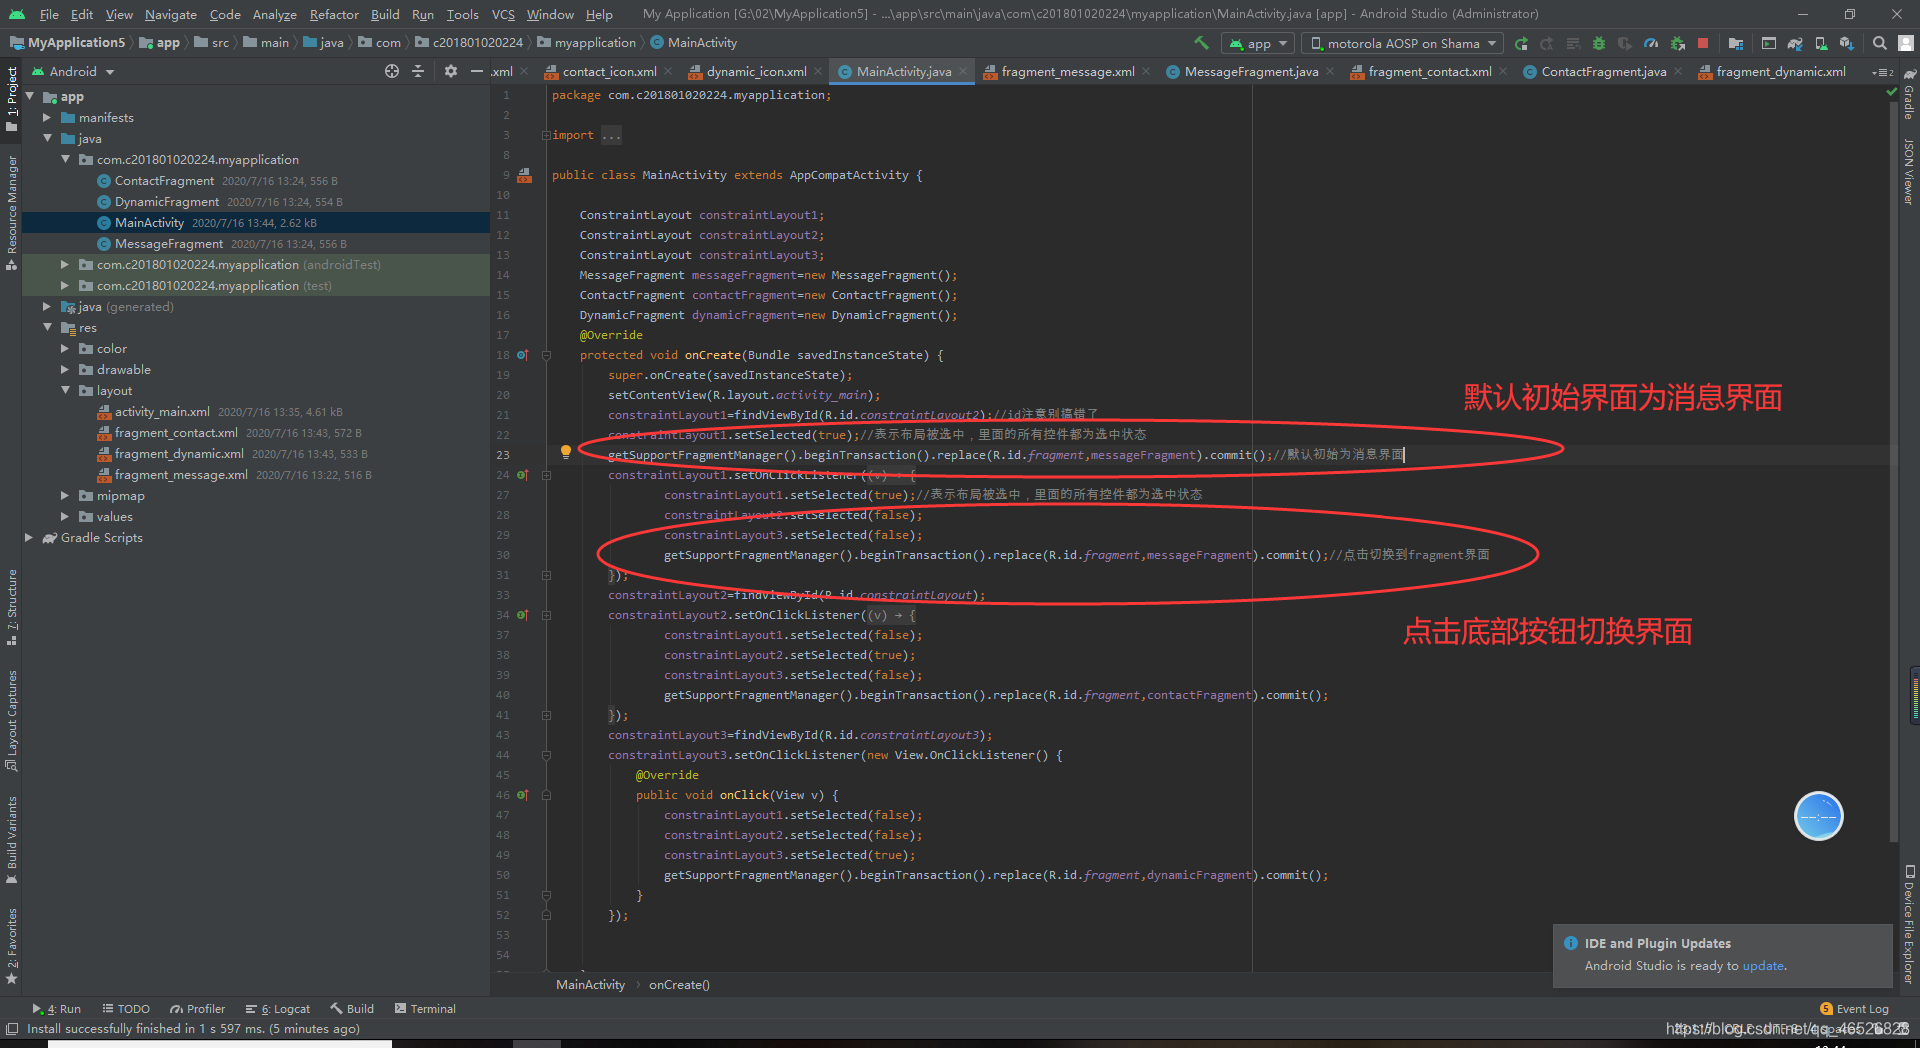
getSupportFragmentManager().beginTransaction().replace(R.id.fragment,messageFragment).commit();//点击切换到fragment界面
然后可以改下fragment的布局文件来区分不同界面
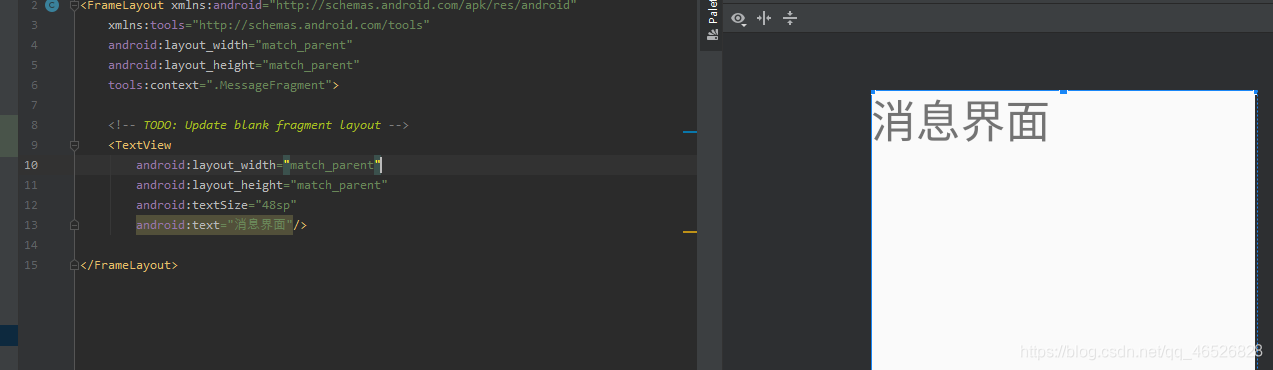
运行一下嘻嘻嘻 成功运行
7.QQ消息界面UI
我们先看一下,大致布局为这样,我们从顶部往下写
第一步,回到message-fragment的布局文件,首先把FrameLayout帧布局改为ConstraintLayout约束布局,然后把顶部的布局内容写好,先写头像,这里我们先不添加背景图片,因为等下要讲到获取网络图片的方法,然后中间两个按钮,可以用chains链来实现,右边的图片有小小颜色误差,可以自行设置,我仅做参考
运行如下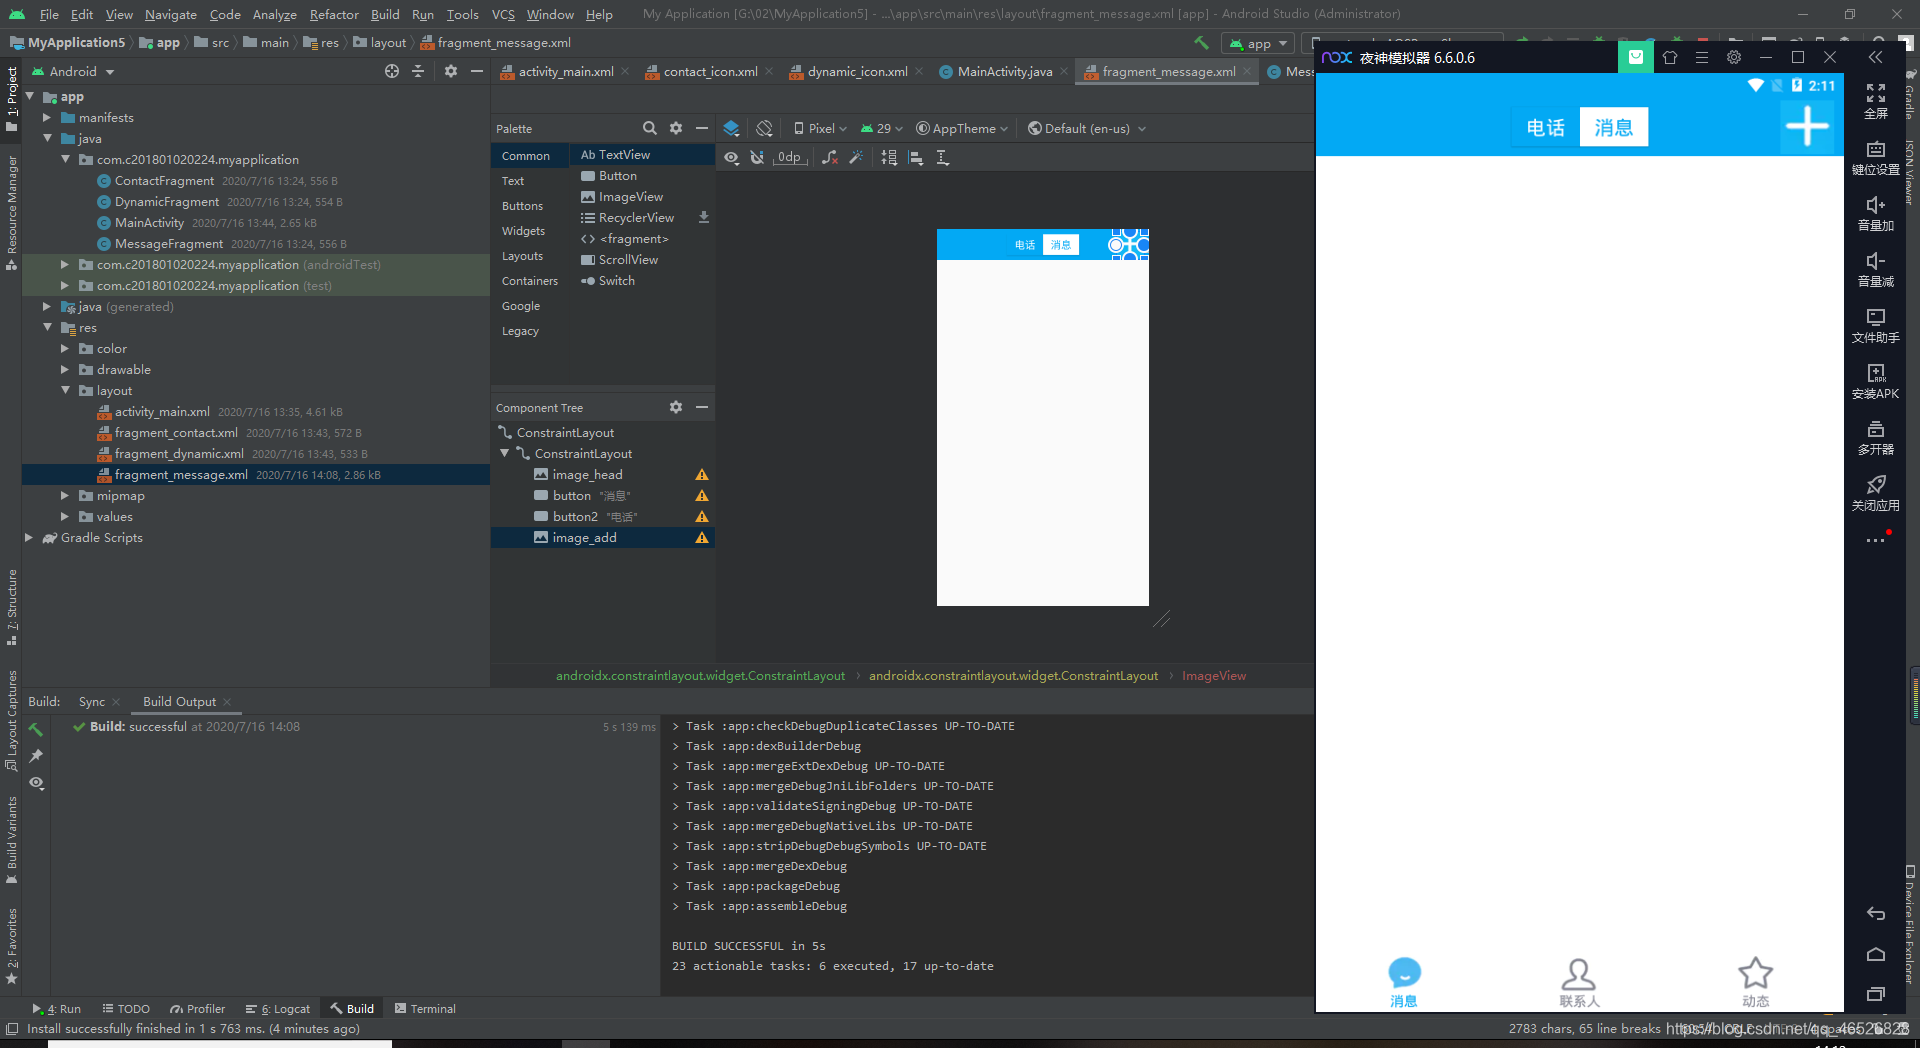
代码
<?xml version="1.0" encoding="utf-8"?>
<androidx.constraintlayout.widget.ConstraintLayout xmlns:android="http://schemas.android.com/apk/res/android"
    xmlns:tools="http://schemas.android.com/tools"
    android:layout_width="match_parent"
    android:layout_height="match_parent"
    xmlns:app="http://schemas.android.com/apk/res-auto"
    tools:context=".MessageFragment">

    <!-- TODO: Update blank fragment layout -->
    <androidx.constraintlayout.widget.ConstraintLayout
        android:layout_width="match_parent"
        android:layout_height="60dp"

        android:background="@color/colorPrimaryDark"
        app:layout_constraintTop_toTopOf="parent">

        <ImageView
            android:id="@+id/image_head"
            android:layout_width="55dp"
            android:layout_height="55dp"
            android:layout_marginLeft="10dp"
            app:layout_constraintBottom_toBottomOf="parent"
            app:layout_constraintLeft_toLeftOf="parent"
            app:layout_constraintTop_toTopOf="parent" />

        <Button
            android:id="@+id/button"
            android:layout_width="70dp"
            android:layout_height="40dp"
            android:background="#ffffff"
            android:text="消息"
            android:textColor="@color/colorPrimaryDark"
            android:textSize="20sp"
            app:layout_constraintBottom_toBottomOf="parent"
            app:layout_constraintEnd_toEndOf="parent"
            app:layout_constraintHorizontal_bias="0.5"
            app:layout_constraintStart_toEndOf="@+id/button2"
            app:layout_constraintTop_toTopOf="parent" />

        <Button
            android:id="@+id/button2"
            android:layout_width="70dp"
            android:layout_height="40dp"
            android:background="@color/colorPrimaryDark"
            android:text="电话"
            android:textColor="#ffffff"
            android:textSize="20sp"
            app:layout_constraintBottom_toBottomOf="parent"
            app:layout_constraintEnd_toStartOf="@+id/button"
            app:layout_constraintHorizontal_bias="0.5"
            app:layout_constraintHorizontal_chainStyle="packed"
            app:layout_constraintStart_toStartOf="parent"
            app:layout_constraintTop_toTopOf="parent" />
        <ImageView
            android:id="@+id/image_add"
            android:layout_width="55dp"
            android:layout_height="55dp"
            android:layout_marginRight="10dp"
            android:background="@drawable/add"
            app:layout_constraintBottom_toBottomOf="parent"
           app:layout_constraintRight_toRightOf="parent"
            app:layout_constraintTop_toTopOf="parent" />


    </androidx.constraintlayout.widget.ConstraintLayout>
</androidx.constraintlayout.widget.ConstraintLayout>
8.加载网络图片
第一步,这里我们需要引入第三方控件
https://github.com/bumptech/glide(这是开源控件的地址)
我们把他下载下来,只需要导入他的依赖包就可以了
 implementation 'com.github.bumptech.glide:glide:4.11.0'
  annotationProcessor 'com.github.bumptech.glide:compiler:4.11.0'
把这两句代码加入我们的gradle(app)中,导入依赖包,点击同步就可以下载下来
刚才换了个主题哈哈,主题名字是Material Theme UI,大家感兴趣的可以去了解
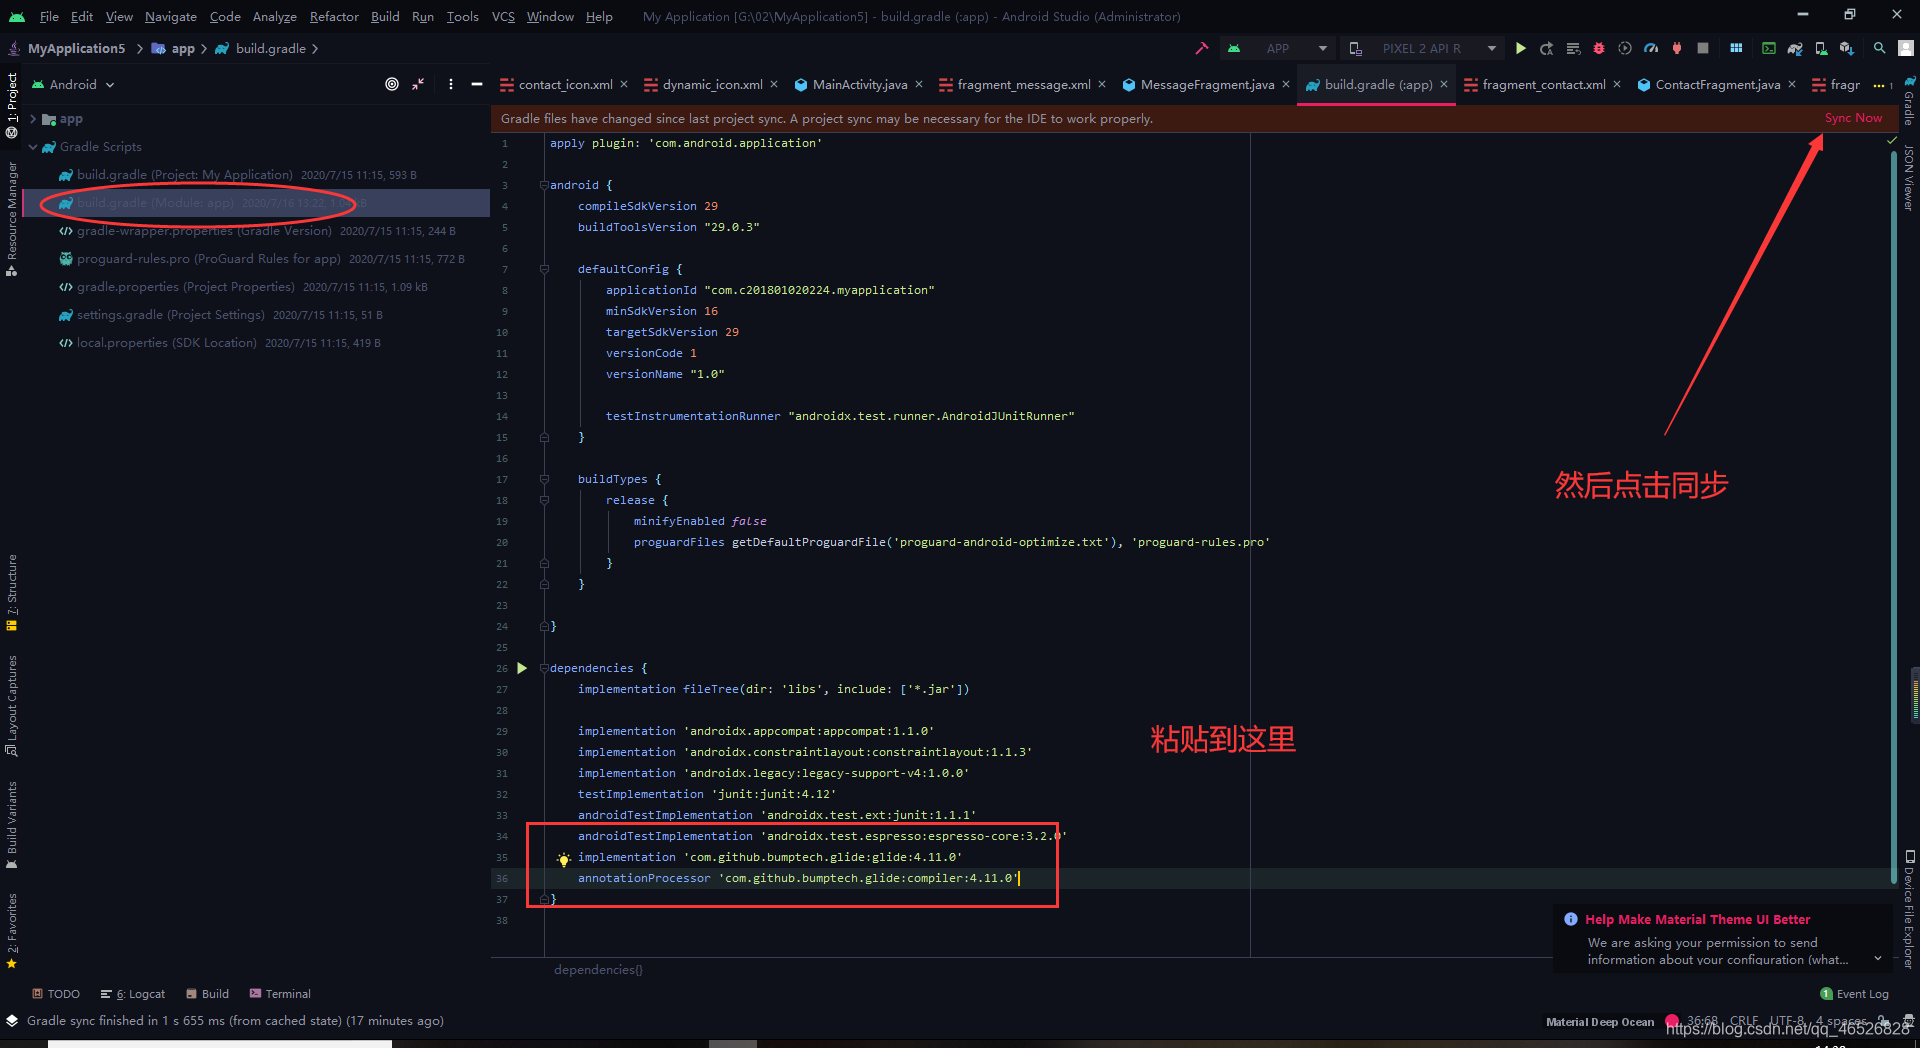
提示:这里一定要记得点击同步
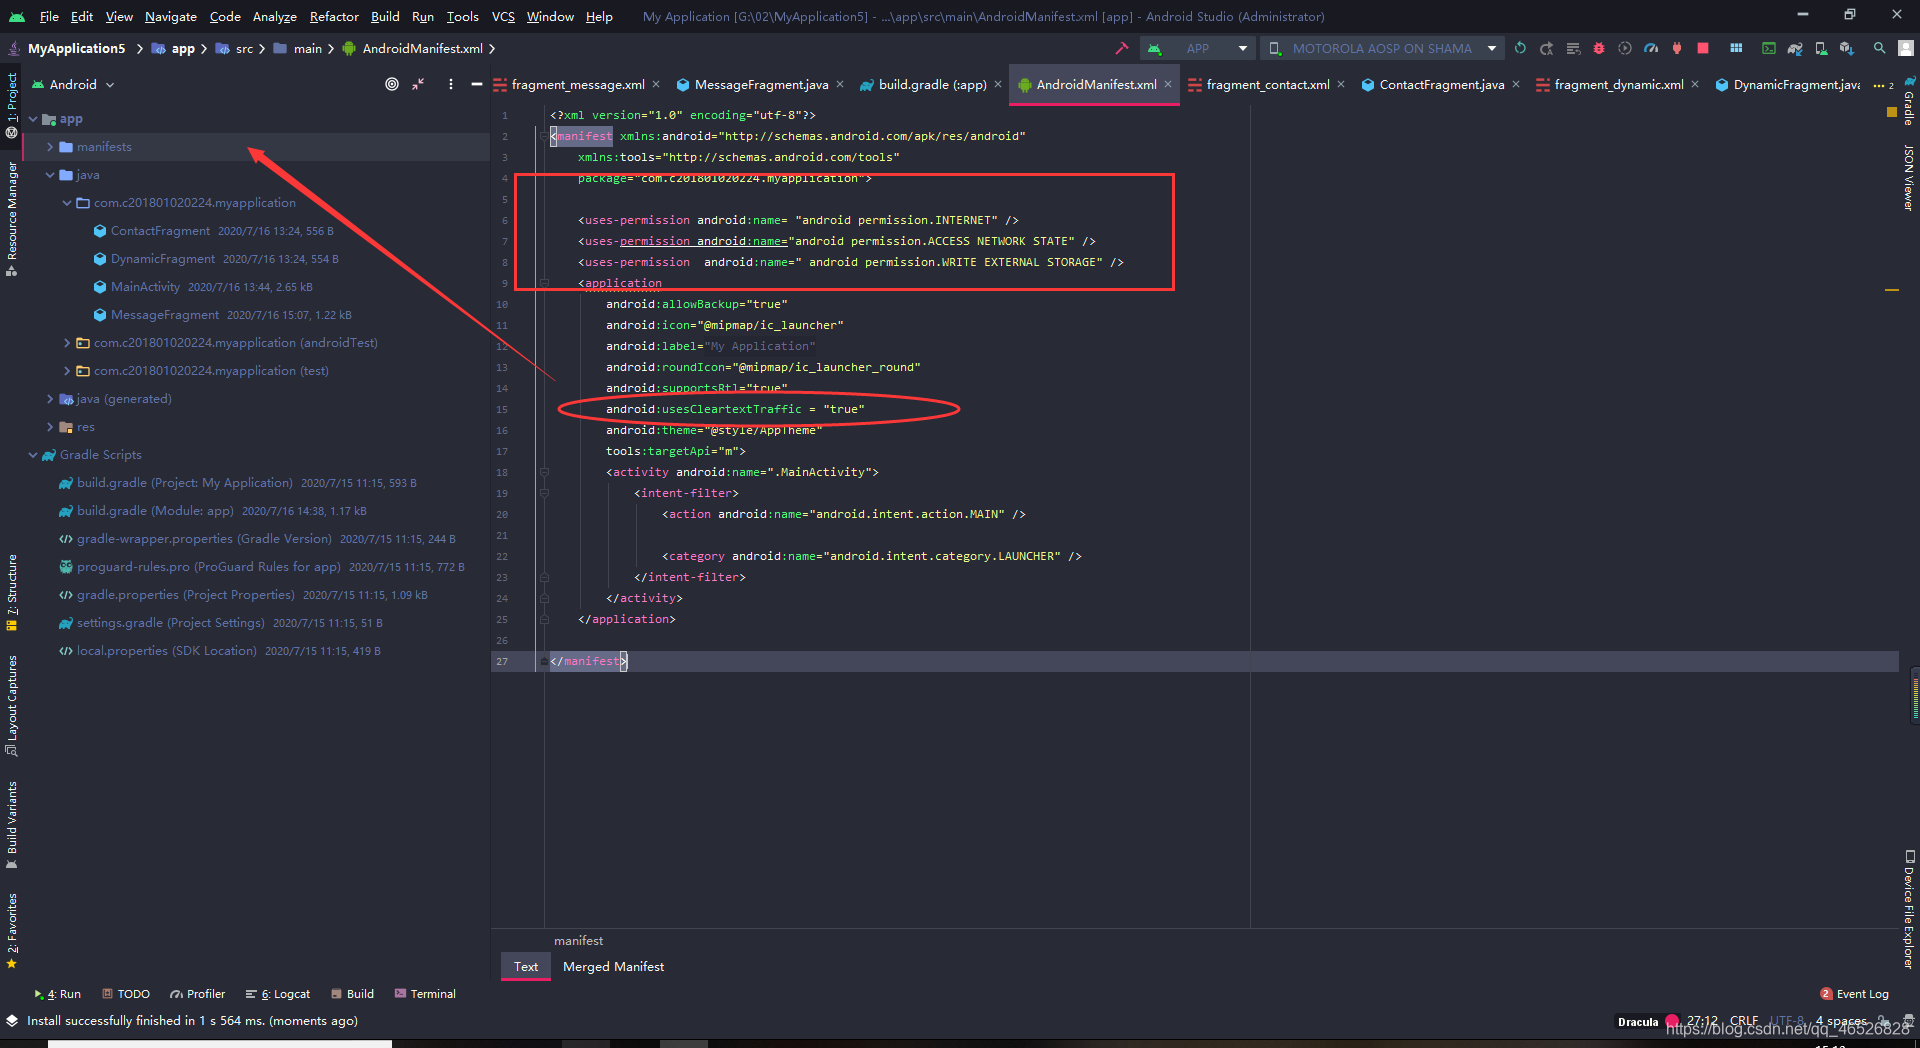
第二步,添加权限(主题有点暗,换了个亮的)
 <uses-permission android:name="android.permission.INTERNET"/>
    <uses-permission android:name="android.permission.ACCESS NETWORK STATE" />
    <uses-permission  android:name=" android.permission.WRITE EXTERNAL STORAGE" />
“android.permission.INTERNET” />//获取网络请求
“android.permission.ACCESS NETWORK STATE” />//获取网络状态
“android.permission.WRITE EXTERNAL STORAGE” />//读取系统磁盘
android:usesCleartextTraffic = "true"
提示:android:usesCleartextTraffic 这句代码意思是如果访问的地址是http开头也可以访问,没有加就无法访问,https开头的地址可以不用加
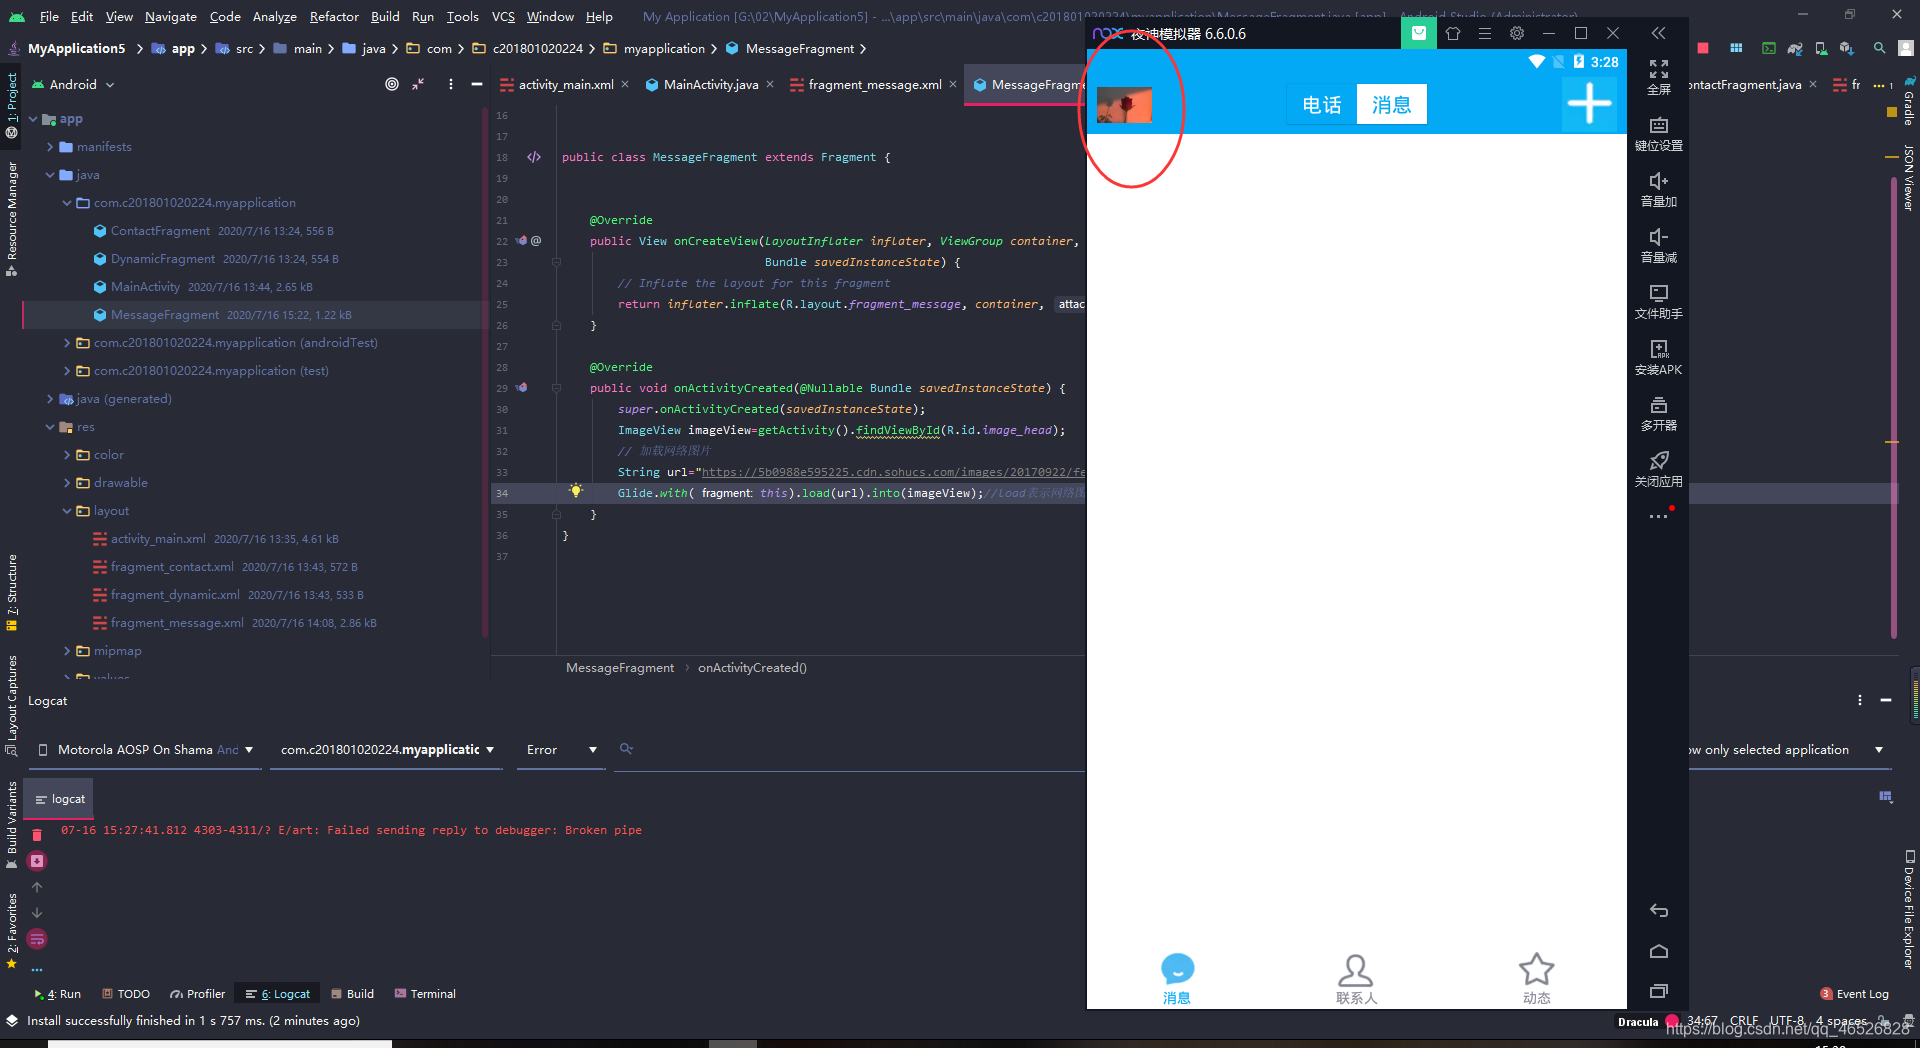
第三步,回到MessageFragment的java文件
url表示网络图片的地址
load表示加载网络图片的地址
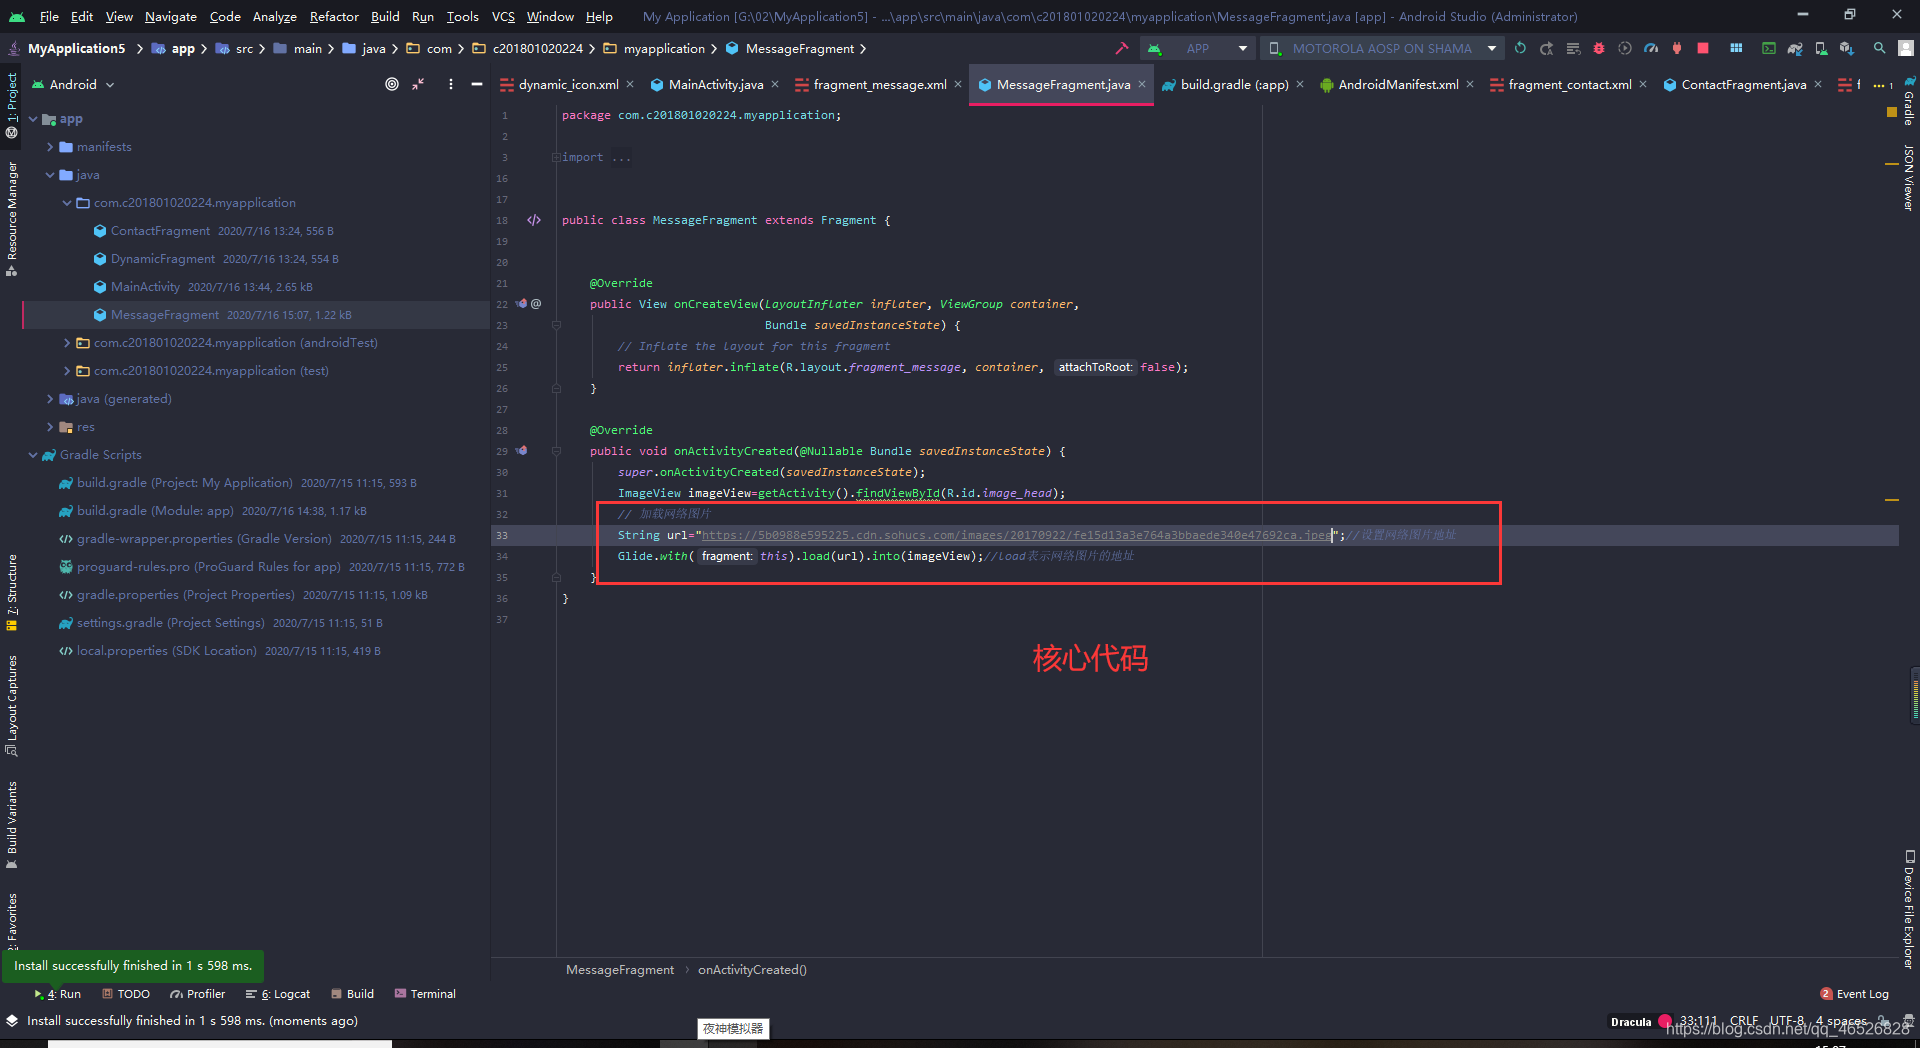
   ImageView imageView=getActivity().findViewById(R.id.image_head);
        // 加载网络图片
        String url="https://5b0988e595225.cdn.sohucs.com/images/20170922/fe15d13a3e764a3bbaede340e47692ca.jpeg";//设置网络图片地址
        Glide.with(this).load(url).into(imageView);//load表示网络图片的地址
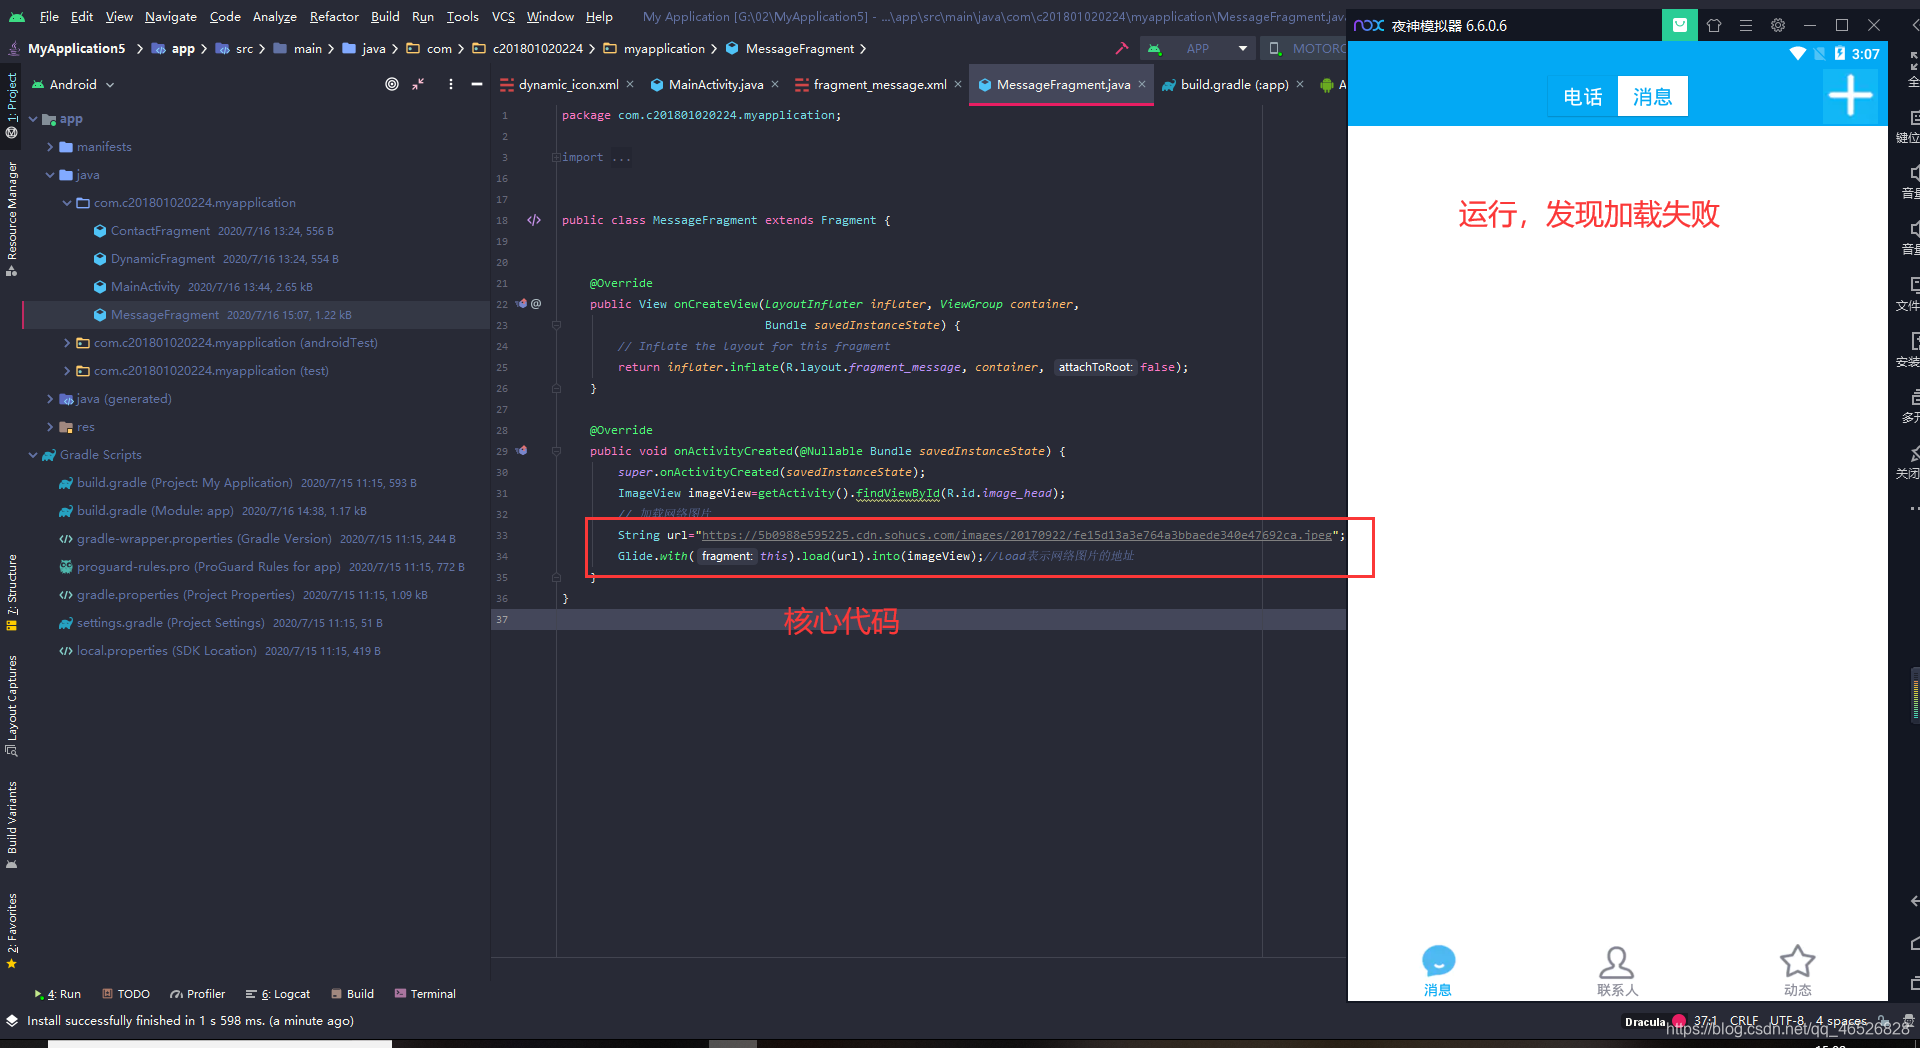
解决方法一:检查模拟器是否联网
解决方法二:检查权限和相关代码是否正确
解决方法三:卸载应用程序,重新运行
解决方法四:换图片
解决问题以后,运行成功
9.设置圆形图片
第一步,先导入圆形图片控件所需java文件,下载解压后直接拖入包中(记得更改包名)
免费下载
https://download.csdn.net/download/qq_46526828/12624858
或者复制粘贴吧
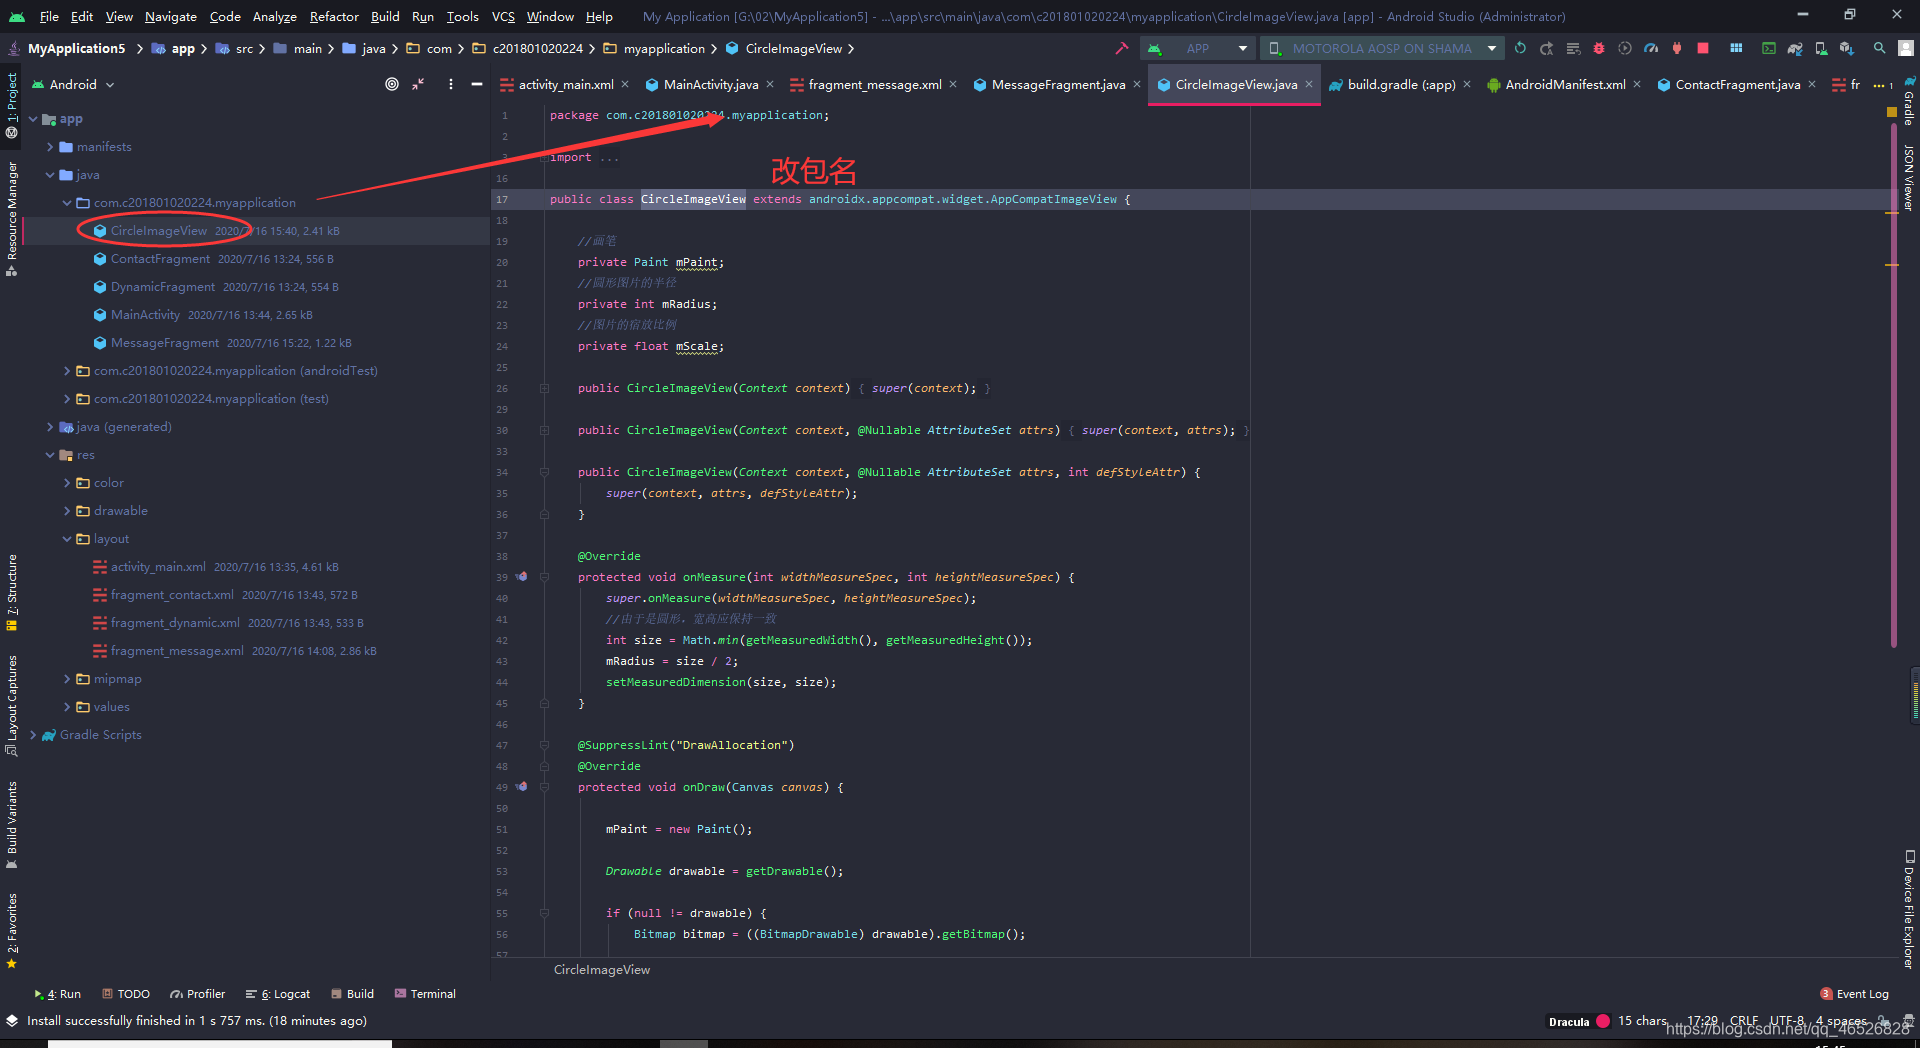
CircleImageView 代码
public class CircleImageView extends androidx.appcompat.widget.AppCompatImageView {

    //画笔
    private Paint mPaint;
    //圆形图片的半径
    private int mRadius;
    //图片的宿放比例
    private float mScale;

    public CircleImageView(Context context) {
        super(context);
    }

    public CircleImageView(Context context, @Nullable AttributeSet attrs) {
        super(context, attrs);
    }

    public CircleImageView(Context context, @Nullable AttributeSet attrs, int defStyleAttr) {
        super(context, attrs, defStyleAttr);
    }

    @Override
    protected void onMeasure(int widthMeasureSpec, int heightMeasureSpec) {
        super.onMeasure(widthMeasureSpec, heightMeasureSpec);
        //由于是圆形,宽高应保持一致
        int size = Math.min(getMeasuredWidth(), getMeasuredHeight());
        mRadius = size / 2;
        setMeasuredDimension(size, size);
    }

    @SuppressLint("DrawAllocation")
    @Override
    protected void onDraw(Canvas canvas) {

        mPaint = new Paint();

        Drawable drawable = getDrawable();

        if (null != drawable) {
            Bitmap bitmap = ((BitmapDrawable) drawable).getBitmap();

            //初始化BitmapShader,传入bitmap对象
            BitmapShader bitmapShader = new BitmapShader(bitmap, Shader.TileMode.CLAMP, Shader.TileMode.CLAMP);
            //计算缩放比例
            mScale = (mRadius * 2.0f) / Math.min(bitmap.getHeight(), bitmap.getWidth());

            Matrix matrix = new Matrix();
            matrix.setScale(mScale, mScale);
            bitmapShader.setLocalMatrix(matrix);
            mPaint.setShader(bitmapShader);
            //画圆形,指定好坐标,半径,画笔
            canvas.drawCircle(mRadius, mRadius, mRadius, mPaint);
        } else {
            super.onDraw(canvas);
        }
    }

}
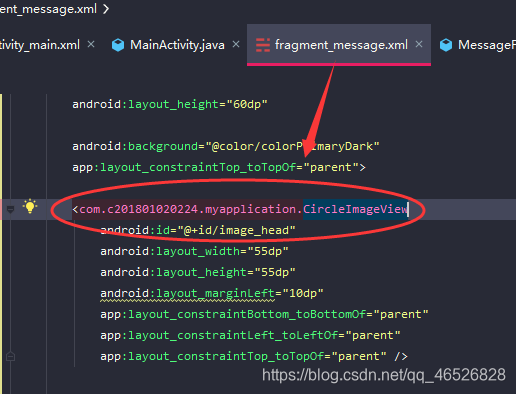
第二步,把原来fragment当中的imageview控件改为我们刚才导入的圆形控件
运行,设置成功

10.RecyclerView和Fragment整合
第一步,到fragment布局文件添加 recyclerview,没有下载的先到可视化界面点击下载,
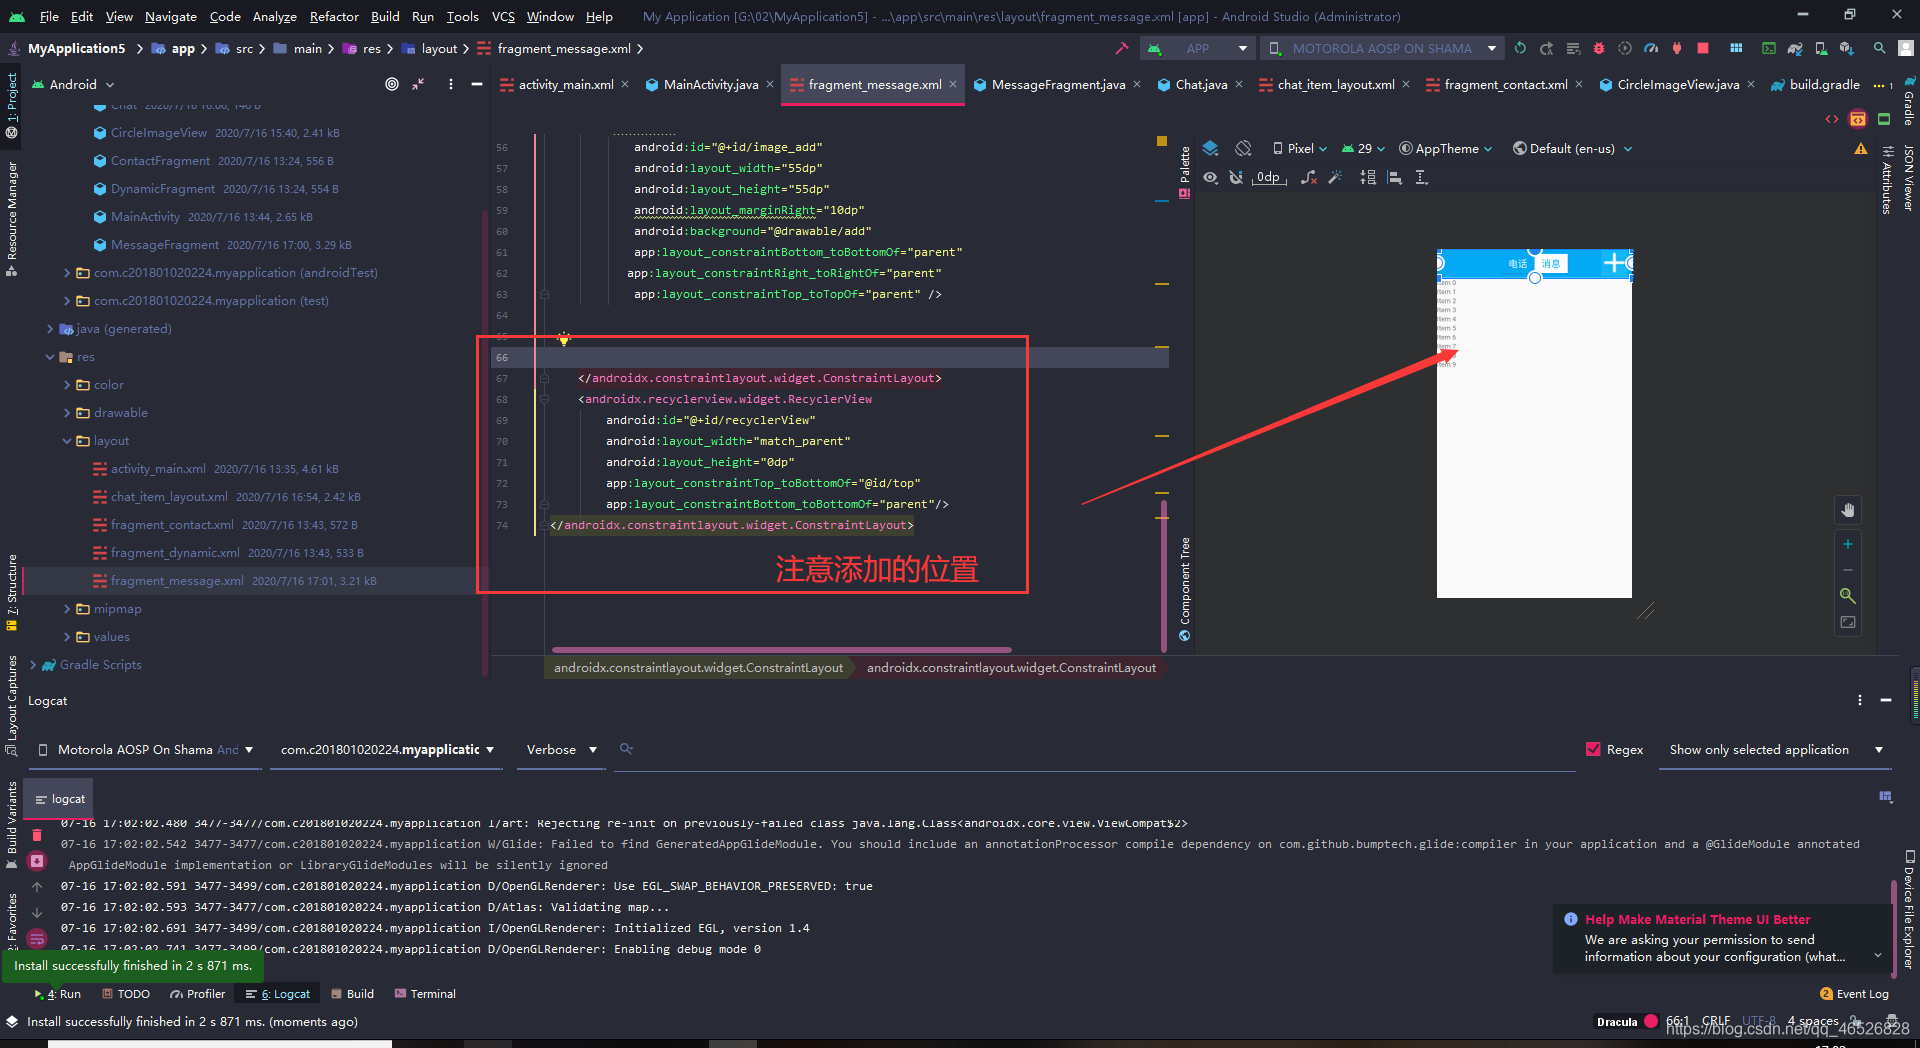
<androidx.recyclerview.widget.RecyclerView
    android:id="@+id/recyclerView"
    android:layout_width="match_parent"
    android:layout_height="0dp"
    app:layout_constraintTop_toBottomOf="@id/top"
    app:layout_constraintBottom_toBottomOf="parent"/>
第二步, 创建实体类Chat

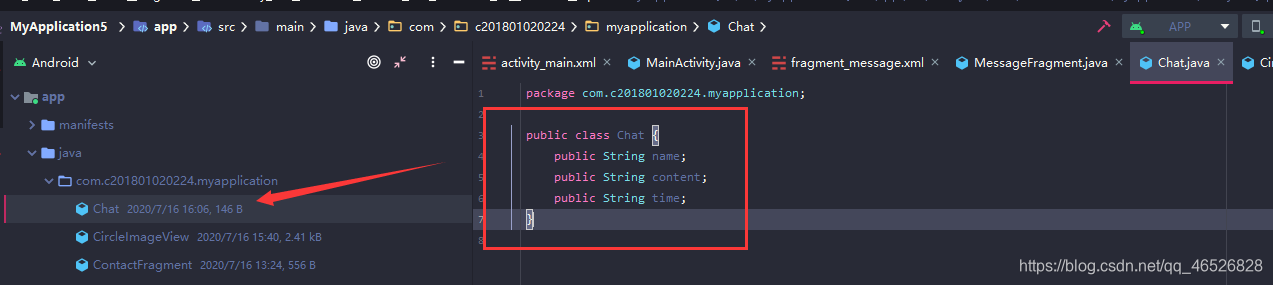
代码
public class Chat {
    public String name;
    public String content;
    public String time;
}
第三步,创建布局文件item
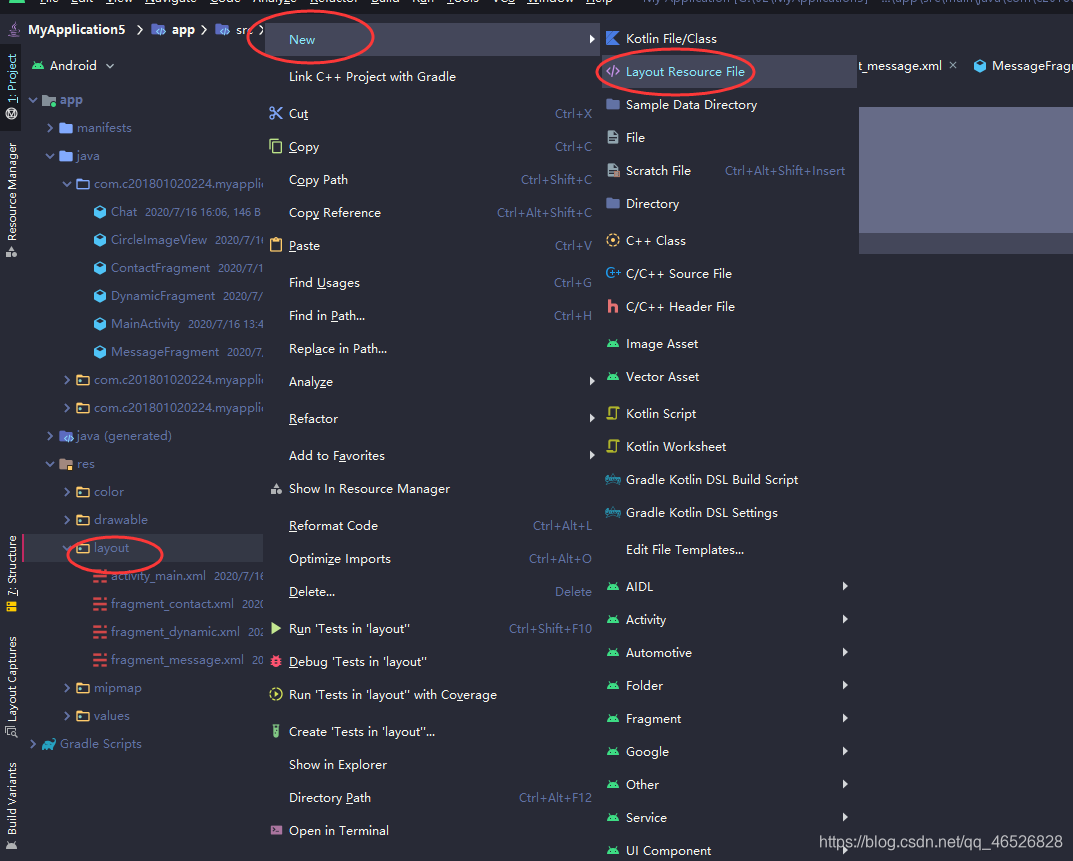
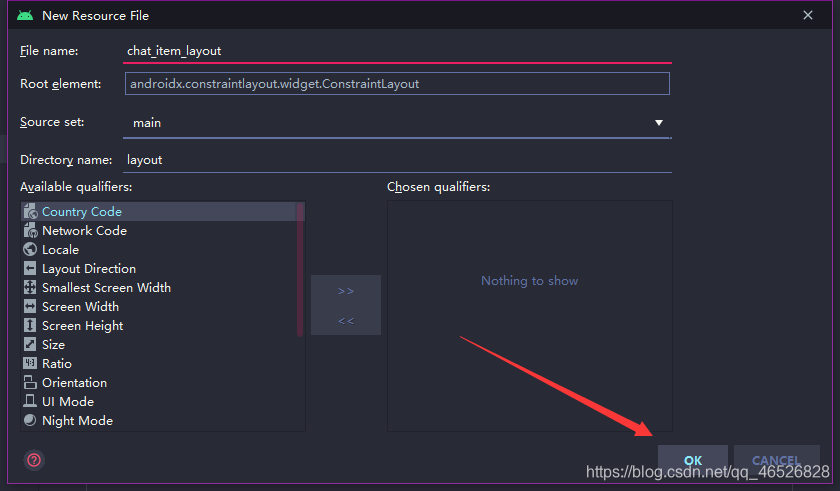
OK
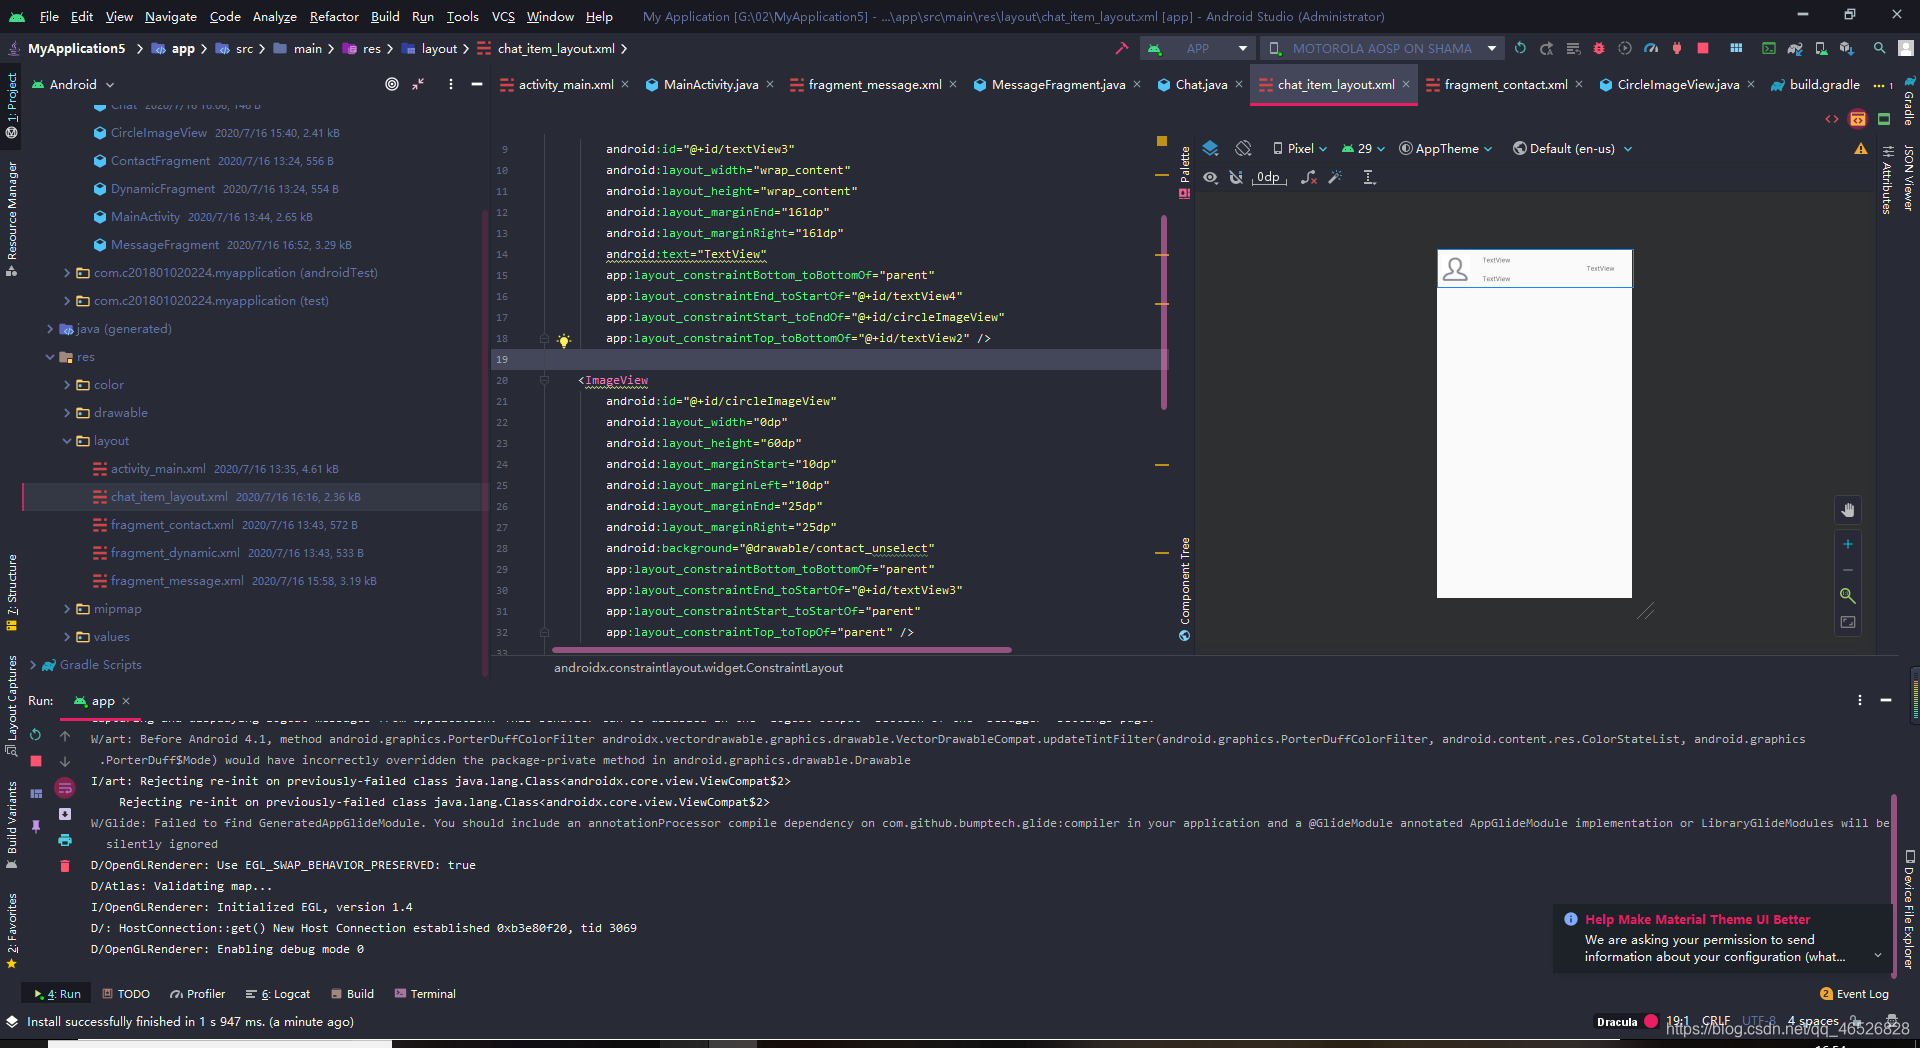
代码
<?xml version="1.0" encoding="utf-8"?>
<androidx.constraintlayout.widget.ConstraintLayout xmlns:android="http://schemas.android.com/apk/res/android"
    xmlns:app="http://schemas.android.com/apk/res-auto"
    xmlns:tools="http://schemas.android.com/tools"
    android:layout_width="match_parent"
    android:layout_height="80dp">

    <TextView
        android:id="@+id/textView3"
        android:layout_width="wrap_content"
        android:layout_height="wrap_content"
        android:layout_marginEnd="161dp"
        android:layout_marginRight="161dp"
        android:text="TextView"
        app:layout_constraintBottom_toBottomOf="parent"
        app:layout_constraintEnd_toStartOf="@+id/textView4"
        app:layout_constraintStart_toEndOf="@+id/circleImageView"
        app:layout_constraintTop_toBottomOf="@+id/textView2" />

    <ImageView
        android:id="@+id/circleImageView"
        android:layout_width="60dp"
        android:layout_height="60dp"
        android:layout_marginStart="10dp"
        android:layout_marginLeft="10dp"
        android:layout_marginEnd="25dp"
        android:layout_marginRight="25dp"
        android:background="@drawable/contact_unselect"
        app:layout_constraintBottom_toBottomOf="parent"
        app:layout_constraintEnd_toStartOf="@+id/textView3"
        app:layout_constraintStart_toStartOf="parent"
        app:layout_constraintTop_toTopOf="parent" />

    <TextView
        android:id="@+id/textView2"
        android:layout_width="wrap_content"
        android:layout_height="wrap_content"
        android:layout_marginTop="4dp"
        android:layout_marginBottom="11dp"
        android:text="TextView"
        app:layout_constraintBottom_toTopOf="@+id/textView3"
        app:layout_constraintStart_toStartOf="@+id/textView3"
        app:layout_constraintTop_toTopOf="parent" />

    <TextView
        android:id="@+id/textView4"
        android:layout_width="wrap_content"
        android:layout_height="wrap_content"
        android:layout_marginEnd="37dp"
        android:layout_marginRight="37dp"
        android:text="TextView"
        app:layout_constraintBottom_toBottomOf="parent"
        app:layout_constraintEnd_toEndOf="parent"
        app:layout_constraintStart_toEndOf="@+id/textView3"
        app:layout_constraintTop_toTopOf="parent" />

</androidx.constraintlayout.widget.ConstraintLayout>
第四步,创建List集合
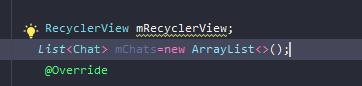
List<Chat> mChats=new ArrayList<>();
构造数据

for (int i=0;i<100;i++){

            Chat chat=new Chat();
            chat.name="name :"+i;
            chat.content="content :"+i;
            chat.time="time :"+i;
            mList.add(chat);

        }
第五步,编写RecyclerView的 Holder,然后重写构造方法,接着定义文本和实例化
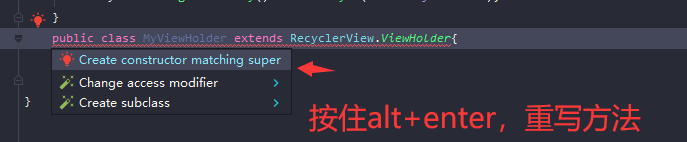
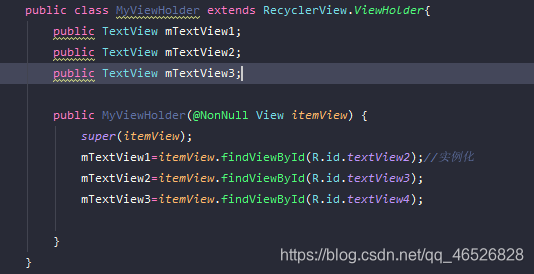
代码
  public class MyViewHolder extends RecyclerView.ViewHolder{
        public TextView mTextView1;
        public TextView mTextView2;
        public TextView mTextView3;

        public MyViewHolder(@NonNull View itemView) {
            super(itemView);
            mTextView1=itemView.findViewById(R.id.textView2);//实例化
            mTextView2=itemView.findViewById(R.id.textView3);
            mTextView3=itemView.findViewById(R.id.textView4);

        }
    }
第六步,创建Myadpter

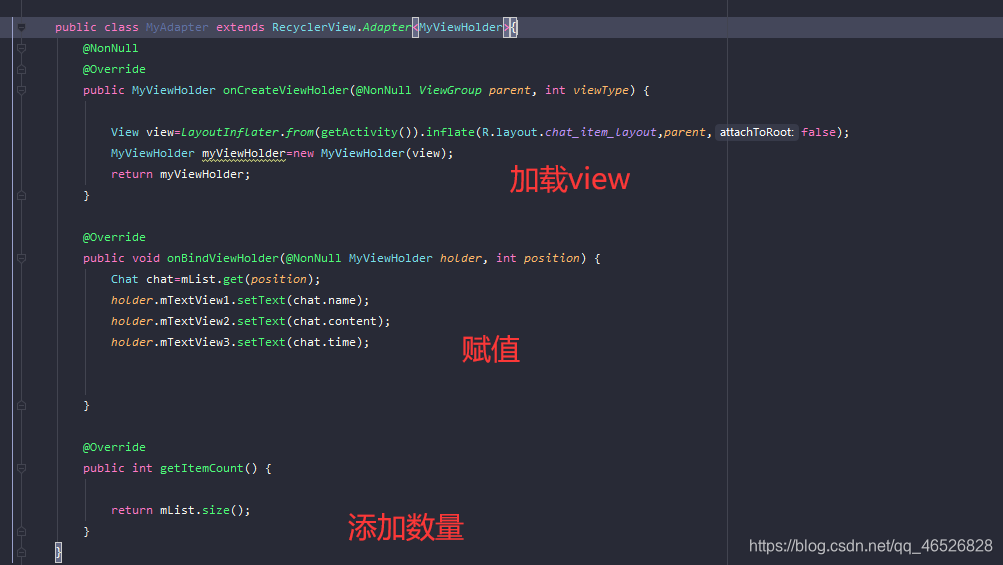
代码
 public class MyAdapter extends RecyclerView.Adapter<MyViewHolder>{
        @NonNull
        @Override
        public MyViewHolder onCreateViewHolder(@NonNull ViewGroup parent, int viewType) {

            View view=LayoutInflater.from(getActivity()).inflate(R.layout.chat_item_layout,parent,false);
            MyViewHolder myViewHolder=new MyViewHolder(view);
            return myViewHolder;
        }

        @Override
        public void onBindViewHolder(@NonNull MyViewHolder holder, int position) {
            Chat chat=mList.get(position);
            holder.mTextView1.setText(chat.name);
            holder.mTextView2.setText(chat.content);
            holder.mTextView3.setText(chat.time);


        }

        @Override
        public int getItemCount() {

            return mList.size();
        }
    }
第七步,

代码
        mRecyclerView=getActivity().findViewById(R.id.recyclerView);
        mRecyclerView.setAdapter(new MyAdapter());
        mRecyclerView.setLayoutManager(new LinearLayoutManager(getActivity()));
运行成功
11.列表下拉刷新
下拉刷新github地址
https://github.com/scwang90/SmartRefreshLayout
第一步,我们先导入依赖包
  implementation 'com.scwang.smartrefresh:SmartRefreshLayout:1.1.2' //1.0.5及以前版本的老用 户升级需谨慎,API改动过大
    implementation 'com.scwang.smartrefresh:SmartRefreshHeader:1.1.2'//没有使用特殊Header.可以不加这行
记得点击同步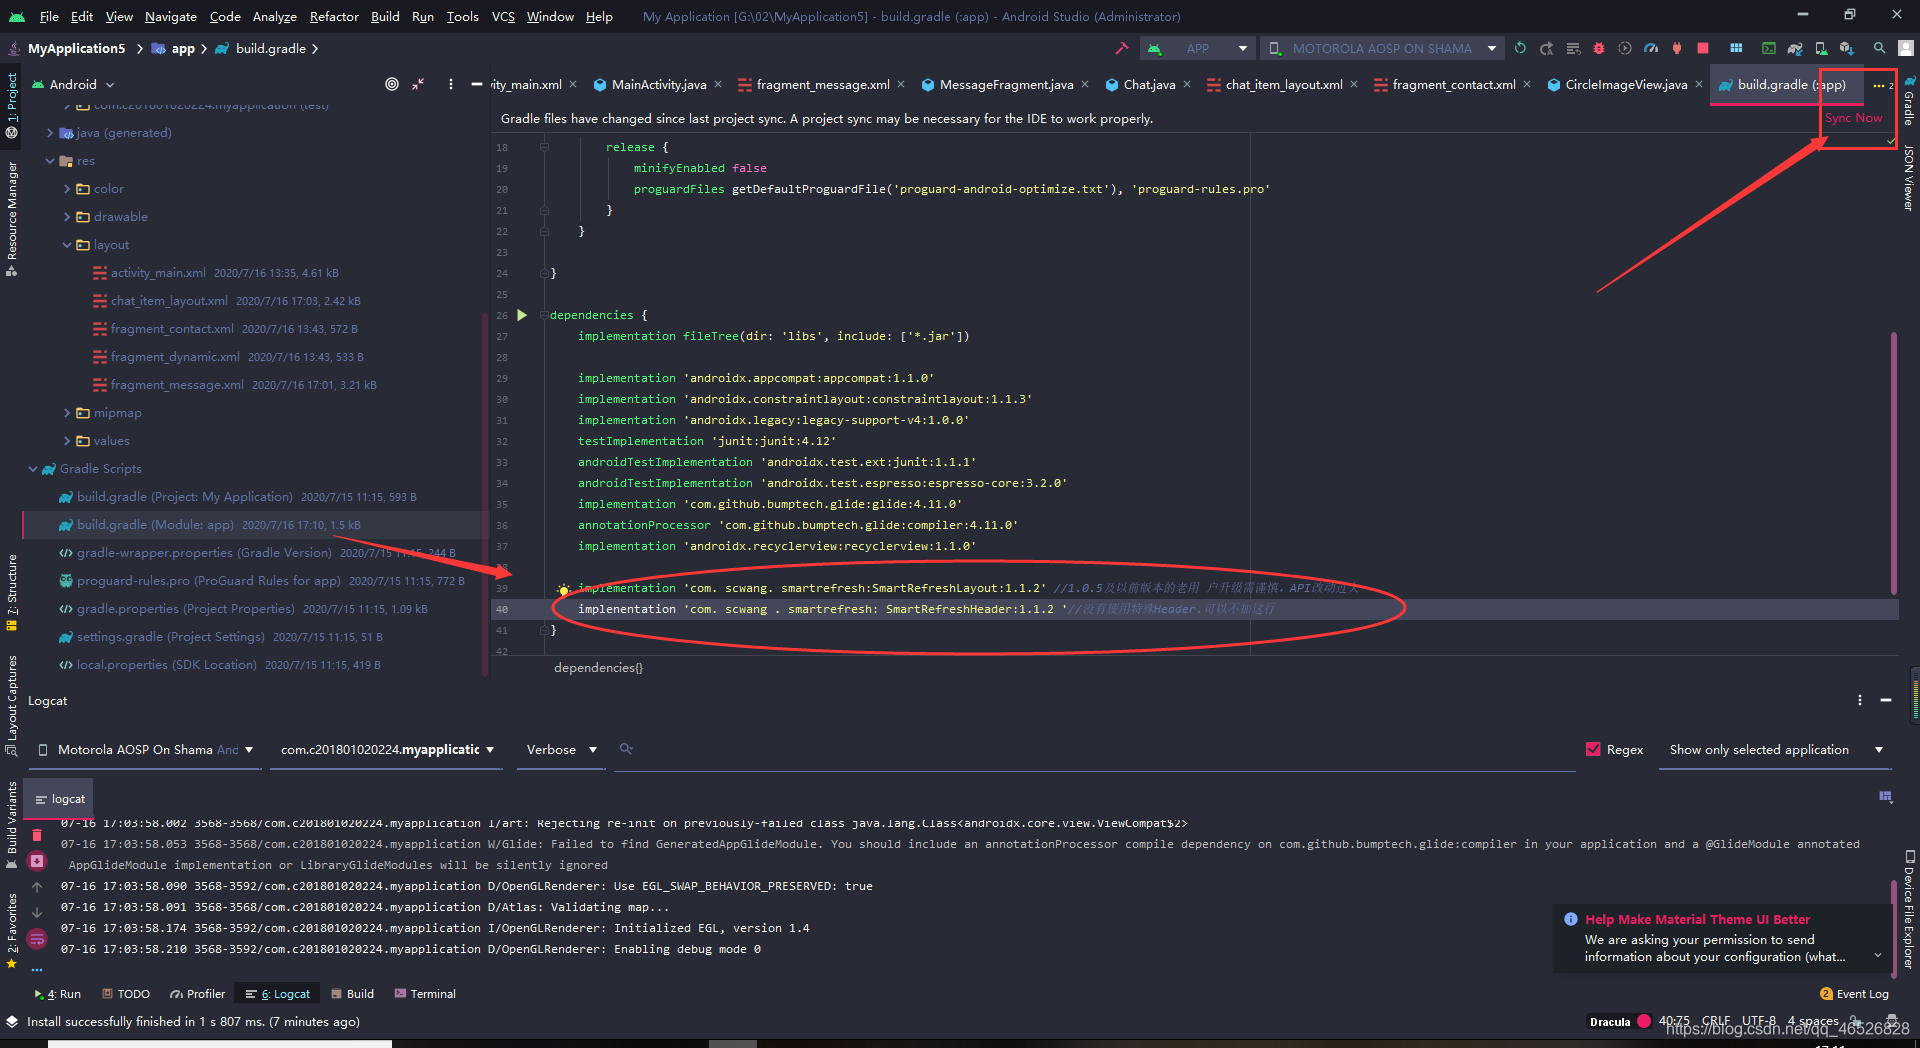
第二步,到message添加SmartRefreshLayout
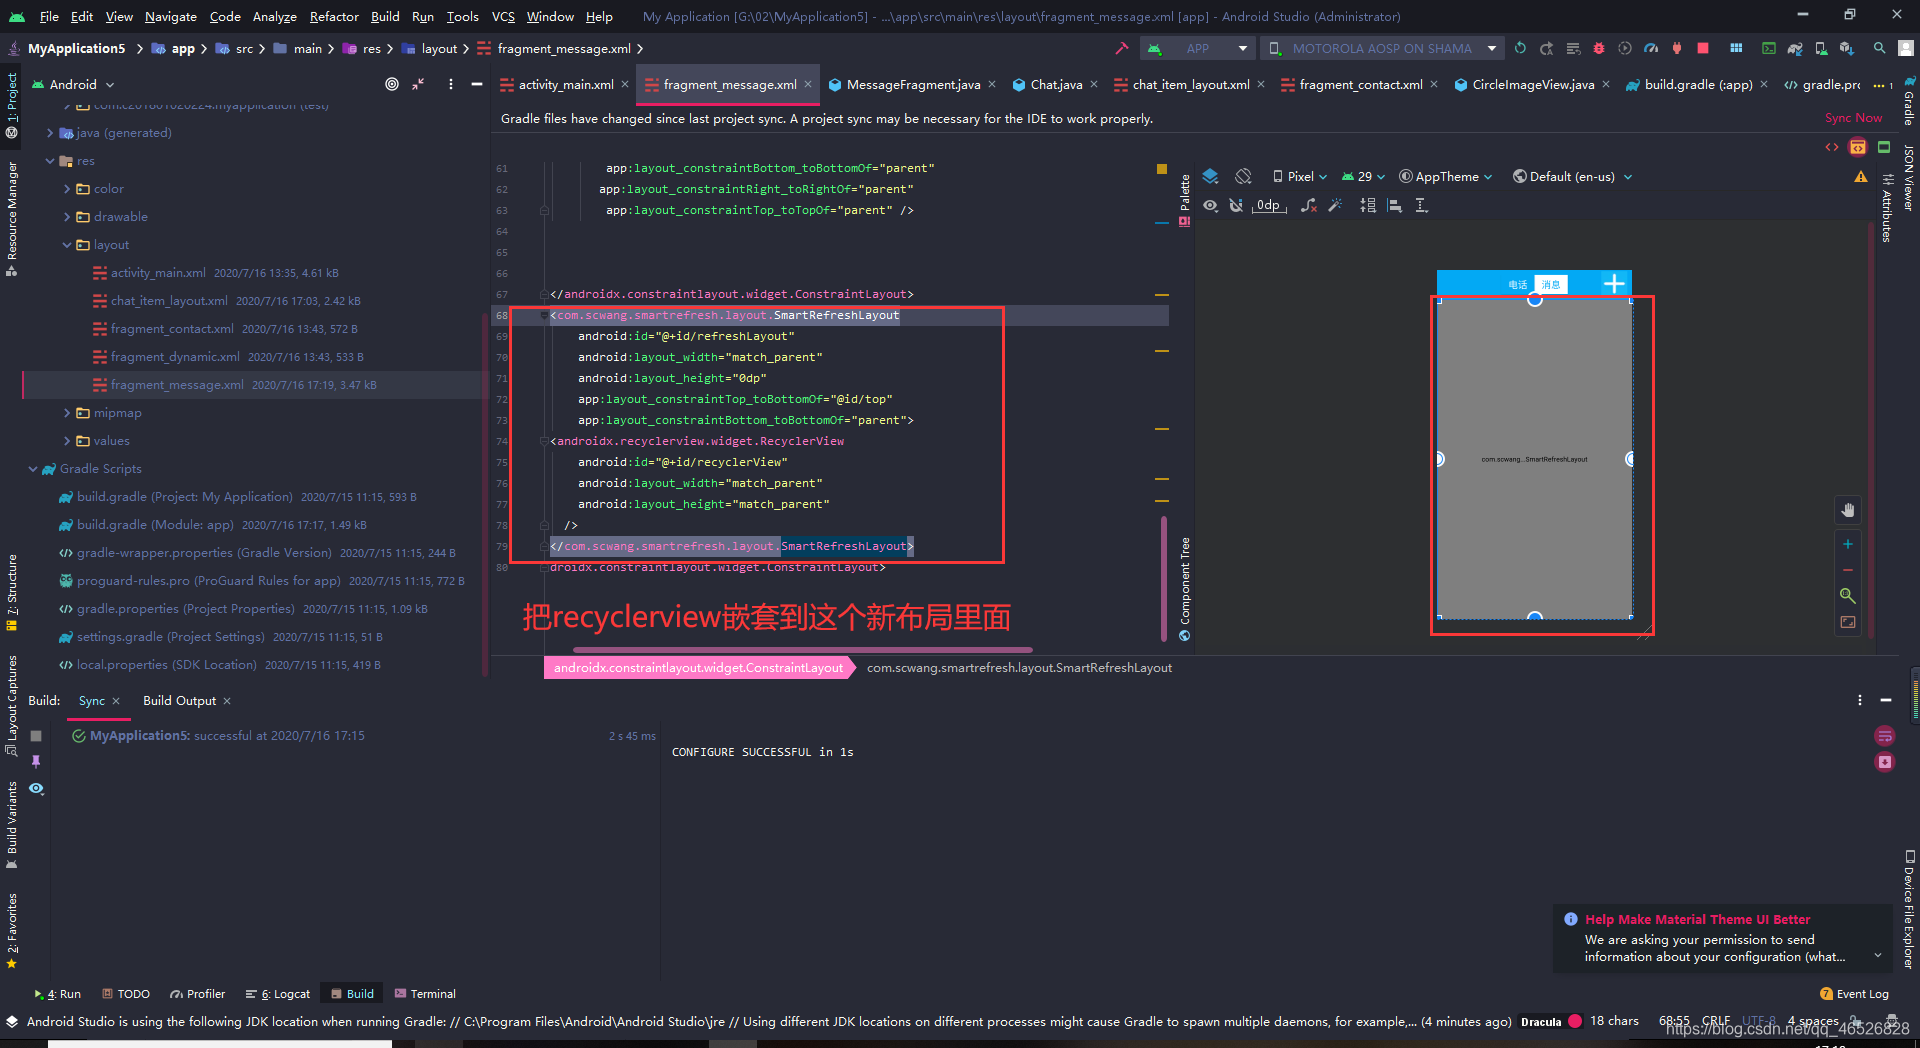
代码
    <com.scwang.smartrefresh.layout.SmartRefreshLayout
        android:id="@+id/refreshLayout"
        android:layout_width="match_parent"
        android:layout_height="0dp"
        app:layout_constraintTop_toBottomOf="@id/top"
        app:layout_constraintBottom_toBottomOf="parent">
    <androidx.recyclerview.widget.RecyclerView
        android:id="@+id/recyclerView"
        android:layout_width="match_parent"
        android:layout_height="match_parent"
      />
    </com.scwang.smartrefresh.layout.SmartRefreshLayout>
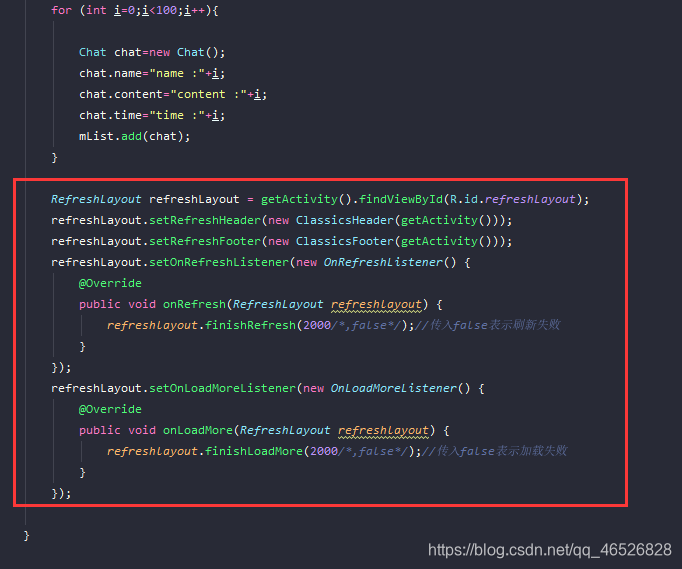
然后复制下拉刷新逻辑代码到fragment的onActivityCreated方法下,代码在之前的网站可以找到
RefreshLayout refreshLayout = (RefreshLayout)findViewById(R.id.refreshLayout);
refreshLayout.setRefreshHeader(new ClassicsHeader(this));
refreshLayout.setRefreshFooter(new ClassicsFooter(this));
refreshLayout.setOnRefreshListener(new OnRefreshListener() {
    @Override
    public void onRefresh(RefreshLayout refreshlayout) {
        refreshlayout.finishRefresh(2000/*,false*/);//传入false表示刷新失败
    }
});
refreshLayout.setOnLoadMoreListener(new OnLoadMoreListener() {
    @Override
    public void onLoadMore(RefreshLayout refreshlayout) {
        refreshlayout.finishLoadMore(2000/*,false*/);//传入false表示加载失败
    }
});
运行
这里我们可以发现,上拉没有刷新,是因为我们的数据还没有加载完
可以把条目数量改小一点
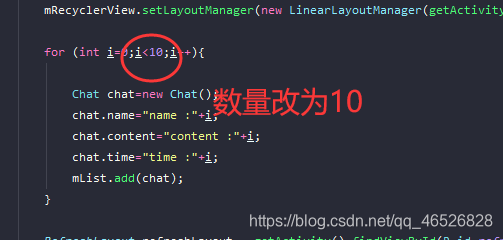
再运行ok
12.列表上拉加载新数据
第一步,先把myAdapter定义成全局的myAdapter
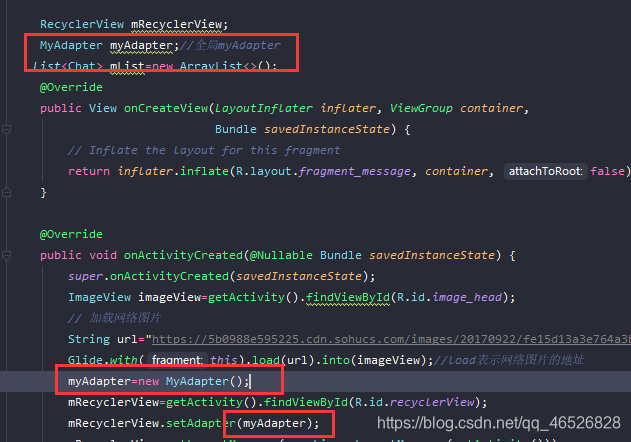
第二步,每次刷新,我们需要清除掉一次列表中的数据,然后再引入新的数据,下拉则需要加载新数据,不需要清除
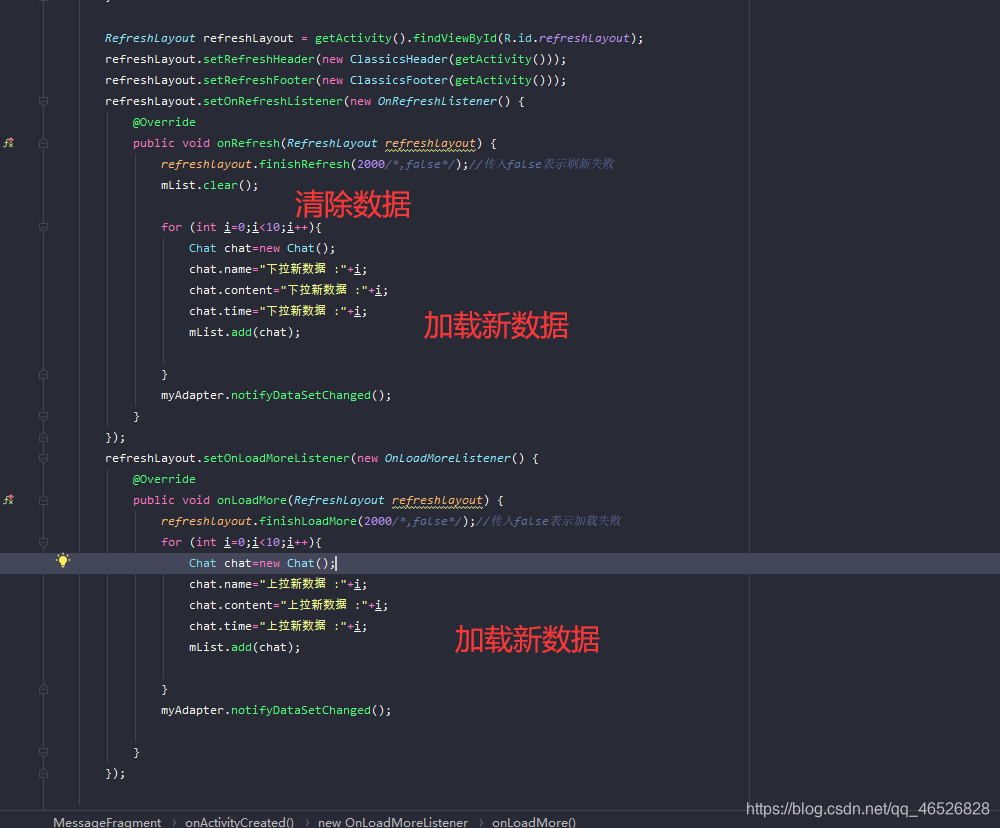
  for (int i=0;i<10;i++){
                    Chat chat=new Chat();
                    chat.name="下拉新数据 :"+i;
                    chat.content="下拉新数据 :"+i;
                    chat.time="下拉新数据 :"+i;
                    mList.add(chat);

                }
                myAdapter.notifyDataSetChanged();
运行
13.RecyclerView给item添加点击事件
第一步,先给item的父布局添加id

第二步,控件实例化

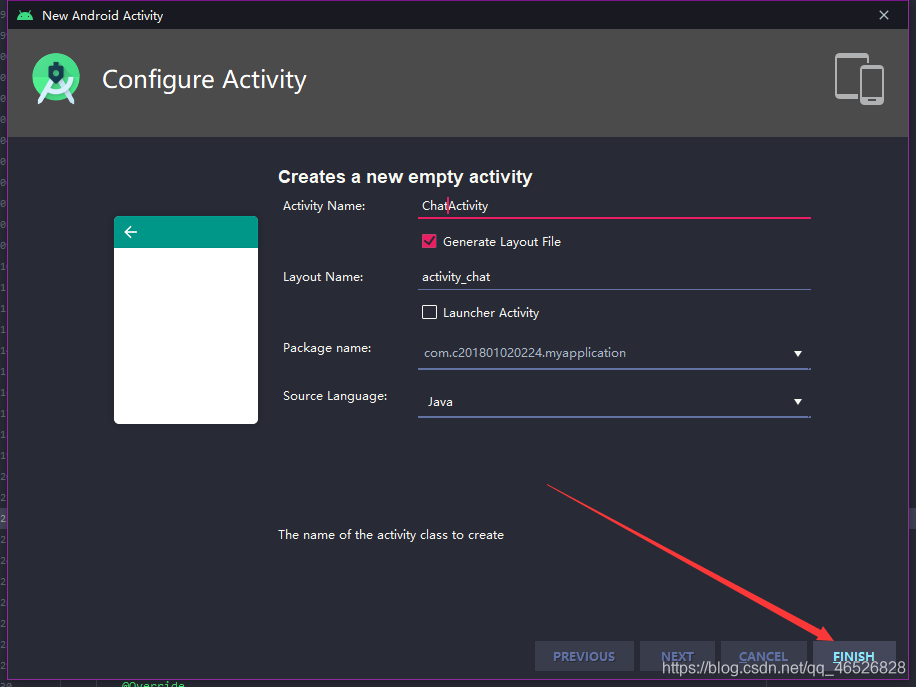
第三步,创建一个activity用于跳转
改下布局文件
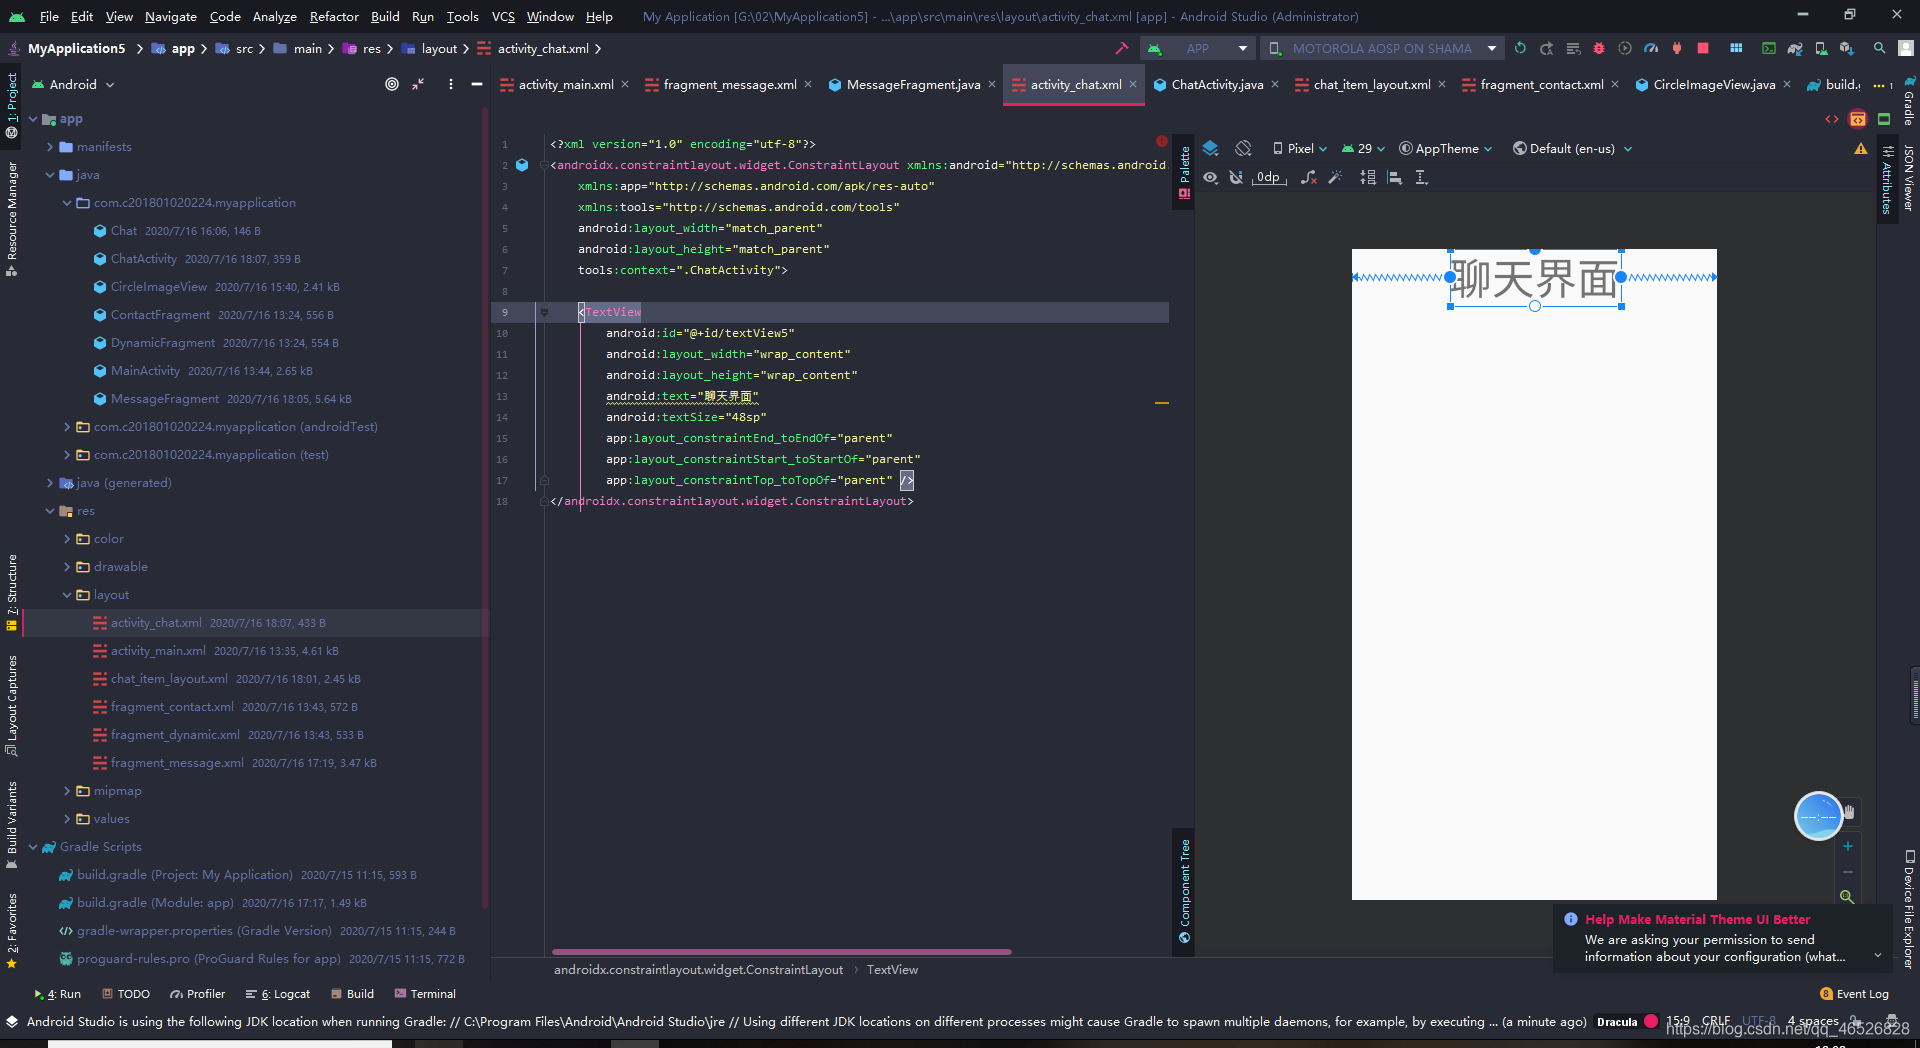
<?xml version="1.0" encoding="utf-8"?>
<androidx.constraintlayout.widget.ConstraintLayout xmlns:android="http://schemas.android.com/apk/res/android"
    xmlns:app="http://schemas.android.com/apk/res-auto"
    xmlns:tools="http://schemas.android.com/tools"
    android:layout_width="match_parent"
    android:layout_height="match_parent"
    tools:context=".ChatActivity">

    <TextView
        android:id="@+id/textView5"
        android:layout_width="wrap_content"
        android:layout_height="wrap_content"
        android:text="聊天界面"
        android:textSize="48sp"
        app:layout_constraintEnd_toEndOf="parent"
        app:layout_constraintStart_toStartOf="parent"
        app:layout_constraintTop_toTopOf="parent" />
</androidx.constraintlayout.widget.ConstraintLayout>
第四步,在holder里面设置点击事件
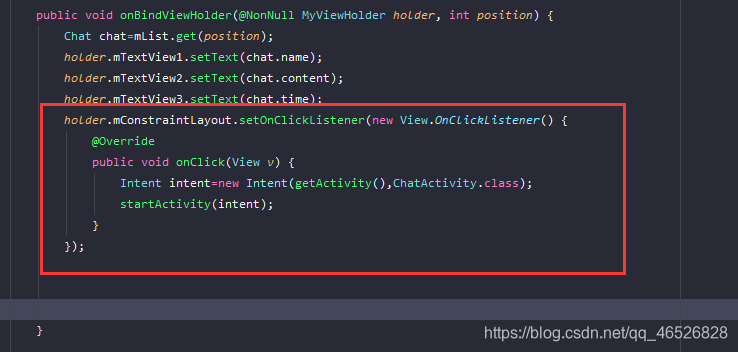
 holder.mConstraintLayout.setOnClickListener(new View.OnClickListener() {
                @Override
                public void onClick(View v) {
                    Intent intent=new Intent(getActivity(),ChatActivity.class);
                    startActivity(intent);
                }
            });
最后运行
14.源码(免费下载)
https://download.csdn.net/download/qq_46526828/12626160
本讲内容较多,小伙伴可以慢慢消化,用到了很多技术,也相当于复习了很多之前学到的知识,谢谢您的阅读,咱们下一讲见
Android 入门第六讲01-网络编程(网络访问概述,通过HTTP访问网络(创建线程的两种方法),网络获取多个值的方法)