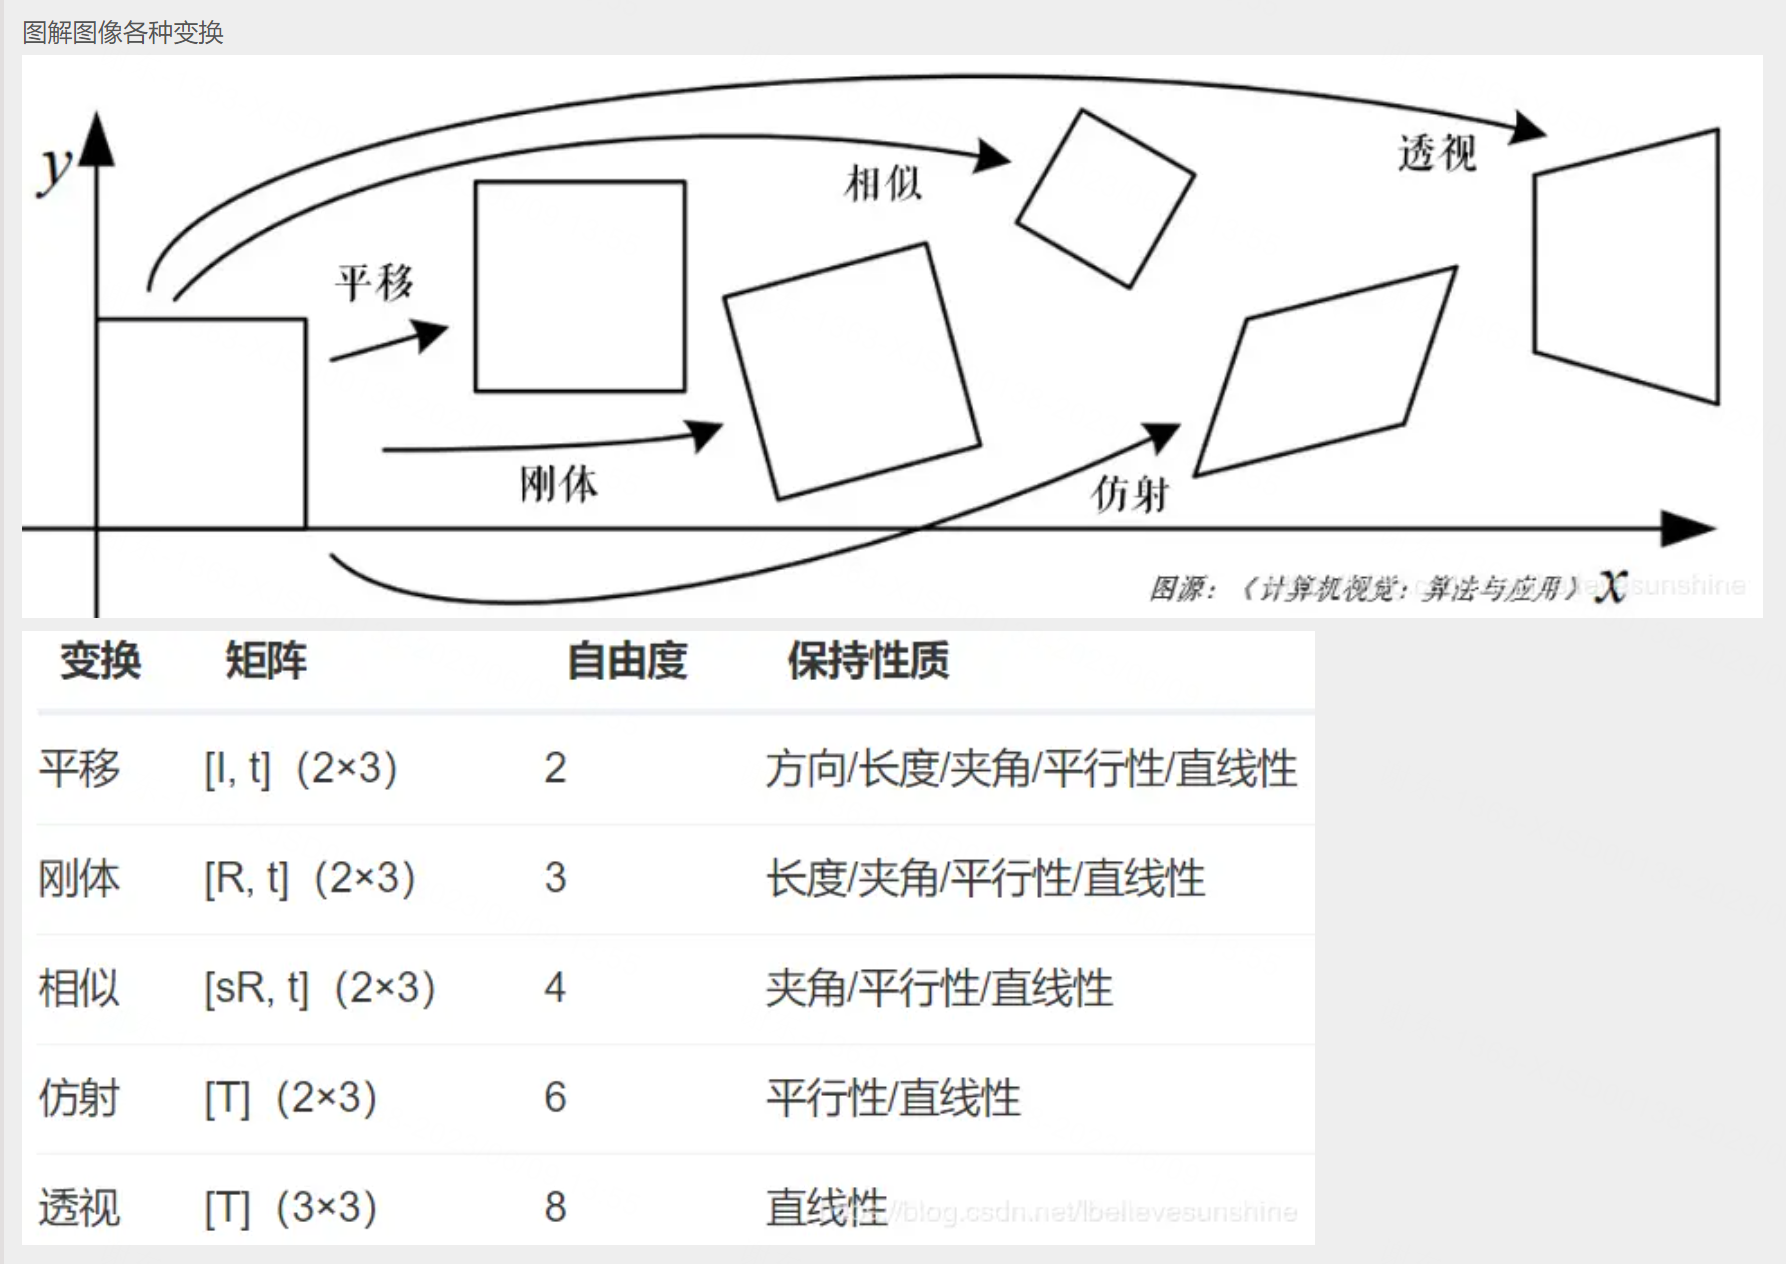
失真
刚性变换: 只有物体的位置(平移变换)和朝向(旋转变换)发生改变,而形状不变,得到的变换称为刚性变换。刚性变换是最一般的变换。
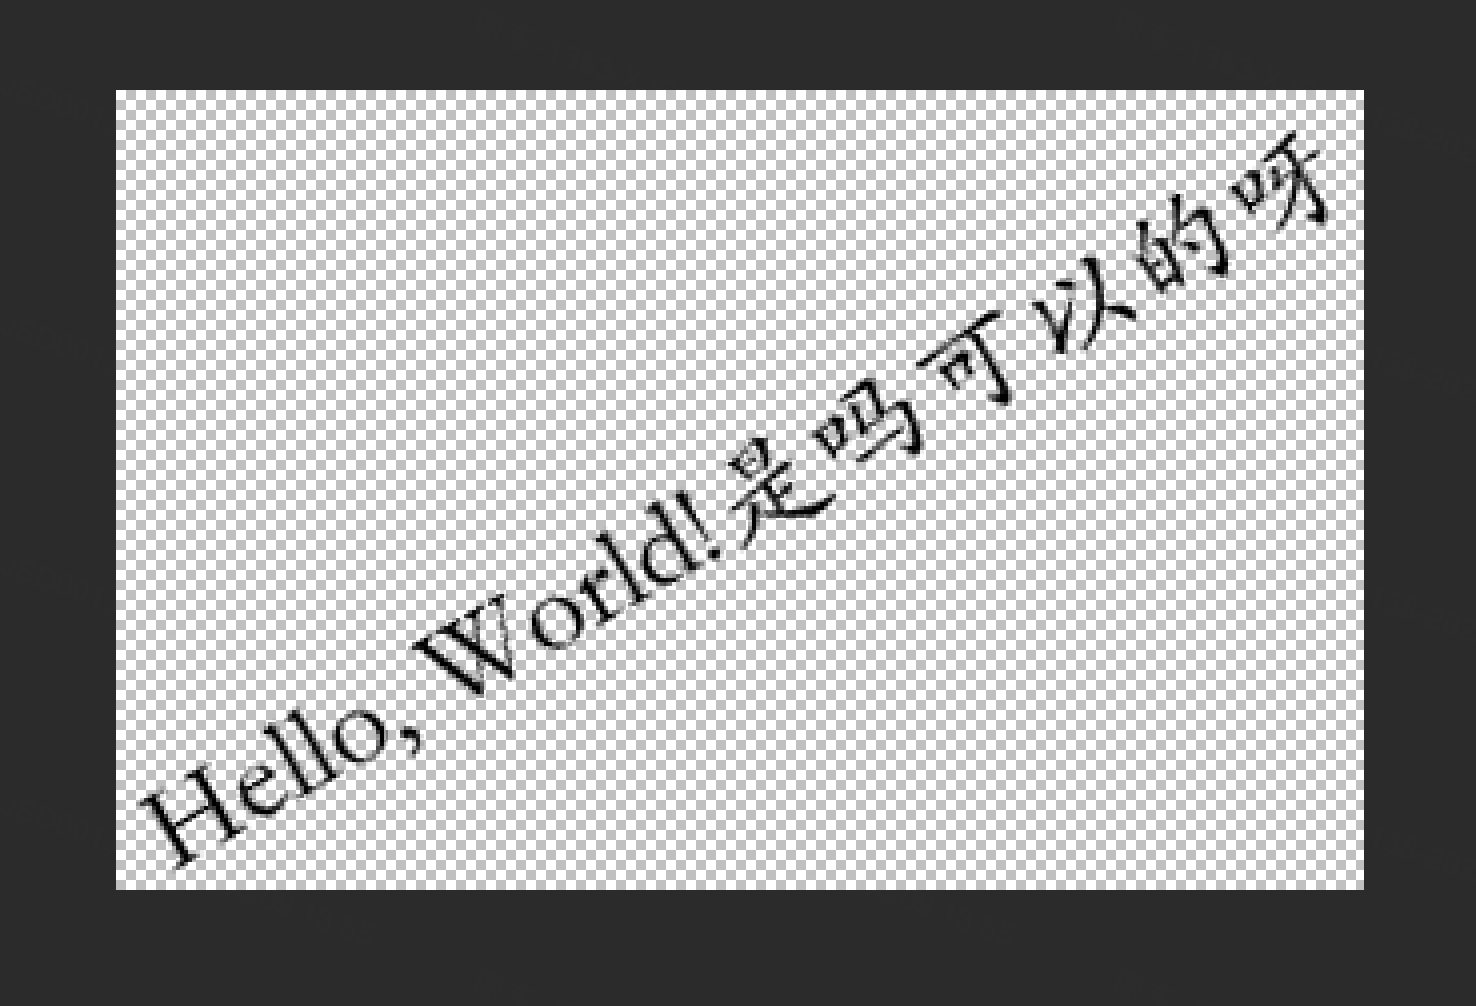
使用透视变换,文字会扭曲失真。刚性变换就不会。
一些介绍: https://blog.csdn.net/liuweiyuxiang/article/details/86510191
Pillow的实现
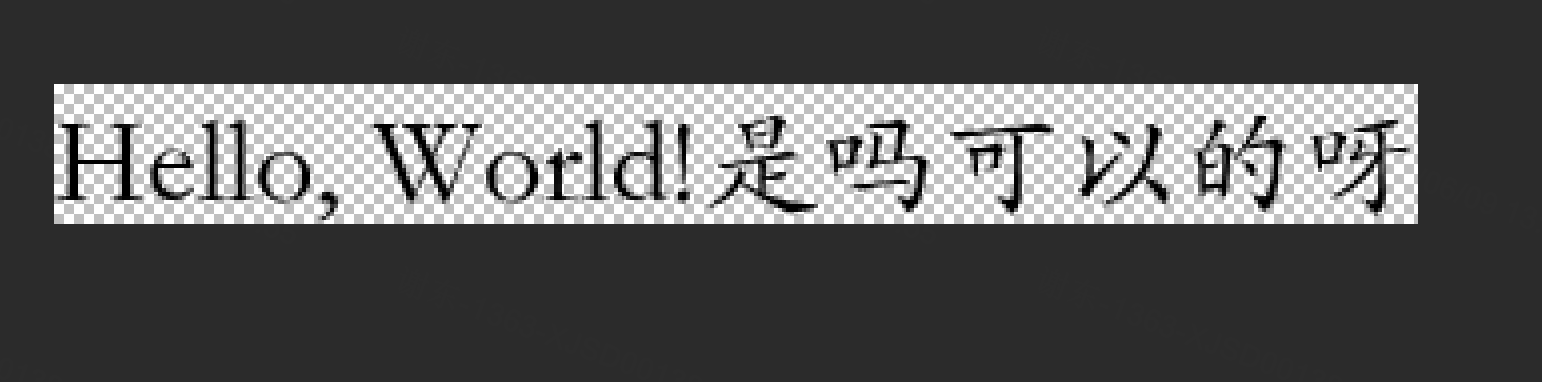
创建一张空图写文字:
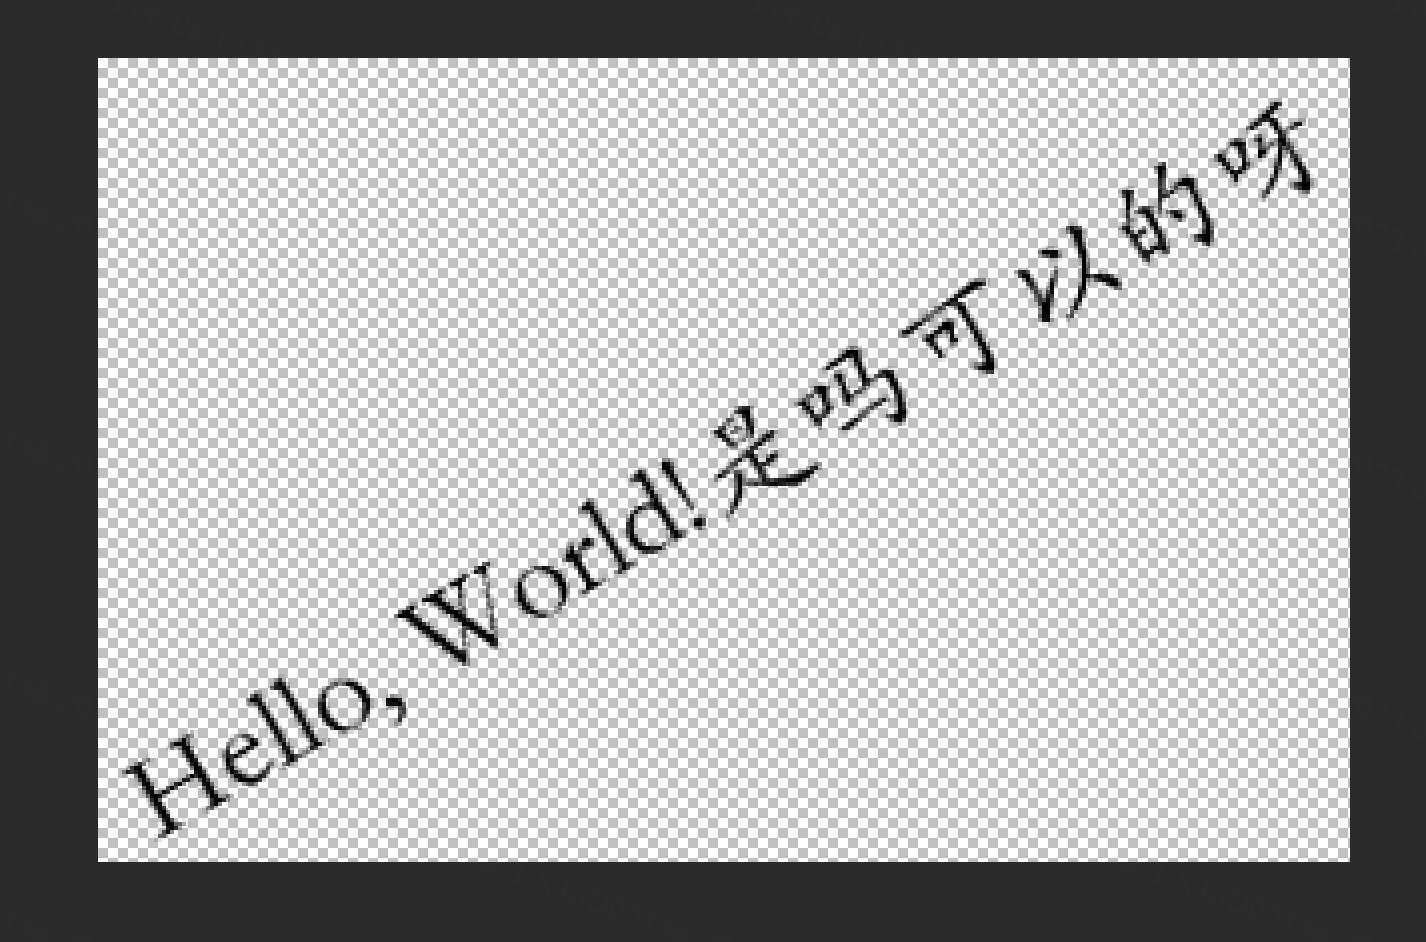
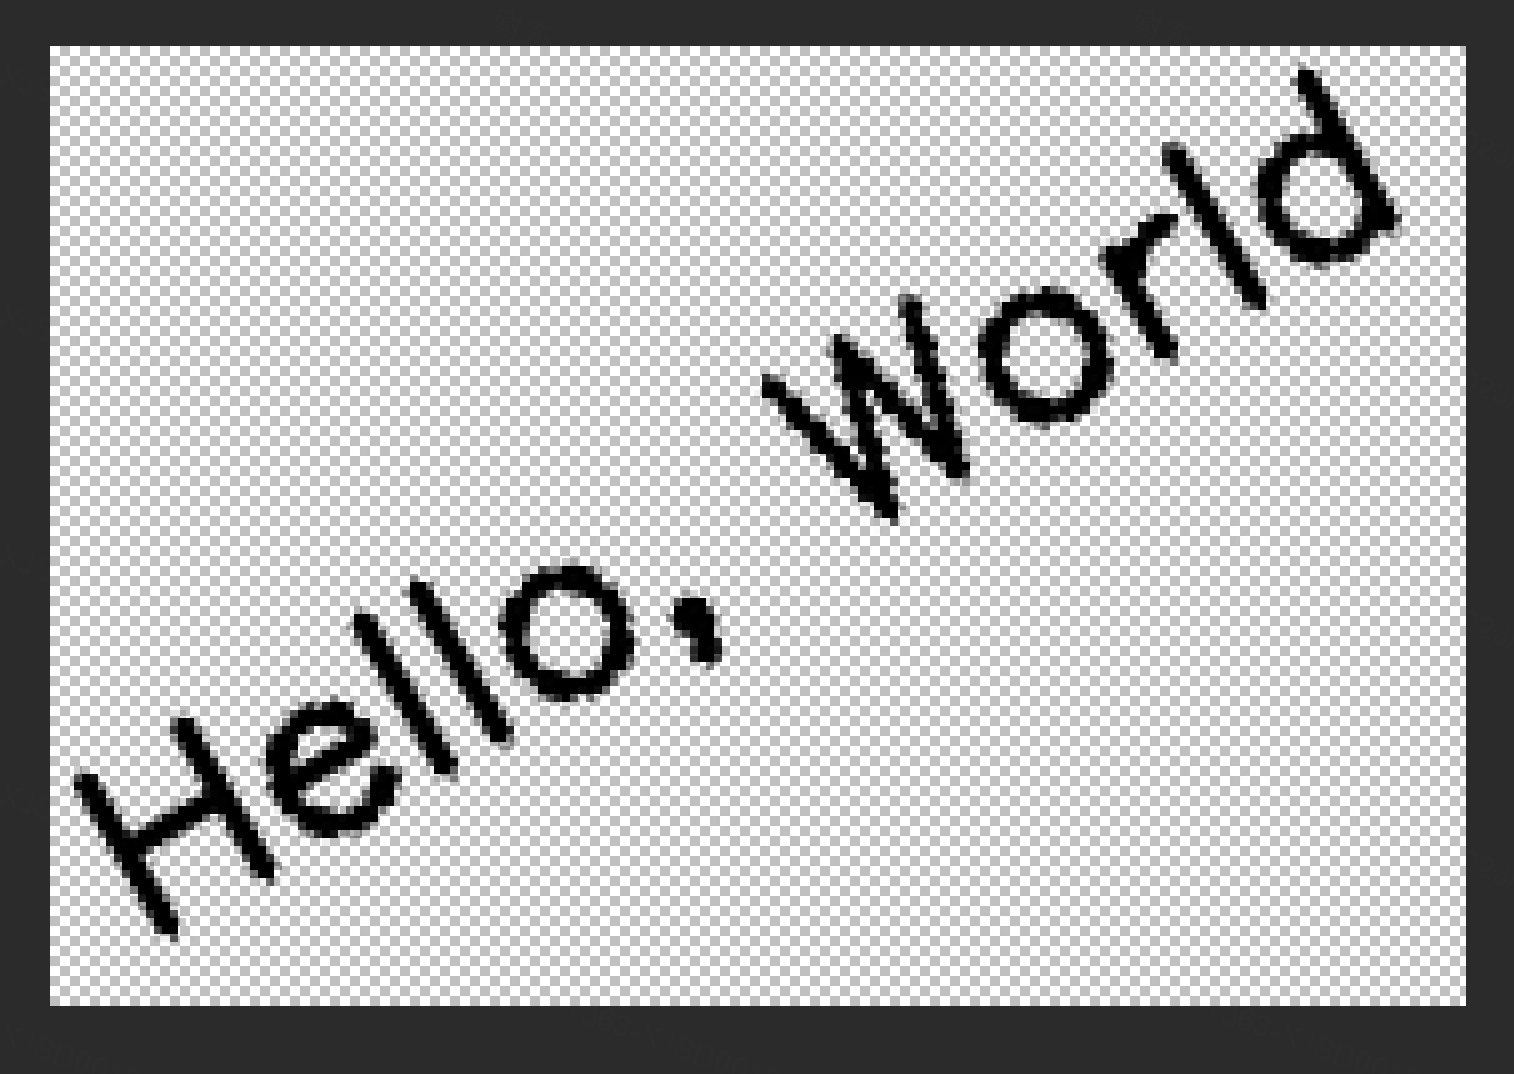
旋转了-30度:
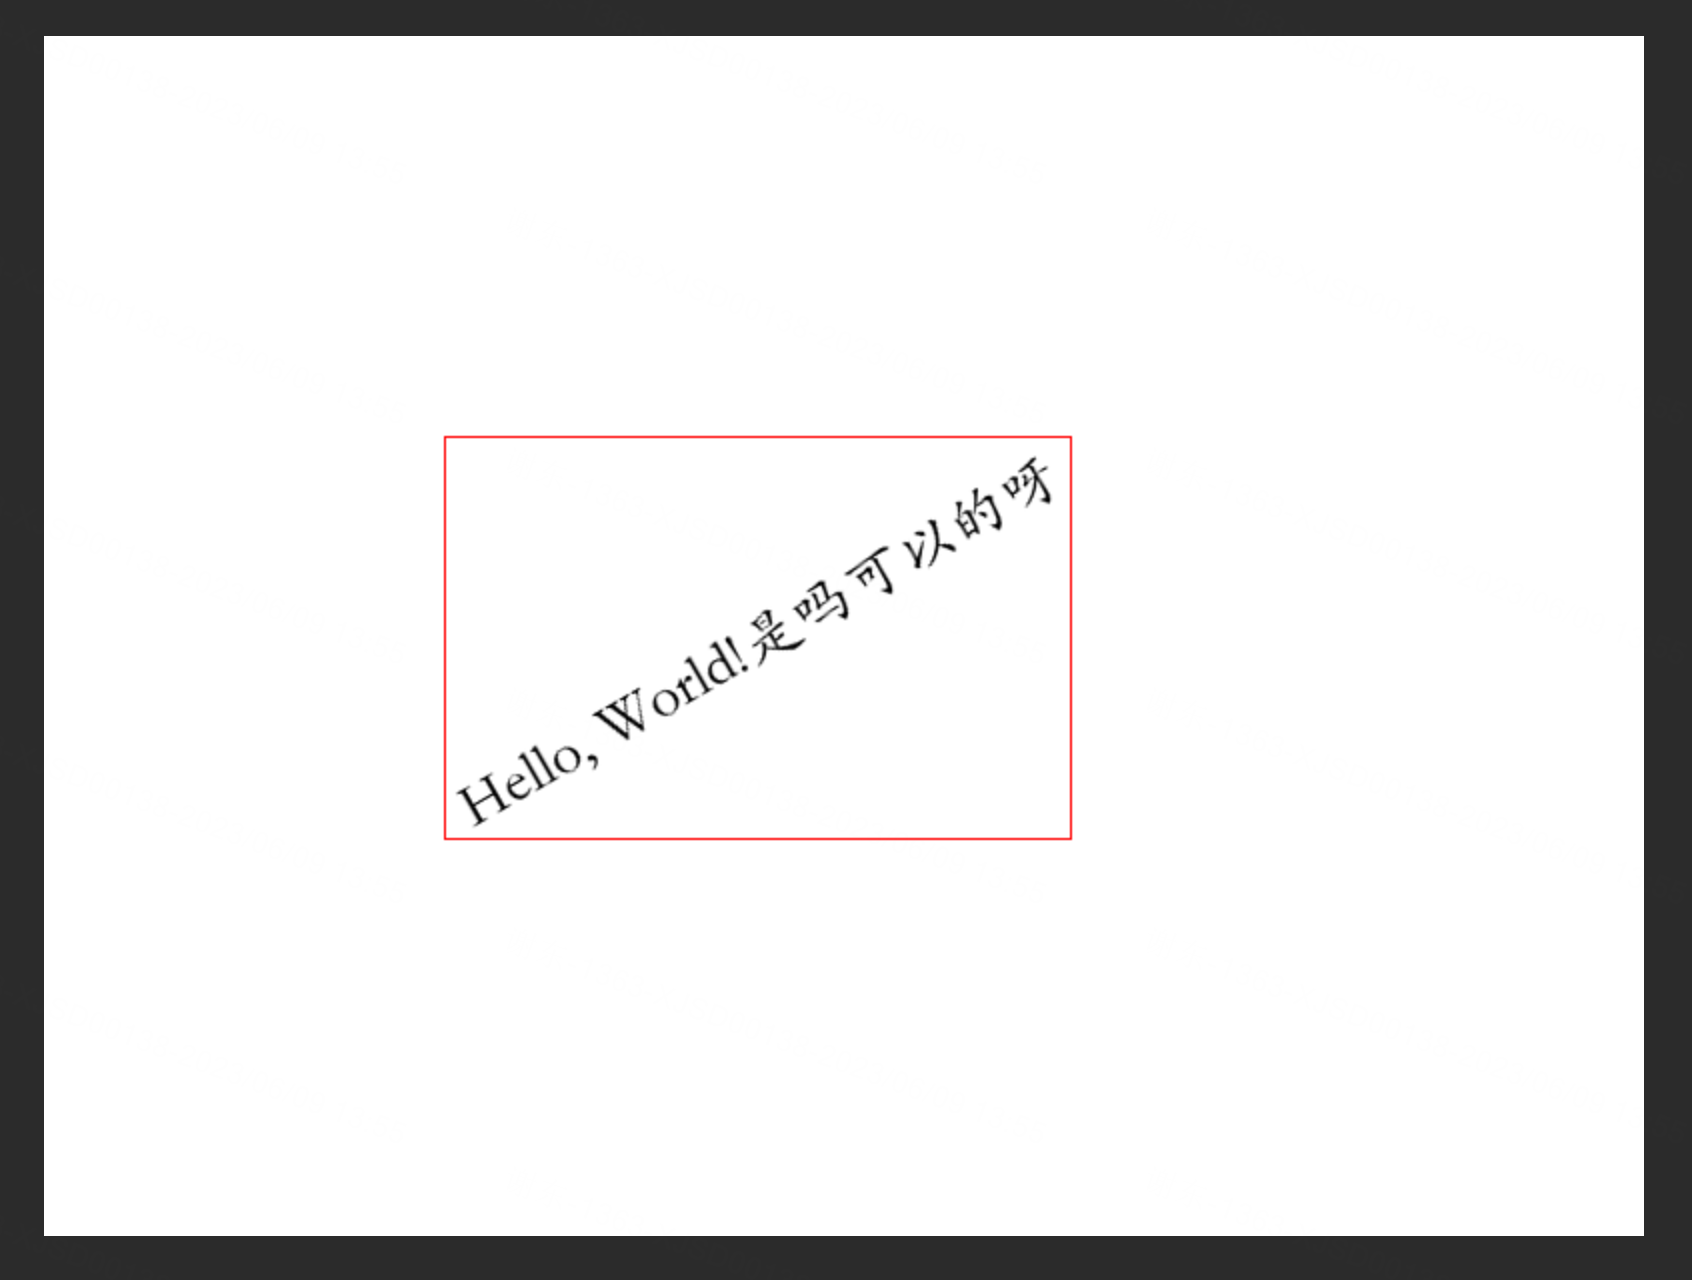
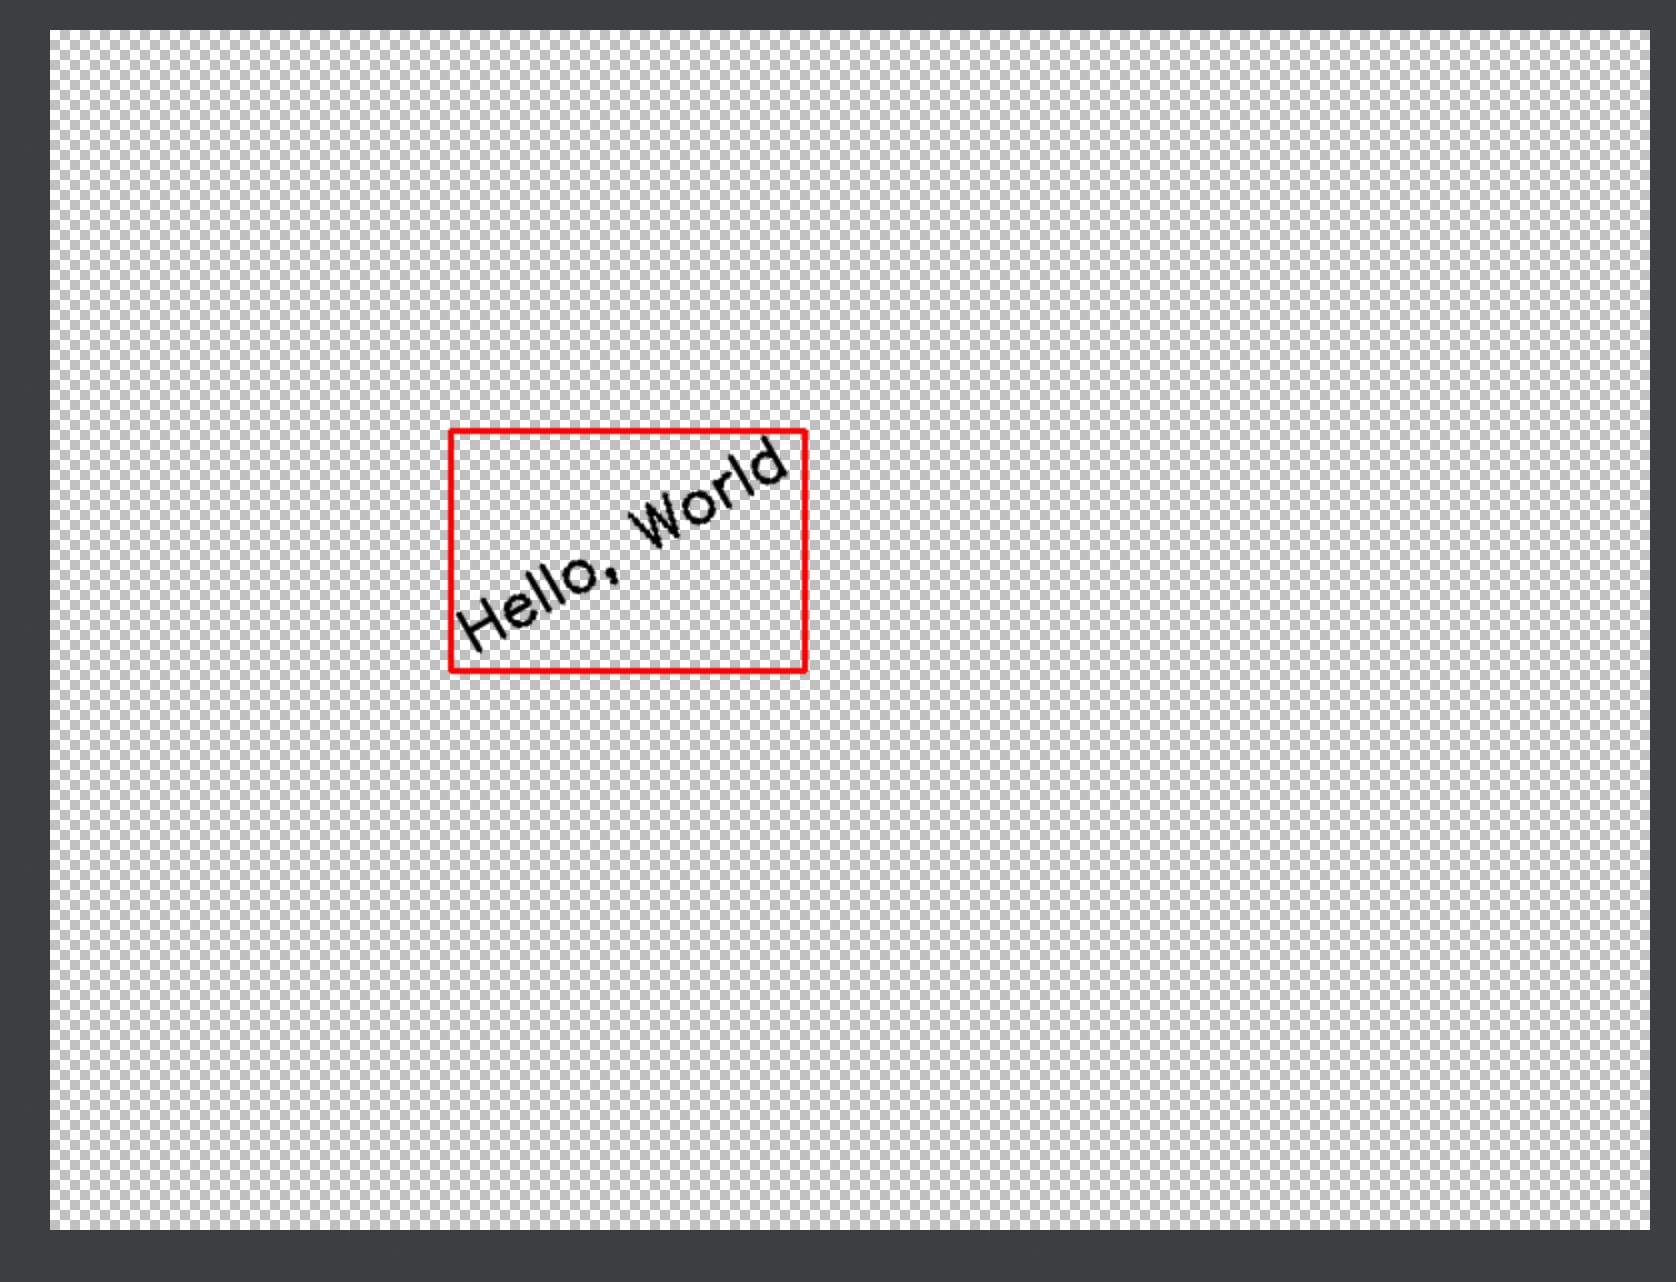
将RGBA图像paste到大图中。
Python代码:
from PIL import Image, ImageDraw, ImageFont


def draw_text_with_rotation(image, position, text, font_size, color, angle):
    draw = ImageDraw.Draw(image)
    font = ImageFont.truetype("STKAITI.TTF", font_size)
    width, height = draw.textsize(text, font=font)
    rotated_text = Image.new("RGBA", (width, height), (0, 0, 0, 0))
    text_draw = ImageDraw.Draw(rotated_text)
    text_draw.text((0, 0), text, font=font, fill=color)
    rotated_text.save("rotated_text1.png")
    rotated_text = rotated_text.rotate(-angle, resample=Image.BICUBIC, expand=True)
    rotated_text.save("rotated_text2.png")
    image.paste(rotated_text, position, rotated_text)
    rotated_text_width, rotated_text_height = rotated_text.size
    return rotated_text_width, rotated_text_height


# 创建一个空白图像
width, height = 800, 600
background_color = (255, 255, 255)  # 白色
image = Image.new("RGB", (width, height), background_color)

# 在大图中写入文本并旋转
text = "Hello, World!是吗可以的呀"
text_position = (200, 200)
text_font_size = 30
text_color = (0, 0, 0)  # 黑色
rotation_angle = -30

rotated_text_width, rotated_text_height = draw_text_with_rotation(image, text_position, text, text_font_size,
                                                                  text_color, rotation_angle)
# 画一个红色框框选上文字区域
draw = ImageDraw.Draw(image)
draw.rectangle((text_position[0], text_position[1], text_position[0] + rotated_text_width,
                text_position[1] + rotated_text_height), outline=(255, 0, 0))
# 保存图片
image.save("rotated_text3.png")
Opencv的实现
不裁剪的旋转图像
参考imutils得到:
import math

import cv2
import numpy as np

def rotate_bound2(image, angle):
    # grab the dimensions of the image and then determine the center
    # 抓取图像的尺寸,然后确定中心
    (h, w) = image.shape[:2]
    (cX, cY) = (w / 2, h / 2)
    # grab the rotation matrix (applying the negative of the angle to rotate clockwise), then grab the sine and cosine (i.e., the rotation components of the matrix)
    # 抓取旋转矩阵(应用角度的负数顺时针旋转),然后抓取正弦和余弦(即矩阵的旋转分量)
    M = cv2.getRotationMatrix2D((cX, cY), -angle, 1.0)
    cos = np.abs(M[0, 0])
    sin = np.abs(M[0, 1])
    # compute the new bounding dimensions of the image
    # 计算图像的新边界尺寸
    nW = int((h * sin) + (w * cos))
    nH = int((h * cos) + (w * sin))
    # adjust the rotation matrix to take into account translation
    # 调整旋转矩阵以考虑平移
    M[0, 2] += (nW / 2) - cX
    M[1, 2] += (nH / 2) - cY
    # perform the actual rotation and return the image
    # 执行实际旋转并返回图像
    return cv2.warpAffine(image, M, (nW, nH), flags=cv2.INTER_CUBIC)


def rotate_image(image, angle):
    angle = angle % 360.0
    if angle == 0:
        return image.copy()
    if angle == 180:
        return cv2.rotate(image, cv2.ROTATE_180)
    if angle == 90:
        return cv2.rotate(image, cv2.ROTATE_90_CLOCKWISE)
    if angle == 270:
        return cv2.rotate(image, cv2.ROTATE_90_COUNTERCLOCKWISE)
    return rotate_bound2(image, angle)


# 读取RGBA
image = cv2.imread('rotated_text1.png', cv2.IMREAD_UNCHANGED)

# 对图像进行旋转并扩展
rotated_image = rotate_image(image, 45)

# SAVE
cv2.imwrite("rotated_text1_rotated.png", rotated_image)
旋转文字并贴图
import math

import cv2
import numpy as np


def rotate_bound2(image, angle):
    # grab the dimensions of the image and then determine the center
    # 抓取图像的尺寸,然后确定中心
    (h, w) = image.shape[:2]
    (cX, cY) = (w / 2, h / 2)
    # grab the rotation matrix (applying the negative of the angle to rotate clockwise), then grab the sine and cosine (i.e., the rotation components of the matrix)
    # 抓取旋转矩阵(应用角度的负数顺时针旋转),然后抓取正弦和余弦(即矩阵的旋转分量)
    M = cv2.getRotationMatrix2D((cX, cY), -angle, 1.0)
    cos = np.abs(M[0, 0])
    sin = np.abs(M[0, 1])
    # compute the new bounding dimensions of the image
    # 计算图像的新边界尺寸
    nW = int((h * sin) + (w * cos))
    nH = int((h * cos) + (w * sin))
    # adjust the rotation matrix to take into account translation
    # 调整旋转矩阵以考虑平移
    M[0, 2] += (nW / 2) - cX
    M[1, 2] += (nH / 2) - cY
    # perform the actual rotation and return the image
    # 执行实际旋转并返回图像
    return cv2.warpAffine(image, M, (nW, nH), flags=cv2.INTER_CUBIC)


def rotate_image(image, angle):
    angle = angle % 360.0
    if angle == 0:
        return image.copy()
    if angle == 180:
        return cv2.rotate(image, cv2.ROTATE_180)
    if angle == 90:
        return cv2.rotate(image, cv2.ROTATE_90_CLOCKWISE)
    if angle == 270:
        return cv2.rotate(image, cv2.ROTATE_90_COUNTERCLOCKWISE)
    return rotate_bound2(image, angle)


def draw_text_with_rotation(image, position, text, font_size, color, angle):
    # 定义字体样式
    font = cv2.FONT_HERSHEY_SIMPLEX
    thickness = 2
    # 获取文字的宽度和高度
    text_size, baseline = cv2.getTextSize(text, font, font_size, thickness)
    print(text_size, baseline)
    text_width, text_height = text_size

    # 灰度图上白纸黑字
    text_image = np.zeros((text_height + baseline, text_width, 1), np.uint8)
    cv2.putText(text_image, text, (0, text_height), font, font_size, (255,), thickness)  # top-left corner.
    # 灰度图给到透明通道上
    text_image2 = np.zeros((text_height + baseline, text_width, 4), np.uint8)
    text_image2[:, :, 3] = text_image[:, :, 0]
    text_image = text_image2

    cv2.imwrite("self1.png", text_image)
    rotated_text = rotate_image(text_image, angle)
    cv2.imwrite("self2.png", rotated_text)
    rotated_text_height, rotated_text_width = rotated_text.shape[:2]
    image[position[0]:position[0] + rotated_text_height, position[1]:position[1] + rotated_text_width] = rotated_text
    return rotated_text_width, rotated_text_height


# 创建一个空白图像
width, height = 800, 600
image = np.zeros((height, width, 4), np.uint8)

# 在大图中写入文本并旋转
text = "Hello, World"
text_position = (200, 200)
text_font_size = 1
text_color = (255, 255, 255)  # 黑色
rotation_angle = -30

rotated_text_width, rotated_text_height = draw_text_with_rotation(image, text_position, text, text_font_size,
                                                                  text_color, rotation_angle)
# 画一个红色框框选上文字区域
cv2.rectangle(image, (text_position[0], text_position[1]),
              (text_position[0] + rotated_text_width, text_position[1] + rotated_text_height), (0, 0, 255, 255), 2)
# 保存图片
cv2.imwrite("self3.png", image)
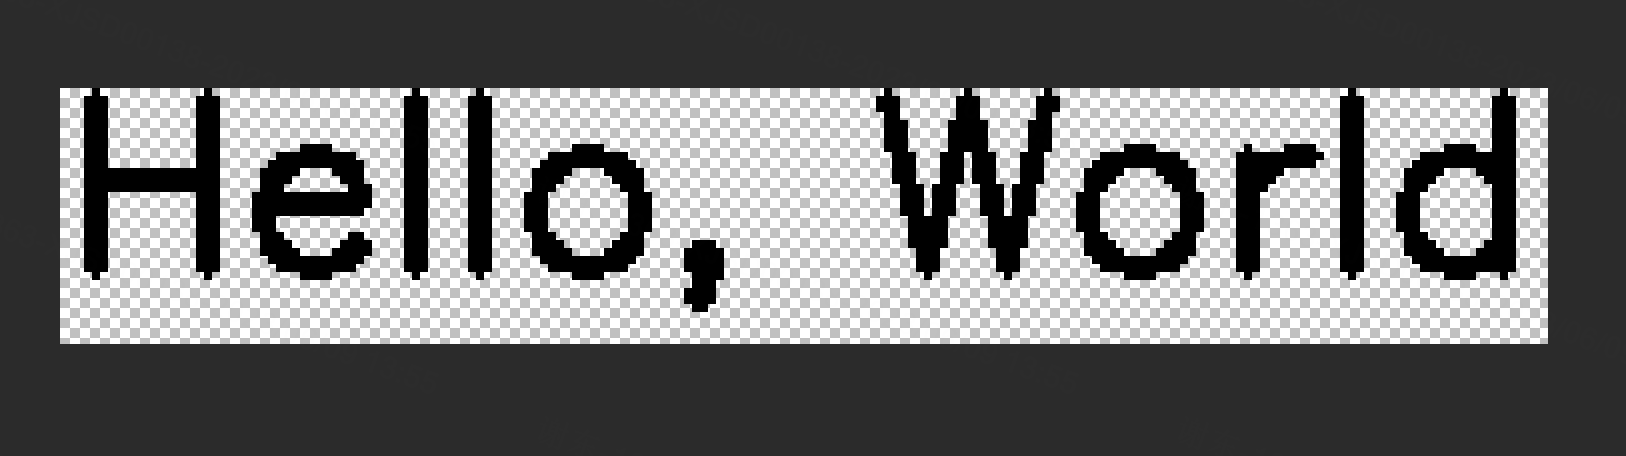
文字图:
旋转后:
扫描二维码关注公众号,回复:
15541716 查看本文章

贴图:
C++的图片透视变换
        // textImgMask的四个顶点
        std::vector<cv::Point> ptsSrc;
        ptsSrc.emplace_back(0, 0);
        ptsSrc.emplace_back(textImgMask.cols, 0);
        ptsSrc.emplace_back(textImgMask.cols, textImgMask.rows);
        ptsSrc.emplace_back(0, textImgMask.rows);
        // ptsImgText的四个顶点
        std::vector<cv::Point> ptsDst;
        ptsDst.emplace_back(ptsImgText[0]);
        ptsDst.emplace_back(ptsImgText[1]);
        ptsDst.emplace_back(ptsImgText[2]);
        ptsDst.emplace_back(ptsImgText[3]);
        // 计算透视变换矩阵
        cv::Mat homography = cv::findHomography(ptsSrc, ptsDst);
        // 透视变换到imgOutTmp
        cv::Mat imgOutTmp = cv::Mat::zeros(img.size(), CV_8UC3);
        cv::warpPerspective(textImgMask, imgOutTmp, homography, img.size());

        // 转到原图
        cv::Mat gray;
        cv::cvtColor(imgOutTmp, gray, cv::COLOR_BGR2GRAY);
        imgOut.setTo(cv::Scalar(textColors[i][2], textColors[i][1], textColors[i][0]), gray > 125);  // mask部分改色