Audio对象
前言:
有时我们并不是想要在页面上放置一个播放音频的控件然后人为点击去播放,**而是通过一个图标点击事件或者js去控制它的播放暂停等操作,此时我们就要使用到Audio对象,**博主这里是Vue项目,所以在data中使用的同一个Audio实例
项目需求:输入框输入完成
1. 提供项目所需要的提示音 音频
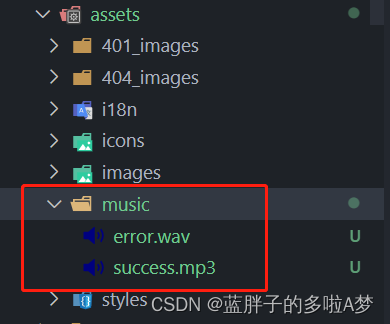
2.在 data 中 定义 一个音频对象 以及引入需要的音频
export default {


    data(){


        return {


            // 实例化一个音频播放器对象
            audio: new Audio()
            successUrl: require("../../../assets/music/success.mp3"),
            errorUrl: require("../../../assets/music/error.wav"),
        }
    }
}
3.在输入框调取接口方法里,根据接口返回状态 调取不同的声音
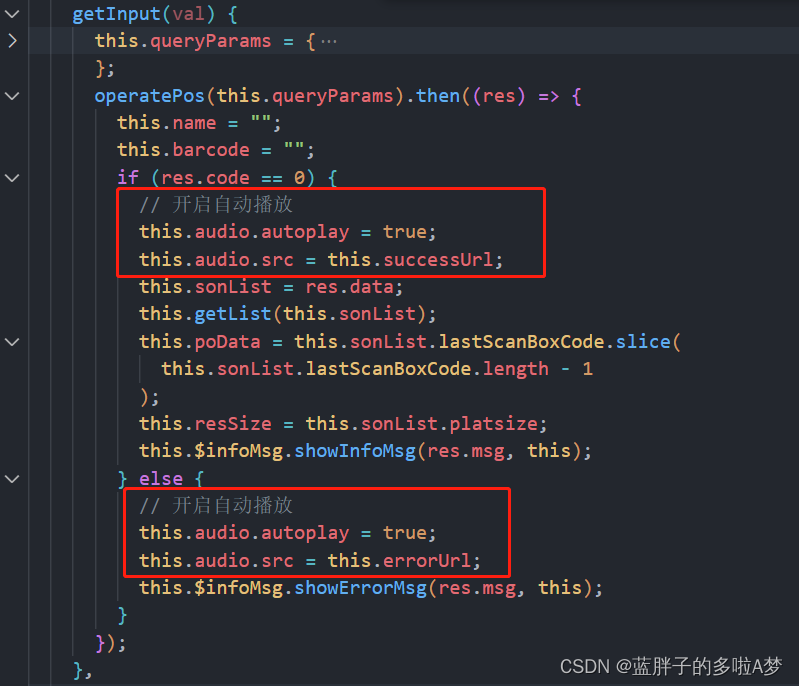
getInput() {


      this.queryParams = {


        code: this.barcode,
        name: this.pageOrderName,
      };
      operatePos(this.queryParams).then((res) => {


        this.name = "";
        this.barcode = "";
        if (res.code == 0) {


          // 开启自动播放
          this.audio.autoplay = true;
          this.audio.src = this.successUrl;
          this.sonList = res.data;
          this.getList(this.sonList);
          this.poData = this.sonList.lastScanBoxCode.slice(
            this.sonList.lastScanBoxCode.length - 1
          );
          this.resSize = this.sonList.platsize;
          this.$infoMsg.showInfoMsg(res.msg, this);
        } else {


          // 开启自动播放
          this.audio.autoplay = true;
          this.audio.src = this.errorUrl;
          this.$infoMsg.showErrorMsg(res.msg, this);
        }
      });
    },
基础tips:
后续只需要通过切换src的方式让它播放,根据不同的需求可以在页面加载时给它设置自动播放,然后每播放完毕一个音频后要做什么事,通过end事件进行回调操作
created(){


    // 开启自动播放
    this.audio.autoplay = true;
    // 绑定播放完毕事件,每次放完了可以做一些收尾的事
    this.audio.addEventListener('ended', () => {


      // dosomething...
    });
}
设置播放的src方式:
this.audio.src = url
播放暂停的方法:
await this.audio.play() // 播放
this.audio.pause() // 暂停
// 因为加载音频文件是需要时间的,所以play方法返回的上一个promise,我们要等待他加载完成才能播放
这些基本了解后就可以自己控制声音的播放啦~