ftp相关的内容:
Linux守护进程详解(init.d和xinetd)
https://www.cnblogs.com/alantu2018/p/8462557.html
ftp用户组管理:
linux下查看所有用户及所有用户组
https://www.cnblogs.com/jackyyou/p/5498083.html
关于ssh的一些安全权限设置等等,写得非常详细
ssh服务详解
http://blog.51cto.com/13438667/2117175
有图,写的很详细。
centos7中实现chroot限制ssh及sftp至指定目录
http://www.myhack58.com/Article/sort099/sort0102/2017/86571.htm
怕网挂掉,摘抄如下:
背景:在vcenter6.5中创建两个虚拟机,如下图,
目的:创建一名用户同时能够实现chroot来限制ssh及sftp至指定目录,可以实现系统安全。
其中,我们将在pool-test(ip:172.16.6.11)中进行配置,用vsan-test1(ip:172.16.6.10)用来测试。

接下来开始在pool-test中开始进行配置ssh
首先,建立一个指定目录
mkdir /home/share_conext
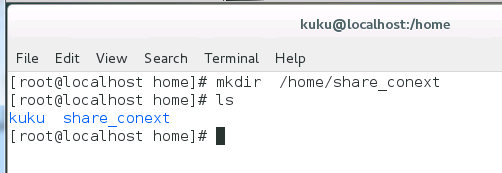
列出指定目录必须包含支持用户会话所必需的文件和目录
ls -l /dev/{null,zero,stdin,stdout,stderr,random,tty}

用 mknod 命令创建 /dev 下的文件。-m 标志用来指定文件权限位,c意思是字符文件,两个数字分别是文件指向的主要号和次要号
mkdir -p /home/share_conext/dev/
cd /home/share_conext/dev/
mknod -m 666 null c 1 3
mknod -m 666 tty c 5 0
mknod -m 666 zero c 1 5
mknod -m 666 random c 1 8
ls

在 chroot 监狱中设置合适的权限。注意 chroot 监狱和它的子目录以及子文件必须被 root 用户所有,并且对普通用户或用户组不可写:
chown root:root /home/share_conext/
chmod 755 /home/share_conext/

为SSH设置交互式shell
mkdir -p /home/share_conext/bin
cp -v /bin/bash /home/share_conext/bin/

mkdir -p /home/share_conext/lib64
ldd /bin/bash

将识别出的共享库复制到lib64目录下方
cp -v /lib64/libtinfo.so.5 /lib64/libdl.so.2 /lib64/libc.so.6 /lib64/ld-linux-x86-64.so.2 /share_conext/lib64

创建并配置sshuser用户并设置安全密码
useradd sshuser
passwd sshuser

mkdir /home/share_conext/etc
cp -vf /etc/{group,passwd} /home/share_conext/etc/

注:若添加更多用户,则需要再次执行上步操作。
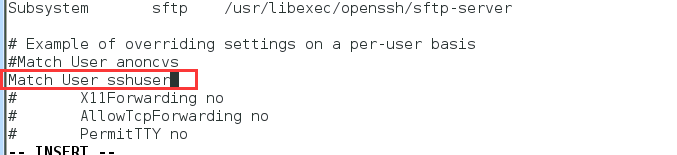
配置ssh使用chroot
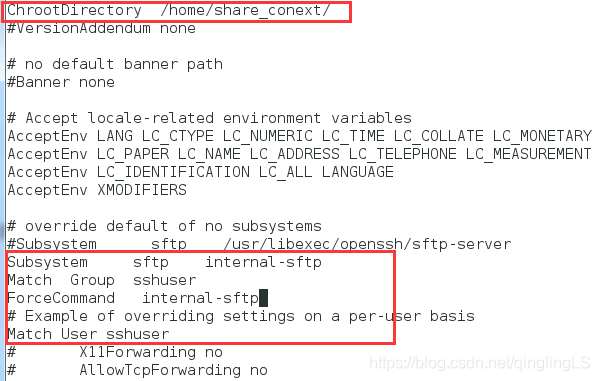
vi /etc/ssh/sshd_config

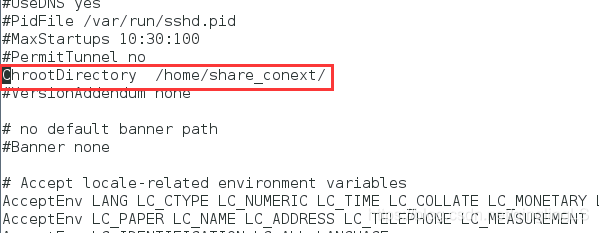
在文件中修改 Match User sshuser,及指定目录 ChrootDirectory /home/share_context/
并保存退出
重启sshd.service
systemctl restart sshd.service
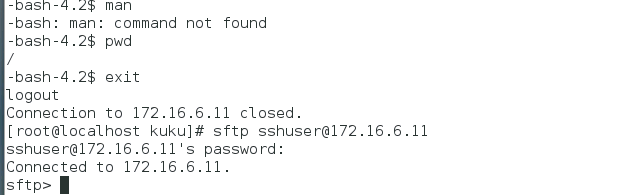
在vsan-test1中进行测试
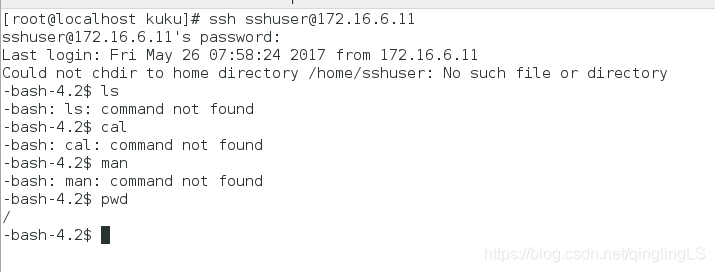
可以看到当前目录已经是“根目录”了。
接下来开始在pool-test中配置sftp
vi /etc/ssh/sshd_config
在文件中添加,找到如下行,并注释掉
 Subsystem      sftp    /usr/libexec/openssh/sftp-server # 添加如下几行
 Subsystem   sftp  internal-sftp  #指定使用sftp服务使用系统自带的internal-sftp
 Match Group sshuser   #之前默认创建的组
 ForceCommand    internal-sftp  #指定sftp命令
然后,重启sshd服务
service restart sshd.service
重启完毕后用户sshuser就可以正常通过sftp客户端登录了。 但是因为/home/share_conext都属于root用户组,所以无写权限。进行如下处理:
在/home/share_conext目录下创建上传目录,并修改目录权限控制
mkdir /home/share_conext/write/
chown sshuser:sshuser /home/share_conext/write
chmod 777 /home/share_conext/write
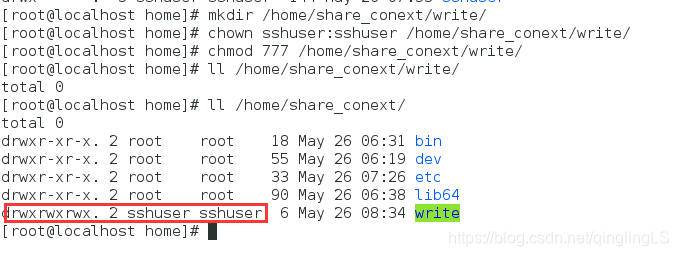
至此,可以使用sftp登录,并能够进行上传文件或者下载文件。
在vsan-test1中验证
sftp [email protected]
验证下载功能
在pool-test中的/home/share_conext/write/下生成两个文件
vi /home/share_conext/write/helloworld.py
vi /home/share_conext/write/hehe.txt
ls /home/share_conext/write/

切换到vsan-test中
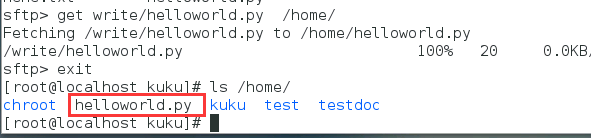
get write/helloworld.py /home/ #指定文件存储的目录
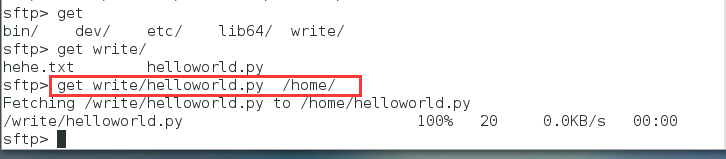
查看
验证上传功能
在刚才的/home/中创建startd.py

重新连接
sftp [email protected]
put /home/startd.py /write/ # 因为此时的根目录是share_conext/ ,所以可以直接写成/write/

切换到pool-test虚拟机中查看刚才上传的文件
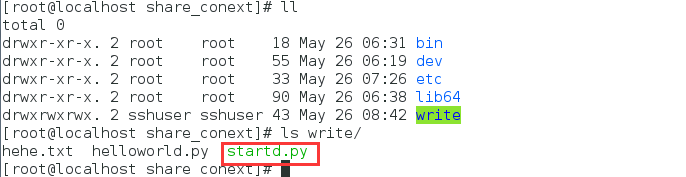
至此已经全部配置完毕了!