基于Webpack4.x + npm6.5 + node v10.10.0 +react+ vscode环境.
项目名webpackDemo;
上节:https://blog.csdn.net/fengsh998/article/details/88078127提到了热更新。
本节继续看下插件。
热门的插件的使用可以在官网:https://webpack.js.org/plugins/中可以找到。
本节主要学习HtmlWebpackPlugin 这个插件。
在前面几章都是手写的html.尽管也可以飞起来。但如果我们把webpack中的output中的filename修改了或加上hash值后,每次都得手动的把html中的src引用部份进行修改。于是这个插件就是为解决这个问题而生的。
插件的使用官网:https://github.com/jantimon/html-webpack-plugin#options
使用插件啊,我建议大家第一时间找官网查看,别百度瞎搜。搜出来的都是针对某个情况的。要想详细了解插件,就得看他的母文。就算是英文。不怕,大不了google译一下,看不懂中文,再译回英文呗。
1.安装插件.
npm i --save-dev html-webpack-plugin2.修改webpack.config.js增加插件.

const path = require('path');
const htmlplugin = require('html-webpack-plugin')

module.exports = {
    entry: {
        app: path.join(__dirname, 'src', 'index.js')
    },
    mode: 'development',
    output: {
        filename: 'bundle.js',
        path: path.resolve(__dirname, 'dist')
    },
    plugins: [
        new htmlplugin()
    ],
    module: {
        rules: [{
            test: /\.(js|jsx)$/,      //当碰到js或jsx文件时,即文件中用到import 或reqire导入js时
            use: {
                loader: 'babel-loader',
                options: {
                    presets: ["es2015", "react"]
                }
            },
            exclude: [
                path.resolve(__dirname, './node_modules')
            ]
        }]
    },
    devServer: {
        contentBase: path.join(__dirname, "dist"),
        overlay: true,
        hot: true,
        inline: true
    }
}
然后把dist中的文件全部删除。
把package.json中修改个打包脚本
...
  "scripts": {
    "start": "webpack",
    "dev": "webpack-dev-server",
    "test": "echo \"Error: no test specified\" && exit 1"
  },
...
执行npm start可以看到dist下自动生成了一个bundle.js和index.html。 而这两个在插件的官网中有提到,如果没有配置默认情况下是生成output中的filename自动插入到生成的index.html中。
生成的html
<!DOCTYPE html>
<html>
  <head>
    <meta charset="UTF-8">
    <title>Webpack App</title>
  </head>
  <body>
  <script type="text/javascript" src="bundle.js"></script></body>
</html>
可以看到,已经不是我们前面课程中的了。因为很明显<div id='root'></div>已经不见了。这个时候如果冒昧的用npm run dev
来运行。会得到下面的结果。
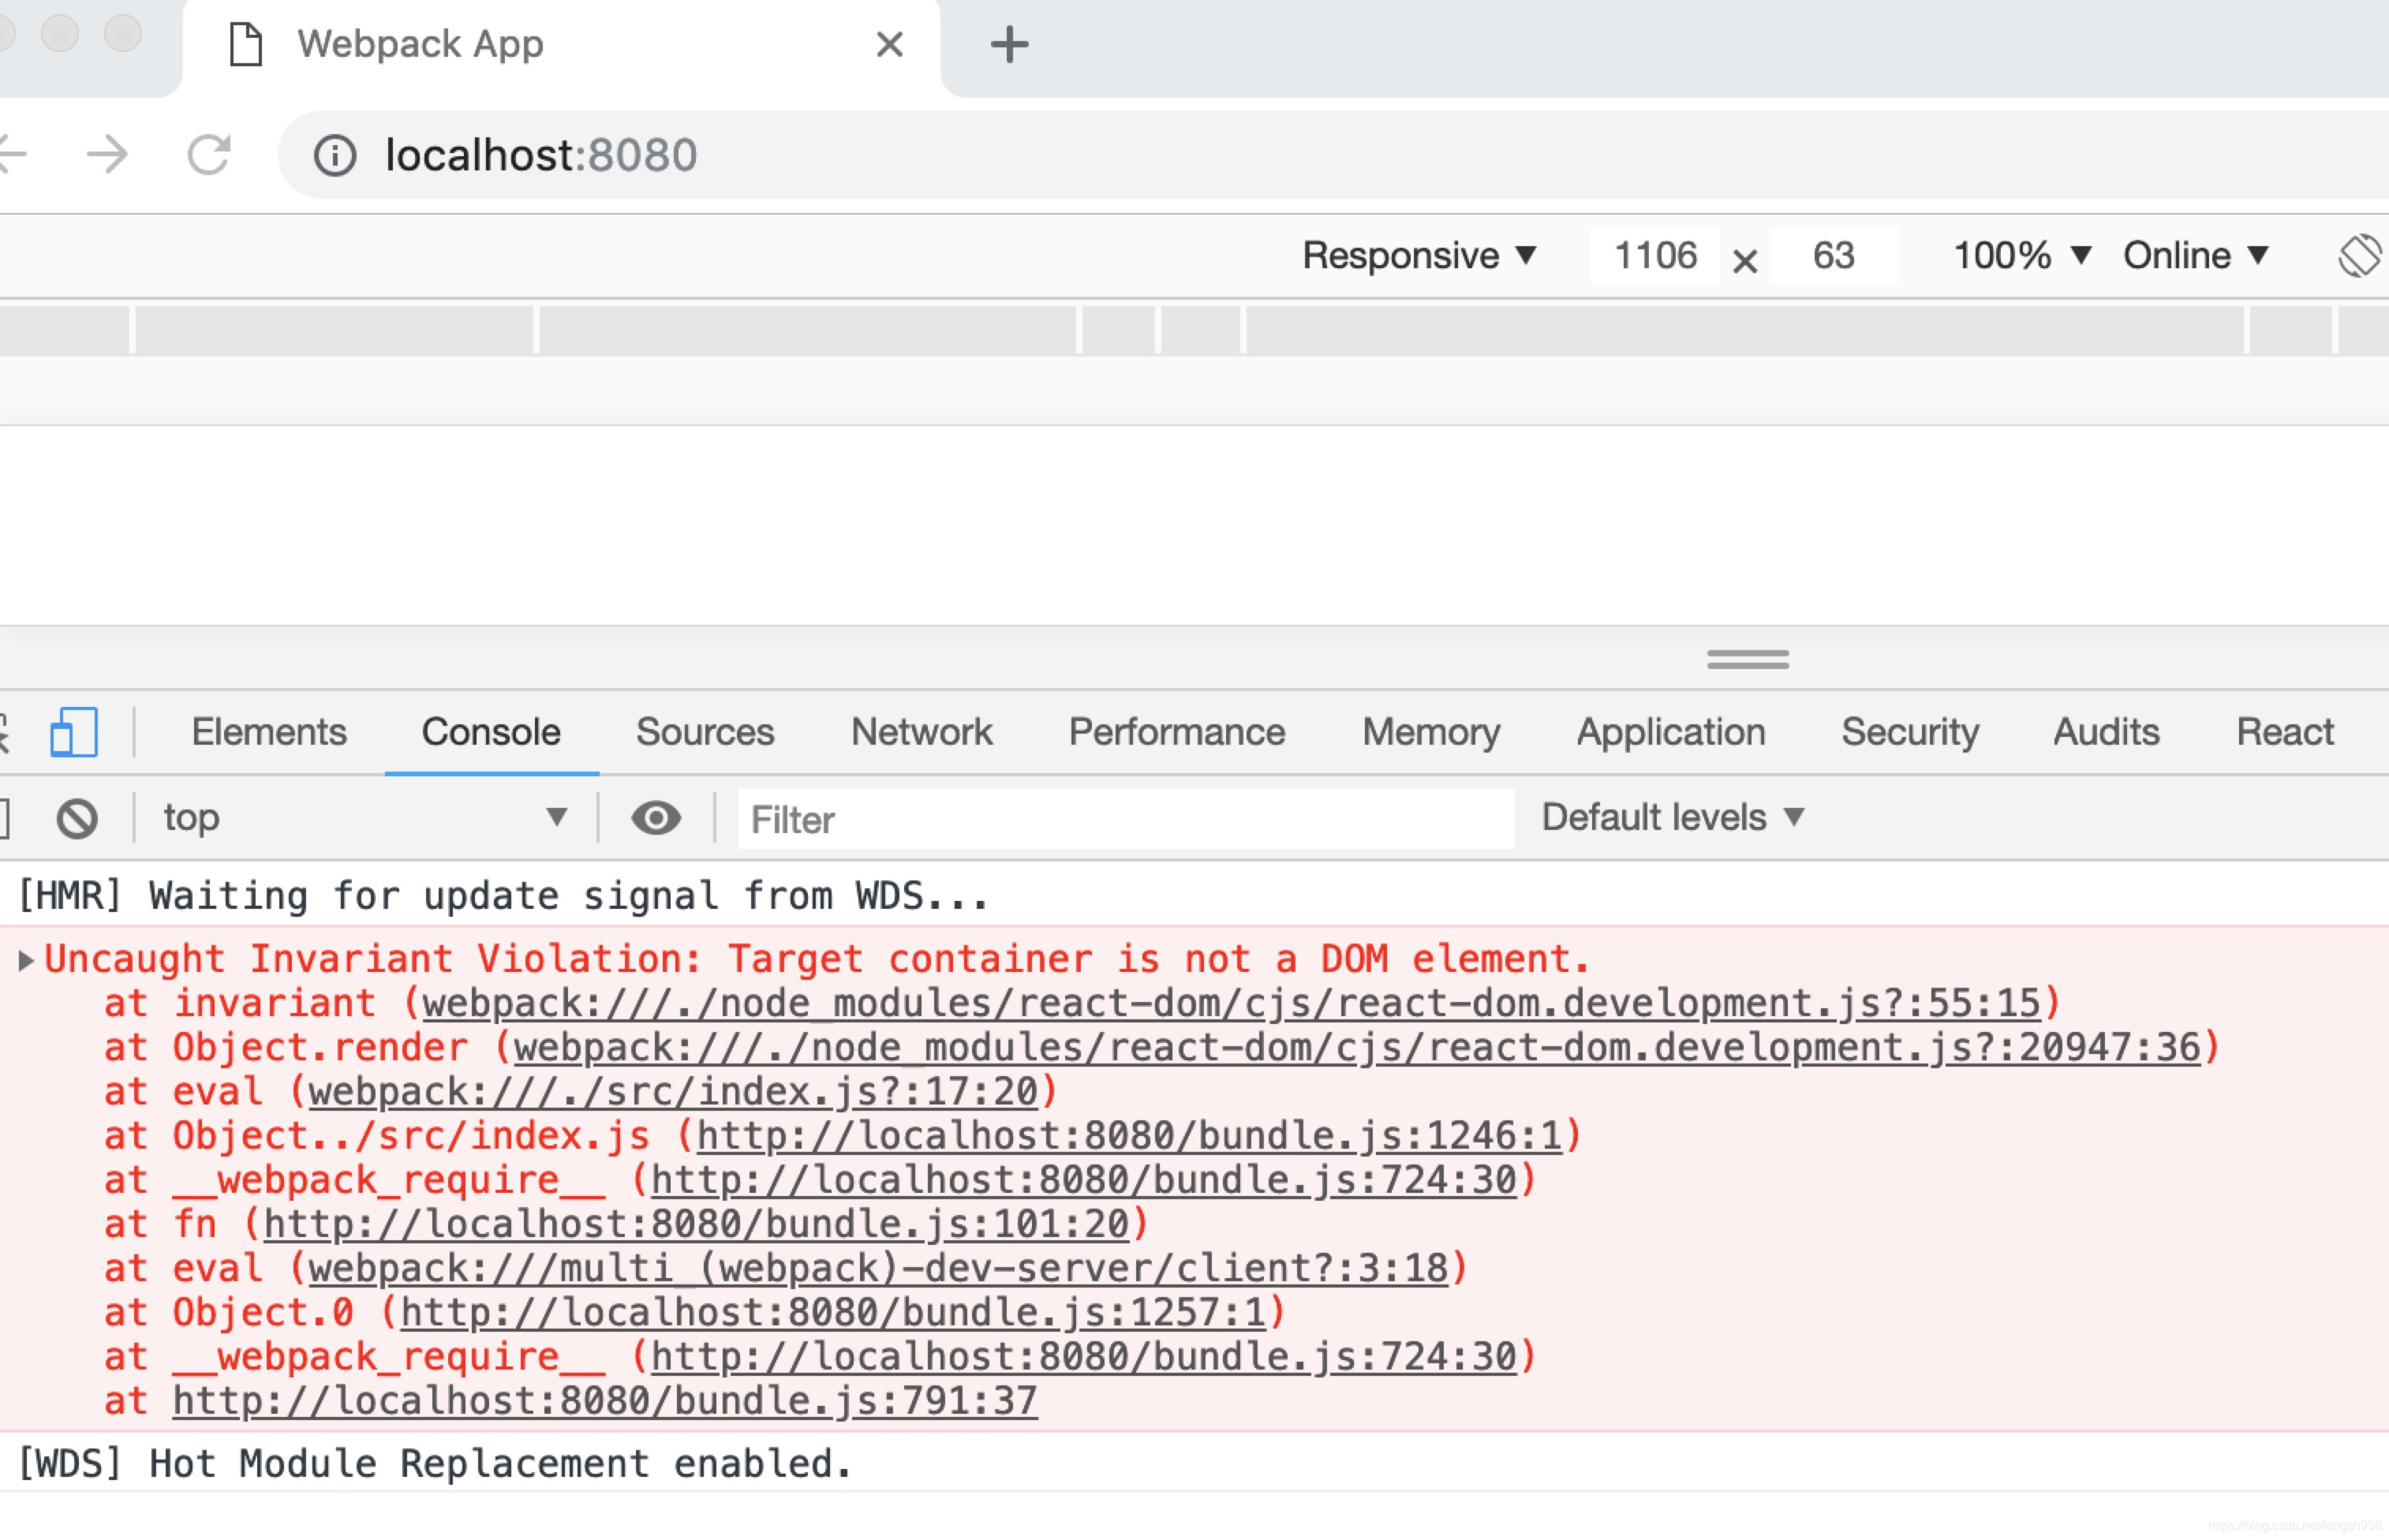
从错误中提出target container is not a dom element。 目标容器不是一个dom元素。还记得我们的 index.js么。
import React, { Component } from 'react'
import ReactDOM from 'react-dom'

import App from './App'

ReactDOM.render(<App />, document.getElementById('root'));
这里有一个渲染DOM到root上,但index.html自动生成后主丢失了。那怎么解决。这个时候模板文件就体现出来了。
查看插件的option说明。有个template属性。
在webpack.config.js的目录下创建一个public文件夹里面创建一个index.html
<html lang="en">
<head>
<meta charset="UTF-8">
<meta name="viewport" content="width=device-width, initial-scale=1.0">
<meta http-equiv="X-UA-Compatible" content="ie=edge">
<title>Template</title>
</head>
<body>
<div id='root'></div>
</body>
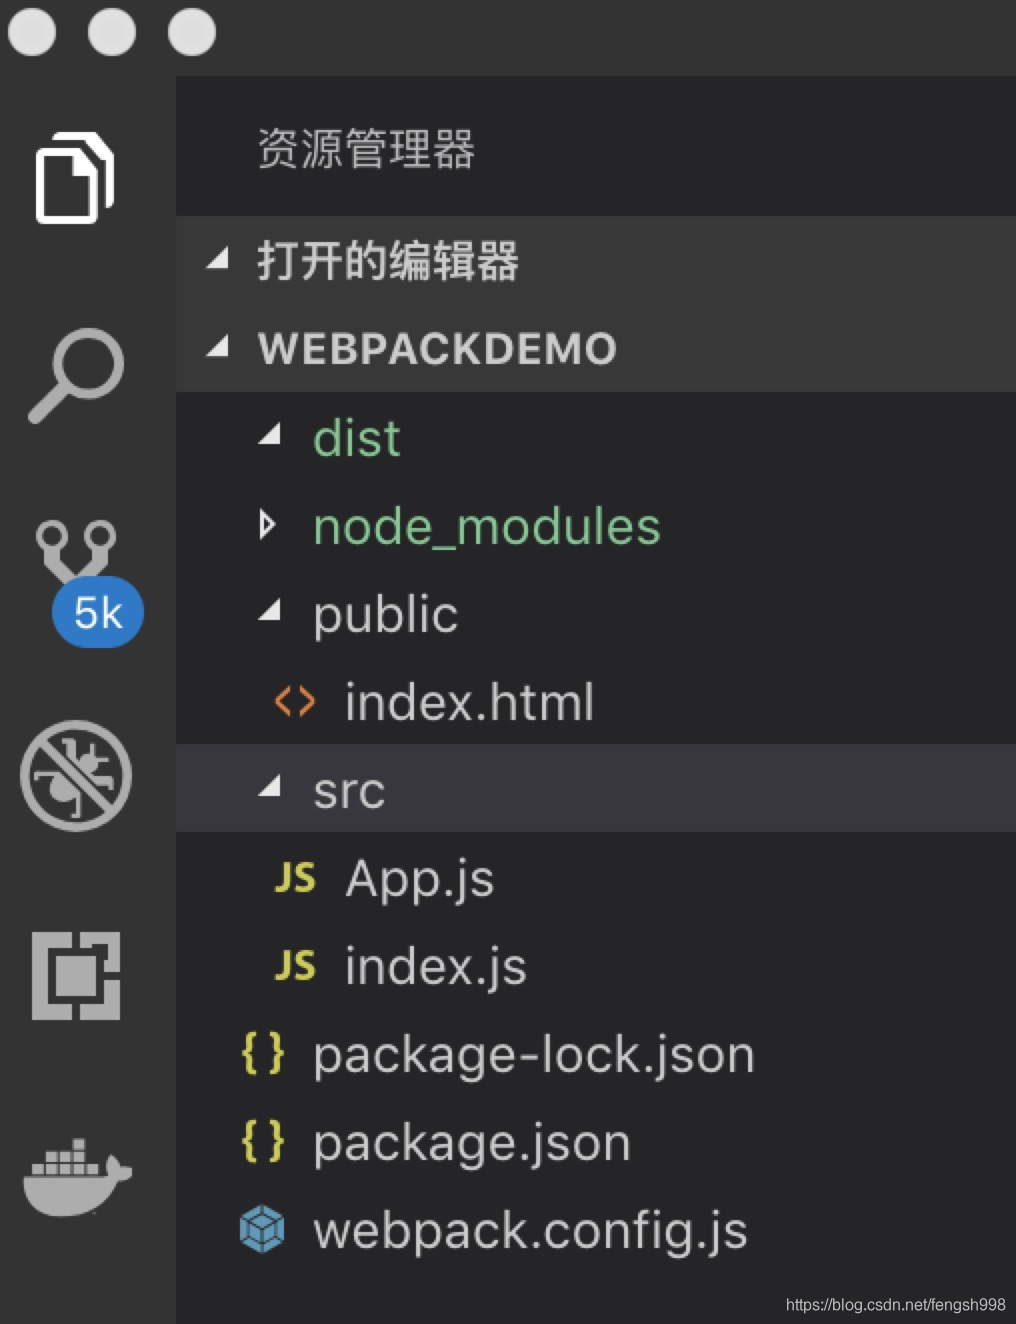
</html>目录结构:
修改webpack.config.js
module.exports = {
    ...
    plugins: [
        new htmlplugin({
            title: 'Html 插件 Demo',
            template: path.join(__dirname, 'public', 'index.html')
        })
    ],
...
}
看到另上了title和使用模板index.html
先执行npm start 可以看到,在dist中输出了bundle.js和index.html但详细看你会发现title并没有给我们替换。这是为啥呢。这是因为模板替换的地方需要使用参数。
<%= htmlWebpackPlugin.options.title %>修改html模板中的title.
<html lang="en">
...
    <title><%= htmlWebpackPlugin.options.title %></title>
...

</html>
修改完成重新编译运行,OK。至此html自动生成,打包插入完成。其它option请各自参与api自行玩玩。