一、需求
- 在iOS App中加入Unity3D元素,App通过用Unity提供的KPI实现功能操作
二、Unity集成到iOS原生项目
- Unity导出的工程,可以作为独立的App上线,也可以Framework的形式继承到原生项目中(通常公司项目有需求的话都有招一个开发Unity,当然自己去学,做一个简单的demo还是挺简单的,网上教程也有很多)
- Unity的集成有多种方式,我这里项目是有使用cocospod,并且现在的项目基本都使用pod,我这里只写有关联pod
- 操作如下图:(NativeiOS是iOS原生项目,UnityTest_Device是Unity导出的工程,真机调试)
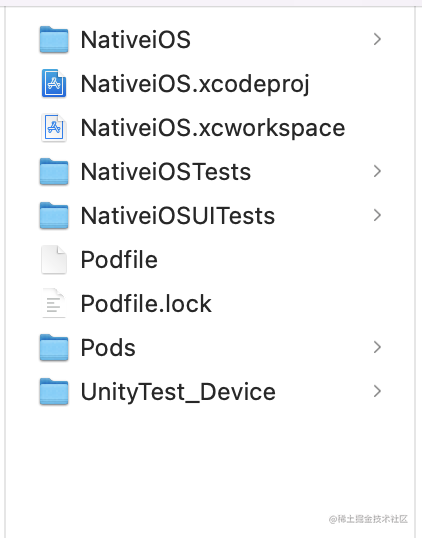
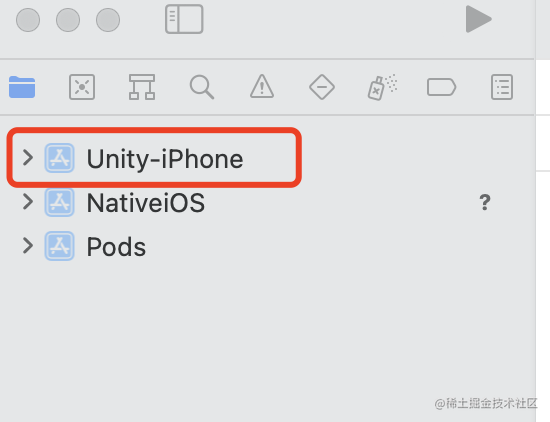
- 将UnityTest_Device工程直接拖到NativeiOS,项目结构目录如下:
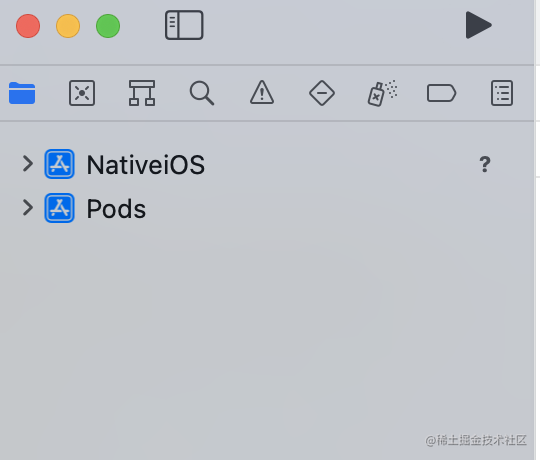
- 打开原生项目,添加Unity到工作区,如下操作:
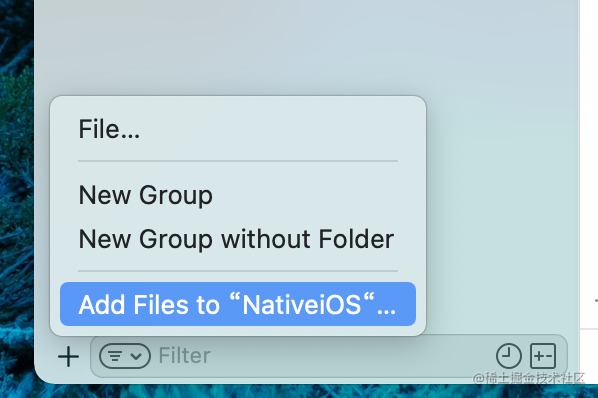
- 加入Untity,左下角“+”号 Files Add
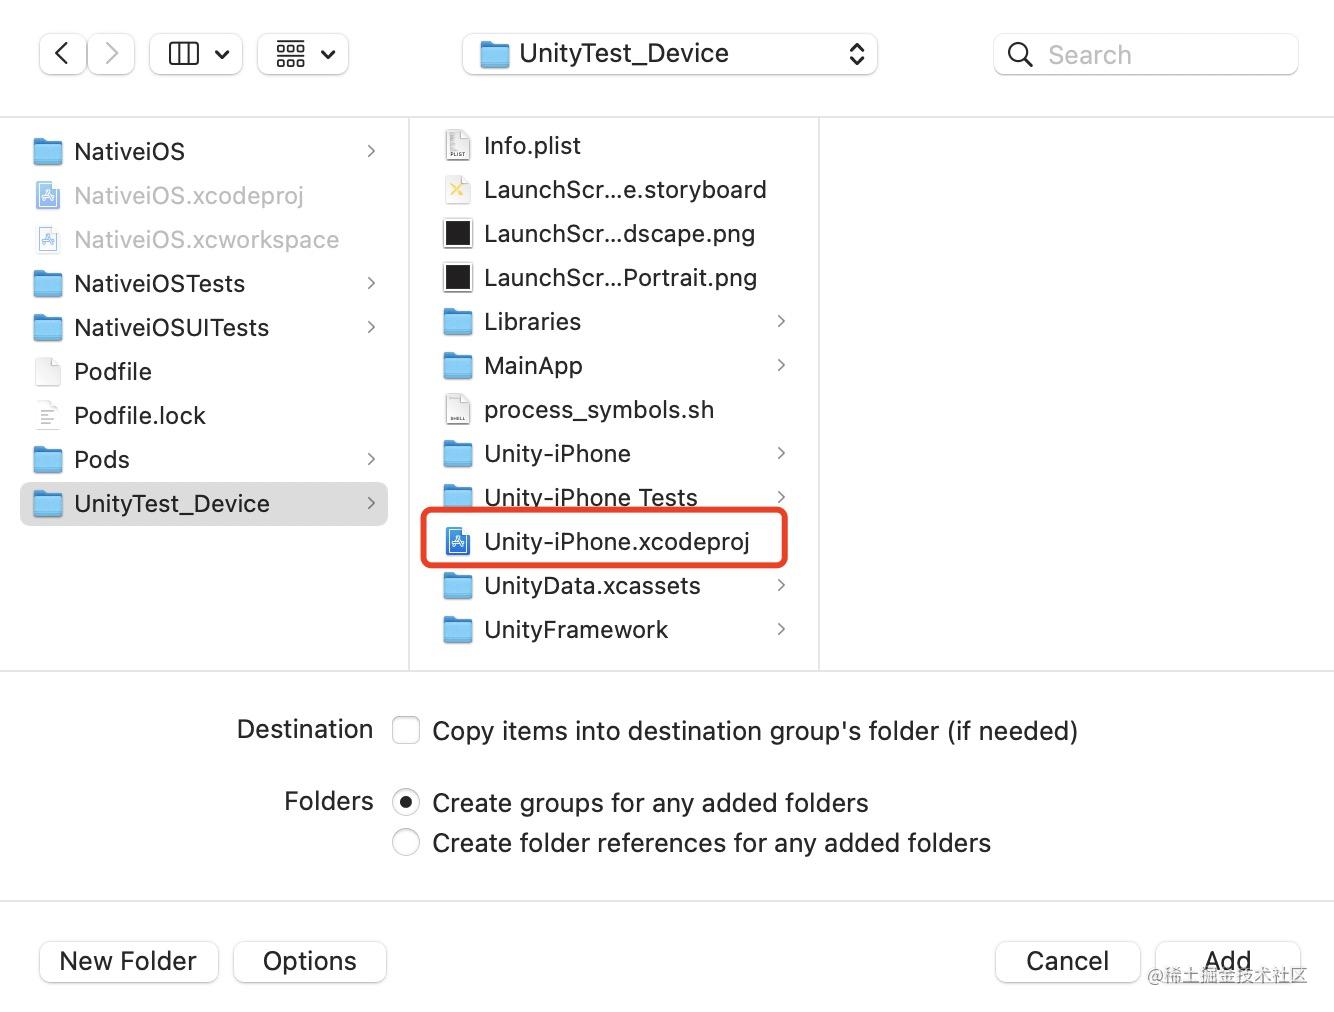
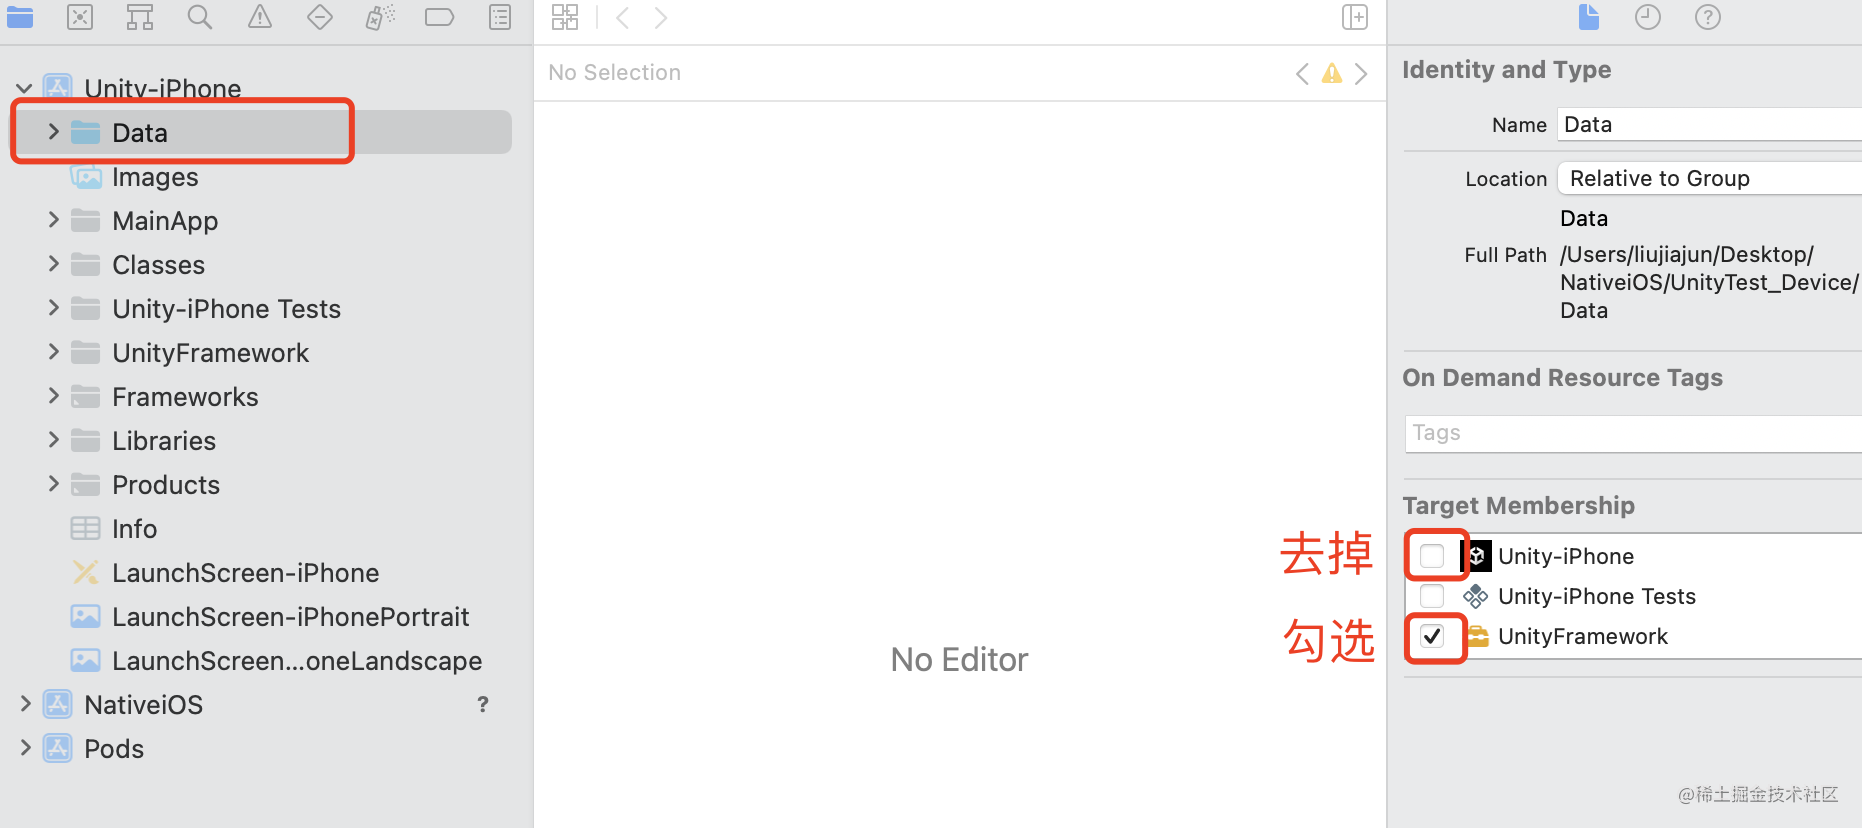
- 展开Unity-iPhone工程,选择Data文件夹,如图操作:
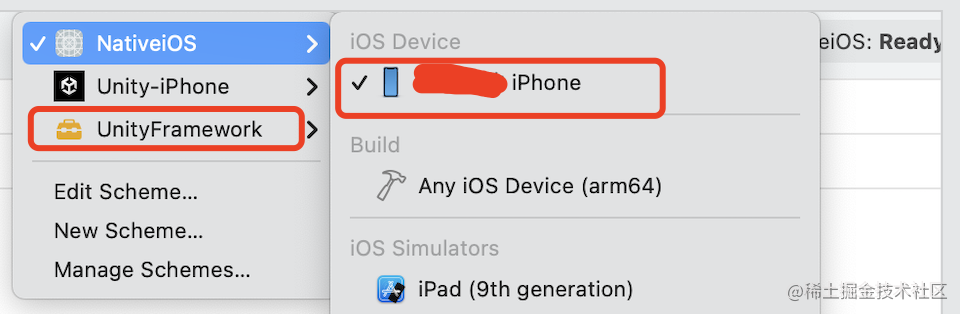
- 编译成功知道,展开iOS原生项目,选择target
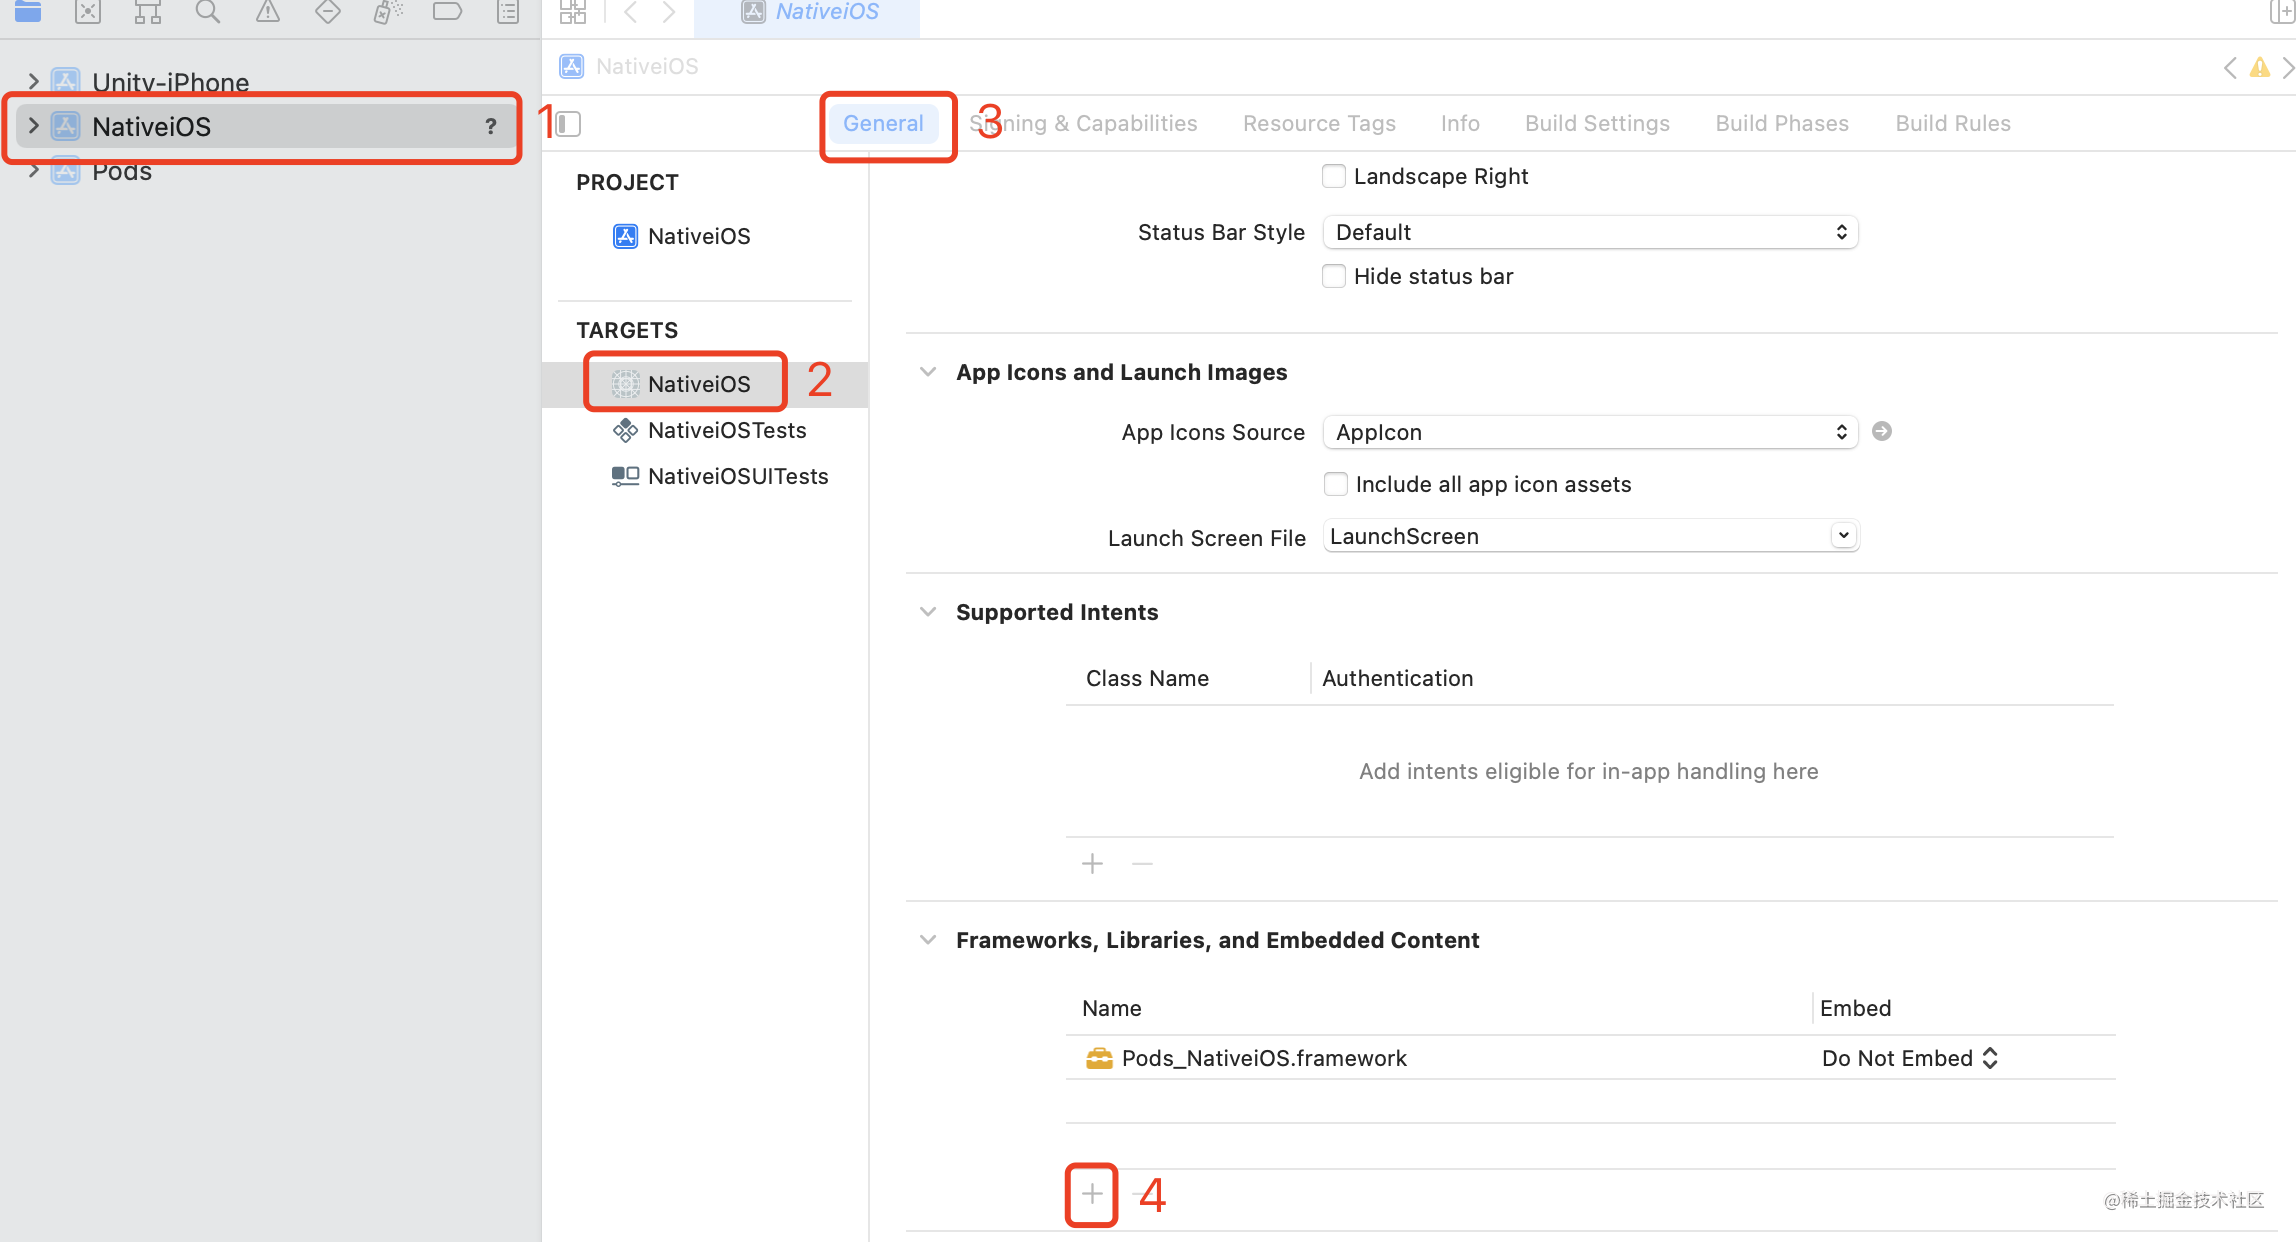
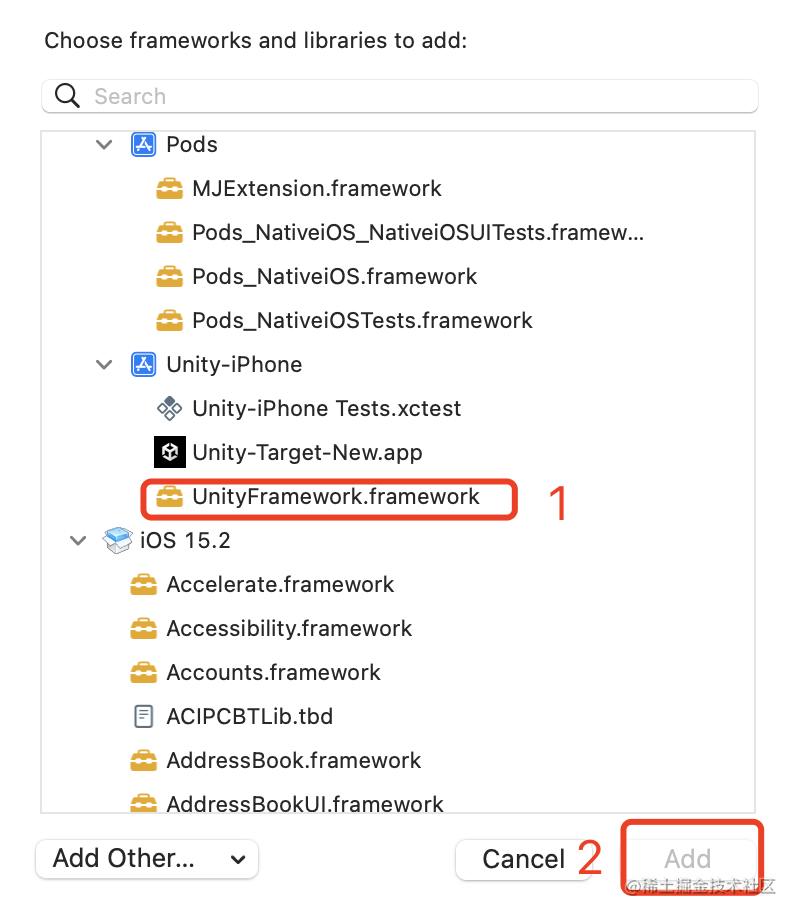
- 加入frameword 之后已经完成了继承,接下来就是代码的实现
三、代码实现
int main(int argc, char * argv[]) {

    NSString * appDelegateClassName;

    NSUserDefaults *userDefaults = [NSUserDefaults standardUserDefaults];
    [userDefaults setObject:@(argc) forKey:@"argc"];
    [userDefaults synchronize];

    [userDefaults setObject:[NSString stringWithFormat:@"%p",argv] forKey:@"argv"];
    [userDefaults synchronize];

    @autoreleasepool {
        // Setup code that might create autoreleased objects goes here.
        appDelegateClassName = NSStringFromClass([AppDelegate class]);
    }
    return UIApplicationMain(argc, argv, nil, appDelegateClassName);
}
复制代码
#import <UIKit/UIKit.h>

#include <UnityFramework/UnityFramework.h>

@interface AppDelegate : UIResponder <UIApplicationDelegate>

@property (nonatomic, strong) UIWindow      *window;

@property (nonatomic, strong) UnityFramework *ufw;

///展示Unity的view
- (void)showUnityView;

///展示iOS原生的view
- (void)showNativeView;

@end
复制代码
- AppDelegate.m
/// UnityFrameworkLoad
UIKIT_STATIC_INLINE UnityFramework* UnityFrameworkLoad()
{
    NSString* bundlePath = nil;
    bundlePath = [[NSBundle mainBundle] bundlePath];
    bundlePath = [bundlePath stringByAppendingString: @"/Frameworks/UnityFramework.framework"];
    NSBundle* bundle = [NSBundle bundleWithPath: bundlePath];

    if ([bundle isLoaded] == false) [bundle load];

    UnityFramework* ufw = [bundle.principalClass getInstance];

    if (![ufw appController]) {
        // unity is not initialized
        [ufw setExecuteHeader: &_mh_execute_header];
    }
    return ufw;
}

- (BOOL)application:(UIApplication *)application didFinishLaunchingWithOptions:(NSDictionary *)launchOptions {

    //初始化Unity
    [self initUnity];

    NSUserDefaults *userDefaults = [NSUserDefaults standardUserDefaults];
    [userDefaults setObject:launchOptions forKey:@"launchOptions"];
    [userDefaults synchronize];
    return YES;
}

#pragma mark - Unity
/// 判断Unity是否已经初始化
- (BOOL)unityIsInitialized {
    return [self ufw] && [[self ufw] appController];
}

/// 初始化Unity
- (void)initUnity {
    // 判断Unity 是否已经初始化
    if ([self unityIsInitialized]) return;

    // 初始化Unity
    self.ufw = UnityFrameworkLoad();
    [self.ufw setDataBundleId:"com.unity3d.framework"];
    [self.ufw registerFrameworkListener:self];

//  [NSClassFromString(@"FrameworkLibAPI") registerAPIforNativeCalls:self];

    NSString *argvStr = [[NSUserDefaults standardUserDefaults] valueForKey:@"argv"];
    char **argv;
    sscanf([argvStr cStringUsingEncoding:NSUTF8StringEncoding], "%p",&argv);
    int argc = [[[NSUserDefaults standardUserDefaults] valueForKey:@"argc"] intValue];
    NSDictionary *launchOptions = [[NSUserDefaults standardUserDefaults] valueForKey:@"launchOptions"];
    [self.ufw runEmbeddedWithArgc:argc argv:argv appLaunchOpts:launchOptions];
}

///展示Unity的view
- (void)showUnityView {
    if (![self unityIsInitialized]){
        NSLog(@"Unity 还未初始化");
    }

    [self.ufw showUnityWindow];
}

///展示iOS原生的view
- (void)showNativeView {
    [self.window makeKeyAndVisible];
}

#pragma mark - UnityFrameworkListener
- (void)unityDidUnload:(NSNotification *)notification {
    NSLog(@"========== %s ============",__func__);
    [self.window makeKeyAndVisible];
    [[self ufw] unregisterFrameworkListener: self];
    [self setUfw: nil];
}

- (void)unityDidQuit:(NSNotification *)notification {
    NSLog(@"========== %s ============",__func__);
}

- (void)applicationWillResignActive:(UIApplication *)application {
    [[[self ufw] appController] applicationWillResignActive: application];
}

- (void)applicationDidEnterBackground:(UIApplication *)application {
    [[[self ufw] appController] applicationDidEnterBackground: application];
}

- (void)applicationWillEnterForeground:(UIApplication *)application {
    [[[self ufw] appController] applicationWillEnterForeground: application];
}

- (void)applicationDidBecomeActive:(UIApplication *)application {
    [[[self ufw] appController] applicationDidBecomeActive: application];
}

- (void)applicationWillTerminate:(UIApplication *)application {
    [[[self ufw] appController] applicationWillTerminate: application];
}
复制代码
-
- 在自定义xxxController中,根据需求创建Unity的view
1.导入头文件
#import "AppDelegate.h"

2.添加属性
/// unityContentView
@property (nonatomic, weak) UIView *unityContentView;

/// AppDelegate
@property (nonatomic, strong) AppDelegate *appDelegate;


- (void)awakeFromNib {
    [super awakeFromNib];

    AppDelegate *appDelegate = (AppDelegate *)([UIApplication sharedApplication].delegate);
    self.appDelegate = appDelegate;

    // Unity的view
    UIView *view = self.appDelegate.ufw.appController.rootViewController.view;
    view.frame = CGRectMake(0, 0, 300, 500);
    [self addSubview:view];
}

///简单的功能操作
/// 减速
- (IBAction)slowDownClick:(UIButton *)sender {
    [self.appDelegate.ufw sendMessageToGOWithName:"ybot" functionName:"slowDown" message:""];
}

/// 加速
- (IBAction)accelerateClick:(UIButton *)sender {
    [self.appDelegate.ufw sendMessageToGOWithName:"ybot" functionName:"speedUp" message:""];
}


复制代码