游标操作
我们先来看一个例子:
接下来,我们通过python代码增加一条数据到数据库中,代码如下:
import MySQLdb
def connect_mysql():
db_config = {
'host': '192.168.1.5',
'port': 3306,
'user': 'wxp',
'passwd': '1qazxsw@',
'db': 'python',
'charset': 'utf8'
}
cnx = MySQLdb.connect(**db_config)
return cnx
if __name__ == '__main__':
cnx = connect_mysql()
cus = cnx.cursor()
sql = ''' create table test(id int not null);insert into test(id) values (100);'''
try:
cus.execute(sql)
cus.close()
cnx.commit()
except Exception as e:
cnx.rollback()
print('Error')
# raise e
finally:
cnx.close()
结果:
Error
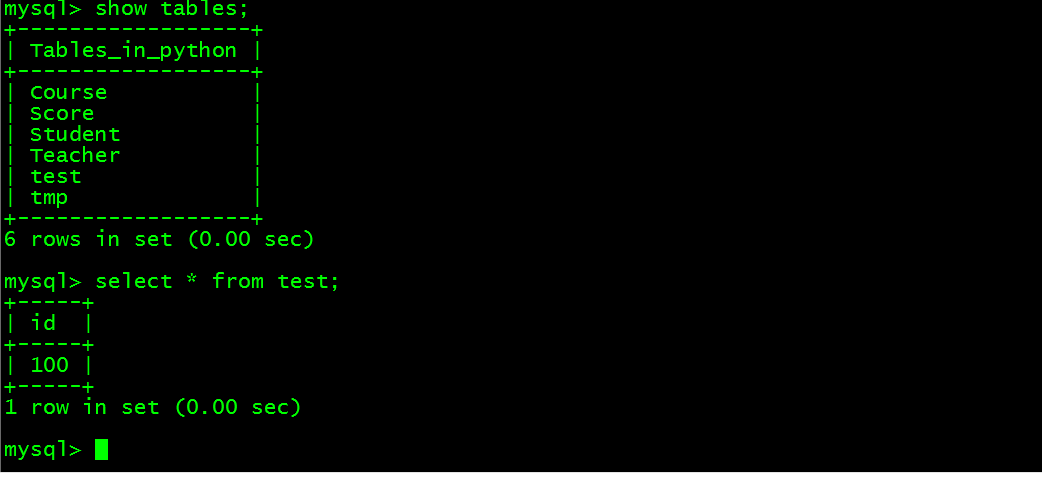
查看数据库中的数据:select * from employees;并没有发生变化
解释:
在我们插入数据雇佣时间字段:hire_date的时候,故意把时间写错,导致异常发生,捕获到异常之后,打印Error,最后关闭mysql连接。cus = cnx.cursor()是创建一个游标对象,具体我们在后面进行介绍。
1, 创建游标对象
Import MySQLdb
db_config = {
'host': '192.168.1.5',
'port': 3306,
'user': 'wxp',
'passwd': '1qazxsw@',
'db': 'python',
'charset': 'utf8'
}
cnx = MySQLdb.connect(**db_config)
cus = cnx.cursor()
这样就是创建一个游标对象,以后我们对mysql的各种操作都是基于游标进行操作,后面我们将详细介绍。
在了解该方法之前,我们先来了解什么叫做游标,
游标(cursor)
游标是系统为用户开设的一个数据缓冲区,存放SQL语句的执行结果
用户可以用SQL语句逐一从游标中获取记录,并赋给主变量,交由python进一步处理,一组主变量一次只能存放一条记录
仅使用主变量并不能完全满足SQL语句向应用程序输出数据的要求
1.游标和游标的优点
在数据库中,游标是一个十分重要的概念。游标提供了一种对从表中检索出的数据进行操作的灵活手段,就本质而言,游标实际上是一种能从包括多条数据记录的结果集中每次提取一条记录的机制。游标总是与一条SQL 选择语句相关联因为游标由结果集(可以是零条、一条或由相关的选择语句检索出的多条记录)和结果集中指向特定记录的游标位置组成。当决定对结果集进行处理时,必须声明一个指向该结果集的游标。
常用方法:
cursor():创建游标对象
close():关闭此游标对象
fetchone():得到结果集的下一行
fetchmany([size = cursor.arraysize]):得到结果集的下几行
fetchall():得到结果集中剩下的所有行
excute(sql[, args]):执行一个数据库查询或命令
executemany (sql, args):执行多个数据库查询或命令
sql语句常用操作:
123 4 5 6 7 8 9 10 11 12 13 14 15 16 17 18 19 20 21 22 23 24 25 26 27 28 29 30 31 |
授权超级用户 grant all privileges on *.* to 'user'@'%' identified by 'password' with grant option; 创建普通用户并授权 grant all on *.* to db1.user1 identified by '123456'; grant all on db1.* to 'user2'@'10.0.2.100' identified by '111222'; grant all on db1.* to 'user3'@'%' identified by '231222'; 更改密码 UPDATE mysql.user SET password=PASSWORD("newpwd") WHERE user='username' ; 查看库 show databases; 查看有哪些库 show databases; 查看某个库的表 use db; show tables \G; 查看表的字段 desc tb; 查看建表语句 show create table tb; 当前用户 select user(); 当前库 select database(); 创建库 create database db1; 创建表结构 create table t1 (id int, name char(40) adress varchar(30)); 查看数据库版本 select version(); 查看mysql状态 show status; 修改mysql参数 show variables like 'max_connect%'; set global max_connect_errors = 1000; 查看mysql队列 show processlist; select * from information_schema.processlist where info is not null; sleep的可以忽略,qurey查询的才有 查询数据 select count(*) from mysql.user; select * from mysql.db; select * from mysql.db where host like '10.0.%'; 改数据 update db1.t1 set name='aaa' where id=1; 清空表 truncate table db1.t1; 删除表 drop table db1.t1; 删除数据库 drop database db1; 修复表 repair table tb1 [use frm]; 查看权限show grants for root@'localhost'; 建索引 alter table test2 add index idx_test2_id(id); 查索引 explain select * from test2 where name = 'aaaaa';
执行sql mysql -uroot -p1234556 -e "select user,host,password into outfile '/home/mysql/1.txt' from mysql.user;";
|
'123' varchar(10)
'123 ' char(10) 里面有7个空格填补成10个内容。