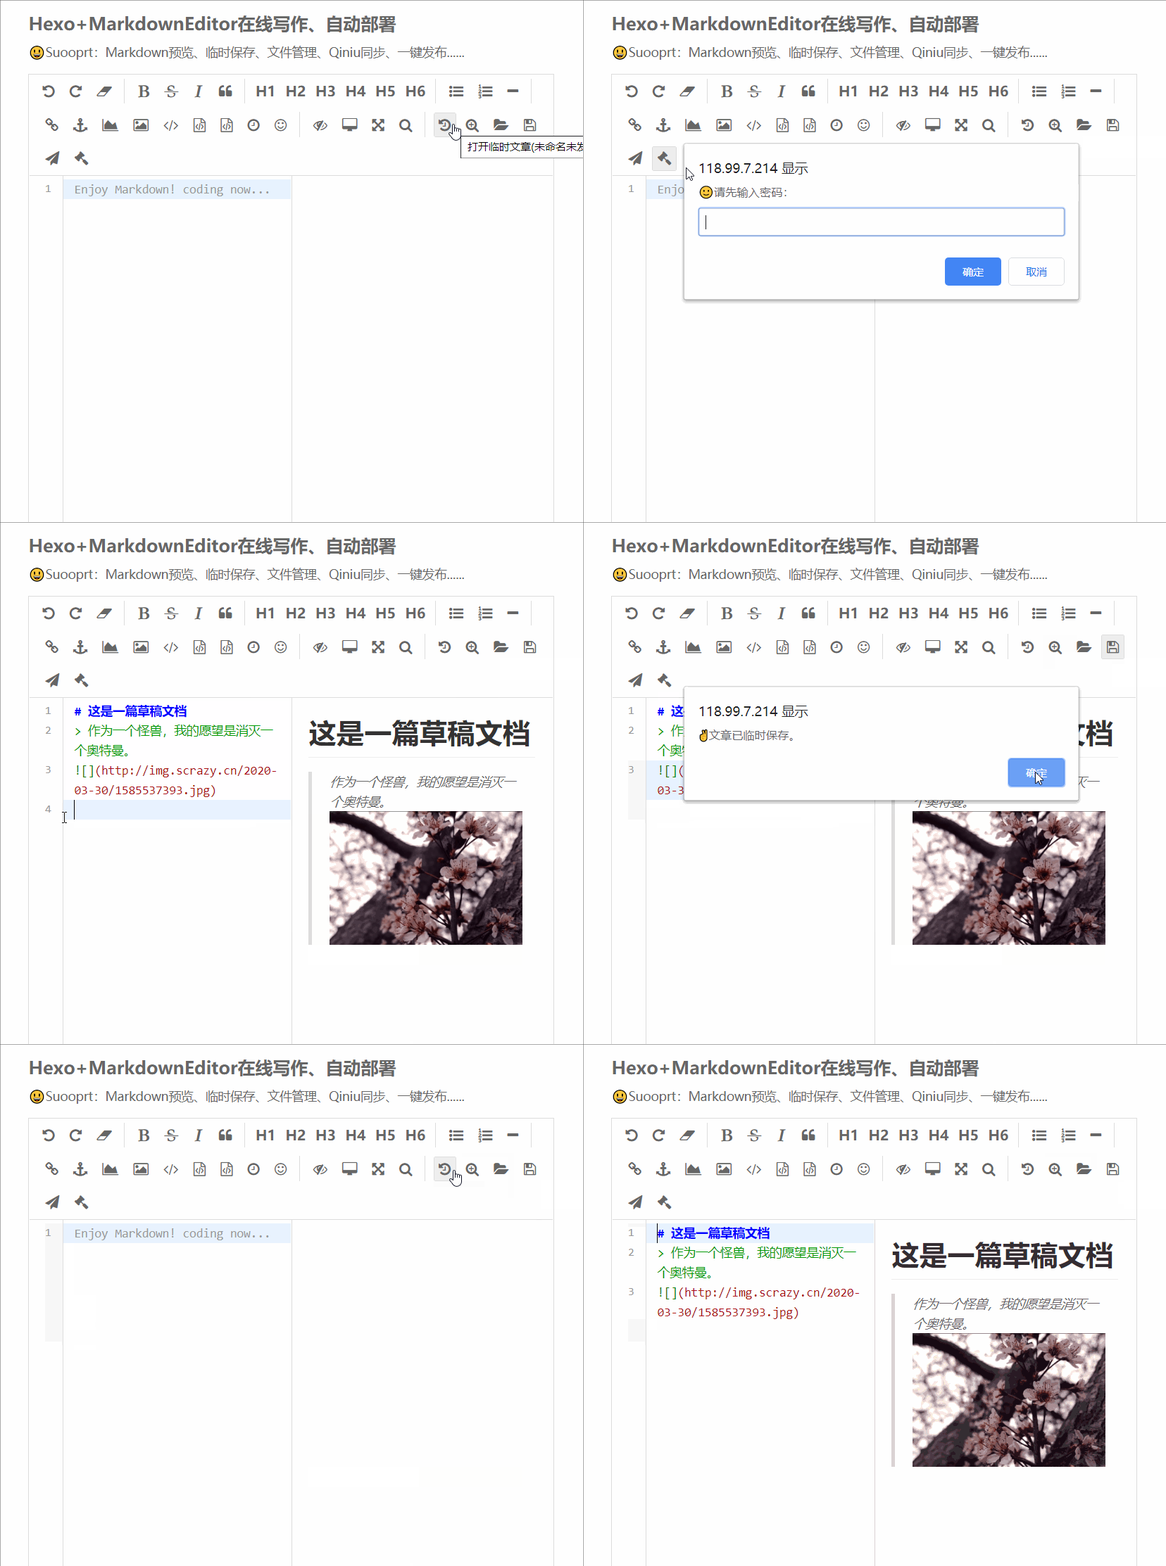
在线写作
草稿

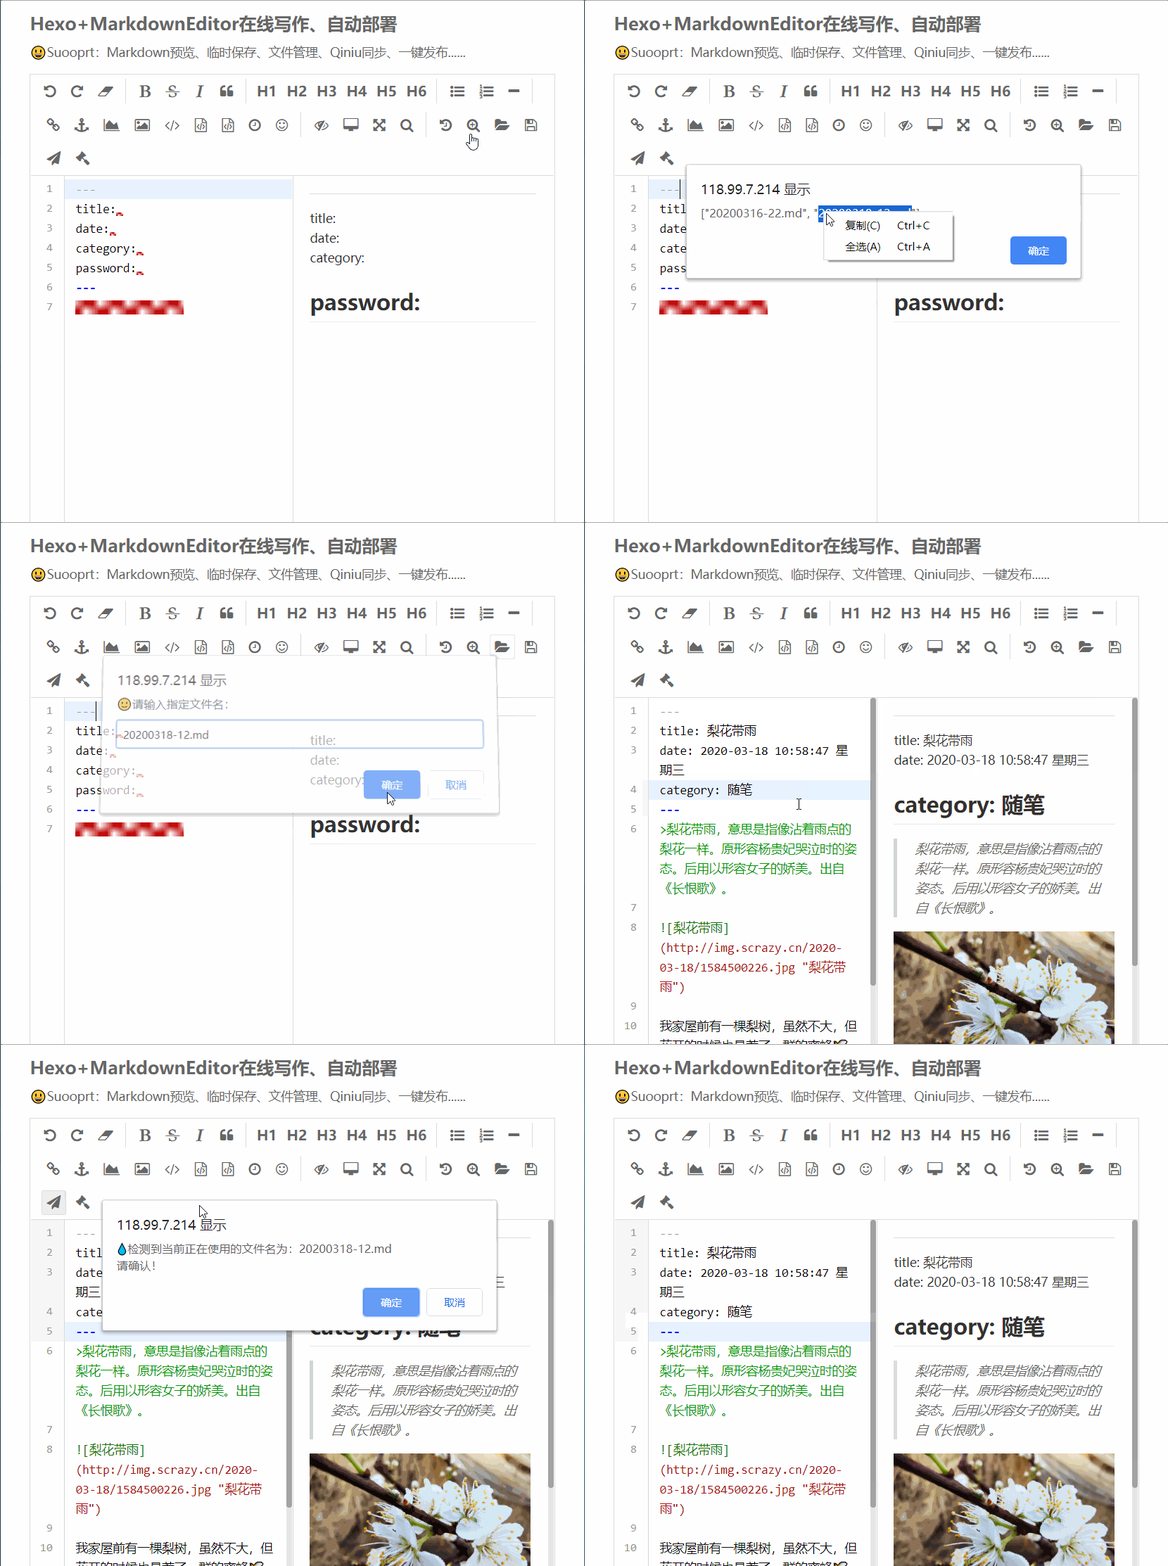
查找、更新

选择Git、Nodejs作为构建Hexo的必要条件
安装node、npm
apt-get install nodejs
apt install nodejs-legacy
apt install npm
安装Git
本地和服务器均装Git,方便本地和服务器间的数据同步
apt-get install git
配置
本地(Windows)
- blogsync目录下
git init生成不可见的.git仓库

- 生产密钥、配置路径
git remote add origin [email protected]:/home/gituser/blog.git
该指令执行后执行后会在当前.git/config文件里加入配置信息
3.git push origin master推送到服务器
服务器 - 增加gitgroup用户组,增加git用户
groupadd git
useradd git -m -g gitgroup
- 创建裸仓库
git --bare init blog.git - 赋予权限(ll查看)
chown -R git:gitgroup blog.git
其他
选择Ngnix作为Web 服务器,实现外网到内网的反向代理,主要用于
- MarkdownEditor编辑器前端静态资源的访问加速
- 实现对以.py文件结尾的文件转发到内网3000端口经Python数据处理
Nginx的nginx.conf文件配置如下:
server{
		proxy_send_timeout 800; #由于垃圾服务器构建时间太长,容易造成连接超时造成Nginx返回504以及中断Python程序执行
		proxy_read_timeout 800;
		listen 88;
		location / {
			root /home/editor;
			index index.html;
		}
		location ~ .py$ {
			proxy_pass http://127.0.0.1:3000;
		}
}
选择Python并选择Bottle框架编写简易的Web程序作为服务器数据处理,主要用于
- 完成简单的密码认证
- 接受前端POST方法提交的md文本内容
- 构建Hexo博客并同步到七牛云存储
#/home/pyweb python
#coding=utf-8
from bottle import route,run,request
import subprocess
import os
import json
import time
from urllib import unquote
from io import StringIO
import sys

#打开暂存
@route('/opentemp/<name>') #request.body为POST的内容
def index(name):
	if name == 'xxxxxx.py': #xxxxxxx作为简单的密码认证
		mdname="caogao.md"
		fw = open("/home/blog/source/_drafts/"+mdname, 'r')#根据时间新建md文件
		return fw.read()#读取文本
	else:
		return "false"

#临时保存
@route('/savetemp/<name>',method="POST") #request.body为POST的内容
def index(name):
	if name == 'xxxxxx.py':
		mdname="caogao.md"
		fw = open("/home/blog/source/_drafts/"+mdname, 'w')#根据时间新建md文件
		fw.write(request.body.read())#read()读取内存数据为字符串变量
		fw.close()#关闭文件
		return "true"
	else:
		return "false"

#检查密码
@route('/checkpass/<name>') #http://xxx.com/10/xxx.xxx,name=xxx.xxx
def index(name):
	if name == 'xxxxxx.py': #xxxxxxx作为简单的密码认证
		return "true"
	else:
		return "false"

#搜索文章
@route('/searchfile/<name>') #http://xxx.com/10/xxx.xxx,name=xxx.xxx
def index(name):
	if name == 'xxxxxx.py': #xxxxxxx作为简单的密码认证
		path="/home/blog/source/_posts"
		keyword=request.GET.get('keyword')
		result=[]
		dirs=os.listdir(path)
		for file in dirs:
			if file.find(keyword) != -1 :
				result.append(file)
		return json.dumps(result,ensure_ascii=False)
	else:
		return "false"

#打开文章
@route('/openfile/<name>') #http://xxx.com/10/xxx.xxx,name=xxx.xxx
def index(name):
	if name == 'xxxxxx.py': #xxxxxxx作为简单的密码认证
		mdname=unquote(request.GET.get('filename'))
		fw = open("/home/blog/source/_posts/"+mdname, 'r')#根据时间新建md文件
		return fw.read()#读取文本
		mdname=request.GET.get('filename')
		fw = open("/home/blog/source/_posts/"+mdname, 'r')#根据时间新建md文件
		return fw.read()#读取文本
	else:
		return "false"

#发布新文章
@route('/public/<name>',method="POST") #request.body为POST的内容
def index(name):
	if name == 'xxxxxx.py':
		mdname = unquote(request.POST.get('filename'))
		content = unquote(request.POST.get('content'))
		fw = open("/home/blog/source/_posts/"+mdname, 'w')#根据时间新建md文件
		fw.write(content)
		fw.close()
		cmd1 = "cd /home/blog"
		cmd2 = "cp -rf /home/blog/source/_posts /home/blog/public/md"
		cmd3 = "hexo g"
		cmd4 = "hexo qiniu sync" #Public文件夹同步到七牛云
		cmd = cmd1 + " && " + cmd2  + " && "+ cmd3 + " && "+ cmd4
		subprocess.call(cmd,shell=True)#执行Shell脚本
		return "true"
	else:
		return "false"

run(host = 'localhost', port = 3000)#内网3000端口
带处理的问题
让 python 文件后台一直运行
nohup python -u /home/pyweb/blog.py > /home/pyweb/out.log 2>&1 &
后台运行
参数解释
无法构建html
内存不足,遭遇Killed

解决方法:参考链接:内存不足
七牛云文件同步只能覆盖不能删除的问题
详细的服务器部署过程
备注的命令
pkill -9 ningxnpm install hexo-blog-encrypt hexo-qiniu-sync- ps axu 查看所有进程
- kill xxx(pid) 关闭进程