一 概述
- 之前OC项目使用的都是命令行方式创建和编译,链接,运行项目
- 本文介绍使用IDE工具 xcode,创建项目,新建类文件及运行项目
二 xcode创建项目
-
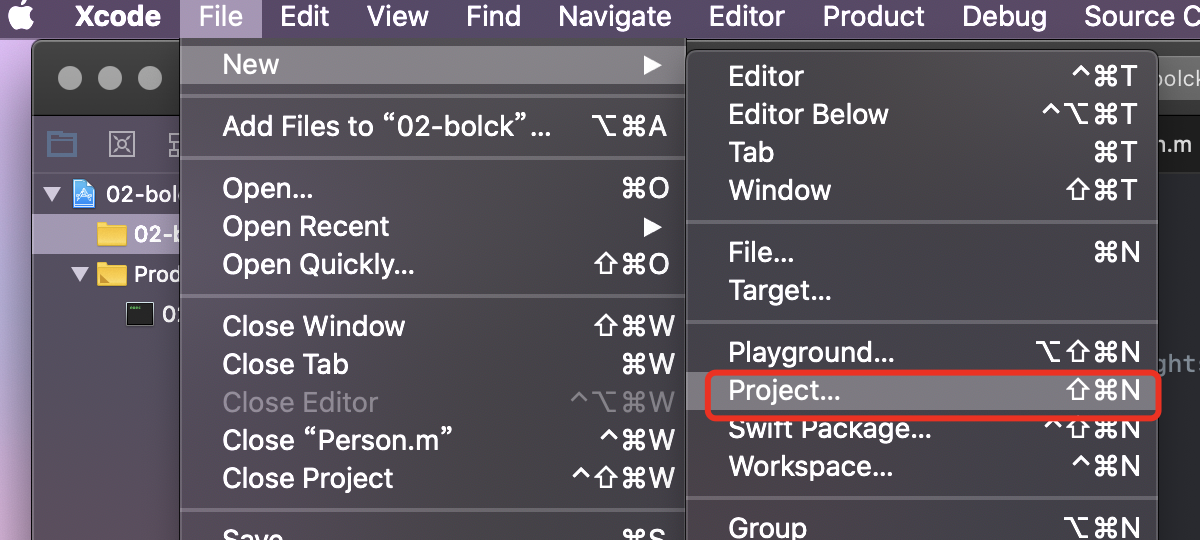
依次点击:Xcode——>File——>New——>Project,打开项目创建窗口
-
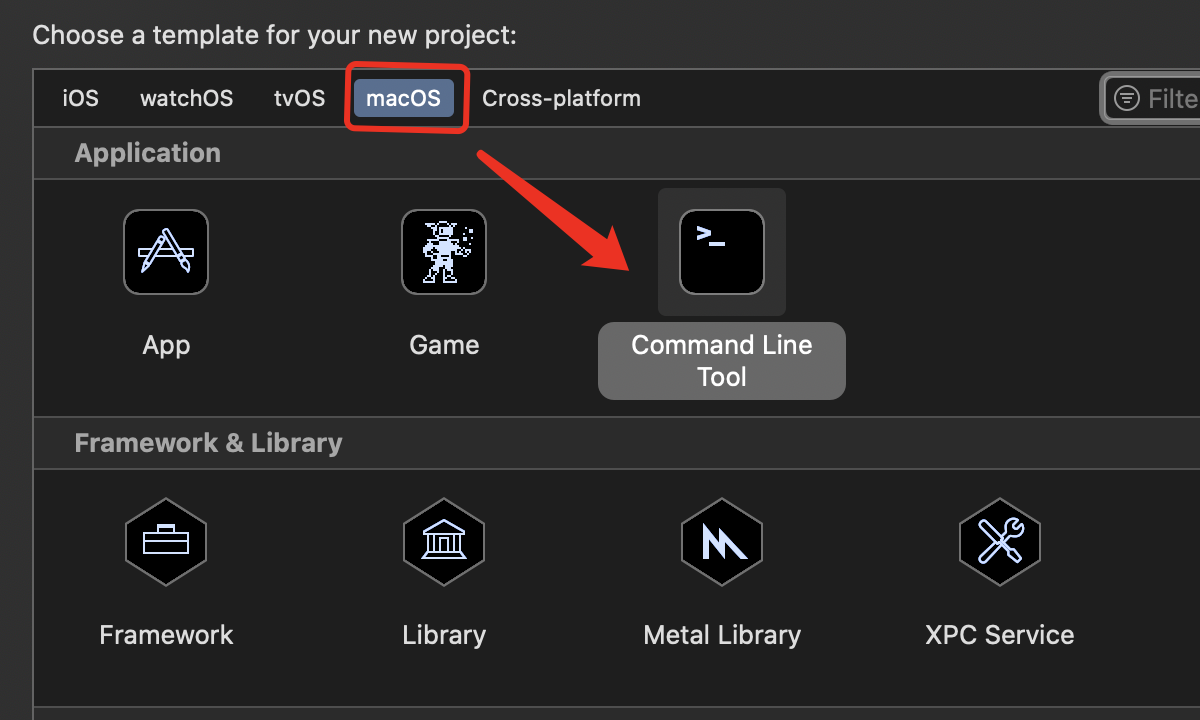
在项目创建窗口,选择macOS标签下的
Command Line Tool
-
在项目创建时的选项上选择或填入相应的内容
Product Name:项目名字
Organization Name(可无)
Organization Identifier:组织标识(一般填入公司的网址)
Bundle Identifier:无需填写,根据Organization Identifier和Product Name,自动生成
Languge:有C,C++,Object-C和switch语言(本文选择Object-C)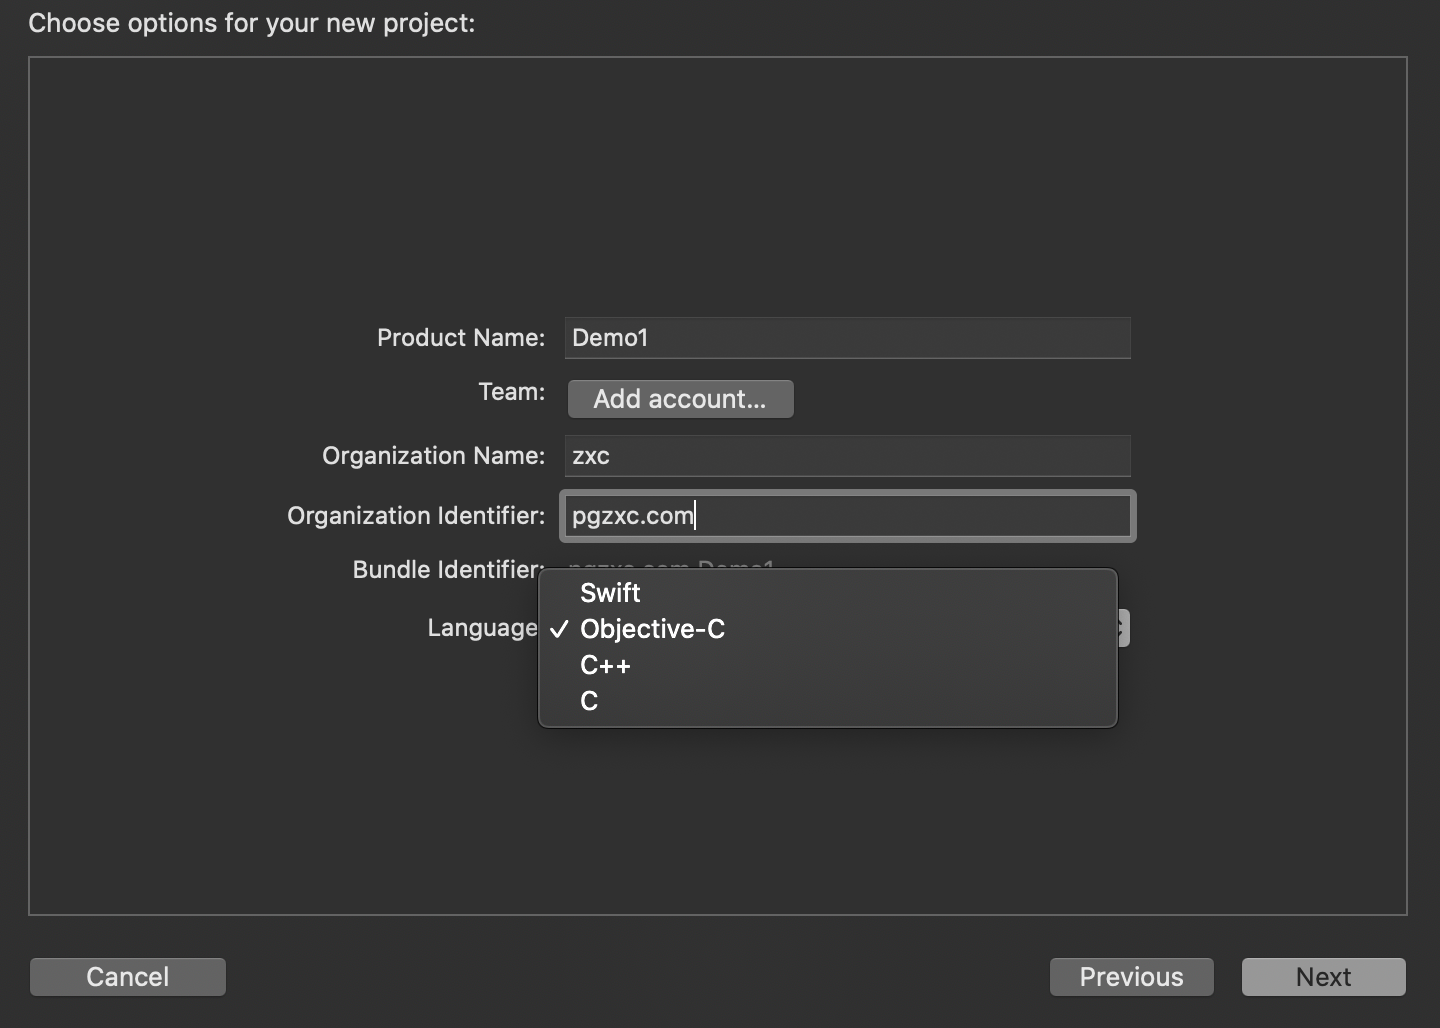
-
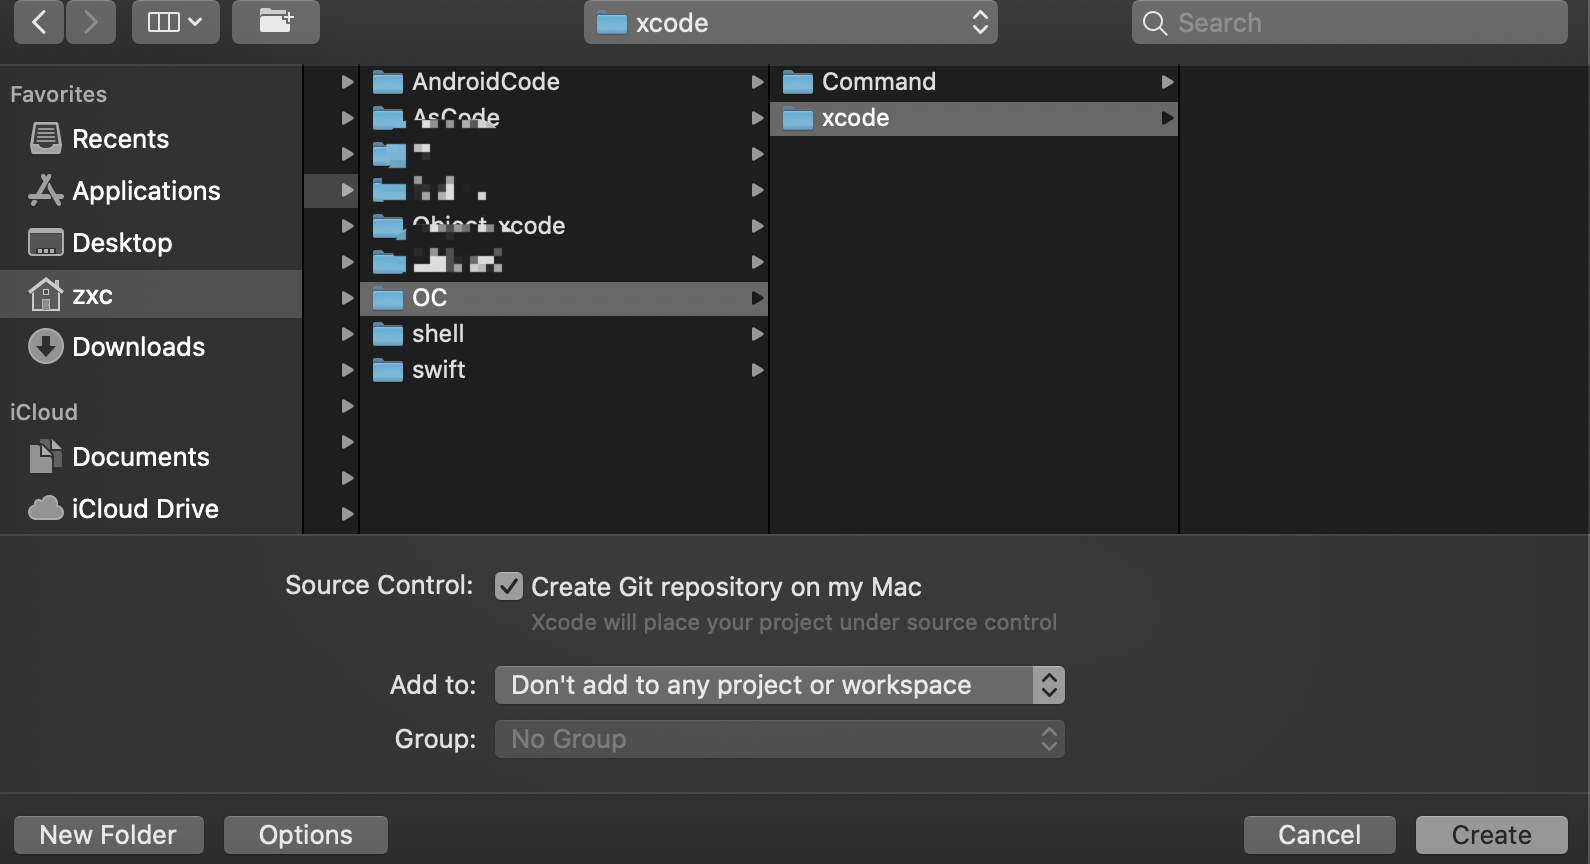
下一步,选择文件的存放位置
-
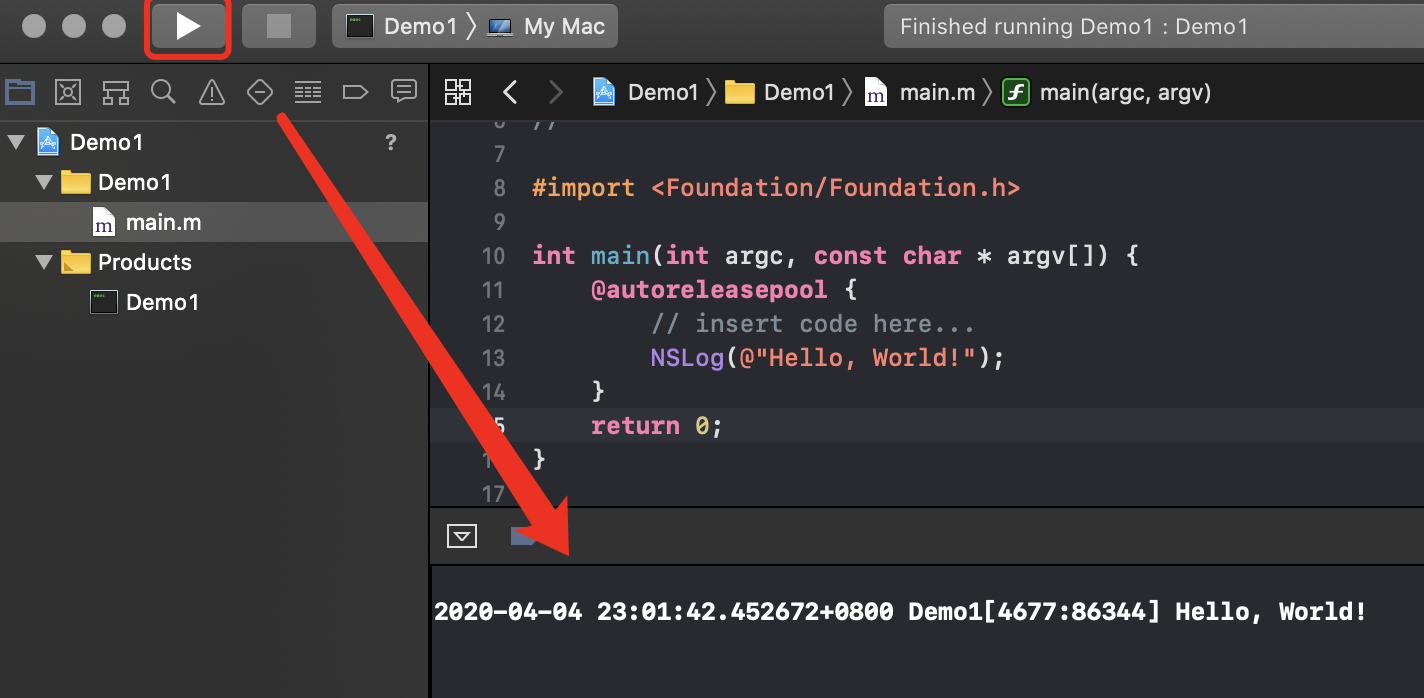
点击左上角的
▶️运行项目,查看项目输出
三 新建文件
-
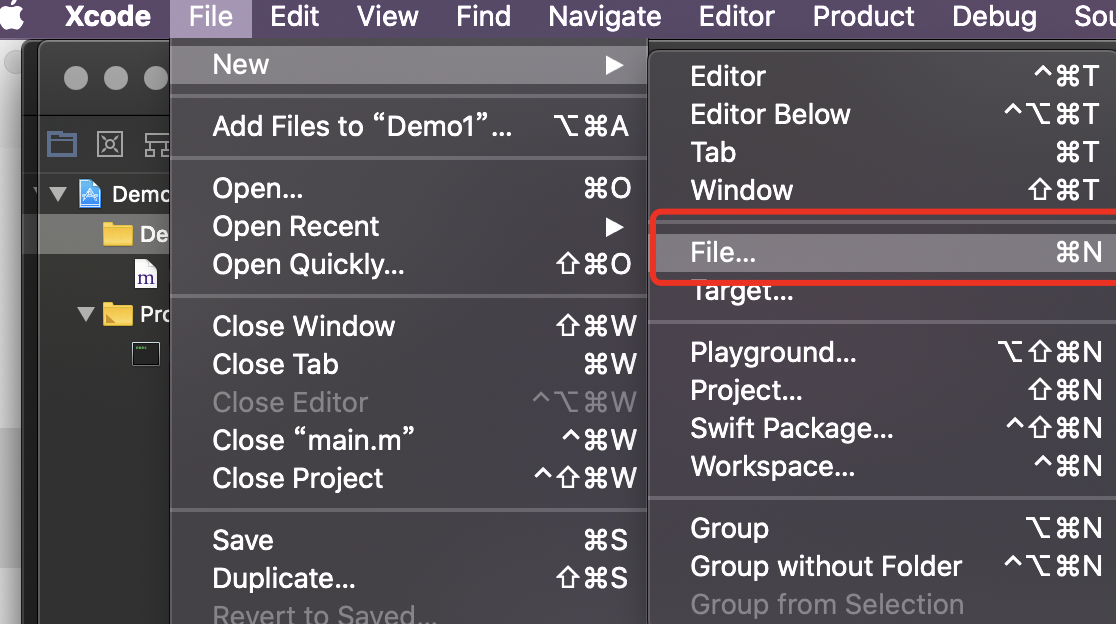
依次点击:Xcode——>File——>New——>File,打开文件新建对话框
-
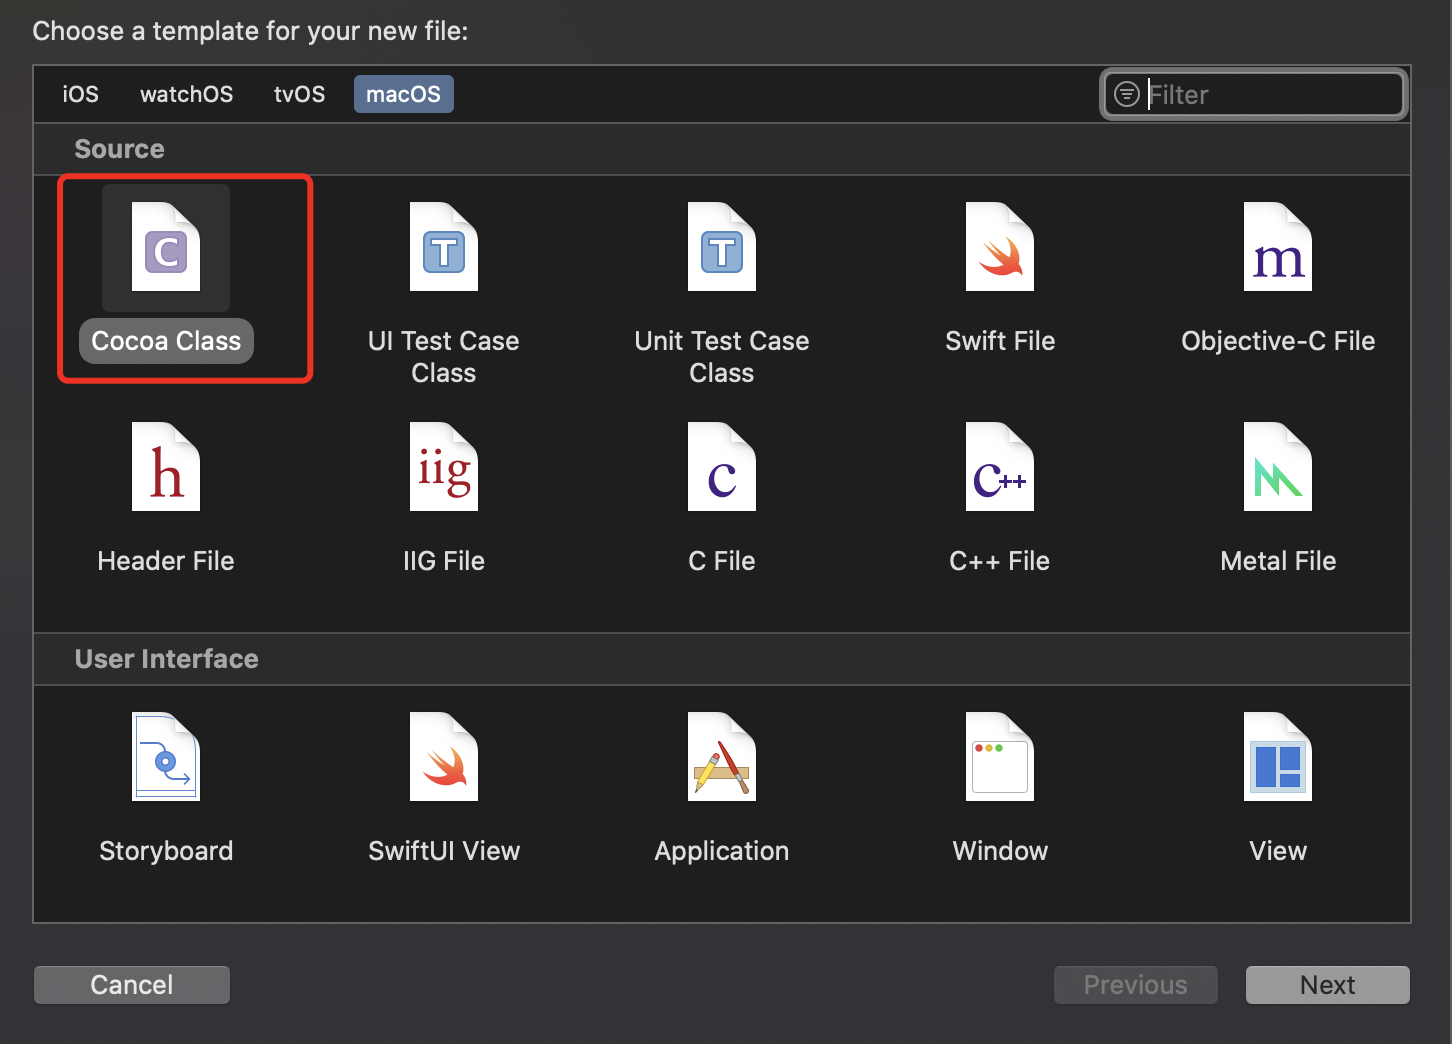
在文件新建对话框中选择macOS标签下的
Cocoa Class
-
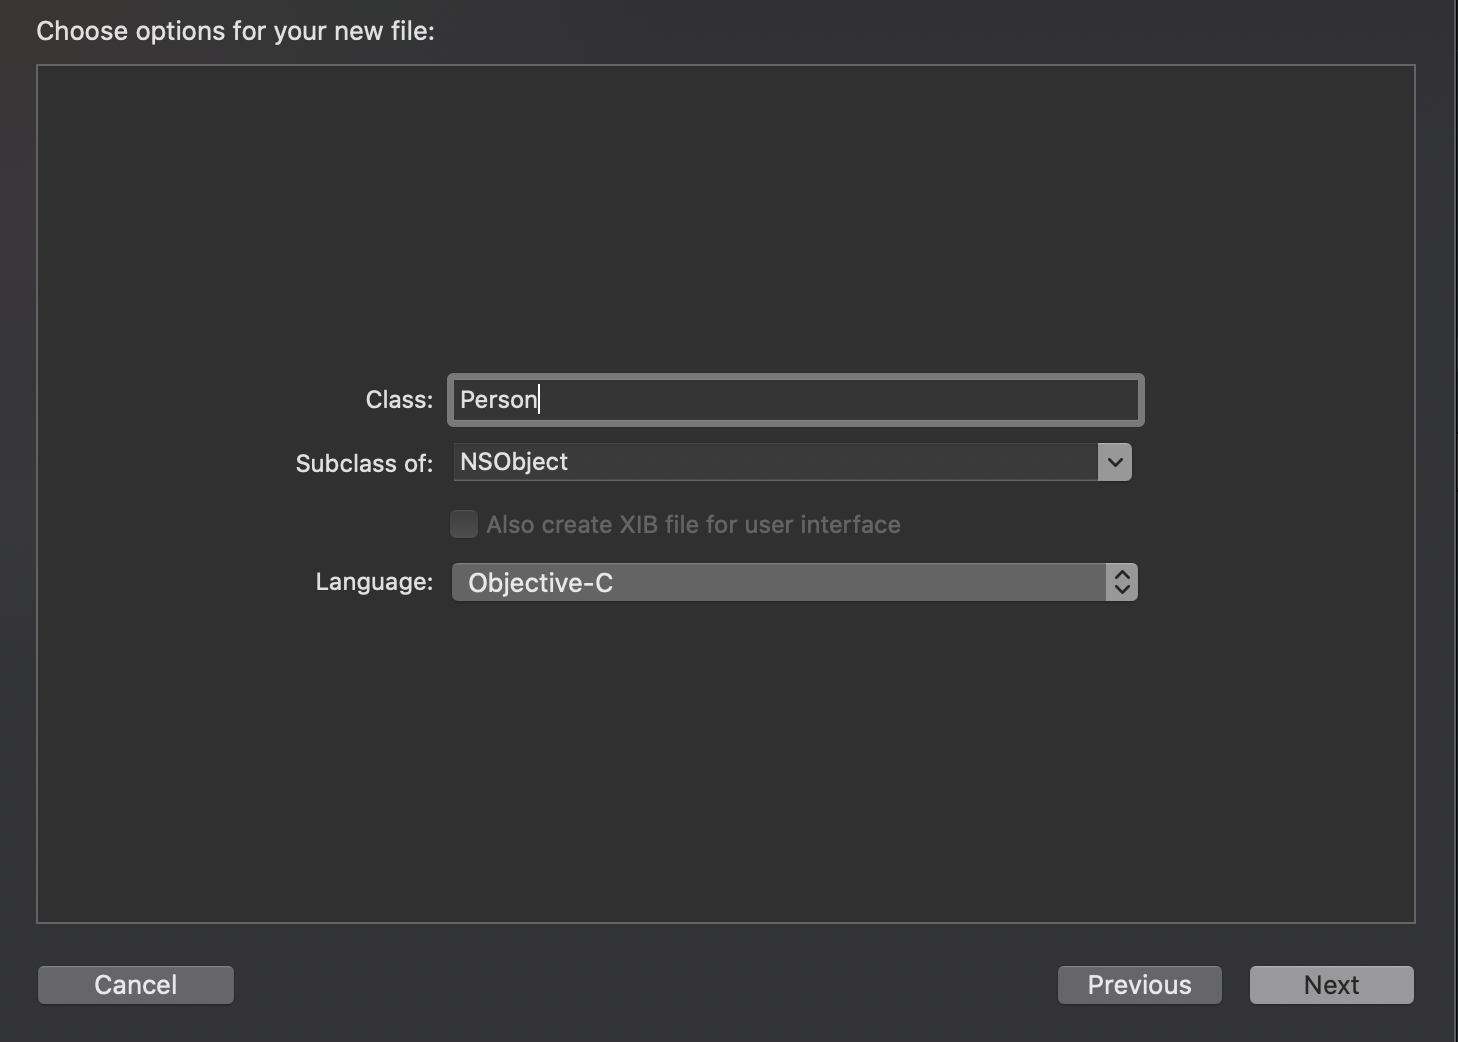
创建新类时,填入类名,并进入下一步
-
文件创建成后后,项目下多了连个文件(Person.h,Person.m)
//文件声明 Person.h
#import <Foundation/Foundation.h>
NS_ASSUME_NONNULL_BEGIN
@interface Person : NSObject
@end
NS_ASSUME_NONNULL_END
//文件实现 Person.m
#import "Person.h"
@implementation Person
@end
四 主函数调用
#import <Foundation/Foundation.h>
#include "Person.h"

int main(int argc, const char * argv[]) {
    @autoreleasepool {
        // insert code here...
        //NSLog(@"Hello, World!");
        Person *person=[Person new];
        [person setAge:10];
        NSLog(@"年龄是%d",[person age]);
    }
    return 0;
}
