文章目录
1. 代码实现
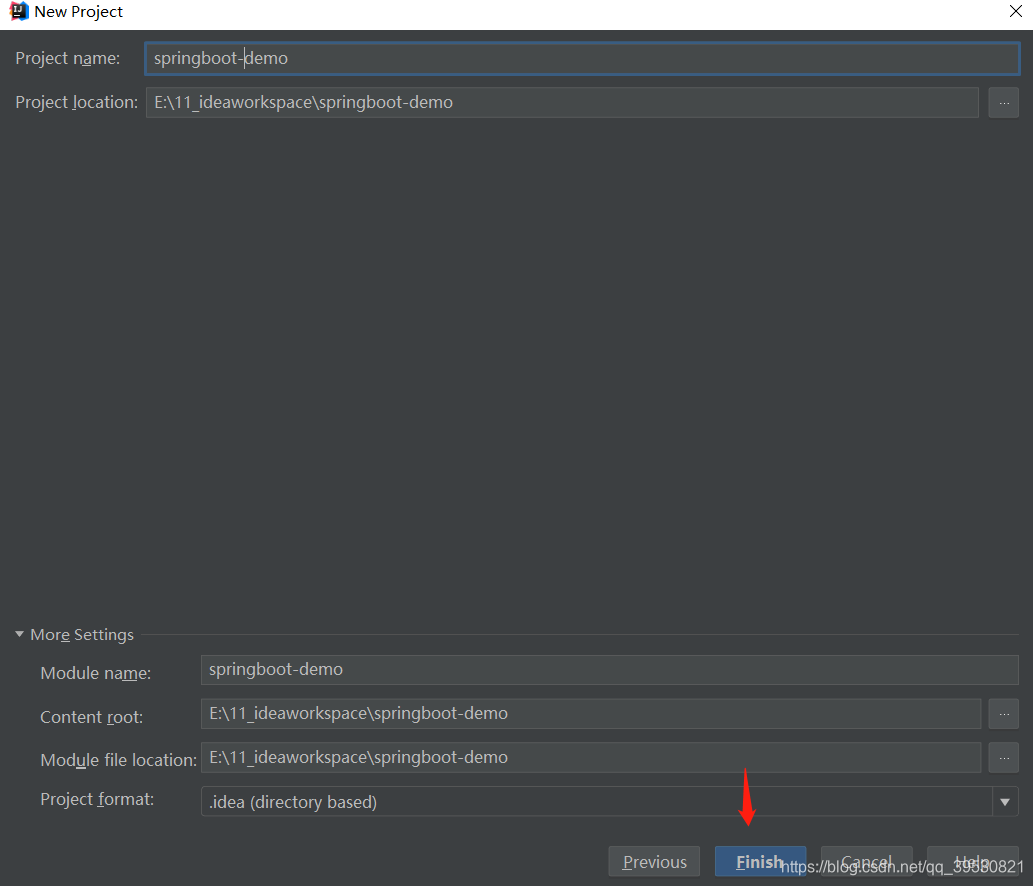
1.1 创建Maven工程
使用idea创建Maven工程:

输入GroupId和ArtifactId:
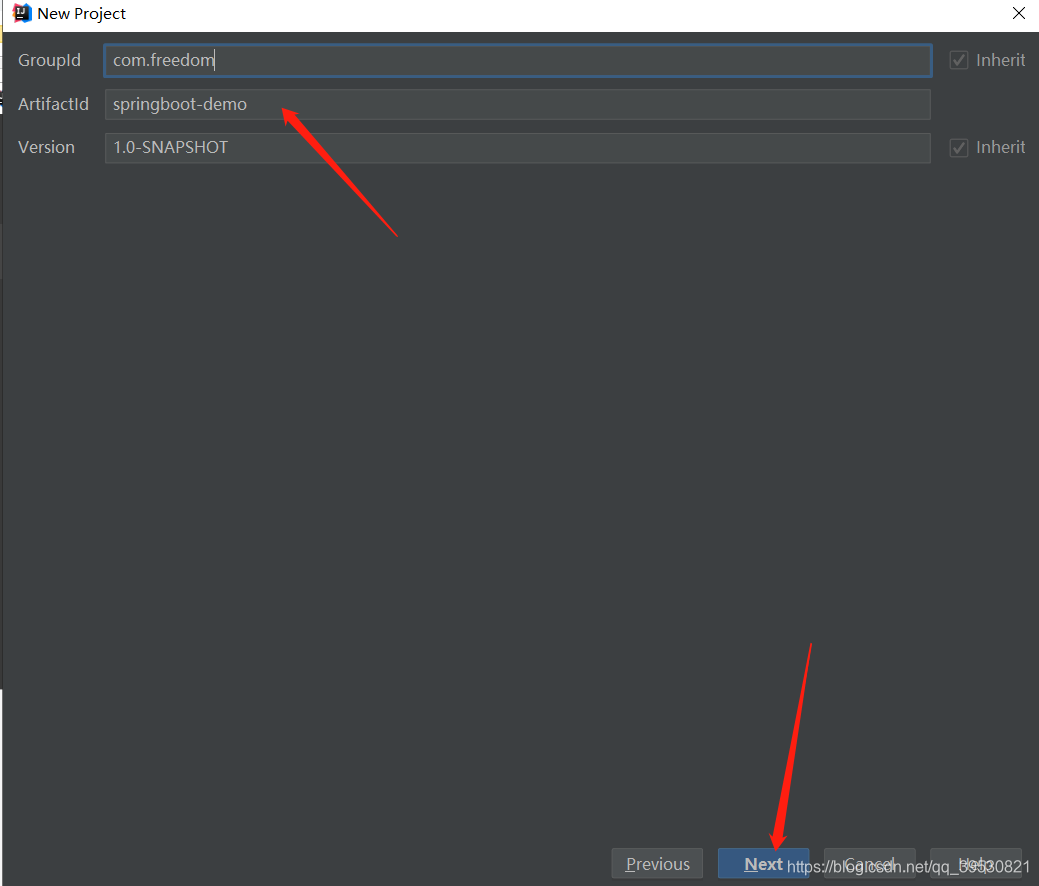
下一步
1.2 添加SpringBoot的起步依赖
在pom.xml添加起步依赖
 	<parent>
        <groupId>org.springframework.boot</groupId>
        <artifactId>spring-boot-starter-parent</artifactId>
        <version>2.2.0.RELEASE</version>
    </parent>
添加springMVC依赖
1.3 添加Springboot引导类
package com.freedom;

import org.springframework.boot.SpringApplication;
import org.springframework.boot.autoconfigure.SpringBootApplication;

@SpringBootApplication
public class MySpringBootApplication {
    public static void main(String[] args) {
        SpringApplication.run(MySpringBootApplication.class);
    }
}
1.4 编写Controller
package com.freedom.controller;

import org.springframework.stereotype.Controller;
import org.springframework.web.bind.annotation.RequestMapping;
import org.springframework.web.bind.annotation.ResponseBody;

@Controller
public class DemoController {

    @RequestMapping("/demo")
    @ResponseBody
    public String quick() {
        return "springboot-demo 访问成功!";
    }
}
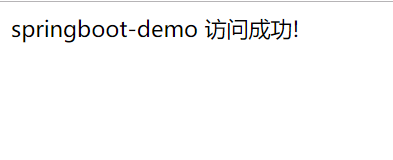
1.5 测试
启动测试类,查看启动日志
  .   ____          _            __ _ _
 /\\ / ___'_ __ _ _(_)_ __  __ _ \ \ \ \
( ( )\___ | '_ | '_| | '_ \/ _` | \ \ \ \
 \\/  ___)| |_)| | | | | || (_| |  ) ) ) )
  '  |____| .__|_| |_|_| |_\__, | / / / /
 =========|_|==============|___/=/_/_/_/
 :: Spring Boot ::        (v2.2.0.RELEASE)

2019-11-07 21:53:21.790  INFO 16736 --- [           main] com.freedom.MySpringBootApplication      : Starting MySpringBootApplication on To-be-better with PID 16736 (E:\11_ideaworkspace\springboot-demo\target\classes started by wiljz in E:\11_ideaworkspace\springboot-demo)
2019-11-07 21:53:21.795  INFO 16736 --- [           main] com.freedom.MySpringBootApplication      : No active profile set, falling back to default profiles: default
2019-11-07 21:53:26.499  INFO 16736 --- [           main] o.s.b.w.embedded.tomcat.TomcatWebServer  : Tomcat initialized with port(s): 8080 (http)
2019-11-07 21:53:26.536  INFO 16736 --- [           main] o.apache.catalina.core.StandardService   : Starting service [Tomcat]
2019-11-07 21:53:26.536  INFO 16736 --- [           main] org.apache.catalina.core.StandardEngine  : Starting Servlet engine: [Apache Tomcat/9.0.27]
2019-11-07 21:53:26.791  INFO 16736 --- [           main] o.a.c.c.C.[Tomcat].[localhost].[/]       : Initializing Spring embedded WebApplicationContext
2019-11-07 21:53:26.791  INFO 16736 --- [           main] o.s.web.context.ContextLoader            : Root WebApplicationContext: initialization completed in 4695 ms
2019-11-07 21:53:27.100  INFO 16736 --- [           main] o.s.s.concurrent.ThreadPoolTaskExecutor  : Initializing ExecutorService 'applicationTaskExecutor'
2019-11-07 21:53:27.466  INFO 16736 --- [           main] o.s.b.w.embedded.tomcat.TomcatWebServer  : Tomcat started on port(s): 8080 (http) with context path ''
2019-11-07 21:53:27.469  INFO 16736 --- [           main] com.freedom.MySpringBootApplication      : Started MySpringBootApplication in 7.905 seconds (JVM running for 9.323)
2019-11-07 21:53:45.936  INFO 16736 --- [nio-8080-exec-1] o.a.c.c.C.[Tomcat].[localhost].[/]       : Initializing Spring DispatcherServlet 'dispatcherServlet'
2019-11-07 21:53:45.936  INFO 16736 --- [nio-8080-exec-1] o.s.web.servlet.DispatcherServlet        : Initializing Servlet 'dispatcherServlet'
2019-11-07 21:53:45.941  INFO 16736 --- [nio-8080-exec-1] o.s.web.servlet.DispatcherServlet        : Completed initialization in 5 ms
输入:http://localhost:8080/demo
显示
2. 快速入门解析
- @SpringBootApplication:标注SpringBoot的启动类,该注解具备多种功能(后面详细剖析)
- SpringApplication.run(MySpringBootApplication.class) 代表运行SpringBoot的启动类,参数为SpringBoot
启动类的字节码对象
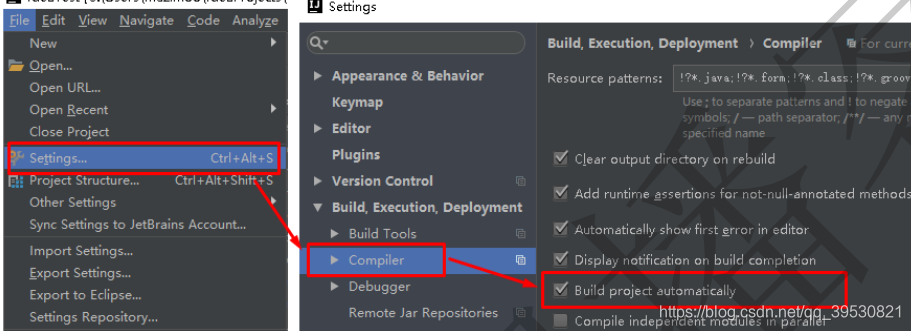
3. 热部署
修改代码之后,不用重启而生效,称为热部署。在pom.xml添加
<!--热部署配置-->
    <dependency>
        <groupId>org.springframework.boot</groupId>
        <artifactId>spring-boot-devtools</artifactId>
    </dependency>
注意设置idea自动编译功能。
接着 Shift+Ctrl+Alt+/,选择Registry

