SpringBoot 为我们提供了 Thymeleaf 自动化配置解决方案,所以我们在 SpringBoot 中使用 Thymeleaf 非常方便
一、简介
Thymeleaf是一个流行的模板引擎,该模板引擎采用Java语言开发,模板引擎是一个技术名词,是跨领域跨平台的概念,在Java语言体系下有模板引擎,在C#、PHP语言体系下也有模板引擎。除了thymeleaf之外还有Velocity、FreeMarker等模板引擎,功能类似。
Thymeleaf的主要目标在于提供一种可被浏览器正确显示的、格式良好的模板创建方式,因此也可以用作静态建模。你可以使用它创建经过验证的XML与HTML模板。使用thymeleaf创建的html模板可以在浏览器里面直接打开(展示静态数据),这有利于前后端分离。需要注意的是thymeleaf不是spring旗下的。
二、整合
- 1、引入 thymeleaf,在 pom.xml 文件中加入:
<!-- thymeleaf 模板引擎 -->
<dependency>
    <groupId>org.springframework.boot</groupId>
    <artifactId>spring-boot-starter-thymeleaf</artifactId>
</dependency>
<!-- web 开发 -->
<dependency>
	<groupId>org.springframework.boot</groupId>
	<artifactId>spring-boot-starter-web</artifactId>
</dependency>
由于 SpringBoot 为 thymeleaf 提供了一整套的自动化配置方案,使得我们几乎不需要做任何更改就可以直接使用了
- 2、SpringBoot 中 thymeleaf 默认配置
@ConfigurationProperties(prefix = "spring.thymeleaf")
public class ThymeleafProperties {
	private static final Charset DEFAULT_ENCODING = StandardCharsets.UTF_8;
	public static final String DEFAULT_PREFIX = "classpath:/templates/";
	public static final String DEFAULT_SUFFIX = ".html";
	/**
	 * Whether to check that the template exists before rendering it.
	 */
	private boolean checkTemplate = true;
	/**
	 * Whether to check that the templates location exists.
	 */
	private boolean checkTemplateLocation = true;
	/**
	 * Prefix that gets prepended to view names when building a URL.
	 */
	private String prefix = DEFAULT_PREFIX;
	/**
	 * Suffix that gets appended to view names when building a URL.
	 */
	private String suffix = DEFAULT_SUFFIX;
	/**
	 * Template mode to be applied to templates. See also Thymeleaf's TemplateMode enum.
	 */
	private String mode = "HTML";
	...
}
通过 org.springframework.boot.autoconfigure.thymeleaf.ThymeleafProperties 找到 SpringBoot 中 thymeleaf 的默认配置,我们不难看出
默认编码格式:UTF-8
默认路径:classpath:/templates/,都放在根目录下的 templates 目录下
默认后缀:.html,thymeleaf 都是 html 文件
检查模板:默认开启
检查模板位置:默认开启
…
从上述源码可以看出,我们的 thymeleaf 模板文件默认放在 resources/templates 目录下,默认的后缀是 .html
当然,我们不想使用默认配置,我们也可以在 application.tml 文件中以 spring.thymeleaf 开始个性配置
例如:
spring:
	# thymeleaf模板引擎配置
  	thymeleaf:
	    # 缓存
	    cache: false
	    # 编码格式
	    encoding: UTF-8
我们在开发中,可能被缓存坑过很多次,我们可以将 thymeleaf 中的缓存给关闭,保持实时更新
三、开发

- 1、创建控制层 IndexController.java
@Controller
public class IndexController {

    /**
     * 请求 index 页面
     * @return
     */
     @GetMapping("index")
    public ModelAndView index() {
        ModelAndView mav = new ModelAndView("index");
        mav.addObject("title", "首页");
        List<UserInfo> list = new ArrayList<>();
        UserInfo user = null;
        for (int i = 0; i < 10; i++) {
            user = new UserInfo();
            user.setId(i + 1);
            user.setNickName("user" + i);
            user.setSignature("SpringBoot真香,+" + (i + 1));
            list.add(user);
        }
        mav.addObject("users", list);
        return mav;
    }
}
我们创建了 IndexController,请求 index 返回 index.html 页面,
- 2、创建 thymeleaf 模板 index.html
下面我们在 resources/templates 目录下创建 index.html
<!DOCTYPE html>
<html xmlns="http://www.w3.org/1999/xhtml" xmlns:th="http://www.thymeleaf.org">
<head>
    <meta charset="UTF-8">
    <title th:text="${title}"></title>
</head>
<body>
<table border="1">
    <tr>
        <td>用户编号</td>
        <td>用户昵称</td>
        <td>个性签名</td>
    </tr>
    <tr th:each="item : ${list}">
        <td th:text="${item.id}"></td>
        <td th:text="${item.nickName}"></td>
        <td th:text="${item.signature}"></td>
    </tr>
</table>
</body>
</html>
注意:
xmlns=“http://www.w3.org/1999/xhtml” xmlns:th=“http://www.thymeleaf.org”,是必须要在 html 标签中写入的
xmlns 是xml namespace的缩写,也就是 XML 命名空间
xmlns 属性可以在文档中定义一个或多个可供选择的命名空间
该属性可以放置在文档内任何元素的开始标签中
该属性的值类似于URL,它定义了一个命名空间,浏览器会将此命名空间用于该属性所在元素内的所有内容
我们在 ModelAndView 中传入了 title 参数,使用 th:text="${title}" 给 title 标签赋值,与 JSTL 使用方式类似,效果如图:

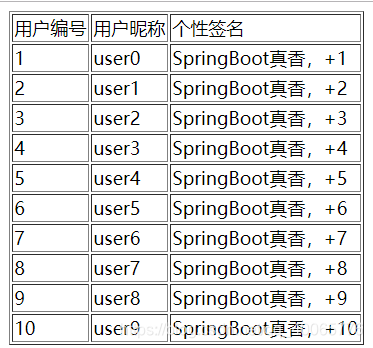
我们还通过 th:each=“item : ${list}” 渲染了一个用户表格,如图:
- 3、拼接 URL
<a th:href="@{/user/info(id=${user.id})}">参数拼接</a>
<a th:href="@{/user/info(id=${user.id},phone=${user.phone})}">多参数拼接</a>
<a th:href="@{/user/info/{uid}(uid=${user.id})}">RESTFUL风格</a>
<a th:href="@{/user/info/{uid}/abc(uid=${user.id})}">RESTFUL风格</a>
四、thymeleaf 在 JavaScript 中的使用技巧
- 1、开发前戏
<script type="text/javascript" th:inline="javascript">
...
</script>
我们需要在 script 标签中写入 th:inline=“javascript”,注明使用 thymeleaf 的内联方法
- 2、Ajax 路径问题
url: /*[[@{/user/saveUser}]]*/,
data: {
	'user': user
}
type: 'post',
dataType: 'json',
我们使用 /[[@{/**}]]/ 来获取项目的上下文路径,访问项目
- 3、获取 model 中的数据
<script type="text/javascript" th:inline="javascript">
	var userName = [[${user.name}]];
</script>
4、使用前端框架的 iframe 弹窗,例如 layui
function showUserInfo() {
    layer.open({
        type: 2,
        title: '用户信息',
        shade: 0.2,
        area: ['600px', '450px'],
        offset: '100px',
        shadeClose: false,
        content: /*[[@{/user/getUserInfo}]]*/
    });
}
需要传参:
layer.open({
    type: 2,
    title: '用户信息',
    shade: 0.2,
    area: ['600px', '450px'],
    offset: '100px',
    shadeClose: false,
    content: [[@{/user/getUserInfo}]]+'?id='+id
});
我们在路径中传入了用户的 id
五、手动渲染
我们在发送邮件的时候,会需要使用到邮件模板,我们选择手动渲染即可
- 1、新建一个邮件模板 email.html
<!DOCTYPE html>
<html xmlns="http://www.w3.org/1999/xhtml" xmlns:th="http://www.thymeleaf.org">
<head>
    <meta charset="UTF-8">
    <title>欢迎加入我们</title>
</head>
<body>
<h1 style="text-align: center">入职欢迎</h1>
<p><span th:text="${user.name}"></span>:你好!!!欢迎加我们XXX公司,你的入职信息如下:</p>
<p>岗位:<span th:text="${user.job}"></span></p>
<p>月薪:<span th:text="${user.wages}"></span></p>
</body>
</html>
- 2、发送邮件测试
@Autowired
TemplateEngine templateEngine;

@Test
public void test1() throws MessagingException {
    Context context = new Context();
    context.setVariable("name", "张三");
    context.setVariable("job", "Java开发工程师");
    context.setVariable("wages", 7800);
    String mail = templateEngine.process("email", context);
    emailUtils.sendHtmlMail("[email protected]", "入职通知", mail);
}
SpringBoot 中发送邮件的教程请看:SpringBoot中发送邮件
- 3、效果展示
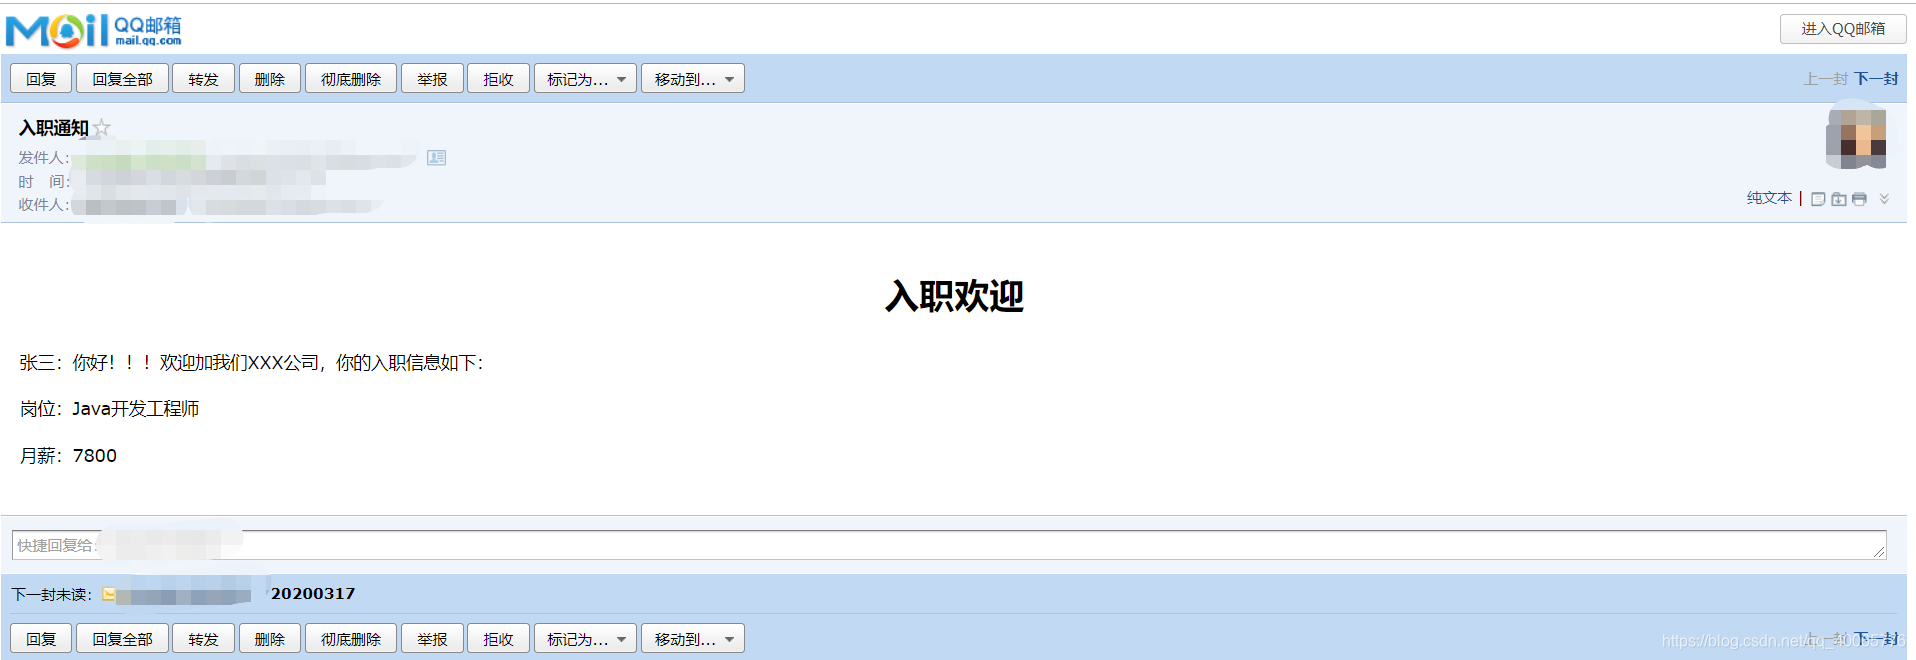
最终,我们收到如下邮件:
总结:
Spring Boot 针对 Thymeleaf 提供了一整套的自动化配置方案,这对我们在 SpringBoot 中使用 Thymeleaf 更加方便,SpringBoot 为我们提供了默认配置,我们也可以对其进行个性化配置
以上就是我们在学习 SpringBoot 整合 Thymeleaf 时的一些知识点,更多内容请访问:Thymeleaf 官方文档
Thymeleaf 的官方文档:https://www.thymeleaf.org
如您在阅读中发现不足,欢迎留言!!!
