各位好!
今天跟大家分享一下我的一个练手案例,使用tkinter和PILLOW自建屏保程序,相信大家对于屏保都不陌生,那么,如果要我们自己来开发这个程序,应该如何做呢?
整个过程我将其拆解成如下几个步骤:
1、图片采集;2、屏保主窗口实现;3、图片显示;4、图片轮询或者随机选择;5、界面优化。
那么,整个实现过程将围绕上述进行展开。
文章目录
一、图片采集
我认为有三种方法:
- 其一:使用爬虫技术从网上下载图片,可以开一个子线程负责采集网上图片,然后加载到list列表中;
- 其二:可以直接对电脑中所有的盘进行自动检索,然后加载到list列表中;
- 其三:指定目录,然后加载到list列表中;
我这里偷个懒,选择第三种方法实现。具体代码如下:
path = './image/'
files = []
dirs = os.listdir(path)
for diretion in dirs:
    files.append(path + diretion)
二、图片装载
我为什么在初始化的时候就进行装载呢?
原因是:解决效率问题,无需每次使用时重复加载,而且在初始化的时候就适配屏幕大小进行图片缩放。
因此,我把这个过程打包成一个函数,方便后续调用,而且参数传递为:屏幕的大小。然后返回img_files对象。
def load_images(size1):
    path = './image/'
    files = []
    dirs = os.listdir(path)
    for diretion in dirs:
        files.append(path + diretion)

    img_files = []
    for file in files:
        img = Image.open(file)
        img = img.resize(size1)
        img_files.append(img)

    return img_files
譬如,在我本机的输出图片的信息如下:
E:\Python37\python.exe E:/code01.py
(1366, 768)
['./image/timg.jpg', './image/timg1.jpg', './image/timg2.jpg']
[<PIL.Image.Image image mode=RGB size=1366x768 at 0x16F04FE8248>, <PIL.Image.Image image mode=RGB size=1366x768 at 0x16F04FE8488>, <PIL.Image.Image image mode=RGB size=1366x768 at 0x16F05612E88>]
三、初始化tk窗口,让其全屏显示
import tkinter as tk
root = tk.Tk()
root.attributes("-fullscreen", True)
root.mainloop()
四、通过label控件加载图片
核心代码如下:
size = w,h = root.winfo_screenwidth(),root.winfo_screenheight()
img_lists = load_images(size)
kk = random.choice(img_lists)
book = ImageTk.PhotoImage(kk)
label1 = tk.Label(root,image=book)
label1.kk = book
label1.pack(fill=tk.BOTH,expand=tk.Y)
五、随机抽取其中的一个图片对象
size = w,h = root.winfo_screenwidth(),root.winfo_screenheight()
img_lists = load_images(size)
kk = random.choice(img_lists)
六、一个初步可运行的代码
import os
from PIL import Image,ImageTk
import random
# from tkinter import *
import tkinter as tk

def load_images(size1):
    path = './image/'
    files = []
    dirs = os.listdir(path)
    for diretion in dirs:
        files.append(path + diretion)

    img_files = []
    for file in files:
        img = Image.open(file)
        img = img.resize(size1)
        img_files.append(img)

    return img_files

root = tk.Tk()
root.attributes("-fullscreen", True)

size = w,h = root.winfo_screenwidth(),root.winfo_screenheight()
img_lists = load_images(size)
kk = random.choice(img_lists)
book = ImageTk.PhotoImage(kk)
label1 = tk.Label(root,image=book)
label1.kk = book
label1.pack(fill=tk.BOTH,expand=tk.Y)
root.mainloop()

七、设置按键退出
def myquit(*args):
    root.destroy()
root.bind("<Any-KeyPress>", myquit)
八、设置定时更新
def go():
    kk = random.choice(img_lists)
    book = ImageTk.PhotoImage(kk)
    label1.configure(image=book)
    label1.kk = book
    root.after(1000, go)  # 每隔1s调用函数go
go()
九、第二版的完整代码
import os
from PIL import Image,ImageTk
import random
import tkinter as tk

def load_images(size1):
    path = './image/'
    files = []
    dirs = os.listdir(path)
    for diretion in dirs:
        files.append(path + diretion)

    img_files = []
    for file in files:
        img = Image.open(file)
        img = img.resize(size1)
        img_files.append(img)

    print(img_files)

    return img_files

root = tk.Tk()
root.attributes("-fullscreen", True)
root.update()
size = w,h = root.winfo_screenwidth(),root.winfo_screenheight()
print(size)
img_lists = load_images(size)
print(img_lists)
kk = random.choice(img_lists)
book = ImageTk.PhotoImage(kk)
label1 = tk.Label(root,image=book)
label1.kk = book
label1.pack(fill=tk.BOTH,expand=tk.Y)
def myquit(*args):
    root.destroy()
root.bind("<Any-KeyPress>", myquit)

def go():
    kk = random.choice(img_lists)
    book = ImageTk.PhotoImage(kk)
    label1.configure(image=book)
    label1.kk = book
    root.after(1000, go)  # 每隔1s调用函数go
go()

root.mainloop()
十、运行效果

十一、第三版改进版本
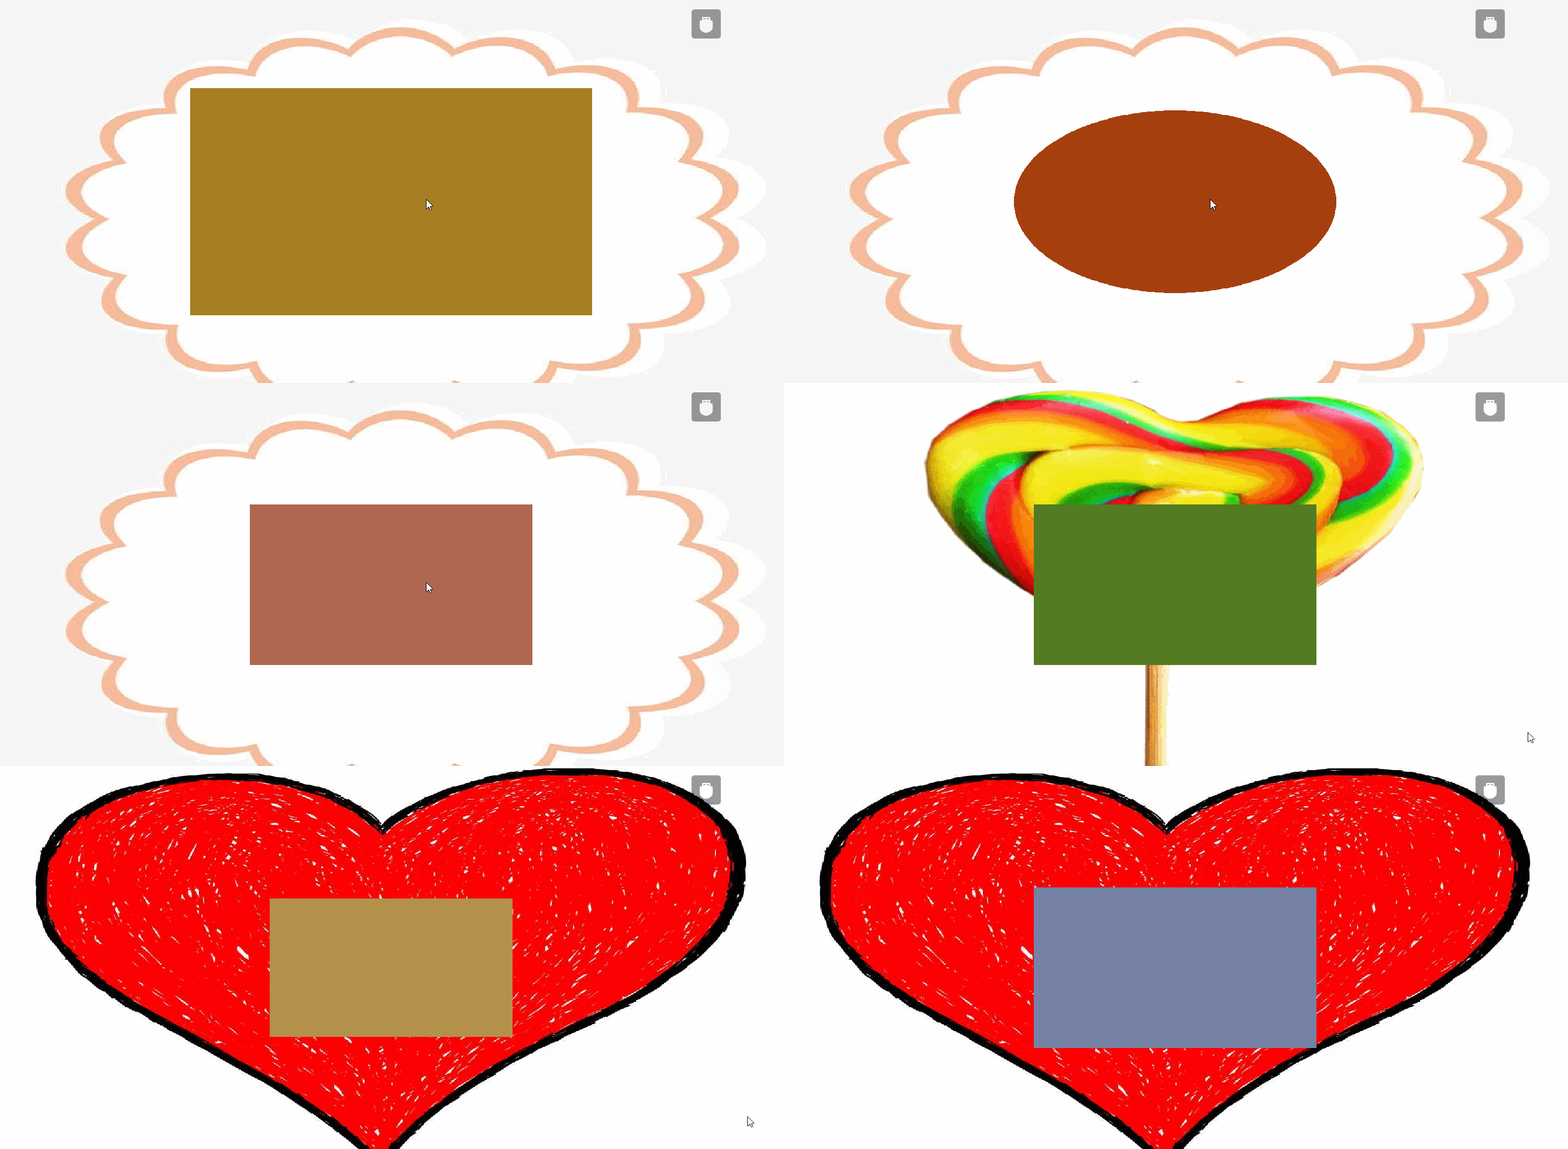
基于上述的第二版本,我又进一步做了改进,使用PIL中的ImageDraw对象画矩形框或者画椭圆,图片可以进行动态加载和显示,增加趣味性。其中的核心代码如下:
COUNT=20
r = lambda:randint(0,255)

def go2(img,i,flag,color):
    t_img = img.copy()
    drawer = ImageDraw.Draw(t_img)
    each_x = int(img.size[0]/2/COUNT)
    each_y = int(img.size[1]/2/COUNT)
    if(flag==1):
        drawer.ellipse((i*each_x,i*each_y,img.size[0]-i*each_x,img.size[1]-i*each_y),fill=color)
    else:
        drawer.rectangle((i*each_x,i*each_y,img.size[0]-i*each_x,img.size[1]-i*each_y),fill=color)
    print(i*each_x,i*each_y,img.size[0]-i*each_x,img.size[1]-i*each_y)
    book = ImageTk.PhotoImage(t_img)
    label1.configure(image=book)
    label1.kk = book
    if(i==COUNT):
        img = random.choice(img_lists)
        flag = random.choice([1,2])
        color = "#%02x%02x%02x" %(r(),r(),r())
        print(img)
        i=0
    else:
        i=i+1
    root.after(100, go2,img,i,flag,color)  # 每隔0.1s调用函数

i = 0
flag = random.choice([1, 2])
color = "#%02x%02x%02x" % (r(), r(), r())
gettime(kk,i,flag,color)
运行效果如下:

其中图片运行是随机的、图形也是随机的。更有趣味性。
OK,我的介绍完了,你学会了吗?希望对你有帮助!
共勉,比心!
