s3:搭建项目开发环境
3.1:数据库环境搭建
第一步:创建数据库
create database bos32 character set utf8;
第二步:创建数据库用户
create user xiaoming identified  by 'ermazi';
第三步:为新创建的用户赋权限
grant all on bos32.* to xiaoming;
问题1:1142 - SELECT command denied to user ‘xiaoming’@’localhost’ for table ‘user’
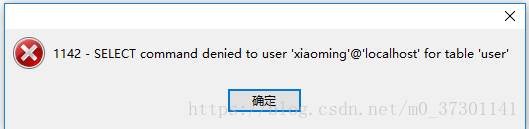
解决:使用root用户登陆navicat,然后查询mysql数据库下的user表,将xiaoming对应的Host改为localhost

3.2:maven项目环境
使用maven是依赖管理和项目构建的工具
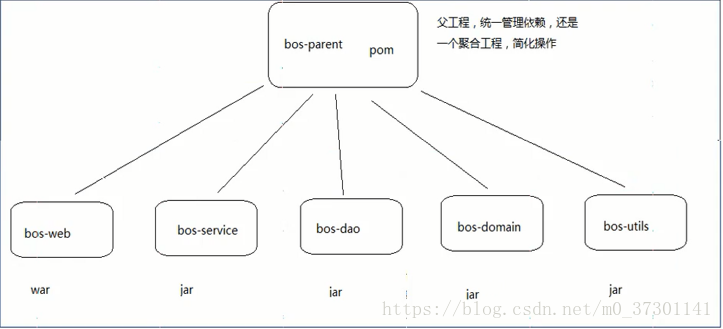
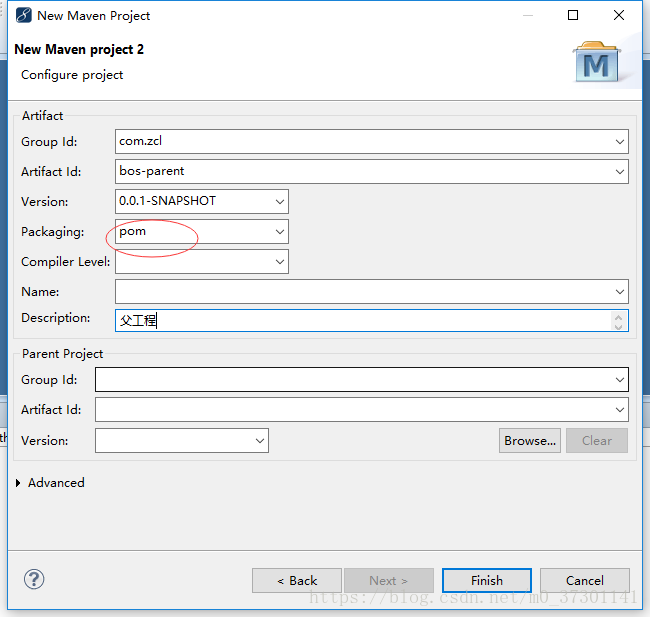
3.2.1:创建父工程 bos-parent
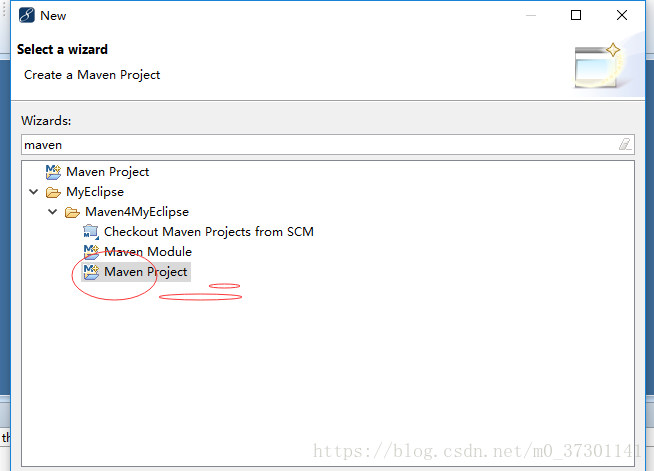
跳过骨架
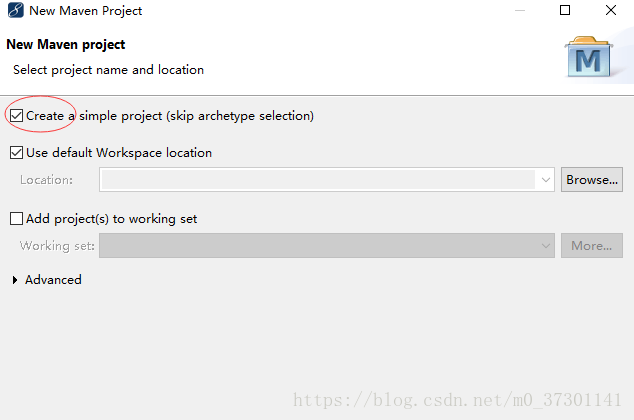
提供pom.xml文件
<project xmlns="http://maven.apache.org/POM/4.0.0" xmlns:xsi="http://www.w3.org/2001/XMLSchema-instance" xsi:schemaLocation="http://maven.apache.org/POM/4.0.0 http://maven.apache.org/xsd/maven-4.0.0.xsd">
<modelVersion>4.0.0</modelVersion>
<groupId>com.zcl</groupId>
<artifactId>bos-parent</artifactId>
<version>0.0.1-SNAPSHOT</version>
<packaging>pom</packaging>
<description>父工程</description>
<!-- 通过属性定义指定jar的版本 -->
<properties>
<spring.version>4.2.4.RELEASE</spring.version>
<hibernate.version>5.0.7.Final</hibernate.version>
<struts2.version>2.3.24</struts2.version>
<slf4j.version>1.6.6</slf4j.version>
<log4j.version>1.2.12</log4j.version>
<shiro.version>1.2.3</shiro.version>
</properties>
<dependencies>
<dependency>
<groupId>org.springframework</groupId>
<artifactId>spring-context</artifactId>
<version>${spring.version}</version>
</dependency>
<dependency>
<groupId>org.springframework</groupId>
<artifactId>spring-context-support</artifactId>
<version>${spring.version}</version>
</dependency>
<dependency>
<groupId>org.springframework</groupId>
<artifactId>spring-web</artifactId>
<version>${spring.version}</version>
</dependency>
<dependency>
<groupId>org.springframework</groupId>
<artifactId>spring-orm</artifactId>
<version>${spring.version}</version>
</dependency>
<dependency>
<groupId>org.springframework</groupId>
<artifactId>spring-beans</artifactId>
<version>${spring.version}</version>
</dependency>
<dependency>
<groupId>org.springframework</groupId>
<artifactId>spring-core</artifactId>
<version>${spring.version}</version>
</dependency>
<dependency>
<groupId>org.aspectj</groupId>
<artifactId>aspectjweaver</artifactId>
<version>1.7.4</version>
</dependency>
<!-- struts2 begin -->
<dependency>
<groupId>org.apache.struts</groupId>
<artifactId>struts2-core</artifactId>
<version>${struts2.version}</version>
<!-- 排除传递的依赖 -->
<exclusions>
<exclusion>
<artifactId>javassist</artifactId>
<groupId>javassist</groupId>
</exclusion>
</exclusions>
</dependency>
<dependency>
<groupId>org.apache.struts</groupId>
<artifactId>struts2-spring-plugin</artifactId>
<version>${struts2.version}</version>
</dependency>
<dependency>
<groupId>org.apache.struts</groupId>
<artifactId>struts2-convention-plugin</artifactId>
<version>${struts2.version}</version>
</dependency>
<!-- struts2 end -->
<!-- hibernate begin -->
<dependency>
<groupId>org.hibernate</groupId>
<artifactId>hibernate-core</artifactId>
<version>${hibernate.version}</version>
</dependency>
<!-- hibernate end -->
<!-- log start -->
<dependency>
<groupId>log4j</groupId>
<artifactId>log4j</artifactId>
<version>${log4j.version}</version>
</dependency>
<dependency>
<groupId>org.slf4j</groupId>
<artifactId>slf4j-api</artifactId>
<version>${slf4j.version}</version>
</dependency>
<dependency>
<groupId>org.slf4j</groupId>
<artifactId>slf4j-log4j12</artifactId>
<version>${slf4j.version}</version>
</dependency>
<!-- log end -->
<dependency>
<groupId>org.apache.poi</groupId>
<artifactId>poi</artifactId>
<version>3.11</version>
</dependency>
<dependency>
<groupId>org.apache.cxf</groupId>
<artifactId>cxf-rt-frontend-jaxws</artifactId>
<version>3.0.1</version>
</dependency>
<dependency>
<groupId>org.apache.cxf</groupId>
<artifactId>cxf-rt-transports-http</artifactId>
<version>3.0.1</version>
</dependency>
<dependency>
<groupId>junit</groupId>
<artifactId>junit</artifactId>
<version>4.10</version>
<scope>test</scope>
</dependency>
<!-- 加入servlet和jsp的依赖 -->
<dependency>
<groupId>javax.servlet</groupId>
<artifactId>servlet-api</artifactId>
<version>2.5</version>
<scope>provided</scope>
</dependency>
<dependency>
<groupId>javax.servlet</groupId>
<artifactId>jsp-api</artifactId>
<version>2.0</version>
<scope>provided</scope>
</dependency>
<!-- 引入pinyin4J的依赖 -->
<dependency>
<groupId>com.belerweb</groupId>
<artifactId>pinyin4j</artifactId>
<version>2.5.0</version>
</dependency>
<!-- 引入json-lib的依赖 -->
<dependency>
<groupId>net.sf.json-lib</groupId>
<artifactId>json-lib</artifactId>
<version>2.4</version>
</dependency>
<!-- 引入c3p0jar包 -->
<dependency>
<groupId>c3p0</groupId>
<artifactId>c3p0</artifactId>
<version>0.9.1.2</version>
</dependency>
<!-- 引入ehcache的依赖 -->
<dependency>
<groupId>net.sf.ehcache</groupId>
<artifactId>ehcache-core</artifactId>
<version>2.6.6</version>
</dependency>
<!-- 引入shiro框架的依赖 -->
<dependency>
<groupId>org.apache.shiro</groupId>
<artifactId>shiro-all</artifactId>
<version>1.2.2</version>
</dependency>
<!-- 引入MySQL数据库驱动依赖 -->
<dependency>
<groupId>mysql</groupId>
<artifactId>mysql-connector-java</artifactId>
<version>5.1.32</version>
</dependency>
</dependencies>
<build>
<!-- 插件 -->
<plugins>
<plugin>
<groupId>org.apache.maven.plugins</groupId>
<artifactId>maven-resources-plugin</artifactId>
<version>2.5</version>
</plugin>
<plugin>
<groupId>org.apache.maven.plugins</groupId>
<artifactId>maven-compiler-plugin</artifactId>
<version>2.3.2</version>
<configuration>
<source>1.7</source>
<target>1.7</target>
</configuration>
</plugin>
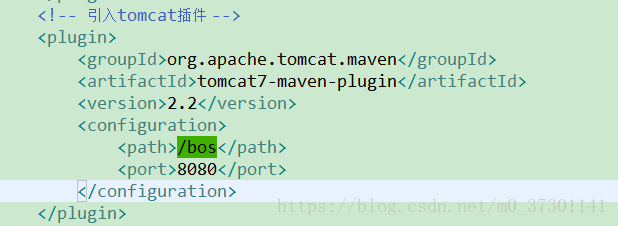
<!-- 引入tomcat插件 -->
<plugin>
<groupId>org.apache.tomcat.maven</groupId>
<artifactId>tomcat7-maven-plugin</artifactId>
<version>2.2</version>
<configuration>
<path>/bos</path>
<port>8080</port>
</configuration>
</plugin>
</plugins>
<resources>
<resource>
<directory>src/main/java</directory>
<includes>
<include>**/*.properties</include>
<include>**/*.xml</include>
</includes>
<filtering>false</filtering>
</resource>
<resource>
<directory>src/main/resources</directory>
<includes>
<include>**/*.properties</include>
<include>**/*.xml</include>
</includes>
<filtering>false</filtering>
</resource>
</resources>
</build>
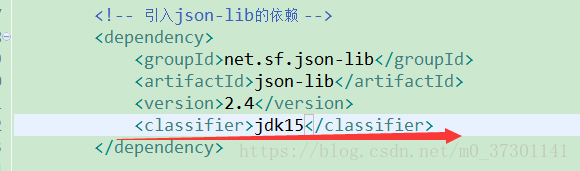
</project>问题2:json-lib无法引入,查看阿里镜像发现需要制定jdk版本
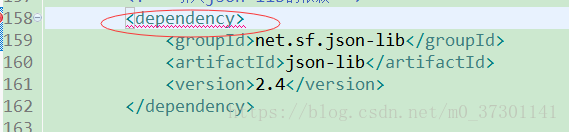
解决:
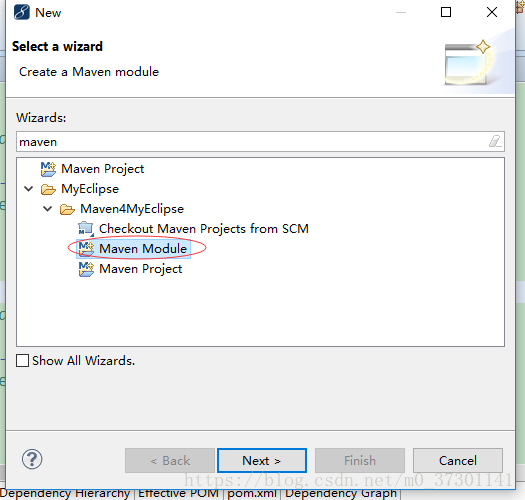
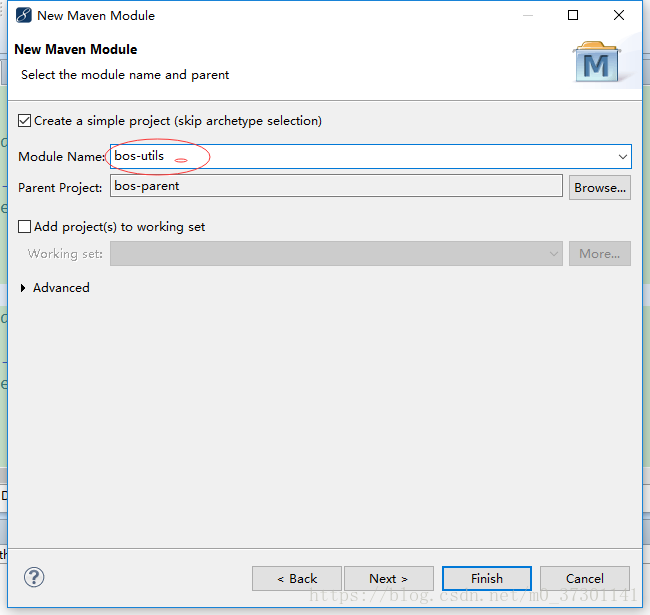
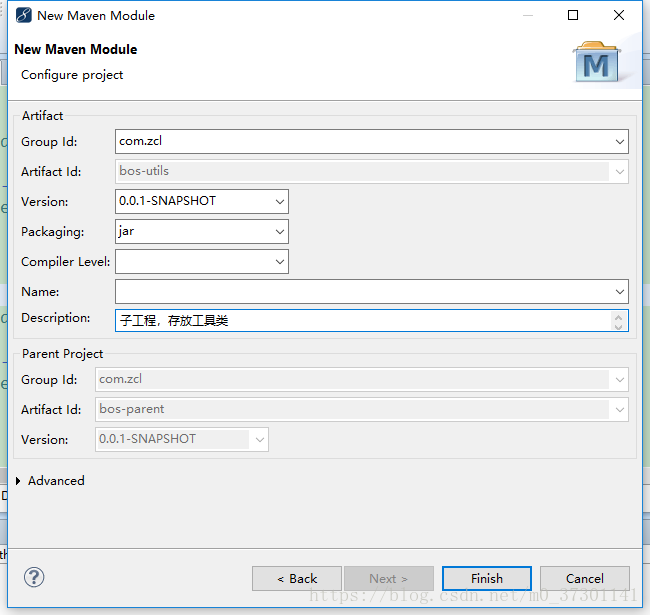
3.2.2:创建bos-utils子工程
选中bos-parent,右键
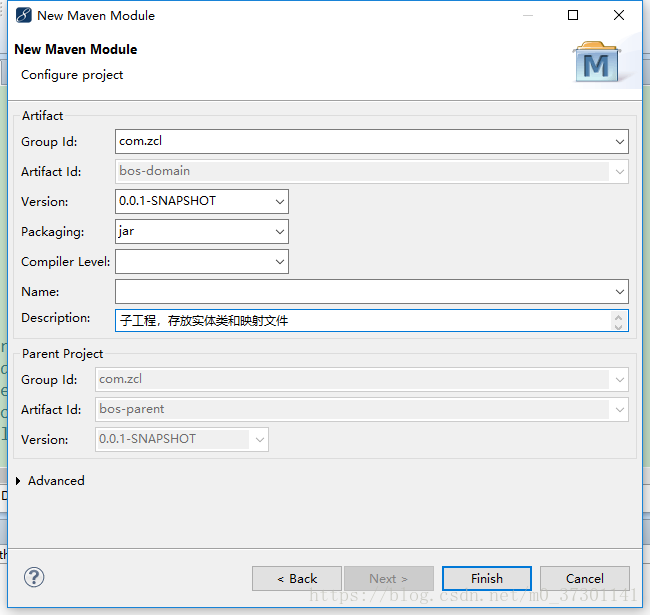
3.2.3:创建bos-domain子工程
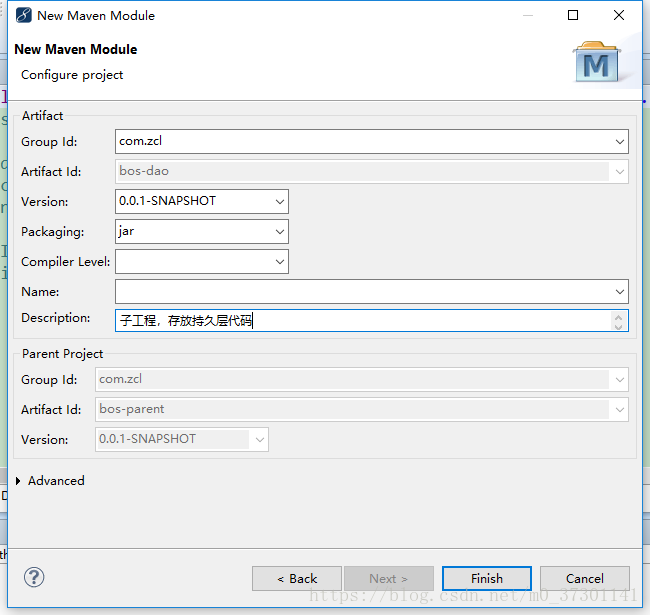
3.2.4:创建bos-dao子工程
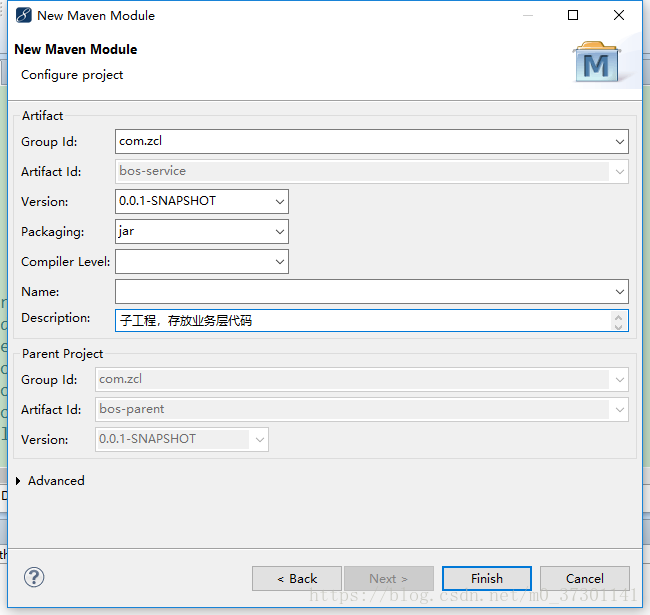
3.2.5:创建bos-service子工程
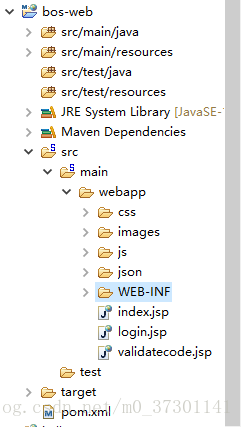
3.2.6:创建bos-web子工程
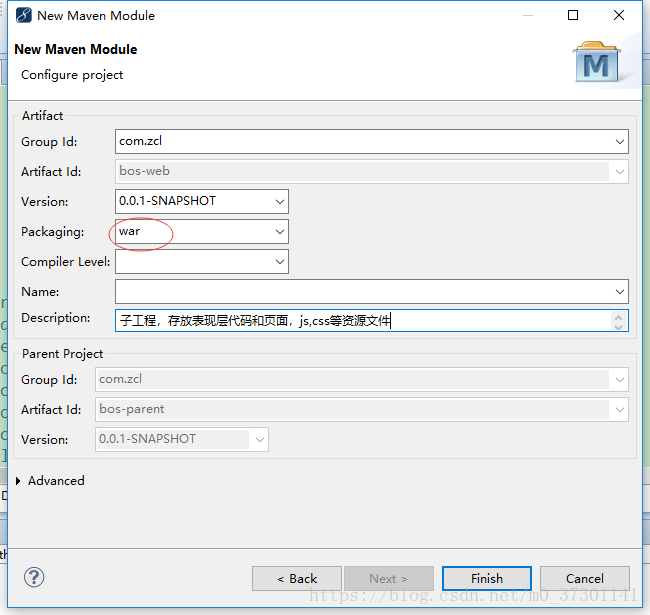
问题3:bos-web子工程上有×

解决:
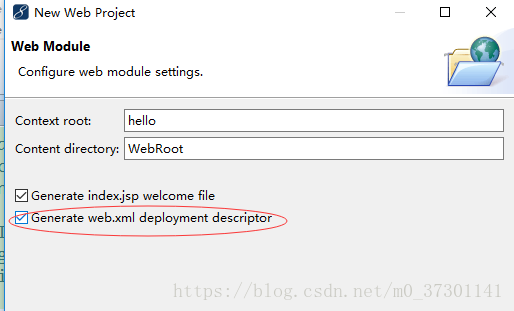
bos-web项目上右键,Maven4MyEclipse,然后Update Project…
创建一个web项目,然后勾选xml的选项,然后将需要的目录拷贝到我们的项目下
3.2.7配置:
第一步:配置web.xml文件
<?xml version="1.0" encoding="UTF-8"?>
<web-app xmlns:xsi="http://www.w3.org/2001/XMLSchema-instance" xmlns="http://java.sun.com/xml/ns/javaee" xsi:schemaLocation="http://java.sun.com/xml/ns/javaee http://java.sun.com/xml/ns/javaee/web-app_3_0.xsd" id="WebApp_ID" version="3.0">
  <display-name>hello</display-name>
  <welcome-file-list>
    <welcome-file>index.html</welcome-file>
    <welcome-file>index.htm</welcome-file>
    <welcome-file>index.jsp</welcome-file>
    <welcome-file>default.html</welcome-file>
    <welcome-file>default.htm</welcome-file>
    <welcome-file>default.jsp</welcome-file>
  </welcome-file-list>

  <!-- 配置过滤器,解决hibernate延迟加载问题 -->
  <filter>
    <filter-name>openSessionInView</filter-name>
    <filter-class>org.springframework.orm.hibernate5.support.OpenSessionInViewFilter</filter-class>
  </filter>
  <filter-mapping>
    <filter-name>openSessionInView</filter-name>
    <url-pattern>/*</url-pattern>
  </filter-mapping>

  <!-- 通过上下文参数指定spring配置文件位置 -->
  <context-param>
    <param-name>contextConfigLocation</param-name>
    <param-value>classpath:applicationContext.xml</param-value>
  </context-param>

  <!-- 配置spring框架的监听器 -->
  <!-- 会默认查找WEB-INF下的spring配置文件,而我们一般放在resources目录下,所以我们需要制定spring配置文件的位置 -->
  <listener>
    <listener-class>org.springframework.web.context.ContextLoaderListener</listener-class>
  </listener>

  <!-- 配置struts2的过滤器 -->
  <filter>
    <filter-name>struts2</filter-name>
    <filter-class>org.apache.struts2.dispatcher.ng.filter.StrutsPrepareAndExecuteFilter</filter-class>
  </filter>

  <!-- dispatcher这两句的配置的作用:struts过滤器的作用是拦截一切请求,
  但是服务器内部的转发不会被拦截,配置了FORWARD就可以被拦截 -->
  <filter-mapping>
    <filter-name>struts2</filter-name>
    <url-pattern>/*</url-pattern>
    <dispatcher>REQUEST</dispatcher>
    <dispatcher>FORWARD</dispatcher>
  </filter-mapping>
</web-app>
第二步:配置struts.xml文件
<?xml version="1.0" encoding="UTF-8"?>
<!DOCTYPE struts PUBLIC
    "-//Apache Software Foundation//DTD Struts Configuration 2.3//EN"
    "http://struts.apache.org/dtds/struts-2.3.dtd">
<struts>
    <constant name="struts.devMode" value="false" />
    <!-- 可以不配置,默认为spring -->
    <constant name="struts.objectFactory" value="spring"/>
    <package name="basicstruts2" extends="struts-default">
        <!-- 需要进行权限控制的页面访问 -->
        <!-- page_admin_role.action==》默认执行actionSupport中的execute方法,返回success,
            下面的result没有写name,默认就是success,跳到下面的/WEB-INF/pages/admin/role.jsp页面
            因为页面在WEB-INF目录下,受保护无法直接访问,必须通过访问action跳转的方式
            这是一个通用的页面跳转配置 -->
        <action name="page_*_*">
            <result type="dispatcher">/WEB-INF/pages/{1}/{2}.jsp</result>
        </action>
    </package>
</struts>
第三步:配置log4j.properties日志文件
ConsoleAppender是在控制台输出日志,FileAppender是在文件中输出日志
日志有6个级别:
fatal:致命错误,系统奔溃
error:普通
warn:警告
info:普通信息
debug:调试信息
trace:堆栈信息
log4j.rootLogger=info, stdout (只会输出info以上的四种信息)
log4j.rootLogger=all, stdout
log4j.rootLogger=off, stdout
log4j.rootLogger=off, file (输出到文件)
项目开发阶段debug,项目上线阶段info
### direct log messages to stdout ###
log4j.appender.stdout=org.apache.log4j.ConsoleAppender
log4j.appender.stdout.Target=System.err
log4j.appender.stdout.layout=org.apache.log4j.PatternLayout
log4j.appender.stdout.layout.ConversionPattern=%d{ABSOLUTE} %5p %c{1}:%L - %m%n

### direct messages to file mylog.log ###
log4j.appender.file=org.apache.log4j.FileAppender
log4j.appender.file.File=d\:\\mylog.log
log4j.appender.file.layout=org.apache.log4j.PatternLayout
log4j.appender.file.layout.ConversionPattern=%d{ABSOLUTE} %5p %c{1}:%L - %m%n

### set log levels - for more verbose logging change 'info' to 'debug' ###
### fatal error warn info debug trace
log4j.rootLogger=off, stdout
第四步:配置applicationContext.xml文件和db.properties文件
jdbc.driverClass=com.mysql.jdbc.Driver
jdbc.jdbcUrl=jdbc:mysql:///bos32
#因为user是linux系统下关键字,所以我们需要在前面加上jdbc区分
jdbc.user=xiaoming
jdbc.password=ermazi
<?xml version="1.0" encoding="UTF-8"?>
<beans xmlns="http://www.springframework.org/schema/beans"
    xmlns:xsi="http://www.w3.org/2001/XMLSchema-instance"
    xmlns:context="http://www.springframework.org/schema/context"
    xmlns:aop="http://www.springframework.org/schema/aop"
    xmlns:tx="http://www.springframework.org/schema/tx"
    xsi:schemaLocation="http://www.springframework.org/schema/beans
                        http://www.springframework.org/schema/beans/spring-beans.xsd
                        http://www.springframework.org/schema/context
                        http://www.springframework.org/schema/context/spring-context.xsd
                        http://www.springframework.org/schema/aop
                        http://www.springframework.org/schema/aop/spring-aop.xsd
                        http://www.springframework.org/schema/tx
                        http://www.springframework.org/schema/tx/spring-tx.xsd">

    <!-- 加载属性文件 -->
    <context:property-placeholder location="classpath:db.properties"/>

    <!-- 配置数据源 -->
    <bean id="dataSource" class="com.mchange.v2.c3p0.ComboPooledDataSource">
        <property name="driverClass" value="${jdbc.driverClass}"/>
        <property name="jdbcUrl" value="${jdbc.jdbcUrl}"/>
        <property name="user" value="${jdbc.user}"/>
        <property name="password" value="${jdbc.password}"/>

        <!--当连接池中的连接耗尽的时候c3p0一次同时获取的连接数。Default: 3 -->
        <property name="acquireIncrement" value="3" />
        <!--定义在从数据库获取新连接失败后重复尝试的次数。Default: 30 -->
        <property name="acquireRetryAttempts" value="30" />
        <!--两次连接中间隔时间,单位毫秒。Default: 1000 -->
        <property name="acquireRetryDelay" value="1000" />
        <!--连接关闭时默认将所有未提交的操作回滚。Default: false -->
        <property name="autoCommitOnClose" value="false" />

        <!-- 控制数据源内加载的PreparedStatements数量。如果maxStatements与maxStatementsPerConnection均为0,则缓存被关闭。Default: 0 -->
        <property name="maxStatements" value="8"></property>
        <!--maxStatementsPerConnection定义了连接池内单个连接所拥有的最大缓存statements数。Default: 0 -->
        <property name="maxStatementsPerConnection" value="5"></property>
        <!--最大空闲时间,1800秒内未使用则连接被丢弃。若为0则永不丢弃。Default: 0 -->
        <property name="maxIdleTime" value="1800"></property>
    </bean>

    <!-- 配置LocalSessionFactoryBean,spring提供的用于整合hibernate的工厂bean -->
    <bean id="sessionFactory" class="org.springframework.orm.hibernate5.LocalSessionFactoryBean">
        <property name="dataSource" ref="dataSource"/>
        <!-- 注入hibernate相关的属性配置 -->
        <property name="hibernateProperties">
            <props>
                <prop key="hibernate.dialect">org.hibernate.dialect.MySQL5Dialect</prop>
                <prop key="hibernate.hbm2ddl.auto">update</prop>
                <prop key="hibernate.show_sql">true</prop>
                <prop key="hibernate.format_sql">true</prop>
                <prop key="hibernate.autoReconnect">true</prop>
            </props>
        </property>
        <!-- 注入hibernate的映射文件 -->
        <property name="mappingLocations">
            <list>
                <!-- 这里不可以指定成目录,因为maven工程会将bos-domain打包成jar包, 无法读到domain目录-->
                <value>classpath:com/zcl/bos/domain/*.xml</value>
            </list>
        </property>
    </bean>

    <!-- 配置事务管理器 -->
    <bean id="transactionManager" class="org.springframework.orm.hibernate5.HibernateTransactionManager">
        <property name="sessionFactory" ref="sessionFactory"/>
    </bean>
    <tx:annotation-driven transaction-manager="transactionManager"/>

    <!-- 组件扫描 -->
    <context:component-scan base-package="com.zcl.bos"/>

    <!-- 支持spring注解 -->
    <context:annotation-config/>

</beans>
第五步:创建一个项目的目录结构

第六步:将项目使用的资源文件复制到项目中
第七步:运行项目
首先在bos-parent项目上右键,run as ,maven install打包
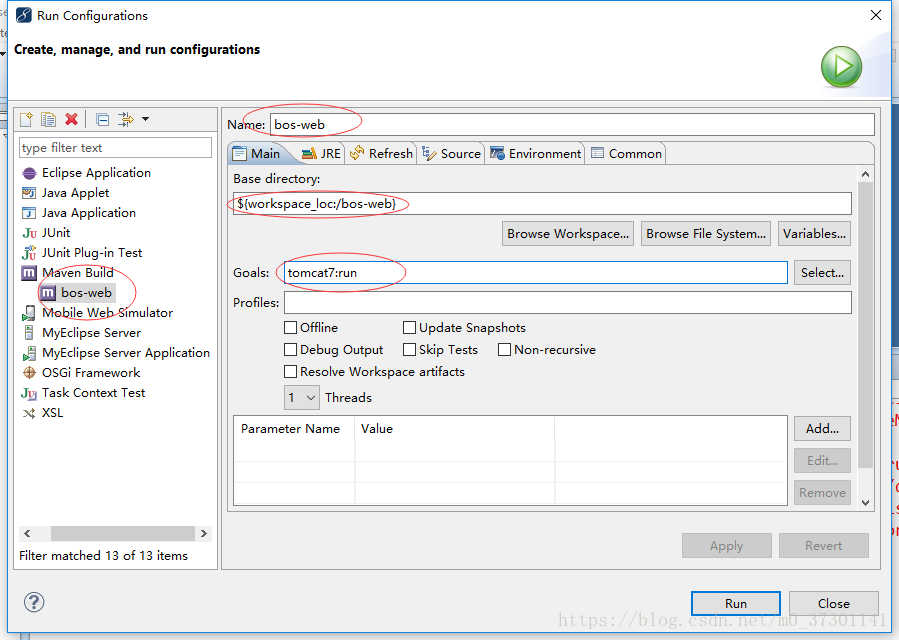
然后在bos-web项目上右键,run as,run configurations...进行配置
问题4:项目启动报错
java.io.FileNotFoundException: class path resource [com/zcl/bos/domain/] cannot be resolved to URL because it does not exist
解决:需要建立依赖关系
web工程依赖service工程
service工程依赖dao工程
dao工程依赖utils工程
utils工程依赖domain工程 (因为utils里面可能操作一些实体类)
因为com.zcl.domain下面没有文件,需要先在配置文件中注释掉相应的配置就不会报错了。
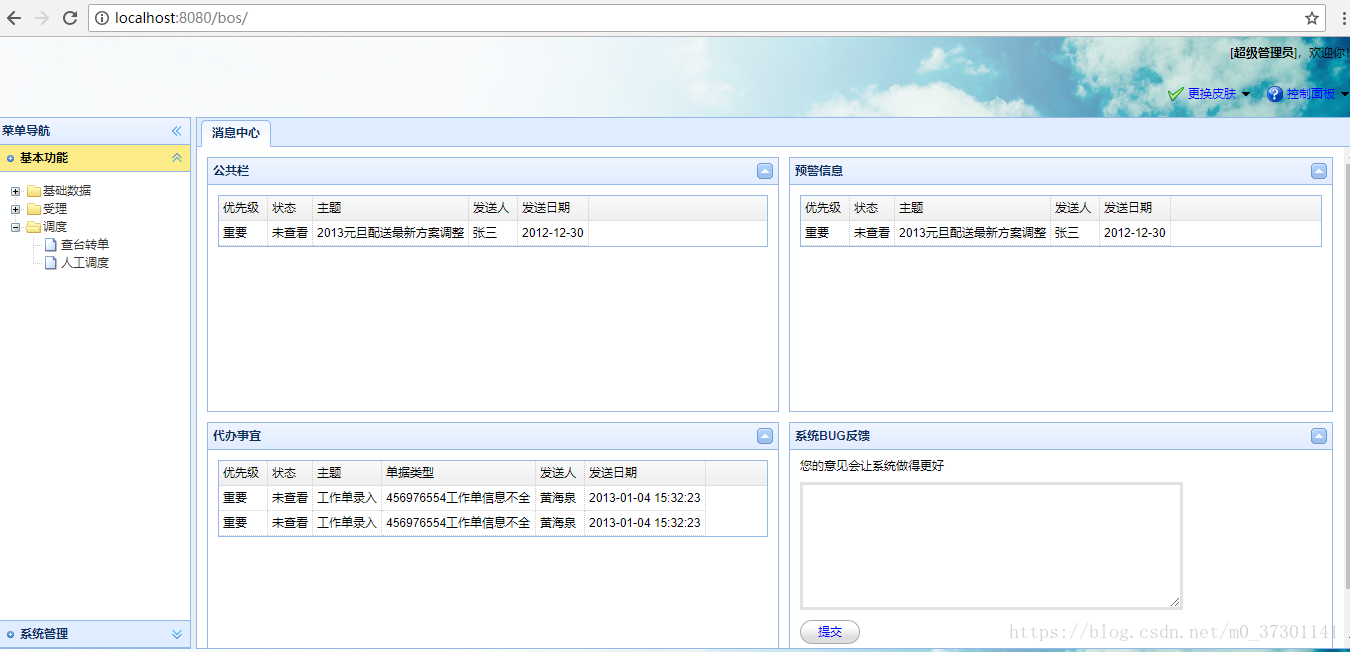
3.2.8:项目运行展示
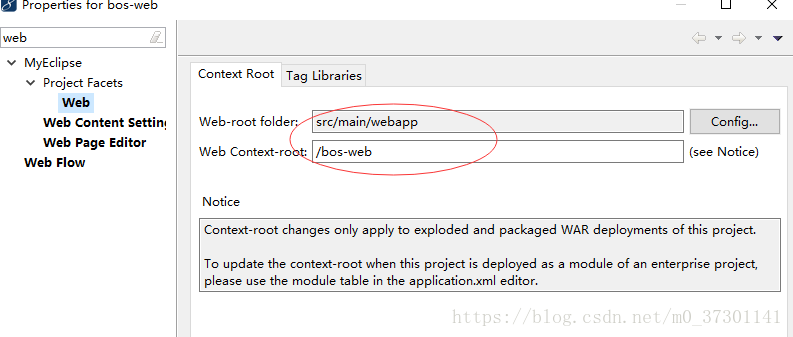
问题5:项目运行时是bos-web还是bos
解决:
如果项目运行在tomcat插件中,则取决与如下配置
如果项目运行在外部的tomcat软件中,则取决与项目的配置(右键项目》Properties》搜索web)
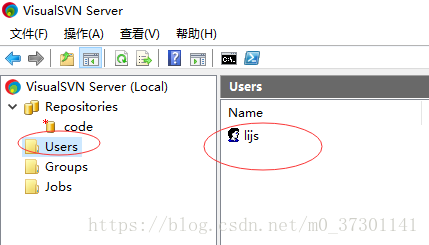
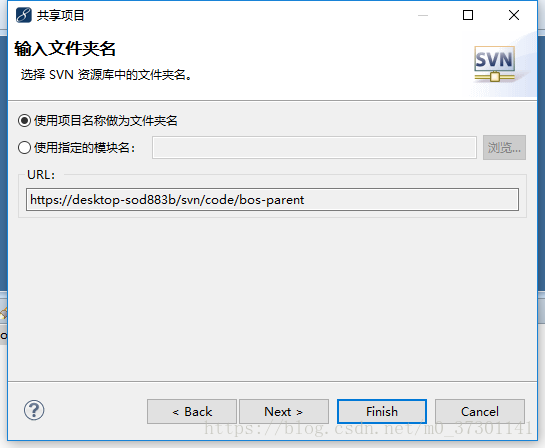
3.3:SVN环境
第一步:创建用户
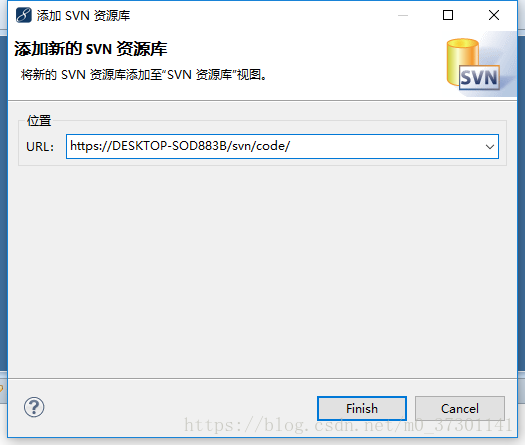
第二步:复制svn仓库地址
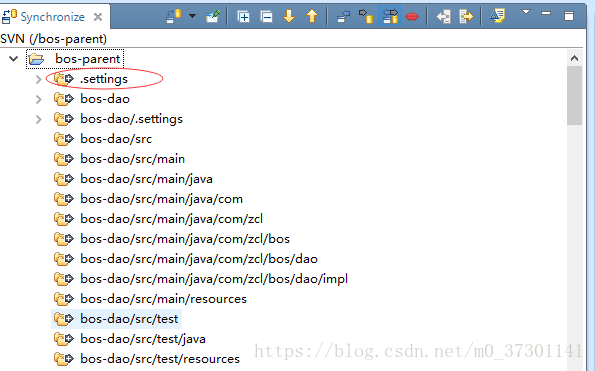
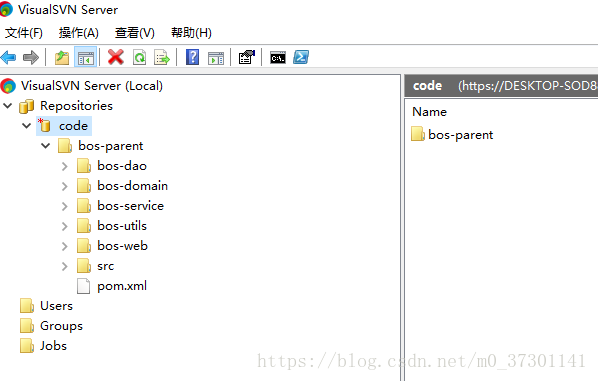
第三步:将项目共享致svn资源库,只需要bos-parent父工程即可
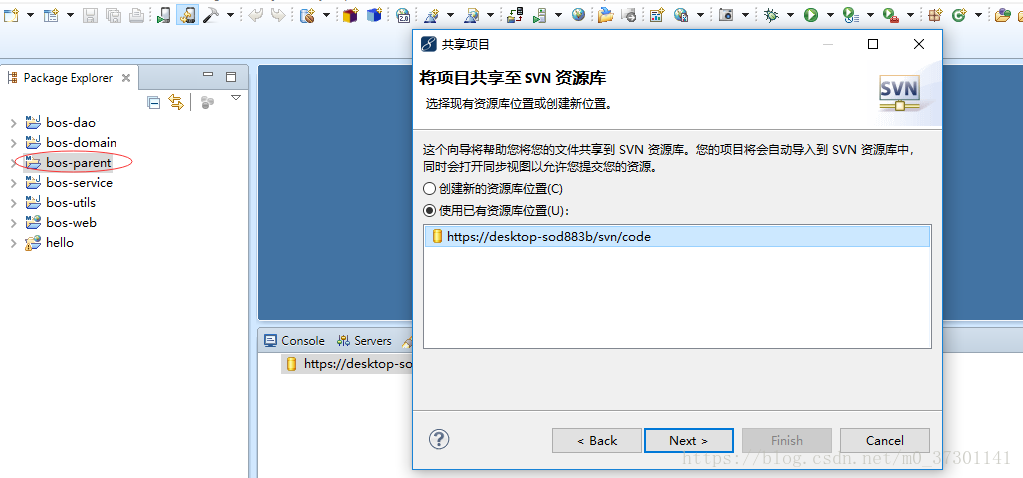
提交:
bos-parent项目可以忽略.settings文件和下面的.project文件
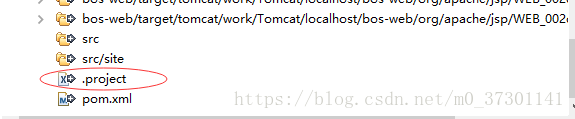
子项目需要注意必须先提交pom.xml之后才可以忽略.classpath和.project
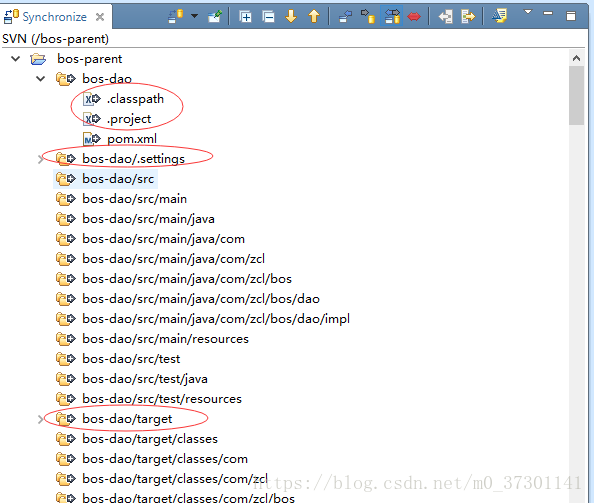
效果图
4:主页设计(jQuery EasyUI插件使用)
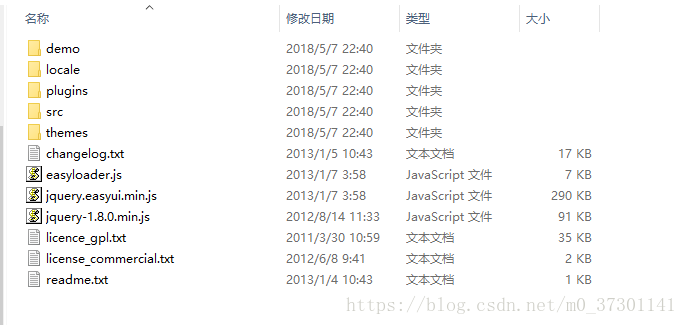
下载easyui的开发包

解压之后效果
将easyUI的资源文件引入页面中(可以打开一个demo进行拷贝)
<link rel="stylesheet" type="text/css" href="${pageContext.request.contextPath }/js/easyui/themes/default/easyui.css">
<link rel="stylesheet" type="text/css" href="${pageContext.request.contextPath }/js/easyui/themes/icon.css">
<script type="text/javascript" src="${pageContext.request.contextPath }/js/jquery-1.8.3.js"></script>
<script type="text/javascript" src="${pageContext.request.contextPath }/js/easyui/jquery.easyui.min.js"></script>
4.1:layout页面布局
<%@ page language="java" contentType="text/html; charset=UTF-8"
    pageEncoding="UTF-8"%>
<!DOCTYPE html PUBLIC "-//W3C//DTD HTML 4.01 Transitional//EN" "http://www.w3.org/TR/html4/loose.dtd">
<html>
<head>
<meta http-equiv="Content-Type" content="text/html; charset=UTF-8">
<title>layout页面布局</title>
</head>
<link rel="stylesheet" type="text/css" href="${pageContext.request.contextPath }/js/easyui/themes/default/easyui.css">
<link rel="stylesheet" type="text/css" href="${pageContext.request.contextPath }/js/easyui/themes/icon.css">
<script type="text/javascript" src="${pageContext.request.contextPath }/js/jquery-1.8.3.js"></script>
<script type="text/javascript" src="${pageContext.request.contextPath }/js/easyui/jquery.easyui.min.js"></script>

<body class="easyui-layout">
    <div title="XXX管理系统" style="height: 100px" data-options="region:'north'">north region</div>
    <div title="系统菜单" style="width: 200px" data-options="region:'west'">west content</div>
    <div data-options="region:'center'">center region</div>
    <div style="width: 100px" data-options="region:'east'">east region</div>
    <div style="height: 50px" data-options="region:'south'">south region</div>
</body>
</html>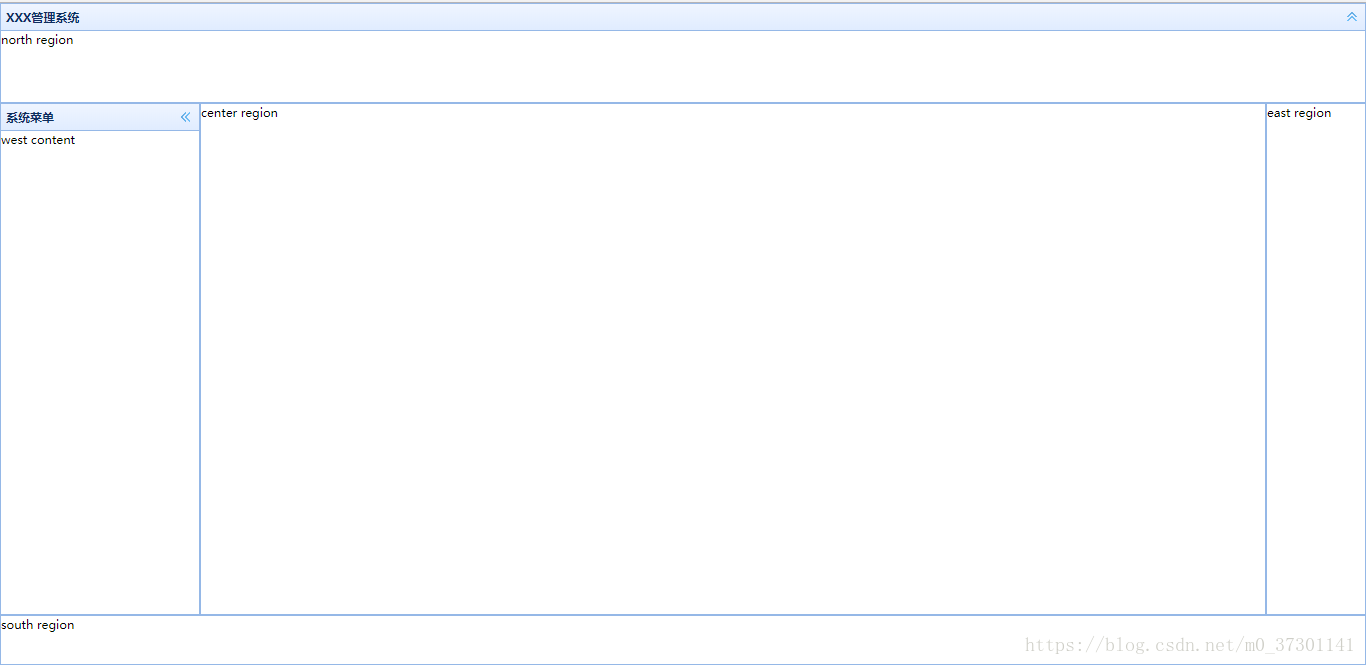
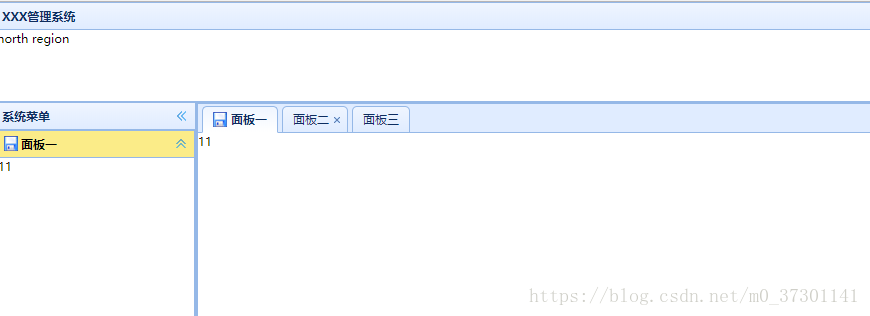
4.2:accordion折叠面板
<div title="系统菜单" style="width: 200px" data-options="region:'west'">
        <!-- 制作accordion折叠面板
             fit:true   自适应(填充父容器西部区域)
         -->
        <div class="easyui-accordion" data-options="fit:true">
            <!-- 使用子div表示每个面板 -->
            <div data-options="iconCls:'icon-save'" title="面板一">11</div>
            <div title="面板二">22</div>
            <div title="面板三">33</div>
        </div>
</div>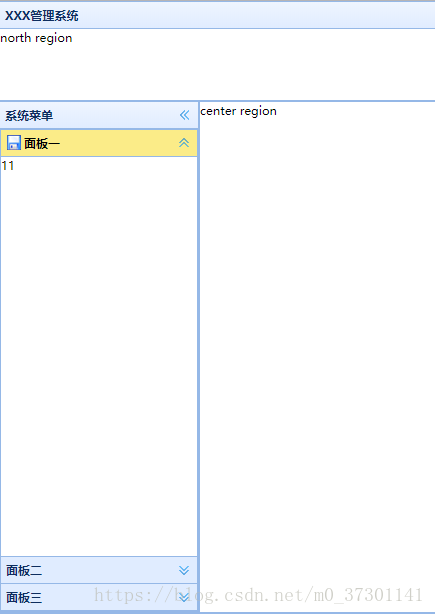
4.3:tabs选项卡面板
<div data-options="region:'center'">
        <!-- 制作tabs选项卡面板 -->
        <div class="easyui-tabs" data-options="fit:true">
            <!-- 使用子div表示每个面板 -->
            <div data-options="iconCls:'icon-save'" title="面板一">11</div>
            <div data-options="closable:true" title="面板二">22</div>
            <div title="面板三">33</div>
        </div>
</div>