文章目录
前言
看了上一篇的文章应该可以自己搭一个简陋的博客网站出来,下面我们来美化next主题,使我们的网站更简便、生动、好看
1.Next主题风格
Next提供了四中主题风格scheme,可以在主题配置文件Myblog/themes/next/_config.yml文件中进行选择
分别是Muse、Mist、Pisces、Gemini
# Schemes
scheme: Muse
#scheme: Mist
#scheme: Pisces
#scheme: Gemini
默认时Muse主题,我用的是Gemini主题,所以把Muse注释掉,Gemini去掉注释
# Schemes
# scheme: Muse
#scheme: Mist
#scheme: Pisces
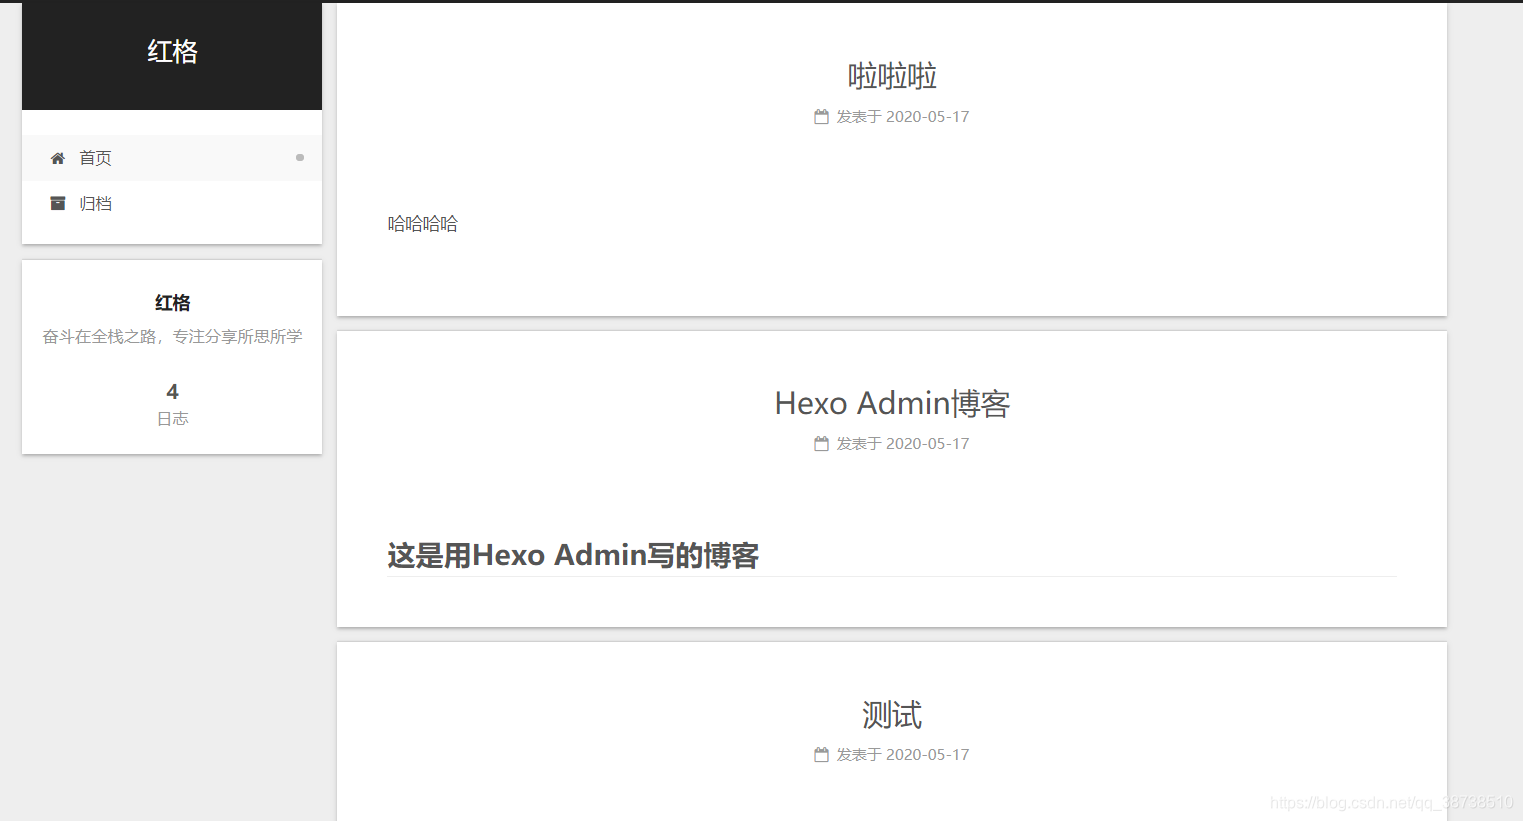
scheme: Gemini
效果:
2.博客自定义图标
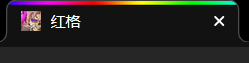
我们博客的默认图标是N,不过Next支持修改图标

博客网站的图标可以在easyicon、bitbug、iconfont等网站选择和制作,然后选择或者创建相应大小的图标文件,放置在Myblog/themes/next/sources/images目录下,并在主题配置文件中进行如下配置,只需要设置small和medium两个就可以:
favicon:
  small: /images/favicon.ico
  medium: /images/favicon.ico
  apple_touch_icon: /images/apple-touch-icon-next.png
  safari_pinned_tab: /images/logo.svg
  #android_manifest: /images/manifest.json
  #ms_browserconfig: /images/browserconfig.xml
效果
3.鼠标点击特效
在/themes/next/source/js/src下新建文件 clicklove.js ,接着把下面的代码拷贝粘贴到 clicklove.js 文件中:
!function(e,t,a){function n(){c(".heart{width: 10px;height: 10px;position: fixed;background: #f00;transform: rotate(45deg);-webkit-transform: rotate(45deg);-moz-transform: rotate(45deg);}.heart:after,.heart:before{content: '';width: inherit;height: inherit;background: inherit;border-radius: 50%;-webkit-border-radius: 50%;-moz-border-radius: 50%;position: fixed;}.heart:after{top: -5px;}.heart:before{left: -5px;}"),o(),r()}function r(){for(var e=0;e<d.length;e++)d[e].alpha<=0?(t.body.removeChild(d[e].el),d.splice(e,1)):(d[e].y--,d[e].scale+=.004,d[e].alpha-=.013,d[e].el.style.cssText="left:"+d[e].x+"px;top:"+d[e].y+"px;opacity:"+d[e].alpha+";transform:scale("+d[e].scale+","+d[e].scale+") rotate(45deg);background:"+d[e].color+";z-index:99999");requestAnimationFrame(r)}function o(){var t="function"==typeof e.onclick&&e.onclick;e.onclick=function(e){t&&t(),i(e)}}function i(e){var a=t.createElement("div");a.className="heart",d.push({el:a,x:e.clientX-5,y:e.clientY-5,scale:1,alpha:1,color:s()}),t.body.appendChild(a)}function c(e){var a=t.createElement("style");a.type="text/css";try{a.appendChild(t.createTextNode(e))}catch(t){a.styleSheet.cssText=e}t.getElementsByTagName("head")[0].appendChild(a)}function s(){return"rgb("+~~(255*Math.random())+","+~~(255*Math.random())+","+~~(255*Math.random())+")"}var d=[];e.requestAnimationFrame=function(){return e.requestAnimationFrame||e.webkitRequestAnimationFrame||e.mozRequestAnimationFrame||e.oRequestAnimationFrame||e.msRequestAnimationFrame||function(e){setTimeout(e,1e3/60)}}(),n()}(window,document);
在\themes\next\layout_layout.swig文件末尾添加:
<!-- 页面点击小红心 -->
<script type="text/javascript" src="/js/src/clicklove.js"></script>
重新加载静态文件
hexo clean
hexo g
hexo s --debug
效果

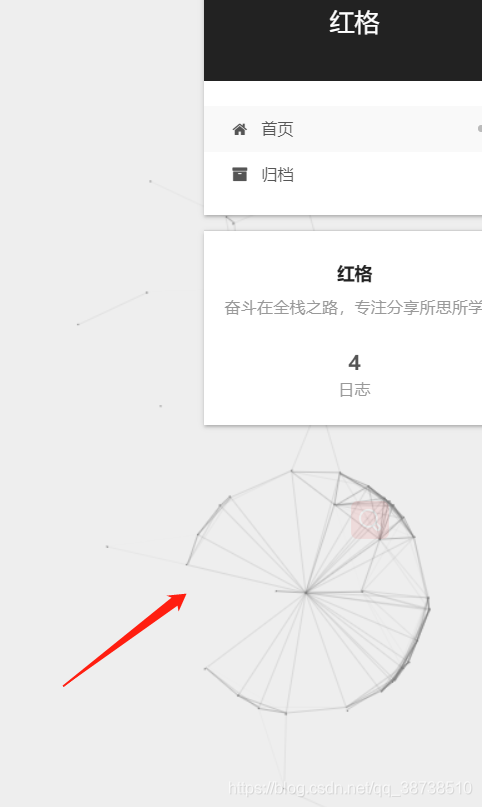
4.添加动态背景
在网站背景添加网格线动态线,将canvas_nest的false值改为true
# Canvas-nest
canvas_nest: true
效果
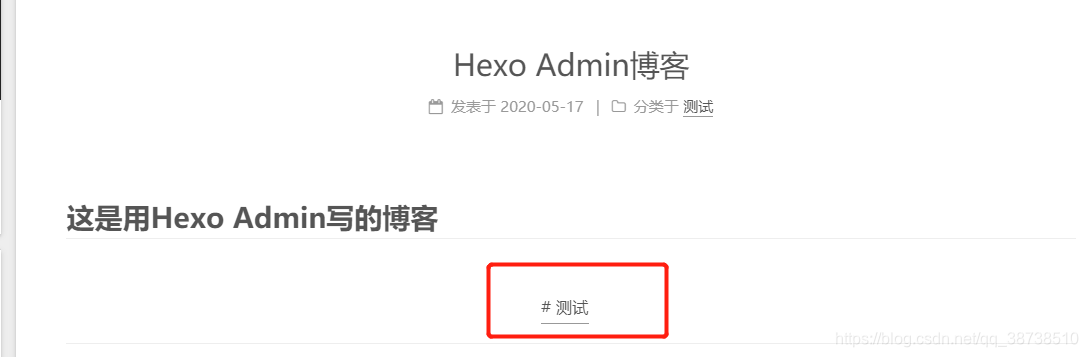
5.修改标签样式
修改博客底部的标签样式默认为#tag
这个测试是我们的博客的标签,如果没有可在hexo admin后台添加
只需要修改模板/themes/next/layout/_macro/post.swig,搜索 rel=“tag”>#,将 # 换成
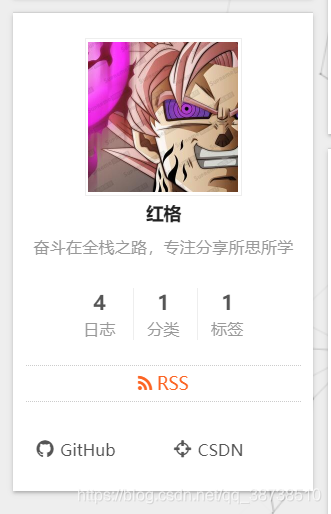
6.作者头像设置
可以再侧边栏添加我们头像,
# Sidebar Avatar
# in theme directory(source/images): /images/avatar.gif
# in site  directory(source/uploads): /uploads/avatar.gif
avatar: /images/headImage.jpg #将我们的头像图片放置在Myblog/themes/next/source/images目录下,填写具体地址

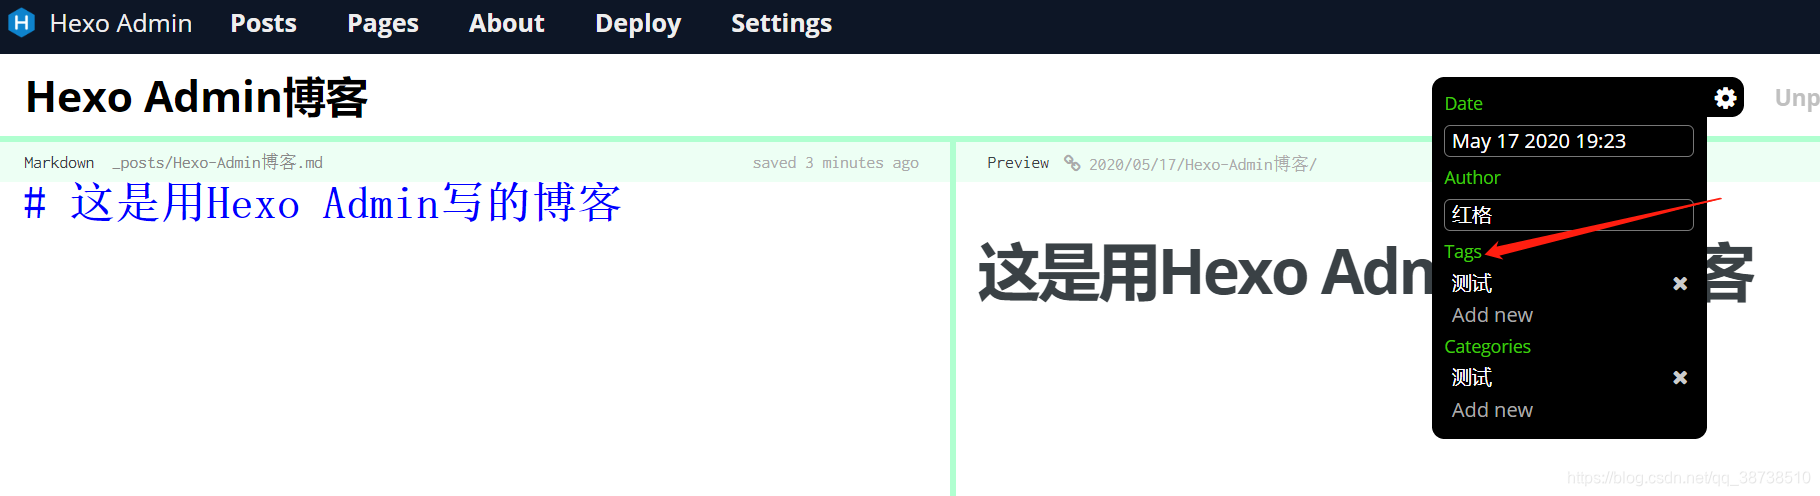
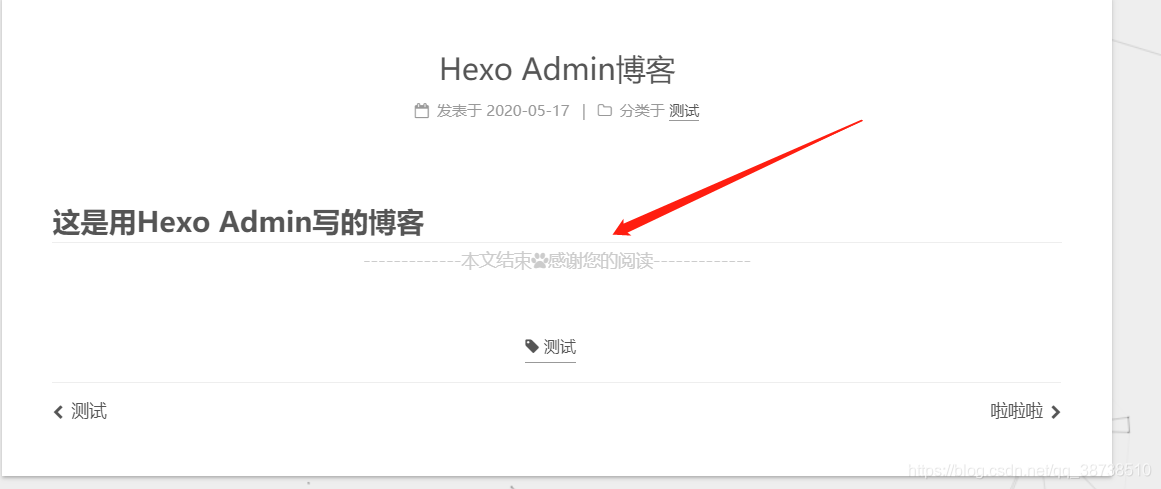
7.文章结束标志
在路径 \themes\next\layout_macro 中新建 passage-end-tag.swig 文件,并添加以下内容:
<div>
    {% if not is_index %}
        <div style="text-align:center;color: #ccc;font-size:14px;">-------------本文结束<i class="fa fa-paw"></i>感谢您的阅读-------------</div>
    {% endif %}
</div>
接着打开\themes\next\layout_macro\post.swig文件, post-footer 之前添加如代码:
<div>
  {% if not is_index %}
    {% include 'passage-end-tag.swig' %}
  {% endif %}
</div>

然后打开主题配置文件(_config.yml),在末尾添加:
# 文章末尾添加“本文结束”标记
passage_end_tag:
  enabled: true
8.社交设置
设置主题配置文件,其中social表示社交信息,我们可以填入我们相关的链接,格式为链接名:链接地址 || 链接图标,其中链接图标必须是FontAwesome网站中存在的图标名。
social:
  GitHub: https://github.com/honger1234 || github
  CSDN: https://blog.csdn.net/qq_38738510 || crosshairs
  #E-Mail: mailto:yourname@gmail.com || envelope
  #Google: https://plus.google.com/yourname || google
  #Twitter: https://twitter.com/yourname || twitter
  #FB Page: https://www.facebook.com/yourname || facebook
  #VK Group: https://vk.com/yourname || vk
  #StackOverflow: https://stackoverflow.com/yourname || stack-overflow
  #YouTube: https://youtube.com/yourname || youtube
  #Instagram: https://instagram.com/yourname || instagram
  #Skype: skype:yourname?call|chat || skype

9.添加标签页面、分类和公益404页面
首先打开主题下的配置文件_config.yml,然后搜索menu找到如下配置项,将commonweal、tags、categories前的#号去掉,就开启了404、标签和分类标签,当然还有其他菜单项也可以开启
menu:
  home: /|| home
  #about: /about/ || user
  tags: /tags/|| tags
  categories: /categories/|| th
  archives: /archives/|| archive
  #schedule: /schedule/ || calendar
  #sitemap: /sitemap.xml || sitemap
  commonweal: /404/|| heartbeat
运行如下命令新建相关页面
hexo new page "404"
hexo new page "tags"
hexo new page "categories"
运行结果如下,会再source文件下创建about、tags、categories文件夹,每个文件夹下还会创建一个index.md文件表示404、标签页和分类页面,编辑这三个MarkDown文件可以自定义这三个页面的内容
404的index.md内容如下
---
title: 404
date: 2020-05-21 22:01:08
type: "404"
---

<!DOCTYPE HTML>
<html>
<head>
  <meta http-equiv="content-type" content="text/html;charset=utf-8;"/>
  <meta http-equiv="X-UA-Compatible" content="IE=edge,chrome=1" />
  <meta name="robots" content="all" />
  <meta name="robots" content="index,follow"/>
  <link rel="stylesheet" type="text/css" href="https://qzone.qq.com/gy/404/style/404style.css">
</head>
<body>
  <script type="text/plain" src="http://www.qq.com/404/search_children.js"
          charset="utf-8" homePageUrl="/"
          homePageName="回到我的主页">
  </script>
  <script src="https://qzone.qq.com/gy/404/data.js" charset="utf-8"></script>
  <script src="https://qzone.qq.com/gy/404/page.js" charset="utf-8"></script>
</body>
</html>
标签页的index.md内容如下
---
title: tags
date: 2020-05-21 21:56:07
type: "tags"
---
分类页的index.md内容如下
---
title: categories
date: 2020-05-21 21:56:11
type: "categories"
---
10.博客底部布局
设置主题配置文件中
footer:
  # Specify the date when the site was setup.
  # If not defined, current year will be used.
  since: 2020 #建站时间

  # Icon between year and copyright info.
  icon: heart #♥型图标

  # If not defined, will be used `author` from Hexo main config.
  copyright:
  # -------------------------------------------------------------
  # Hexo link (Powered by Hexo).
  powered: false #是否显示 Powered by hexo

  theme:
    # Theme & scheme info link (Theme - NexT.scheme).
    enable: false #是否显示主题信息
    # Version info of NexT after scheme info (vX.X.X).
    version: true #是否显示主题版本
  # -------------------------------------------------------------
  # Any custom text can be defined here.
  #custom_text: Hosted by <a target="_blank" href="https://pages.github.com">GitHub Pages</a>

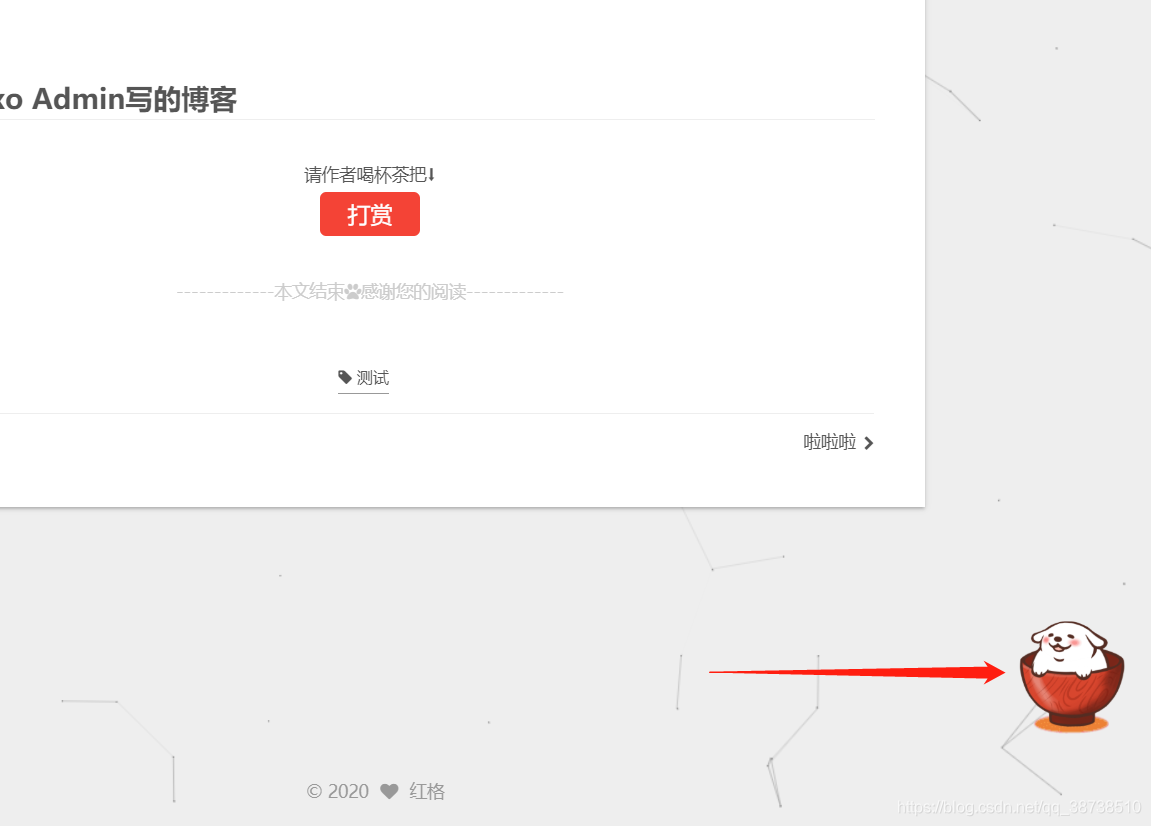
11.添加打赏
在主题配置文件中设置如下:
# Reward
reward_comment: 请作者喝杯茶把⬇
wechatpay: /images/wechatpay.jpg
alipay: /images/alipay.jpg
#bitcoin: /images/bitcoin.png
自己获取自己的支付收款码,放置在next/source/images中

12.页面宠物
首先在博客目录下执行:
npm install -save hexo-helper-live2d
然后在站点配置文件中加入:
live2d:
  enable: true
  scriptFrom: local
  pluginRootPath: live2dw/
  pluginJsPath: lib/
  pluginModelPath: assets/
  tagMode: false
  model:
    use: live2d-widget-model-wanko  #选择哪种模型
  display: #放置位置和大小
    position: right
    width: 150
    height: 300
  mobile:
    show: true#是否在手机端显示
上面模型的选择可在lived2d中选择,并下载相应的模型:
npm install live2d-widget-model-wanko
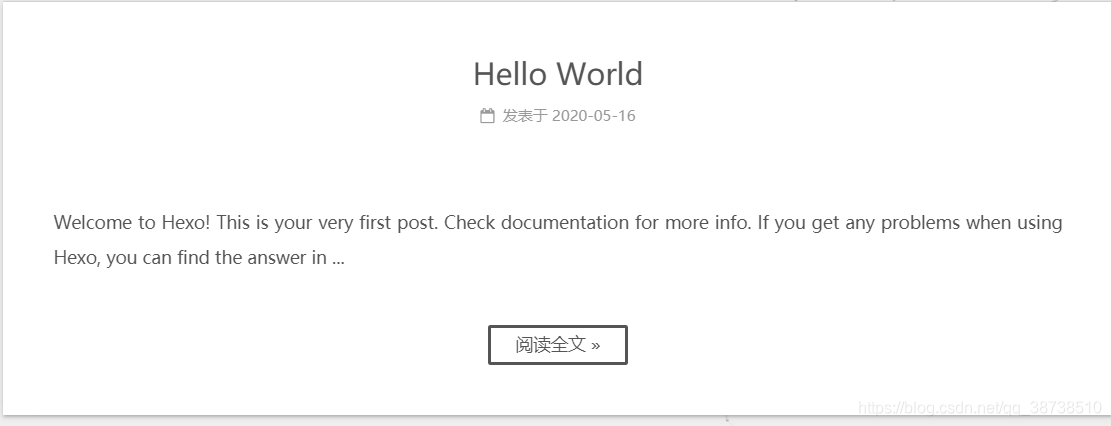
13.博客摘要显示
对于摘要显示,首先我们需要开启摘要功能,修改主题配置文件:
# Automatically Excerpt. Not recommend.
# Please use <!-- more --> in the post to control excerpt accurately.
auto_excerpt:
  enable: true
  length: 150
14.设置RSS订阅
在博客主目录下执行:
npm install --save hexo-generator-feed
在站点配置文件末尾中添加:
plugins: hexo-generate-feed
然后设置主题配置文件:
# Set rss to false to disable feed link.
# Leave rss as empty to use site's feed link.
# Set rss to specific value if you have burned your feed already.
rss: /atom.xml
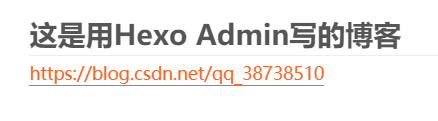
15.文章链接样式
修改文件 themes\next\source\css_common\components\post\post.styl,在末尾添加如下css样式
// 文章内链接文本样式
.post-body p a{
  color: #0593d3;
  border-bottom: none;
  border-bottom: 1px solid #0593d3;
  &:hover {
    color: #fc6423;
    border-bottom: none;
    border-bottom: 1px solid #fc6423;
  }
}
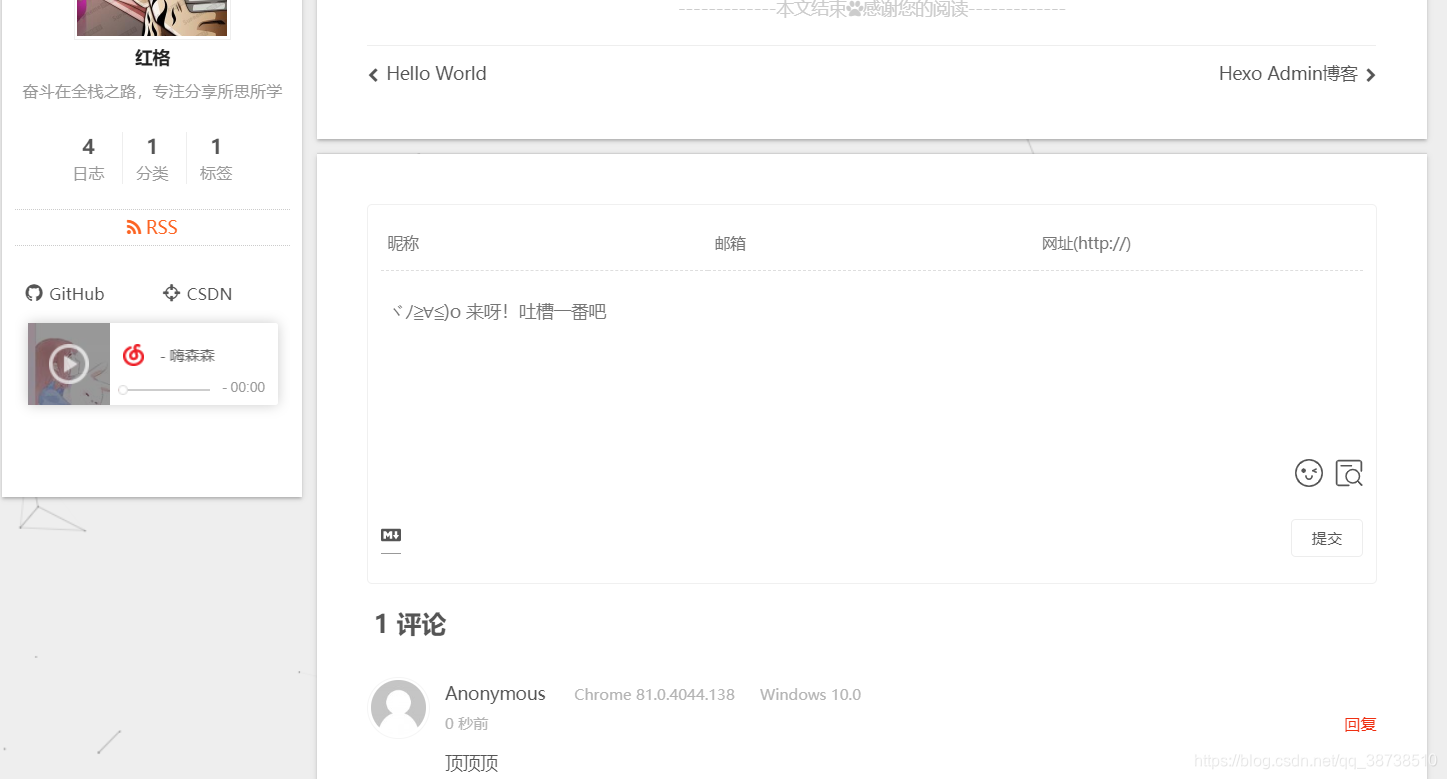
16.网易云音乐播放器
首先在网页搜索网易云音乐,选择音乐,并生成外链

如果提示版权保护,无法生成外链的话就换首歌吧,鼠标停留在生成链接上谷歌浏览器右键检查,复制里面的链接,前面加上//music.163.com/#,完整链接
//music.163.com/#/outchain/2/1421596293/

在 themes/next/_config.yml 配置文件中添加下面代码
#网易云音乐的外链
#//music.163.com/outchain/player?type=2&id=33911781&auto=1&height=66
background_music: //music.163.com/outchain/player?type=2&id=1421596293&auto=1&height=66
将下面代码粘贴到一个合适的位置,建议放在侧边栏,在Myblog/themes/next/layout/_macro/sidebar.swig文件下,选择位置复制进去,不同位置效果不同
 {% if theme.background_music %}
      <div>
         <iframe frameborder="no" border="0" marginwidth="0" marginheight="0" width="410" height="110" src="{{ theme.background_music }}"></iframe>
      </div>
{% endif %}
我的是放在theme.social后面

17.评论插件
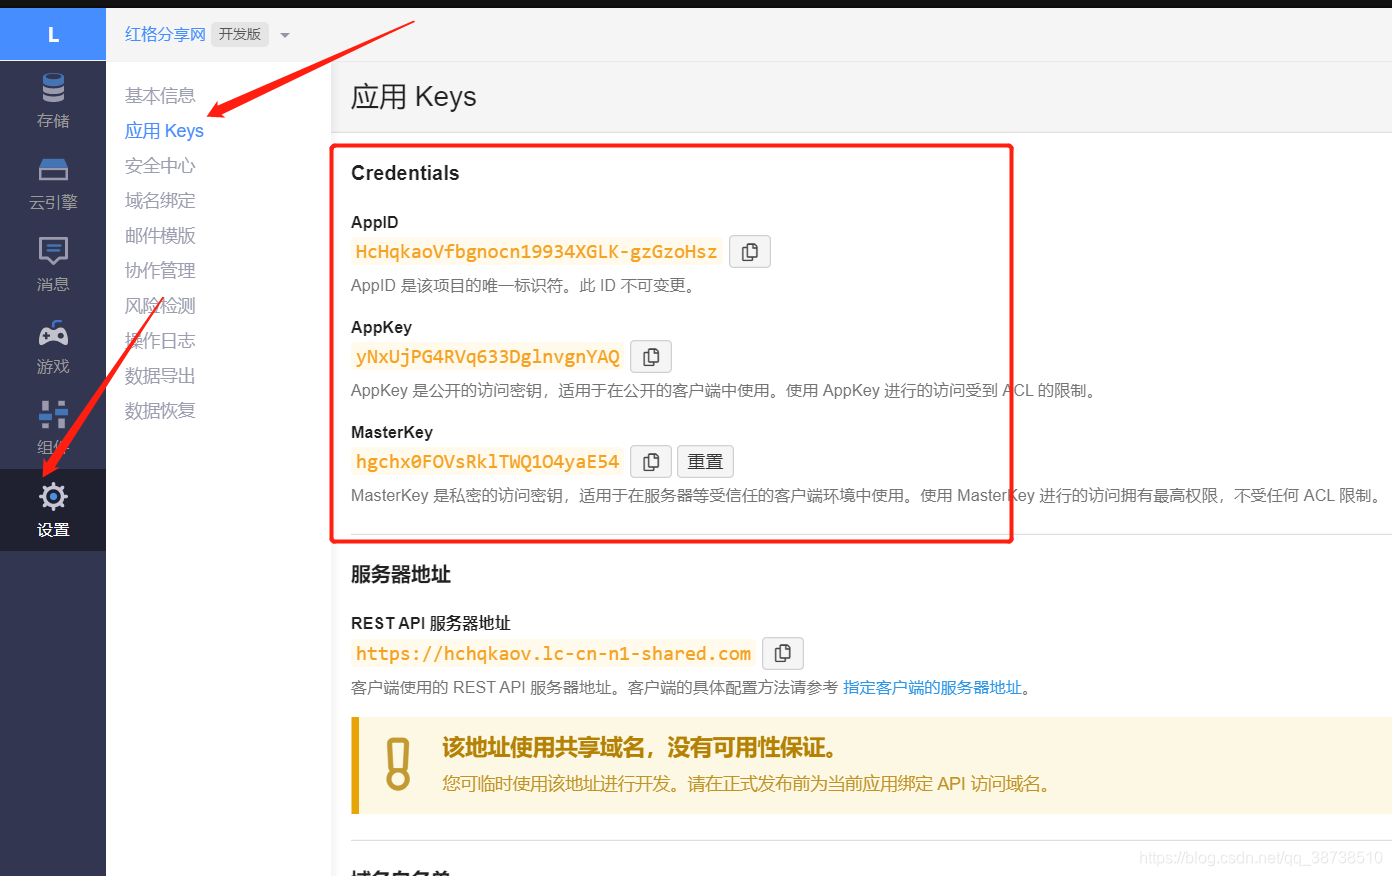
评论我这里用的是Valine,Valine 是基于 LeanCloud作为数据存储的,所以需要注册一个账号,注册完成后,我们找到创建应用
创建好之后获取获取 APP ID 和 APP KEY
修改主题配置文件,找到valine的配置,并填上对应的信息
# Valine.
# You can get your appid and appkey from https://leancloud.cn
# more info please open https://valine.js.org
valine:
  enable: true
  appid: HcHqkaoVfbgnocn19934XGLK-gzGzoHsz # your leancloud application appid
  appkey: yNxUjPG4RVq633DglnvgnYAQ # your leancloud application appkey
  notify: false # mail notifier , https://github.com/xCss/Valine/wiki
  verify: false # Verification code
  placeholder: ヾノ≧∀≦)o 来呀!吐槽一番吧 # comment box placeholder
  avatar: mm # gravatar style
  guest_info: nick,mail,link # custom comment header
  pageSize: 10 # pagination size
appid和appkey填你自己的
18.文章分享
NexT中已经集成好了百度分享,我们只需在配置中开启即可
搜索baidushare光健字找到以下配置,将baidushare及type前的注释去掉
type有两种类型,button和slide可以根据自己喜欢的配置,但我这里发现type为button时按钮看不到,只有slide才能看到,不知道啥原因,所以暂时用slide不用button
# Baidu Share
# Available value:
#    button | slide
# Warning: Baidu Share does not support https.
baidushare:
 type: slide

这个按钮要进入文章才会显示
上面一步其实就已经OK了,hexo g编译一下,hexo s就可以在本地看到效果了,但是我部署到GitHub上就不行了,baidushare配置项上有一条注释# Warning: Baidu Share does not support https,就是说百度分享不支持https,而GitHub的url地址都是https的
解决办法:把百度分享需要的一些文件下载下来放在本地static文件夹下即可
首先到GitHub上下载baiduShare,然后解压后将static整个文件夹放在\themes\next\source路径下
然后打开\themes\next\layout_partials\share\baidushare.swig文件,拉到最下面找到如下配置
<script>
  with(document)0[(getElementsByTagName('head')[0]||body).appendChild(createElement('script')).src='//bdimg.share.baidu.com/static/api/js/share.js?cdnversion='+~(-new Date()/36e5)];
</script>
将上面的配置替换成如下配置
<script>
  with(document)0[(getElementsByTagName('head')[0]||body).appendChild(createElement('script')).src='/static/api/js/share.js?cdnversion='+~(-new Date()/36e5)];
</script>
也就是吧static前的//bdimg.share.baidu.com去掉就完事了
最后再重新hexo d -g编译部署下就可以看到如下效果了
19.阅读次数/时长和访客数
打开主题配置文件,修改配置项
busuanzi_count:
# count values only if the other configs are false
enable: true
# custom uv span for the whole site
site_uv: true
site_uv_header: <i class="fa fa-user"></i>
site_uv_footer:
# custom pv span for the whole site
site_pv: true
site_pv_header: <i class="fa fa-eye"></i>
site_pv_footer:
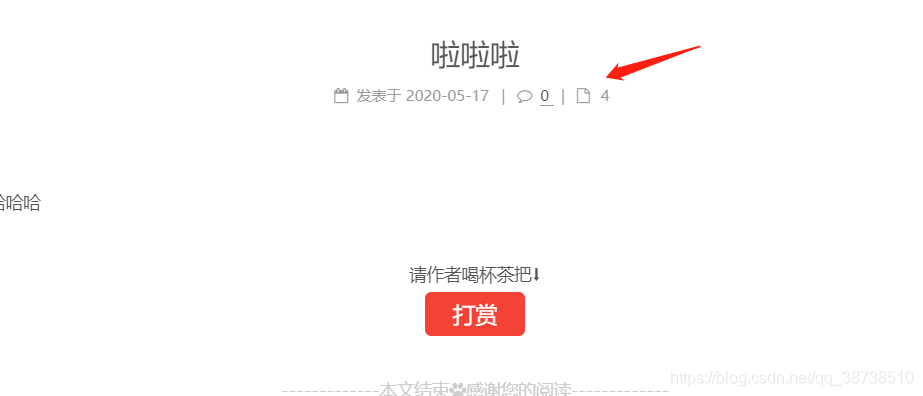
# custom pv span for one page only
page_pv: true
page_pv_header: <i class="fa fa-eye"></i>
page_pv_footer:
因七牛强制过期『dn-lbstatics.qbox.me』域名,与客服沟通无果,只能更换域名到『busuanzi.ibruce.sinfo』
所以还要修改下域名
开next/layout/_third-party/analytics/busuanzi-counter.swig文件,修改
<script async src="https://dn-lbstatics.qbox.me/busuanzi/2.3/busuanzi.pure.mini.js"></script>
替换如下
<script async src="https://busuanzi.ibruce.info/busuanzi/2.3/busuanzi.pure.mini.js"></script>
清一下缓存,重新发布下,打完收工
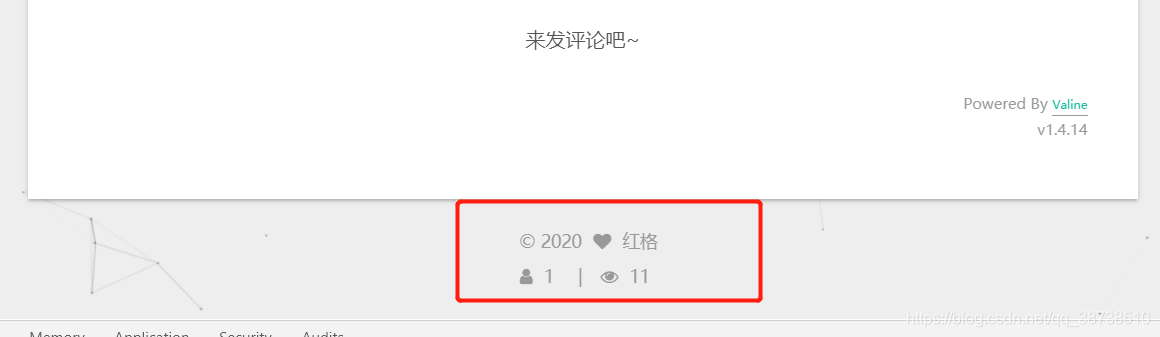
这个效果是要发布到github才能看到效果的的,在本地看的话数据是乱的
20.添加订阅微信公众号
在每篇文章的末尾显示微信公众号二维码,扫一扫,轻松订阅博客。
在微信公众号平台下载您的二维码,并将它存放于博客source/uploads/目录下。
然后编辑 主题配置文件,如下:
# Wechat Subscriber
wechat_subscriber:
  enabled: true
  qcode: /uploads/wechat-qcode.png
  description: 欢迎您扫一扫上面的微信公众号,订阅我的博客!