这篇文章我们讲解的是如何自定义Sink。
1. 介绍
Sink不断地轮询Channel中的事件且批量地移除它们,并将这些事件批量写入到存储或索引系统、或者被发送到另一个Flume Agent。
Sink是完全事务性的。在从Channel批量删除数据之前,每个Sink用Channel启动一个事务。批量事件一旦成功写出到存储系统或下一个Flume Agent,Sink就利用Channel提交事务。事务一旦被提交,该Channel从自己的内部缓冲区删除事件。
Sink组件目的地包括hdfs、logger、avro、thrift、ipc、file、null、HBase、solr、自定义。官方提供的Sink类型已经很多,但是有时候并不能满足实际开发当中的需求,此时我们就需要根据实际需求自定义某些Sink。
官方也提供了自定义source的接口:
https://flume.apache.org/FlumeDeveloperGuide.html#sink
根据官方说明自定义MySink需要继承AbstractSink类并实现Configurable接口。
实现相应方法:
configure(Context context)//初始化context(读取配置文件内容)
process()//从Channel读取获取数据(event),这个方法将被循环调用。
使用场景:读取Channel数据写入MySQL或者其他文件系统。
2. 需求
使用flume接收数据,并在Sink端给每条数据添加前缀和后缀,输出到控制台。前后缀可在flume任务配置文件中配置。
流程分析:
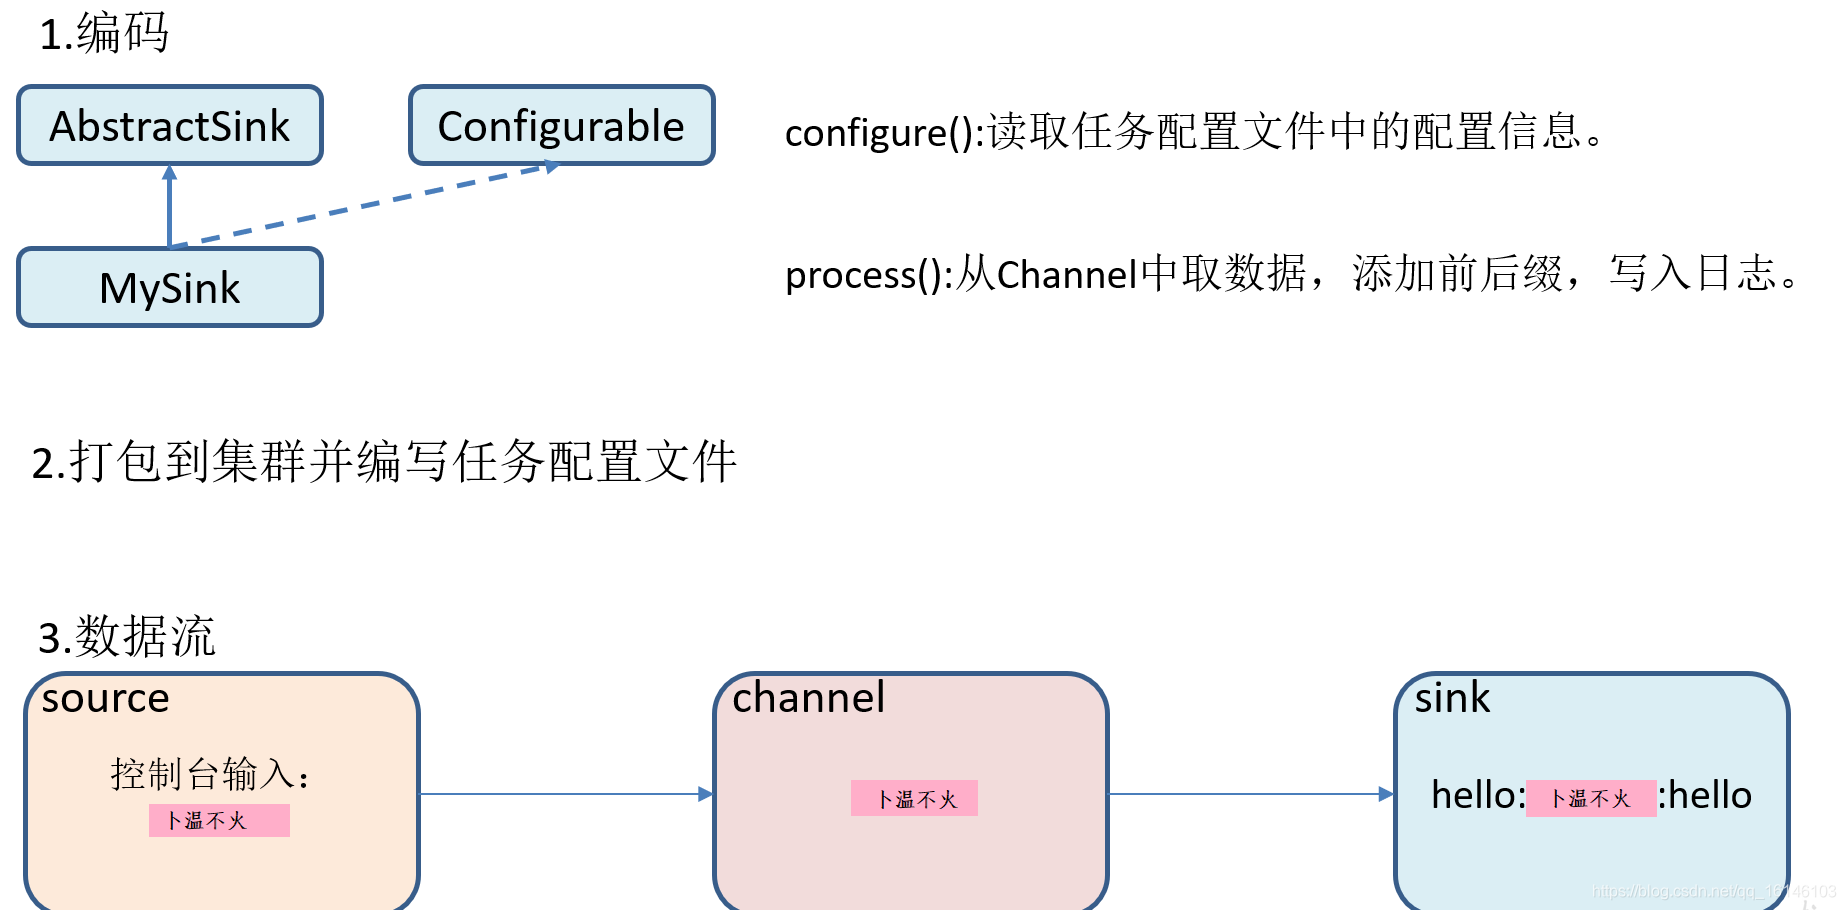
3. 编码
package com.buwenbuhuo;

import org.apache.flume.*;
import org.apache.flume.conf.Configurable;
import org.apache.flume.sink.AbstractSink;
import org.slf4j.Logger;
import org.slf4j.LoggerFactory;

/**
 * @author 卜温不火
 * @create 2020-05-04 17:06
 * com.buwenbuhuo - the name of the target package where the new class or interface will be created.
 * flumeplugins0504 - the name of the current project.
 */
public class MySink extends AbstractSink implements Configurable {

    //创建Logger对象
    private static final Logger LOG = LoggerFactory.getLogger(AbstractSink.class);

    private String prefix;
    private String suffix;

    @Override
    public Status process() throws EventDeliveryException {

        //声明返回值状态信息
        Status status;

        //获取当前Sink绑定的Channel
        Channel ch = getChannel();

        //获取事务
        Transaction txn = ch.getTransaction();

        //声明事件
        Event event;

        //开启事务
        txn.begin();

        //读取Channel中的事件,直到读取到事件结束循环
        while (true) {
            event = ch.take();
            if (event != null) {
                break;
            }
        }
        try {
            //处理事件(打印)
            LOG.info(prefix + new String(event.getBody()) + suffix);

            //事务提交
            txn.commit();
            status = Status.READY;
        } catch (Exception e) {

            //遇到异常,事务回滚
            txn.rollback();
            status = Status.BACKOFF;
        } finally {

            //关闭事务
            txn.close();
        }
        return status;
    }

    @Override
    public void configure(Context context) {

        //读取配置文件内容,有默认值
        prefix = context.getString("prefix", "hello:");

        //读取配置文件内容,无默认值
        suffix = context.getString("suffix");
    }
}
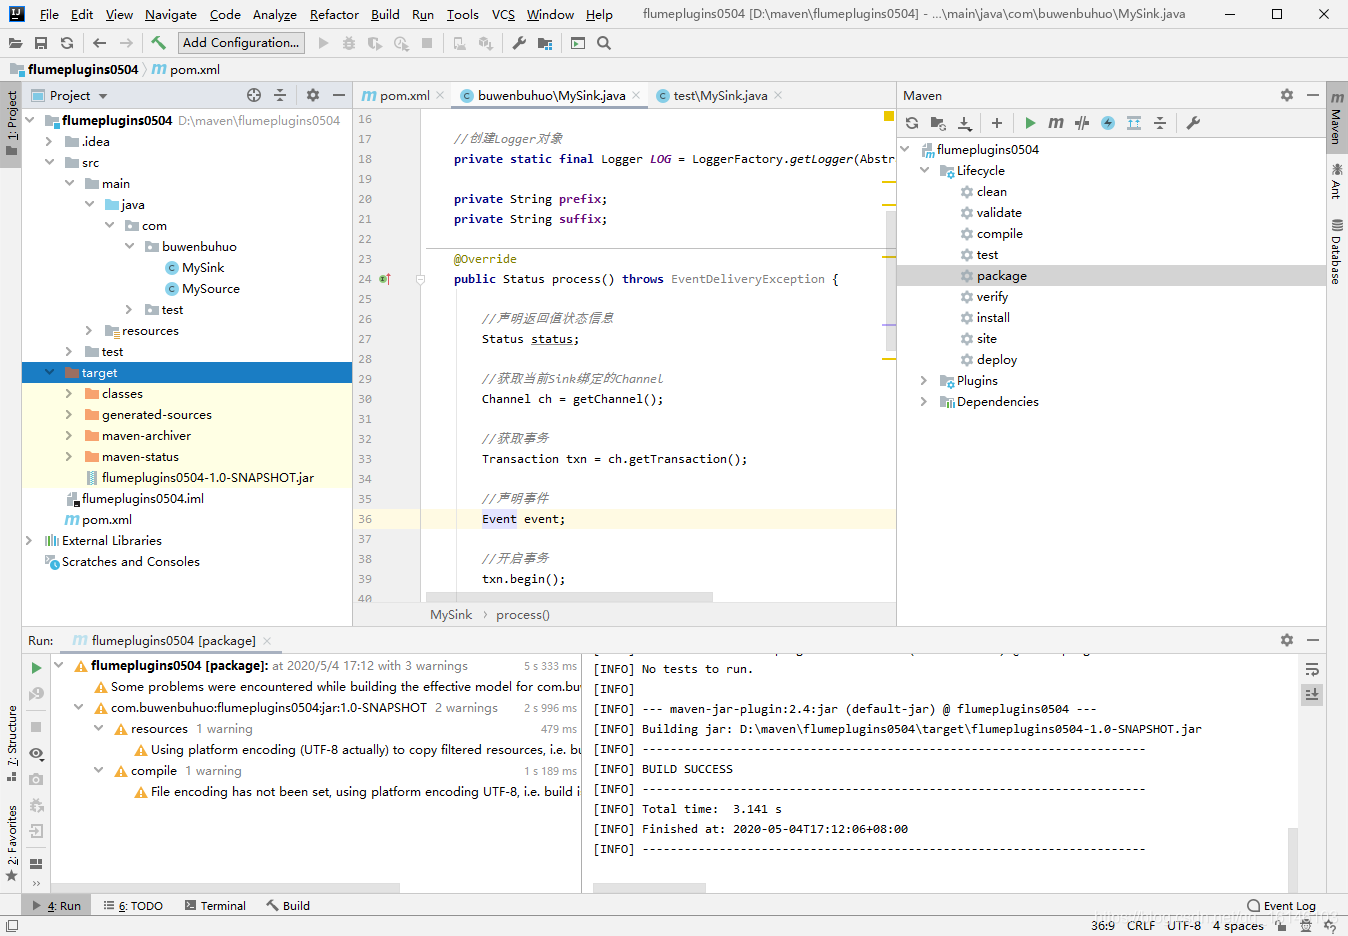
4. 测试
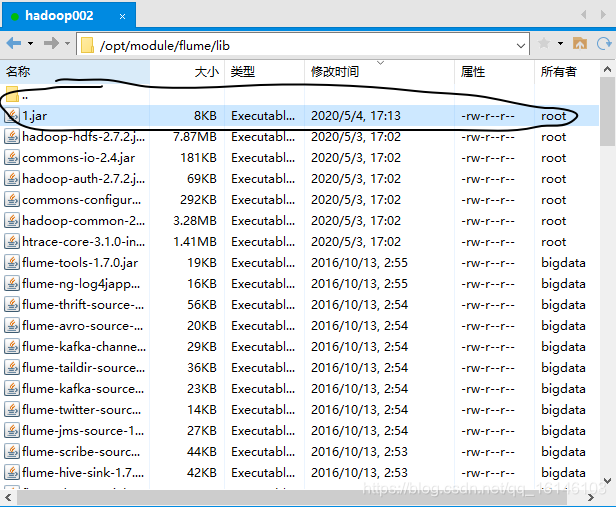
- 1. 打包
将写好的代码打包,并放到flume的lib目录(/opt/module/flume/lib)下。
- 2. 配置文件
[bigdata@hadoop002 job]$ cp flume-netcat-logger.conf flume-netcat-mysink.conf
[bigdata@hadoop002 job]$ vim flume-netcat-mysink.conf


# Name the components on this agent
a1.sources = r1
a1.sinks = k1
a1.channels = c1

# Describe/configure the source
a1.sources.r1.type = netcat
a1.sources.r1.bind = localhost
a1.sources.r1.port = 44444

# Describe the sink
a1.sinks.k1.type = com.buwenbuhuo.MySink
a1.sinks.k1.prefix = buwenbuhuo:
a1.sinks.k1.suffix = :buwenbuhuo

# Use a channel which buffers events in memory
a1.channels.c1.type = memory
a1.channels.c1.capacity = 1000
a1.channels.c1.transactionCapacity = 100

# Bind the source and sink to the channel
a1.sources.r1.channels = c1
a1.sinks.k1.channel = c1
- 3. 开启任务
[bigdata@hadoop002 flume]$ [bigdata@hadoop002 flume]$ bin/flume-ng agent -c conf/ -f job/flume-netcat-mysink.conf -n a1 -Dflume.root.logger=INFO,console
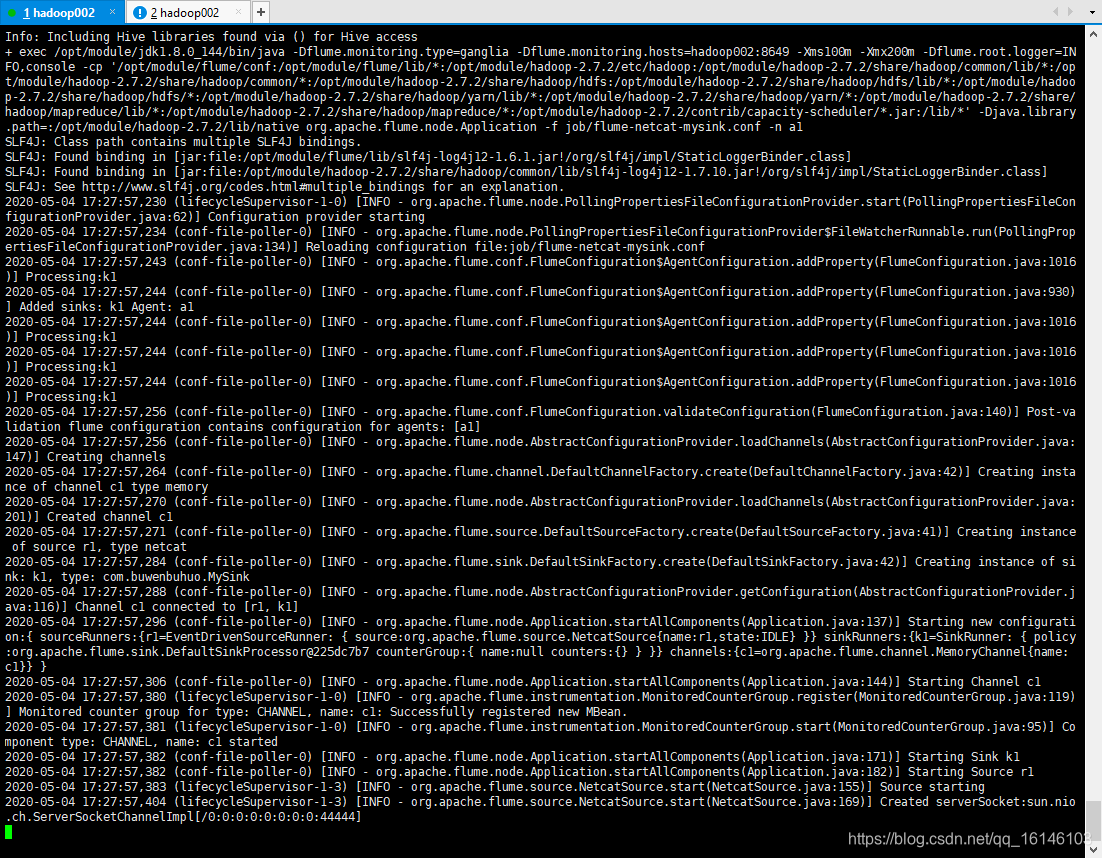
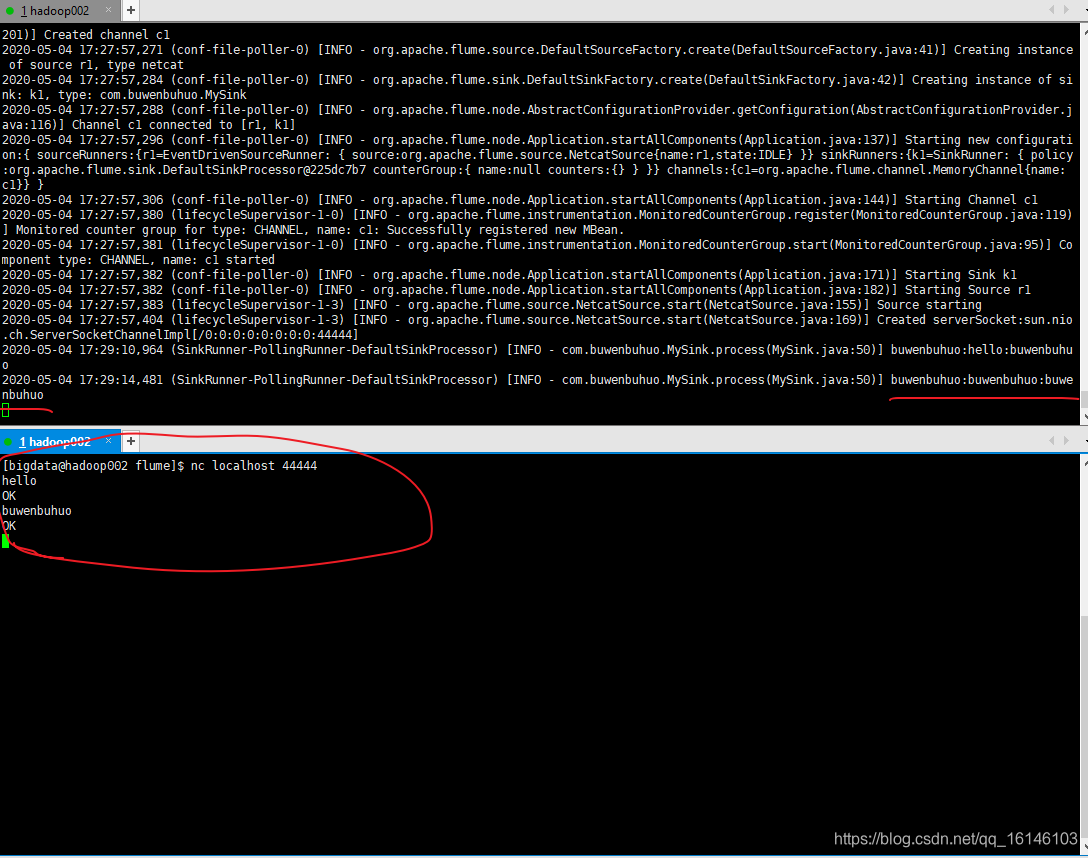
- 4. 结果展示(另开窗口)
[bigdata@hadoop002 flume]$ nc localhost 44444
本次的分享就到这里了,

^ _ ^ ❤️ ❤️ ❤️
码字不易,大家的支持就是我坚持下去的动力。点赞后不要忘了关注我哦!