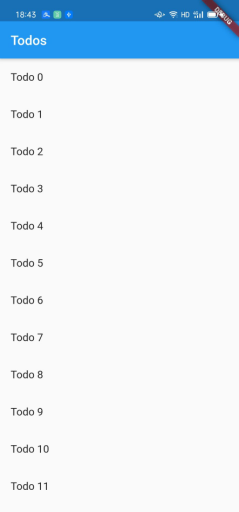
效果图一:
点击跳转
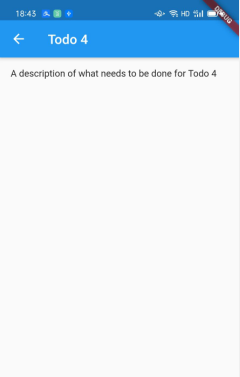
效果图二:
点击第四项后并传值到下一个页面来显示
代码+注释:
import 'package:flutter/foundation.dart';
import 'package:flutter/material.dart';

/**
 * 定义主页。
    添加一个打开选择页面的按钮。
    在选择页面上显示两个按钮。
    点击一个按钮时,关闭选择的页面。
    主页上弹出一个snackbar以显示用户的选择。
 */
class Todo {
  final String title;
  final String description;

  Todo(this.title, this.description);
}

void main() {
  runApp(new MaterialApp(
    title: 'Passing Data',
    home: new TodosScreen(
      todos: new List.generate(
        20,
            (i) => new Todo(
          'Todo $i',
          'A description of what needs to be done for Todo $i',
        ),
      ),
    ),
  ));
}

class TodosScreen extends StatelessWidget {
  final List<Todo> todos;

  TodosScreen({Key key, @required this.todos}) : super(key: key);

  @override
  Widget build(BuildContext context) {
    return new Scaffold(
      appBar: new AppBar(
        title: new Text('Todos'),
      ),
      body: new ListView.builder(
        itemCount: todos.length,
        itemBuilder: (context, index) {
          return new ListTile(
            title: new Text(todos[index].title),
            // When a user taps on the ListTile, navigate to the DetailScreen.
            // Notice that we're not only creating a new DetailScreen, we're
            // also passing the current todo through to it!
            /**
             *当用户点击ListTile时,导航到DetailScreen。请注意,我们不仅在创建新的DetailScreen,而且还在传递当前的待办事项!
             */
            onTap: () {
              Navigator.push(
                context,
                new MaterialPageRoute(
                  builder: (context) => new DetailScreen(todo: todos[index]),   //传入Todo对象
                ),
              );
            },
          );
        },
      ),
    );
  }
}

class DetailScreen extends StatelessWidget {
  // Declare a field that holds the Todo
  final Todo todo;  //接收Todo 对象

  // In the constructor, require a Todo
  DetailScreen({Key key, @required this.todo}) : super(key: key);

  @override
  Widget build(BuildContext context) {
    // Use the Todo to create our UI
    return new Scaffold(
      appBar: new AppBar(
        title: new Text("${todo.title}"),
      ),
      body: new Padding(
        padding: new EdgeInsets.all(16.0),
        child: new Text('${todo.description}'),
      ),
    );
  }
}
喜欢记得点个赞哟,我是王睿,很高兴认识大家!
更多原理请参考谷歌官网:给新页面传值