如果看这篇文章有不明白的地方,可以先看看apache配置基于域名访问这篇文章,我是在配置完域名后,继续在后面配置端口的。
首先,编辑配置文件,注释掉directory文件(点此学习)
然后在里面添加 listen 8081
监听8081端口

在**/etc/httpd/conf.d**里面编辑之前创建的配置文件a123.conf
vim /etc/httpd/conf.d/a123.conf
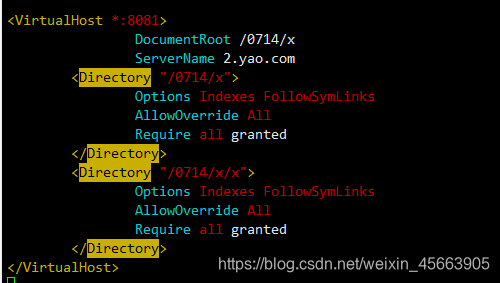
然后添加以下内容:
其中ServerName 2.yao.com 这行可以不要,这是配置域名的
<VirtualHost *:8081>
                DocumentRoot /0714/x
                ServerName 2.yao.com
        <Directory "/0714/x">
                Options Indexes FollowSymLinks
                AllowOverride All
                Require all granted
        </Directory>
        <Directory "/0714/x/x">
                Options Indexes FollowSymLinks
                AllowOverride All
                Require all granted
        </Directory>
</VirtualHost>
创建网站根目录和主文件
cd /
mkdir -p /0714/x/x
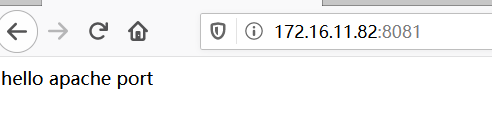
echo "hello apache port" >/0714/x/index.html
echo "hello xx" >/0714/x/x/index.html

开放8081端口,并重启防火墙和httpd服务
firewall-cmd --add-port=8081/tcp --permanent
systemctl restart firewalld
systemctl restart httpd