zookeeper
引入jar
 <dependencies>
        <!-- Dubbo dependency -->
        <dependency>
            <groupId>com.alibaba</groupId>
            <artifactId>dubbo</artifactId>
            <version>2.6.5</version>
        </dependency>
    <dependency>
        <groupId>com.alibaba</groupId>
        <artifactId>dubbo-registry-nacos</artifactId>
        <version>2.6.7</version>
    </dependency>
    <dependency>
        <groupId>org.apache.zookeeper</groupId>
        <artifactId>zookeeper</artifactId>
        <version>3.5.0-alpha</version>
    </dependency>
        <dependency>
            <groupId>org.apache.curator</groupId>
            <artifactId>curator-framework</artifactId>
            <version>2.11.1</version>
        </dependency>
    </dependencies>
接口及实现
public interface IUserService {

    public String getUserInfo(String aa);
}
public class UserService implements IUserService {
    public String getUserInfo(String aa) {
        System.out.println("这里是服务器:aa:"+aa);
        return aa;
    }
}
服务端启动
    public static void main(String[] args) throws InterruptedException {
        CountDownLatch countDownLatch = new CountDownLatch(1);
        // 服务实现
        IUserService xxxService = new UserService();

		// 当前应用配置
        ApplicationConfig application = new ApplicationConfig();
        application.setName("xxx");

		// 连接注册中心配置
        RegistryConfig registry = new RegistryConfig();
        registry.setAddress("zookeeper://127.0.0.1:2181");
        registry.setClient("curator");
        registry.setUsername("nacos");
        registry.setPassword("nacos");

		// 服务提供者协议配置
        ProtocolConfig protocol = new ProtocolConfig();
        protocol.setName("dubbo");
        protocol.setPort(12345);
        protocol.setThreads(200);

		// 注意:ServiceConfig为重对象,内部封装了与注册中心的连接,以及开启服务端口

		// 服务提供者暴露服务配置
        ServiceConfig<IUserService> service = new ServiceConfig<IUserService>(); // 此实例很重,封装了与注册中心的连接,请自行缓存,否则可能造成内存和连接泄漏
        service.setApplication(application);
        service.setRegistry(registry); // 多个注册中心可以用setRegistries()
        service.setProtocol(protocol); // 多个协议可以用setProtocols()
        service.setInterface(IUserService.class);
        service.setRef(xxxService);
        service.setVersion("1.0.0");

        // 暴露及注册服务
        service.export();
        countDownLatch.await();
    }
客户端消费
 public static void main(String[] args) {
        // 当前应用配置
        ApplicationConfig application = new ApplicationConfig();
        application.setName("yyy");

		// 连接注册中心配置
        RegistryConfig registry = new RegistryConfig();
        registry.setAddress("zookeeper://127.0.0.1:2181");
        registry.setUsername("aaa");
        registry.setPassword("bbb");

		// 注意:ReferenceConfig为重对象,内部封装了与注册中心的连接,以及与服务提供方的连接

		// 引用远程服务
        ReferenceConfig<IUserService> reference = new ReferenceConfig<IUserService>(); // 此实例很重,封装了与注册中心的连接以及与提供者的连接,请自行缓存,否则可能造成内存和连接泄漏
        reference.setApplication(application);
        reference.setRegistry(registry); // 多个注册中心可以用setRegistries()
        reference.setInterface(IUserService.class);
        reference.setVersion("1.0.0");

		// 和本地bean一样使用xxxService
        IUserService iUserService = reference.get();
        iUserService.getUserInfo("111");
    }
Nacos
注册中心启动
从git上下载源码
我下载的是1.3.0版本的。
Windows
启动命令:
cmd startup.cmd
或者双击startup.cmd运行文件。
linux启动配置:https://nacos.io/zh-cn/docs/quick-start.html
启动之后如下
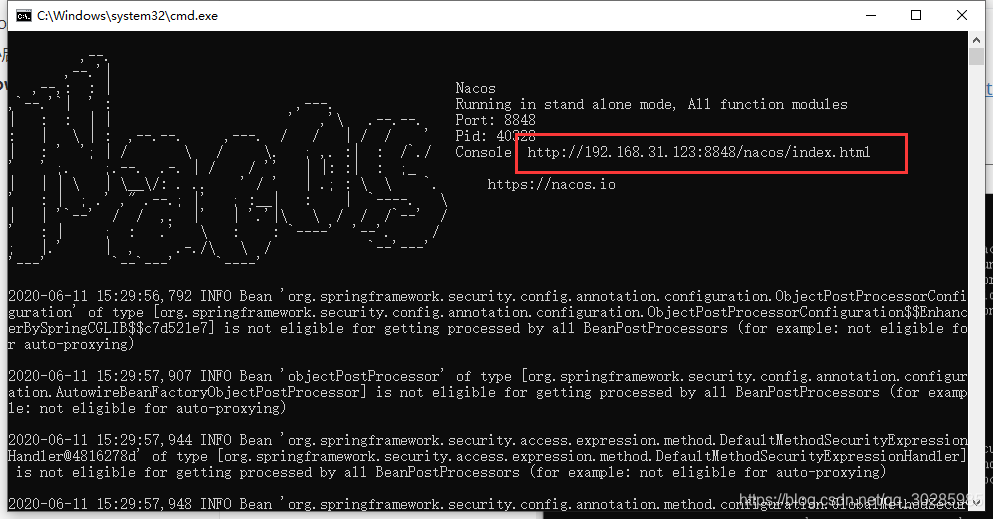
启动成功后
进入红框的地址进行登录注册中心
账号密码:nacos/nacos
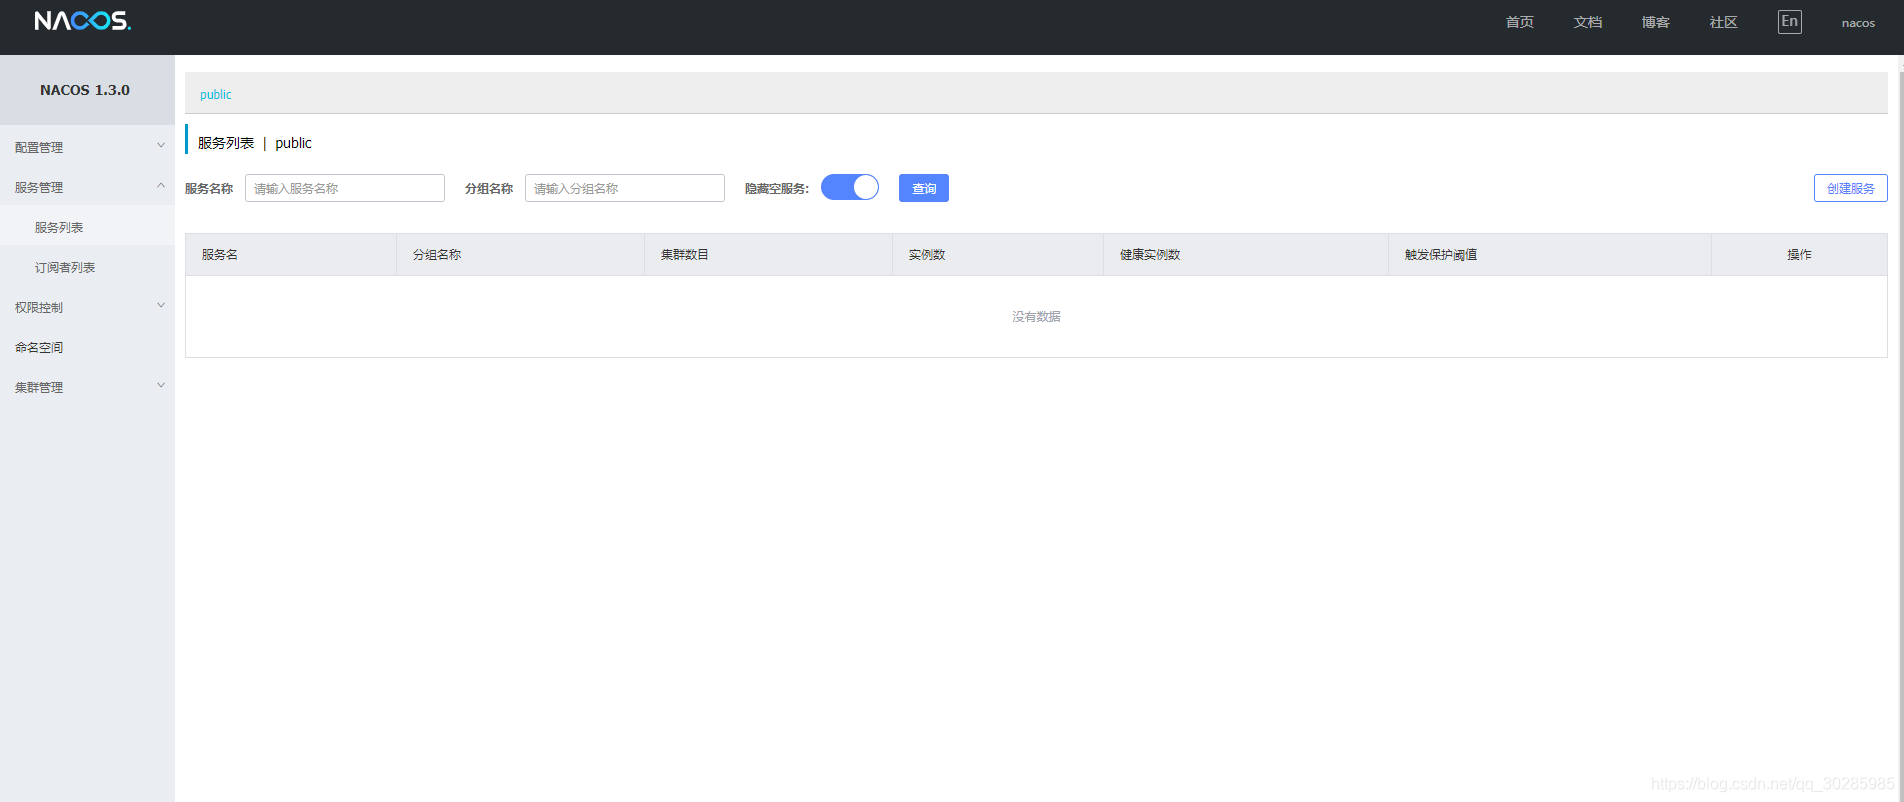
注册中心启动成功。
dubbo配置
pom引入
    <dependencies>
        <!-- Dubbo dependency -->
        <dependency>
            <groupId>com.alibaba</groupId>
            <artifactId>dubbo</artifactId>
            <version>2.6.5</version>
        </dependency>
    <dependency>
        <groupId>com.alibaba</groupId>
        <artifactId>dubbo-registry-nacos</artifactId>
        <version>2.6.7</version>
    </dependency>

    <!-- Keep latest Nacos client version -->
    <dependency>
        <groupId>com.alibaba.nacos</groupId>
        <artifactId>nacos-client</artifactId>
        <version>1.2.1</version>
    </dependency>
        <!-- Alibaba Spring Context extension -->
        <dependency>
            <groupId>com.alibaba.spring</groupId>
            <artifactId>spring-context-support</artifactId>
            <version>1.0.2</version>
        </dependency>

    </dependencies>
服务端启动
    public static void main(String[] args) throws InterruptedException {
        CountDownLatch countDownLatch = new CountDownLatch(1);
        // 服务实现
        IUserService xxxService = new UserService();

		// 当前应用配置
        ApplicationConfig application = new ApplicationConfig();
        application.setName("xxx");

		// 连接注册中心配置
        RegistryConfig registry = new RegistryConfig();
        registry.setAddress("nacos://127.0.0.1:8848");
//        registry.setClient("curator");
        registry.setUsername("nacos");
        registry.setPassword("nacos");

		// 服务提供者协议配置
        ProtocolConfig protocol = new ProtocolConfig();
        protocol.setName("dubbo");
        protocol.setPort(12345);
        protocol.setThreads(200);

		// 注意:ServiceConfig为重对象,内部封装了与注册中心的连接,以及开启服务端口

		// 服务提供者暴露服务配置
        ServiceConfig<IUserService> service = new ServiceConfig<IUserService>(); // 此实例很重,封装了与注册中心的连接,请自行缓存,否则可能造成内存和连接泄漏
        service.setApplication(application);
        service.setRegistry(registry); // 多个注册中心可以用setRegistries()
        service.setProtocol(protocol); // 多个协议可以用setProtocols()
        service.setInterface(IUserService.class);
        service.setRef(xxxService);
        service.setVersion("1.0.0");

        // 暴露及注册服务
        service.export();
        countDownLatch.await();
    }
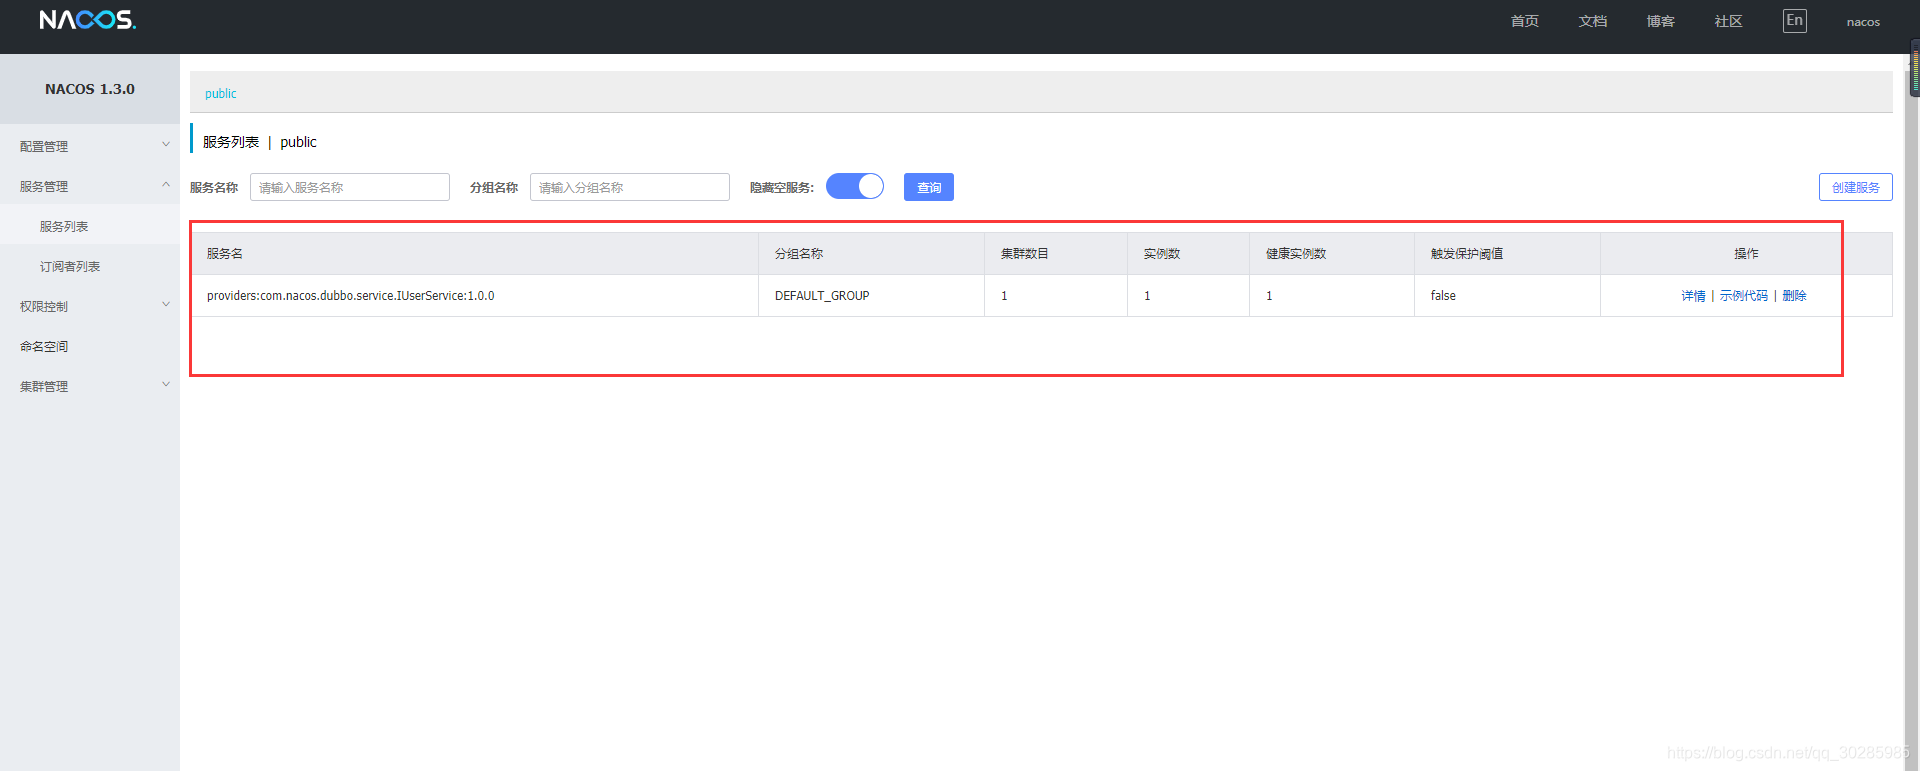
启动成功之后,注册中心会有数据显示出来。
客户端消费
public static void main(String[] args) {
        // 当前应用配置
        ApplicationConfig application = new ApplicationConfig();
        application.setName("yyy");

		// 连接注册中心配置
        RegistryConfig registry = new RegistryConfig();
        registry.setAddress("nacos://127.0.0.1:8848");
        registry.setUsername("aaa");
        registry.setPassword("bbb");

		// 注意:ReferenceConfig为重对象,内部封装了与注册中心的连接,以及与服务提供方的连接

		// 引用远程服务
        ReferenceConfig<IUserService> reference = new ReferenceConfig<IUserService>(); // 此实例很重,封装了与注册中心的连接以及与提供者的连接,请自行缓存,否则可能造成内存和连接泄漏
        reference.setApplication(application);
        reference.setRegistry(registry); // 多个注册中心可以用setRegistries()
        reference.setInterface(IUserService.class);
        reference.setVersion("1.0.0");

		// 和本地bean一样使用xxxService
        IUserService iUserService = reference.get();
        iUserService.getUserInfo("111");
    }
y);