作者:billy
版权声明:著作权归作者所有,商业转载请联系作者获得授权,非商业转载请注明出处
前言
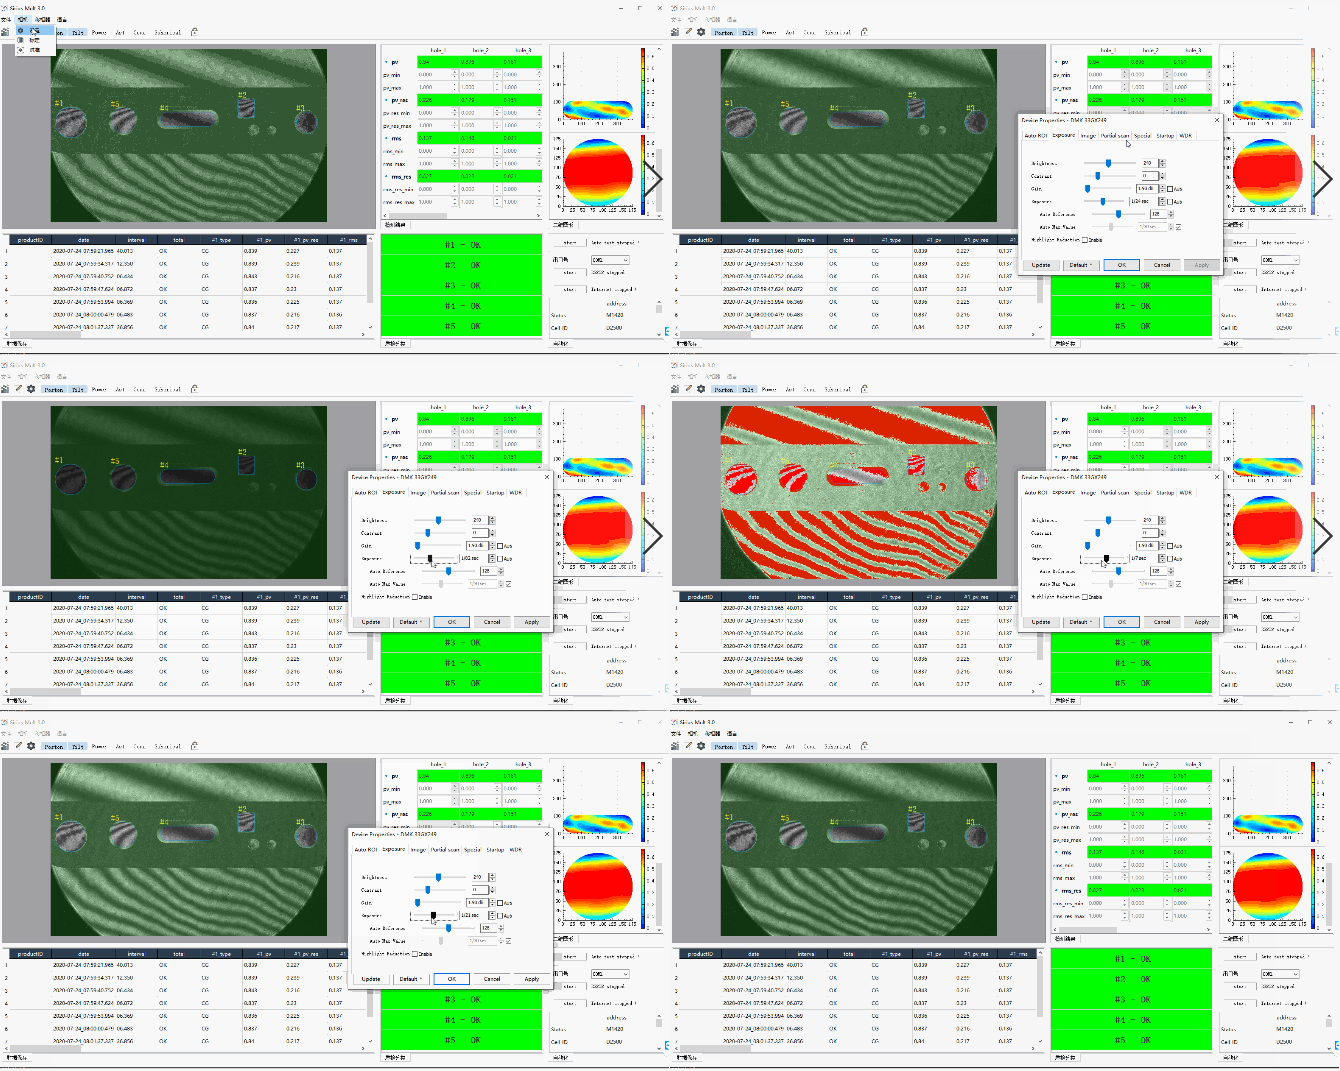
最近接到一个功能需求,用相机定时抓取图像在界面上显示,相机抓取图像的间隔设定在了100ms一次。当用户修改相机的曝光时间时,需要判断是否过曝,如果过曝了就把像素值修改为红色。
博主这里遇到了一个问题,对每张图片进行是否过曝检测,由于检测算法的执行时间太长导致了界面的卡顿,每100ms就有一张新的图像,然而计算并修改曝光时的像素值就花费了超过100ms(在一个很垃圾的测试机子上运行),最后通过查阅资料,与大神交流博主优化了算法,解决了这个问题,用这一章节来记录一下。
功能预览
这里以映美精相机为例,图像分辨率为1920 x 1200

方法一:使用Qt中的QImage
void GlobalFun::overExposure(QImage& image)
{
    DWORD start_time = GetTickCount();

    for ( int i = 0; i < image.width(); ++i )
    {
        for ( int j = 0; j < image.height(); ++j )
        {
            QColor color = image.pixelColor(i, j);
            if ( color.red() >= 254 && color.green() >= 254 && color.blue() >= 254 )
            {
                image.setPixelColor(i, j, QColor(255, 0, 0));
            }
        }
    }

    DWORD end_time = GetTickCount();
    std::cout << "times = " << end_time - start_time << std::endl;
}
使用Qt封装好的QImage类去获取rgb值,做出判断并修改,此方法运行耗时最多,在测试机上运行一次需要280ms左右
方法二:使用openCV拆分通道
void GlobalFun::overExposure(QImage& image)
{
    DWORD start_time = GetTickCount();

    mat = cv::Mat(image.height(), image.width(), CV_8UC3, (void*)image.constBits(),     image.bytesPerLine());

    std::vector<cv::Mat1b> rgbChannels;
    cv::split(mat, rgbChannels);
    cv::Mat1b red = rgbChannels[0];
    cv::Mat1b green = rgbChannels[1];
    cv::Mat1b blue = rgbChannels[2];

    mat.setTo(cv::Vec3b{255, 0, 0}, red >= 254 & green >= 254 & blue >= 254);

    DWORD end_time = GetTickCount();
    std::cout << "times = " << end_time - start_time << std::endl;
}
此方法比QImage操作有了较大的优化,耗时在90ms左右,把mat类型数据拆分成单通道数据,依次判断并使用setTo修改rgb值
方法三:用指针操作图像像素
void GlobalFun::overExposure(QImage& image)
{
    DWORD start_time = GetTickCount();

    unsigned char *data = image.bits();
    int width = image.width();
    int height = image.height();

    for ( int i = 0; i < width; ++i )
    {
        for ( int j = 0; j < height; ++j )
        {
            if ( *data >= 254 && *(data + 1) >= 254 && *(data + 2) >= 254 )
            {
                *(data + 1) = 0;
                *(data + 2) = 0;
            }
            data += 3;
        }
    }

    DWORD end_time = GetTickCount();
    std::cout << "times = " << end_time - start_time << std::endl;
}
用指针遍历图像效率特别快,此方法仅需0-15ms,最后博主选择了使用指针来遍历,达到了功能需求
不同类型的图像遍历
以上三个方法的图像类型都是 QImage::Format_RGB888,如果是其他类型的图像,遍历方式需要稍作改变,这里以 QImage::Format_RGB32 为例
void GlobalFun::overExposure(QImage& image)
{
    unsigned char *data = image.bits();
    int width = image.width();
    int height = image.height();

    for ( int i = 0; i < width; ++i )
    {
        for ( int j = 0; j < height; ++j )
        {
            if ( *data >= 254 && *(data + 1) >= 254 && *(data + 2) >= 254 )
            {
                *data = 0;
                *(data + 1) = 0;
            }
            data += 4;
        }
    }
}