LAMP:Linux+Apache+Mysql+Php
安装之前,先把环境清干净了
#rpm -qa|grep httpd
#yum -y remove mysql mysql-server
#yum -y remove httpd
#yum -y remove php php-fmp
一、安装apache
1.1、安装apache
 [root@wxj local]# yum install httpd httpd-devel
 安装完成后查看下版本
 [root@wxj local]# httpd -version
Server version: Apache/2.2.15 (Unix)
Server built:   Jun 19 2018 15:45:13
1.2、启动apache服务并设置开机自启动
   [root@wxj libexec]# service httpd start
   [root@wxj libexec]# chkconfig httpd on
   [root@wxj libexec]# service httpd status
   httpd (pid  3718) 正在运行...
1.3 开启防火墙端口:
a、先查出apche服务所占的端口
[root@wxj libexec]# netstat -atlnp |grep httpd
tcp        0      0 :::36365                    :::*                        LISTEN      3116/httpd
tcp        0      0 :::80                       :::*                        LISTEN      3718/httpd
b、添加防火墙规则 通过命令行添加或通过在文件/etc/sysconfig/iptables中添加
    [root@wxj opt]# iptables -A INPUT -p tcp  -m state --state NEW -m tcp --dport 80 -j ACCEPT
    [root@wxj opt]# service iptables save
    iptables:将防火墙规则保存到 /etc/sysconfig/iptables:     [确定]
1.4修改服务配置
#修改允许.htaccess AllowOverride None 修改成AllowOverride All
#修改页面支持属性 在DirectoryIndex index.html 后面加:index.php
#新增支持.pl脚本
#AddHandler cgi-script .cgi修改成: AddHandler cgi-script .cgi .pl
二、安装mysql
2.1、mysql client和server端安装
[root@wxj local]# yum -y install mysql mysql-server mysql-devel
2.2查询是否安装成功:
 [root@wxj libexec]# rpm -qa|grep mysql
    mysql-server-5.1.73-8.el6_8.x86_64
    mysql-libs-5.1.73-8.el6_8.x86_64
    mysql-devel-5.1.73-8.el6_8.x86_64
    mysql-5.1.73-8.el6_8.x86_64
2.3、启动mysql服务,并设置开机自启动
 [root@wxj libexec]#service mysqld start
 [root@wxj libexec]# chkconfig mysqld on
2.4数据库安全设置
[root@wxj local]# mysql_secure_installation
………………………………
Enter current password for root (enter for none):
ERROR 1045 (28000): Access denied for user 'root'@'localhost' (using password: NO)
Enter current password for root (enter for none):
**上述报错原因:root密码初始化时是空,但输入空无效,只能重新修改root密码
解决方法如下:
a、停止mysql服务
[root@wxj local]# service mysqld stop
b、root密码忘记了,所以越过授权
[root@wxj local]# /usr/bin/mysqld_safe --skip-grant-tables &
c、此时该窗口不能动了,另开一窗口
[root@wxj local]# mysql -uroot -p
Enter password: ----------->提示输入密码,直接回车就可以
d、 紧接着操作步骤如下图: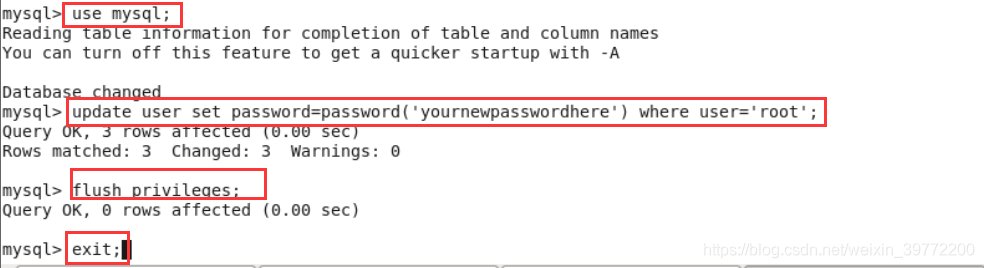
e、重启mysql
[root@wxj bin]# service mysqld start
正在启动 mysqld: [确定]
f、再进行输入库安全设置就ok了
 [root@wxj libexec]# mysql_secure_installation


NOTE: RUNNING ALL PARTS OF THIS SCRIPT IS RECOMMENDED FOR ALL MySQL
      SERVERS IN PRODUCTION USE!  PLEASE READ EACH STEP CAREFULLY!


In order to log into MySQL to secure it, we'll need the current
password for the root user.  If you've just installed MySQL, and
you haven't set the root password yet, the password will be blank,
so you should just press enter here.

Enter current password for root (enter for none):
ERROR 1045 (28000): Access denied for user 'root'@'localhost' (using password: NO)
Enter current password for root (enter for none):
ERROR 1045 (28000): Access denied for user 'root'@'localhost' (using password: YES)
Enter current password for root (enter for none):
OK, successfully used password, moving on...
Setting the root password ensures that nobody can log into the MySQL
root user without the proper authorisation.

You already have a root password set, so you can safely answer 'n'.

Change the root password? [Y/n] Y
New password:
Re-enter new password:
Password updated successfully!
Reloading privilege tables..
 ... Success!

By default, a MySQL installation has an anonymous user, allowing anyone
to log into MySQL without having to have a user account created for
them.  This is intended only for testing, and to make the installation
go a bit smoother.  You should remove them before moving into a
production environment.

Remove anonymous users? [Y/n] Y
 ... Success!

Normally, root should only be allowed to connect from 'localhost'.  This
ensures that someone cannot guess at the root password from the network.
Disallow root login remotely? [Y/n] n
 ... skipping.
By default, MySQL comes with a database named 'test' that anyone can
access.  This is also intended only for testing, and should be removed
before moving into a production environment.
Remove test database and access to it? [Y/n] y
 - Dropping test database...
 ... Success!
 - Removing privileges on test database...
 ... Success!
Reloading the privilege tables will ensure that all changes made so far
will take effect immediately.

Reload privilege tables now? [Y/n] y
 ... Success!

Cleaning up...

All done!  If you've completed all of the above steps, your MySQL
installation should now be secure.

Thanks for using MySQL!
三、安装php
3.1 安装php
[root@wxj libexec]# yum -y install php
3.2 php和mysql进行关联
[root@wxj libexec]# yum -y install php-mysql
3.3 安装常用php模块
[wxj@wxj opt]$ sudo yum -y install php-gd php-ldap php-odbc php-pear php-xml php-xmlrpc php-mbstring php-snmp hp-soap curl curl-devel php-bcmath
3.4 测试php
[root@wxj opt]# cd /var/www/html
[root@wxj html]# vi info.php
增加如下内容,保存退出
<?php
  phpinfo();
?>
3.5 重启apache
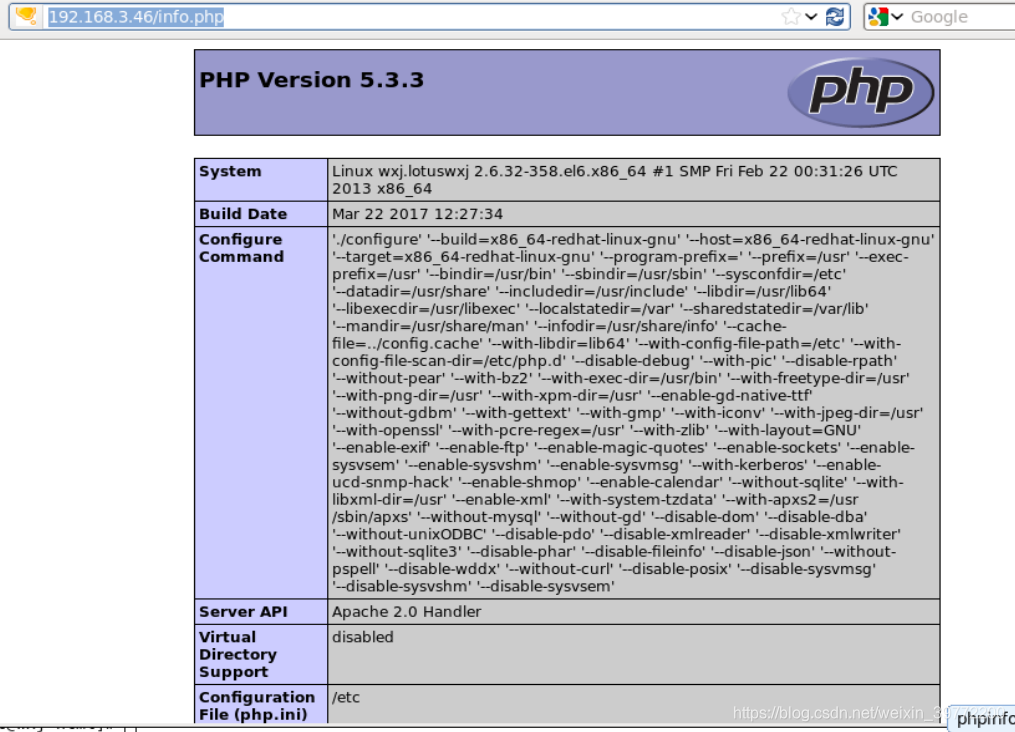
3.6 在浏览器中输入:localhost/info.php或http://192.168.3.46/info.php
192.168.3.46是我的ip地址,出现如下图片,则是安装好了
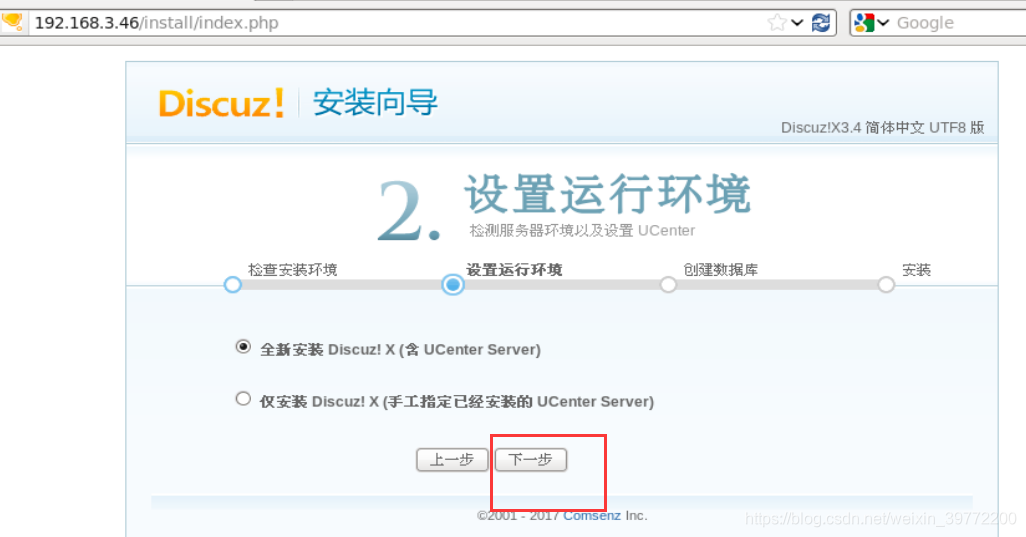
四、安装discuz
到官方论坛下载:
http://download.comsenz.com/DiscuzX/3.2/Discuz_X3.2_TC_UTF8.zip
4.1 下载:
# wget http://download.comsenz.com/DiscuzX/3.2/Discuz_X3.2_TC_UTF8.zip
4.2 下载完成后
# unzip 包名解压
4.3 upload 目录放到web请求目录下:
[root@wxj local]# cd /opt
[root@wxj opt]# ls
ComsenzDiscuz-DiscuzX-master.zip DiscuzX rh
[root@wxj opt]# cd DiscuzX/
[root@wxj DiscuzX]# ls
readme README.md upload utility
[root@wxj DiscuzX]# cp -R upload/* /var/www/html
4.4 浏览器中输入我本机的ip地址
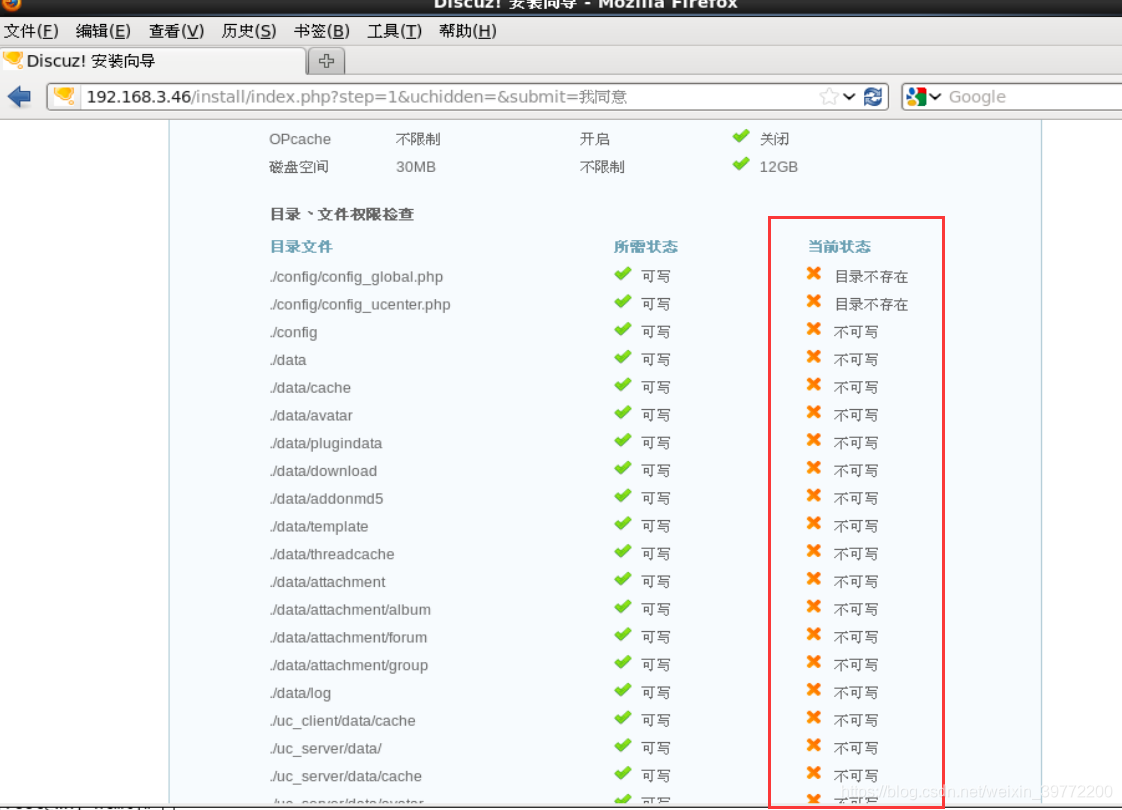
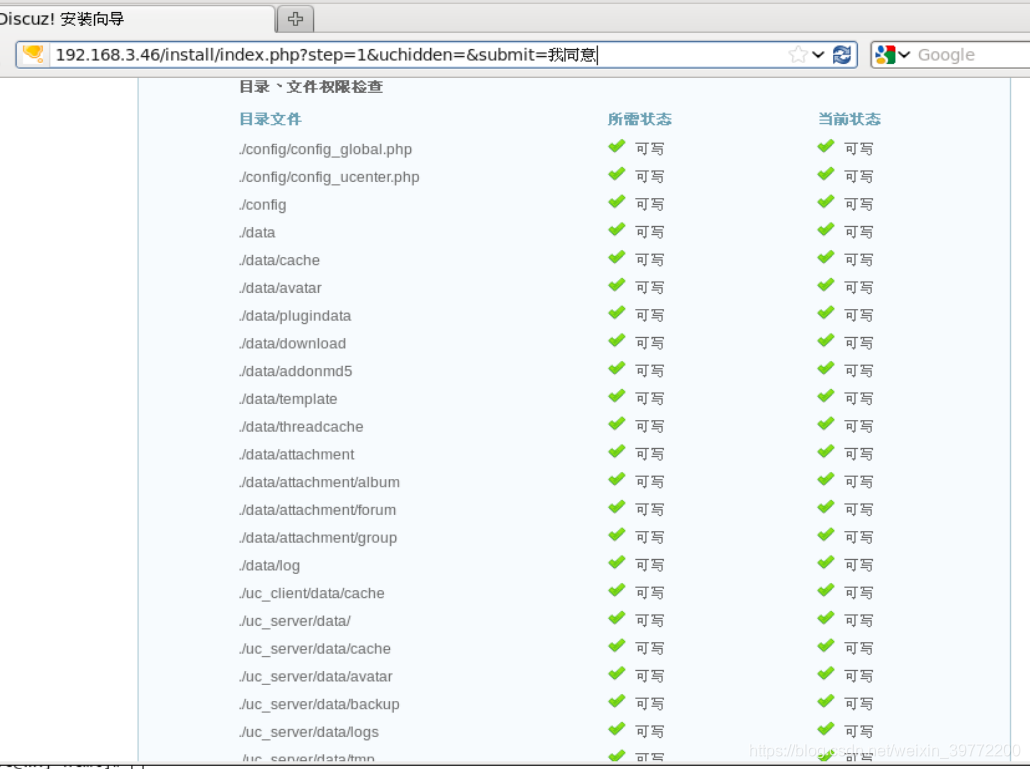
http://192.168.3.46/install安装时,目录、文件权限检查没过,加下权限重试下
给上述报错的目录加权限
[root@wxj html]# chmod -R 777 uc_server
[root@wxj html]# chmod -R 777 uc_client
[root@wxj html]# chmod -R 777 config
[root@wxj html]# chmod -R 777 data
刷新浏览器就ok了
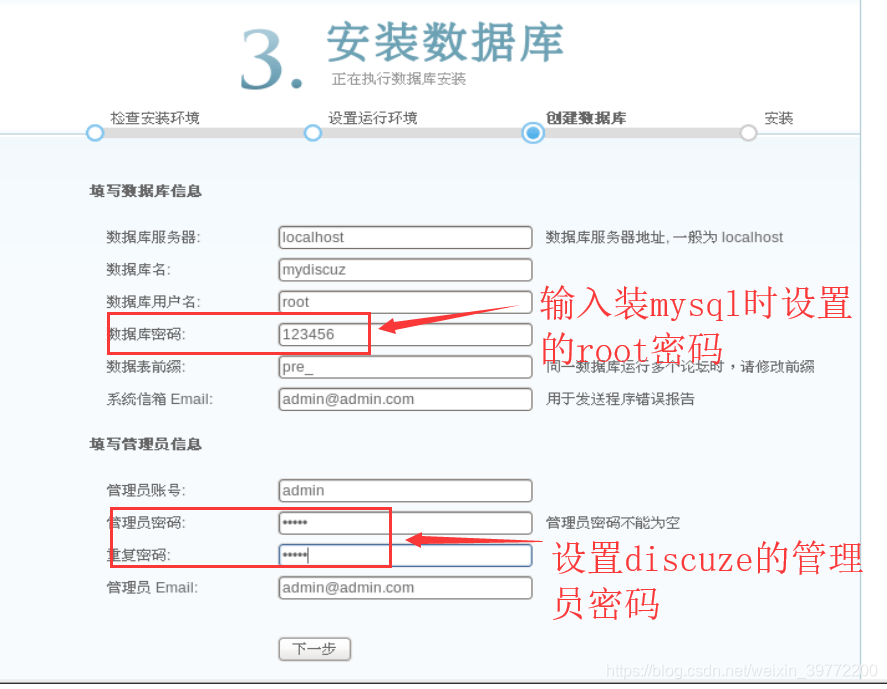
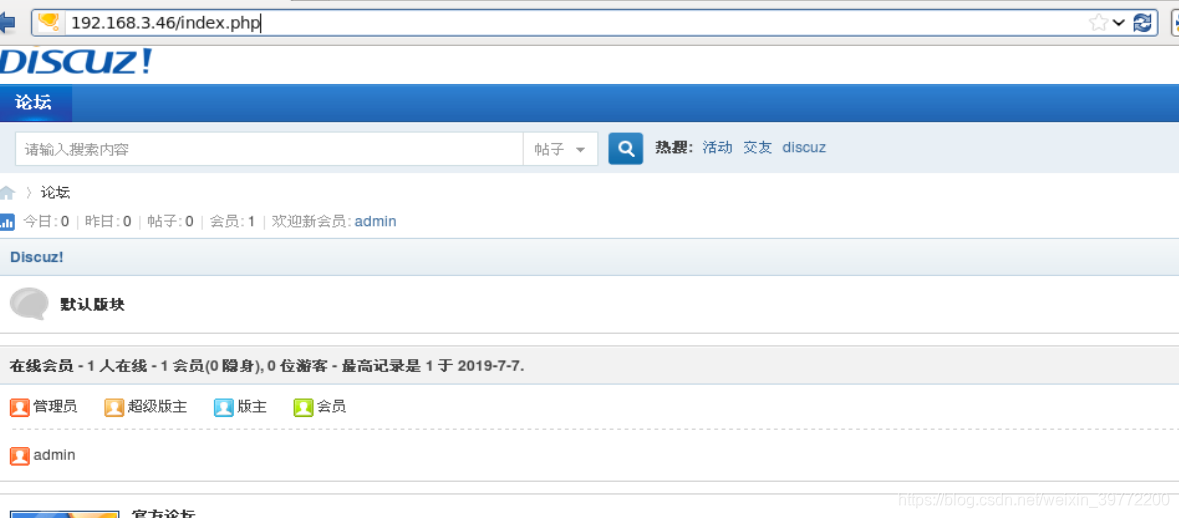
到此就搭建完成了,可以访问了
设置的mysql数据库的root密码是:123456
discuz管理员密码是:admin
能访问成功