TensorFlow Lite 是一种用于设备端推断的开源深度学习框架,可以在Android与IOS端进行部署,本次使用MobaXterm进行配置安装
一、树莓派环境配置
1.树莓派升级
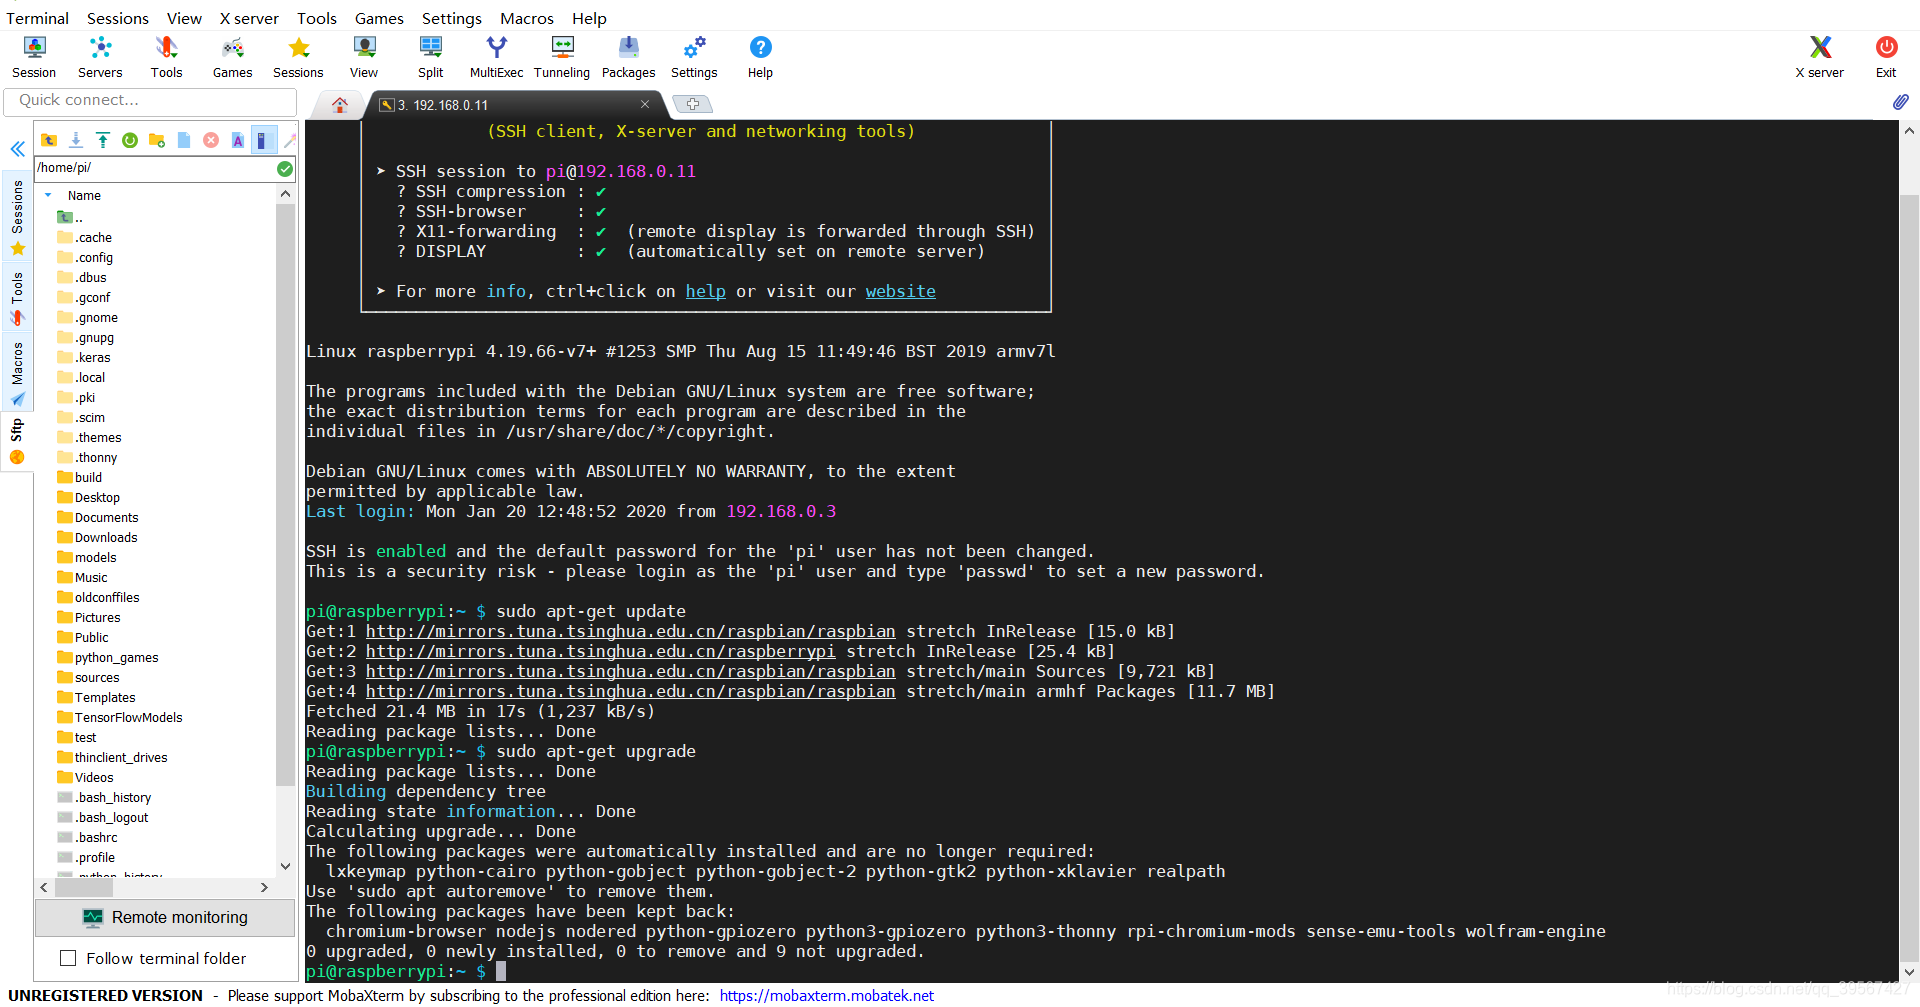
此次树莓派沿用我在 树莓派3B+(适合树莓派3B) Qt 使用 Cmake C++ OpenCV 与 树莓派3B+(适合树莓派3B)运行Tensorflow Object Detection 后的配置,所有配置与之前相同,包括源,现在官网下载安装 MobaXterm,安装并打开连接树莓派如下,升级命令如下
sudo apt-get update
sudo apt-get upgrade
2.git 下载
在 github 官网下载 TensorFlow git 包
git clone https://github.com/EdjeElectronics/TensorFlow-Lite-Object-Detection-on-Android-and-Raspberry-Pi
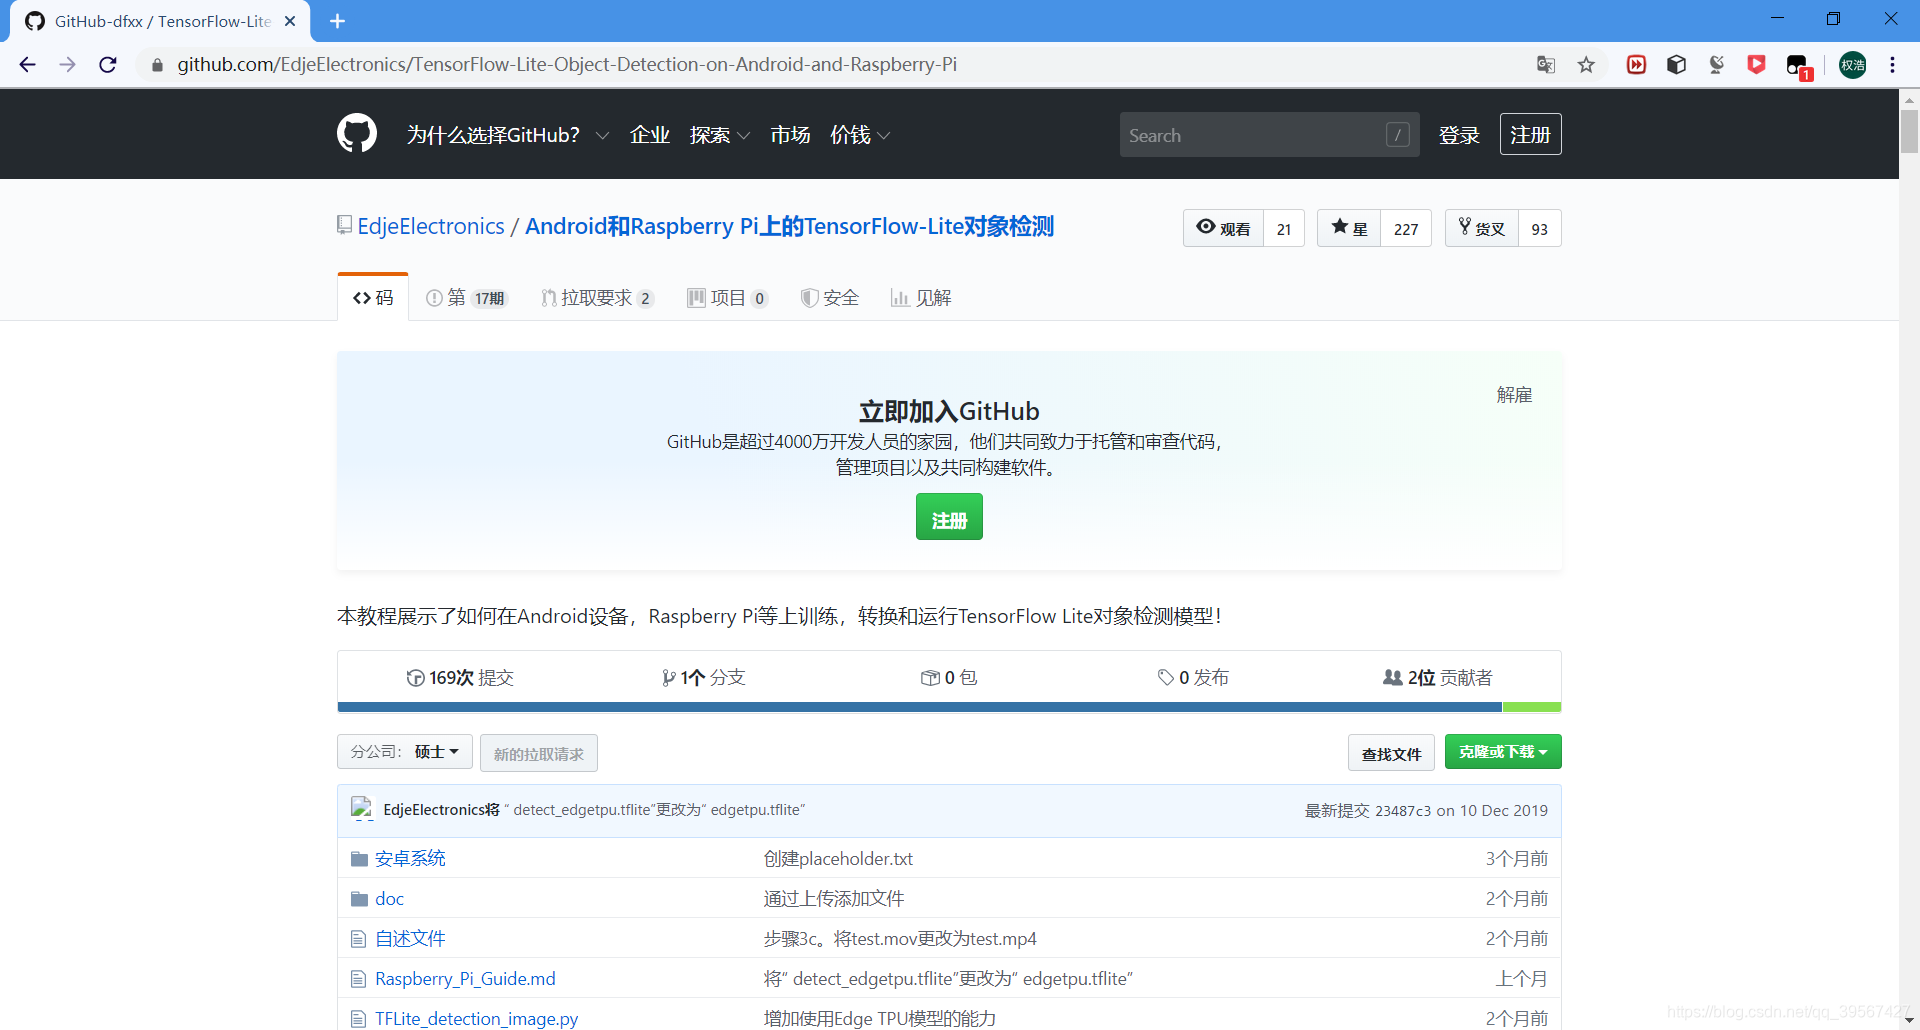
镇上的网太差了,我不得不在 PC 下载并上传到树莓派,然后解压,反正无论什么方法你都要得到这个文件夹/(ㄒoㄒ)/~~,我下载的压缩包,并解压,并重命名为tflite
unzip TensorFlow-Lite-Object-Detection-on-Android-and-Raspberry-Pi-master.zip
mv TensorFlow-Lite-Object-Detection-on-Android-and-Raspberry-Pi-master/ tflite
二、TensorFlow-Lite安装与示例
1.为 tflite 创建虚拟环境
cd tflite
sudo pip3 install virtualenv
python3 -m venv tflite-env
source tflite-env/bin/activate
最终效果如下

如果不创建虚拟环境则要修改 get_pi_requirements.sh 因为里面有的版本跟我们已安装的冲突,虚拟环境则不用,因为跟系统自带 不冲突
例如查看已安装 Python 版本,显示为 4.1.1.26
python3
import cv2
cv2.__version__
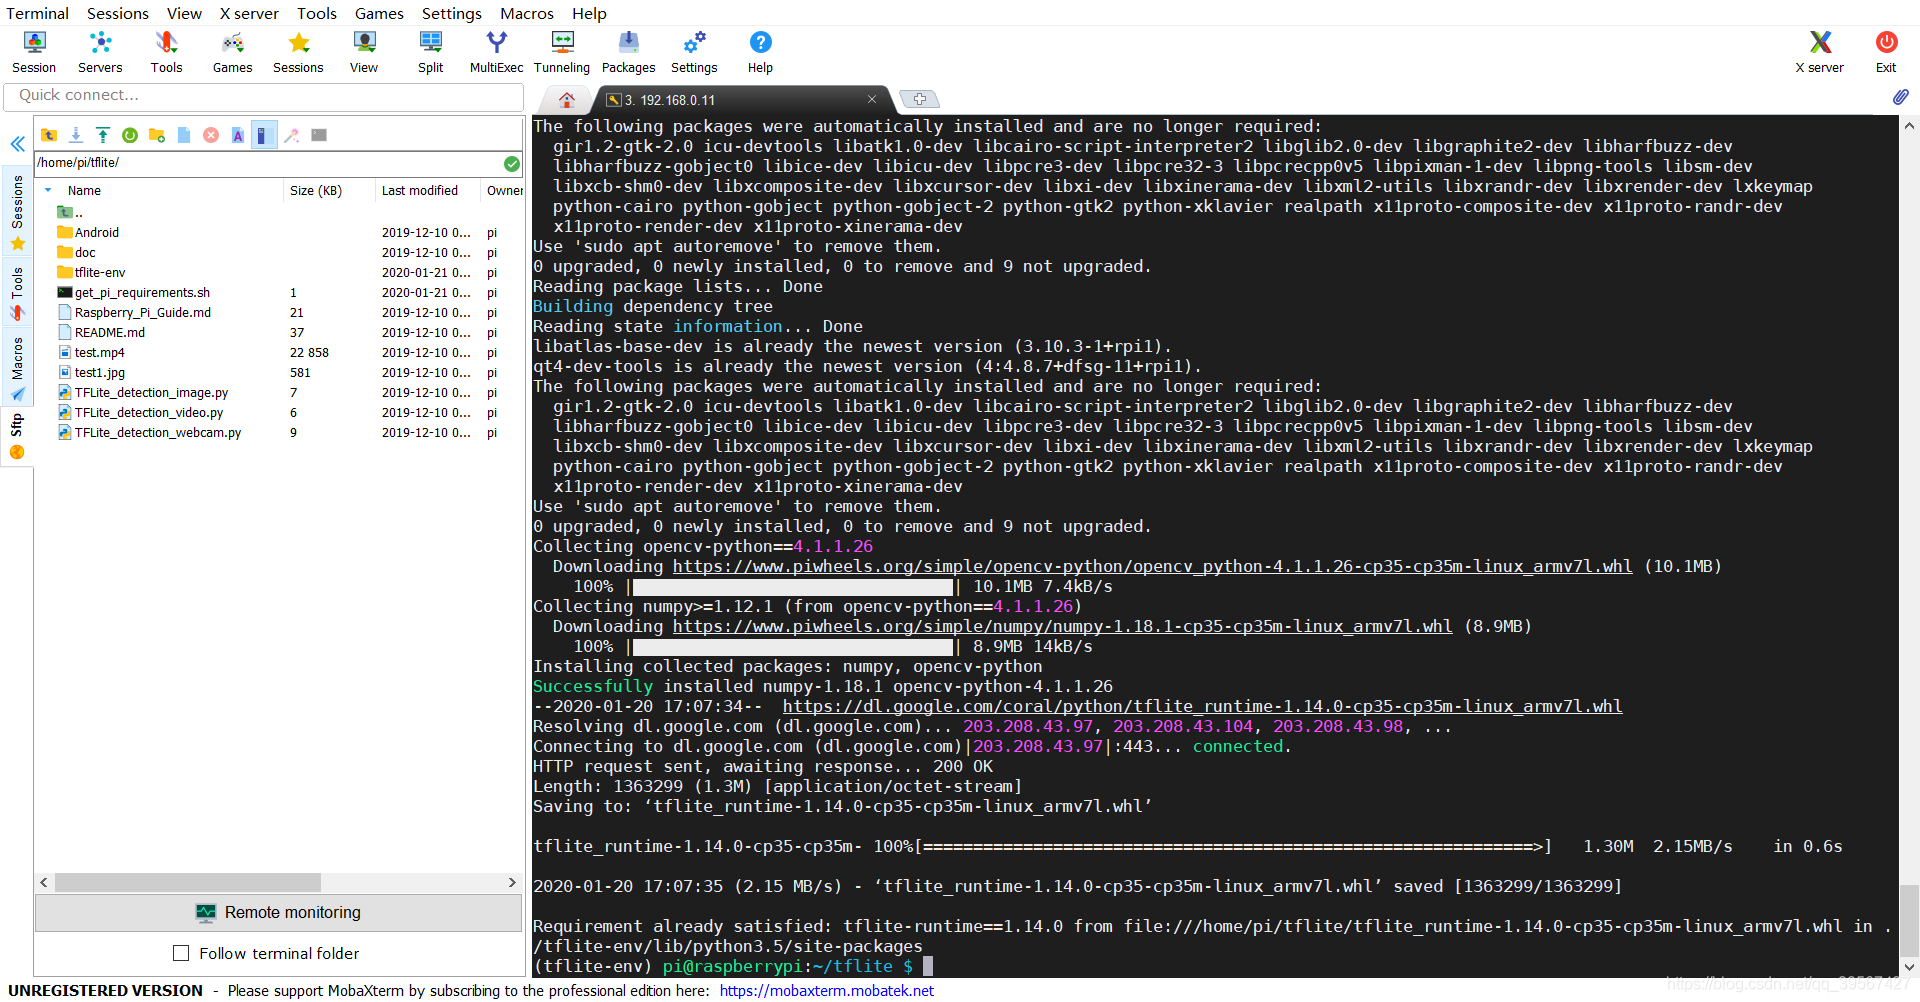
直接运行 get_pi_requirements.sh 配置环境(我仍然打开了此文件并修改 OpenCV 为 4.1.1.26 版本),安装完成如下
我的 get_pi_requirements.sh 如下
#!/bin/bash

# Get packages required for OpenCV

sudo apt-get -y install libjpeg-dev libtiff5-dev libjasper-dev libpng12-dev
sudo apt-get -y install libavcodec-dev libavformat-dev libswscale-dev libv4l-dev
sudo apt-get -y install libxvidcore-dev libx264-dev
sudo apt-get -y install qt4-dev-tools libatlas-base-dev

pip3 install opencv-python==4.1.1.26

# Get packages required for TensorFlow

# For now, downloading the TensorFlow builds from lhelontra's "TensorFlow on ARM" repository
# Thanks lhelontra for being super awesome!
# Will change to just 'pip3 install tensorflow' once newer versions of TF are added to piwheels

#pip3 install tensorflow

version=$(python -c 'import sys; print(".".join(map(str, sys.version_info[:2])))')

if [ $version == "3.7" ]; then
wget https://github.com/lhelontra/tensorflow-on-arm/releases/download/v2.0.0/tensorflow-2.0.0-cp37-none-linux_armv7l.whl
pip3 install tensorflow-2.0.0-cp37-none-linux_armv7l.whl
rm tensorflow-2.0.0-cp37-none-linux_armv7l.whl
fi

if [ $version == "3.5" ]; then
wget https://dl.google.com/coral/python/tflite_runtime-1.14.0-cp35-cp35m-linux_armv7l.whl
pip3 install tflite_runtime-1.14.0-cp35-cp35m-linux_armv7l.whl
rm tflite_runtime-1.14.0-cp35-cp35m-linux_armv7l.whl
fi
注意安装完记得测试虚拟环境与普通环境是否有这个安装模块,以 OpenCV 为例使用命令如下
python3
import cv2
cv2.__version__
我的普通环境与虚拟环境都显示 4.1.1 安装正确
2.创建示例
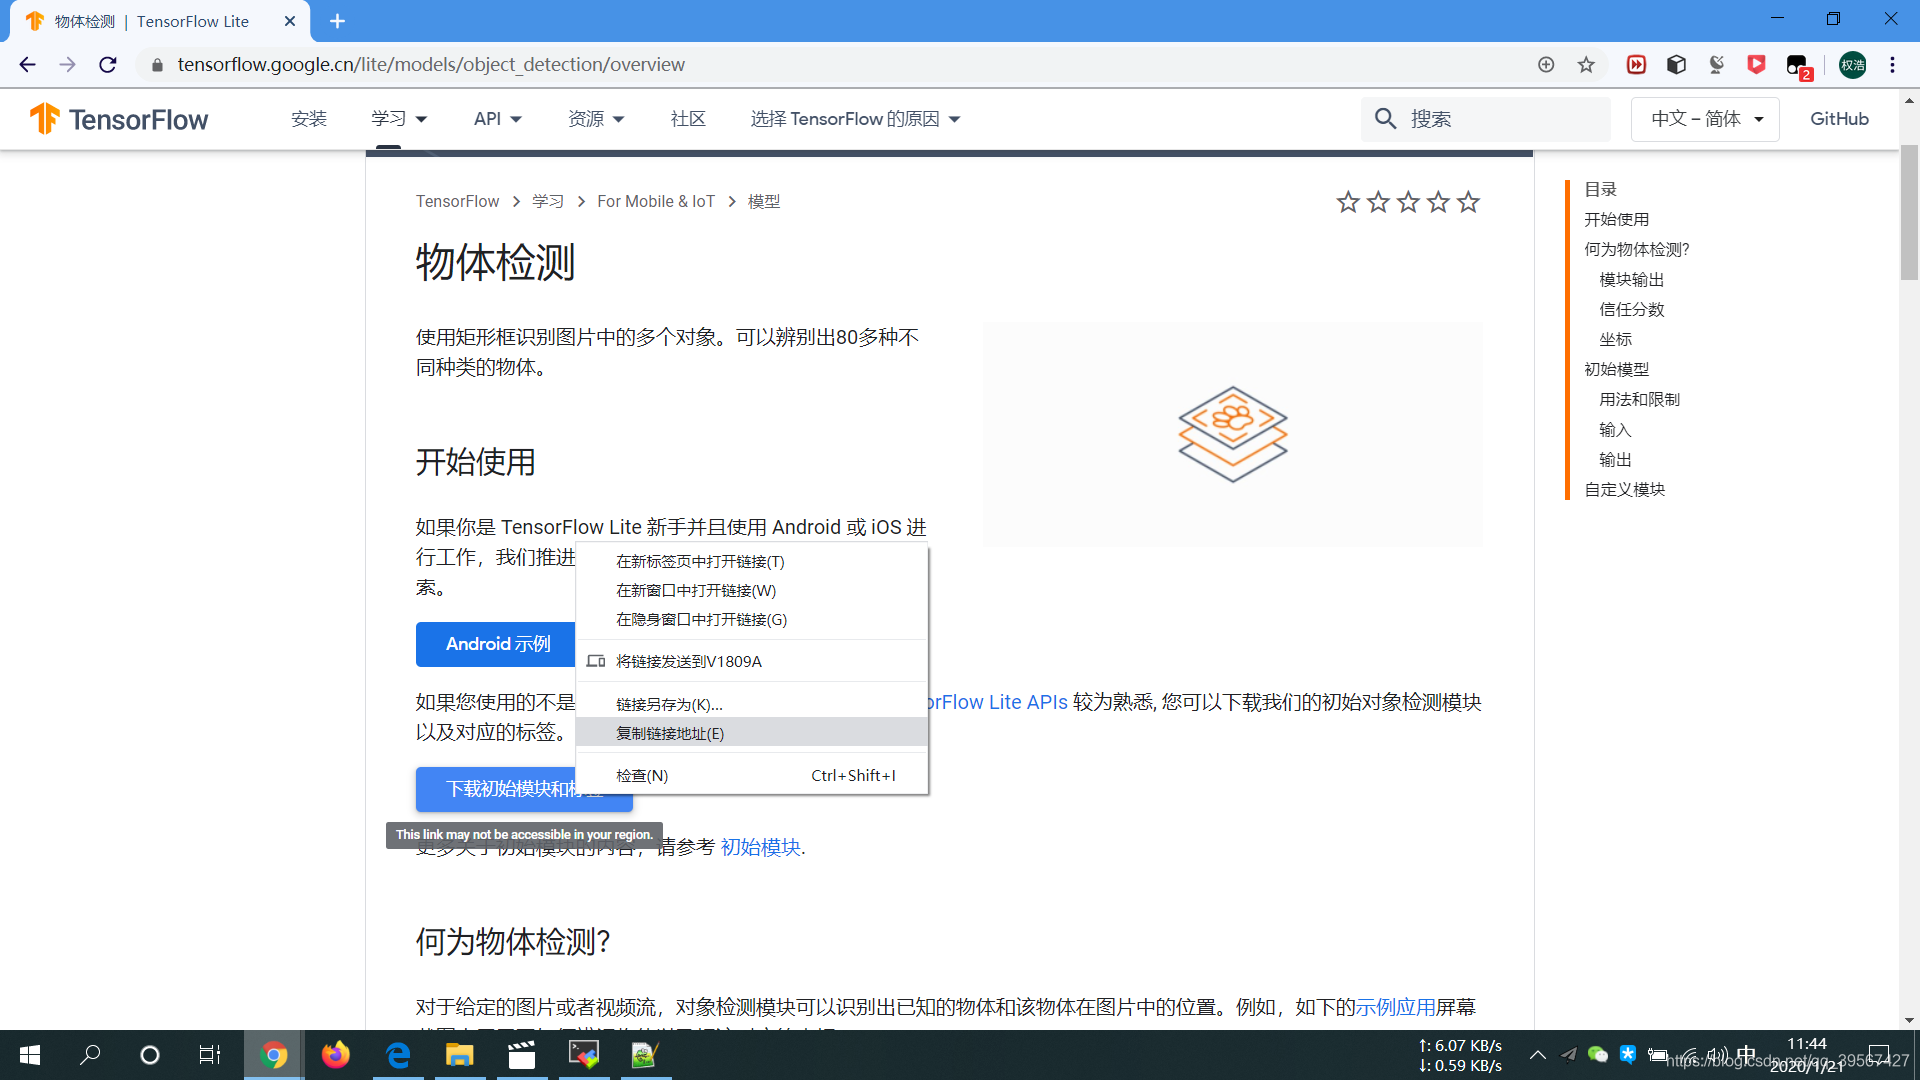
下载 TensorFlow 官网模型,点此页面,复制连接地址并下载,解压,重命名为 Sample_TFlite_model 一气呵成
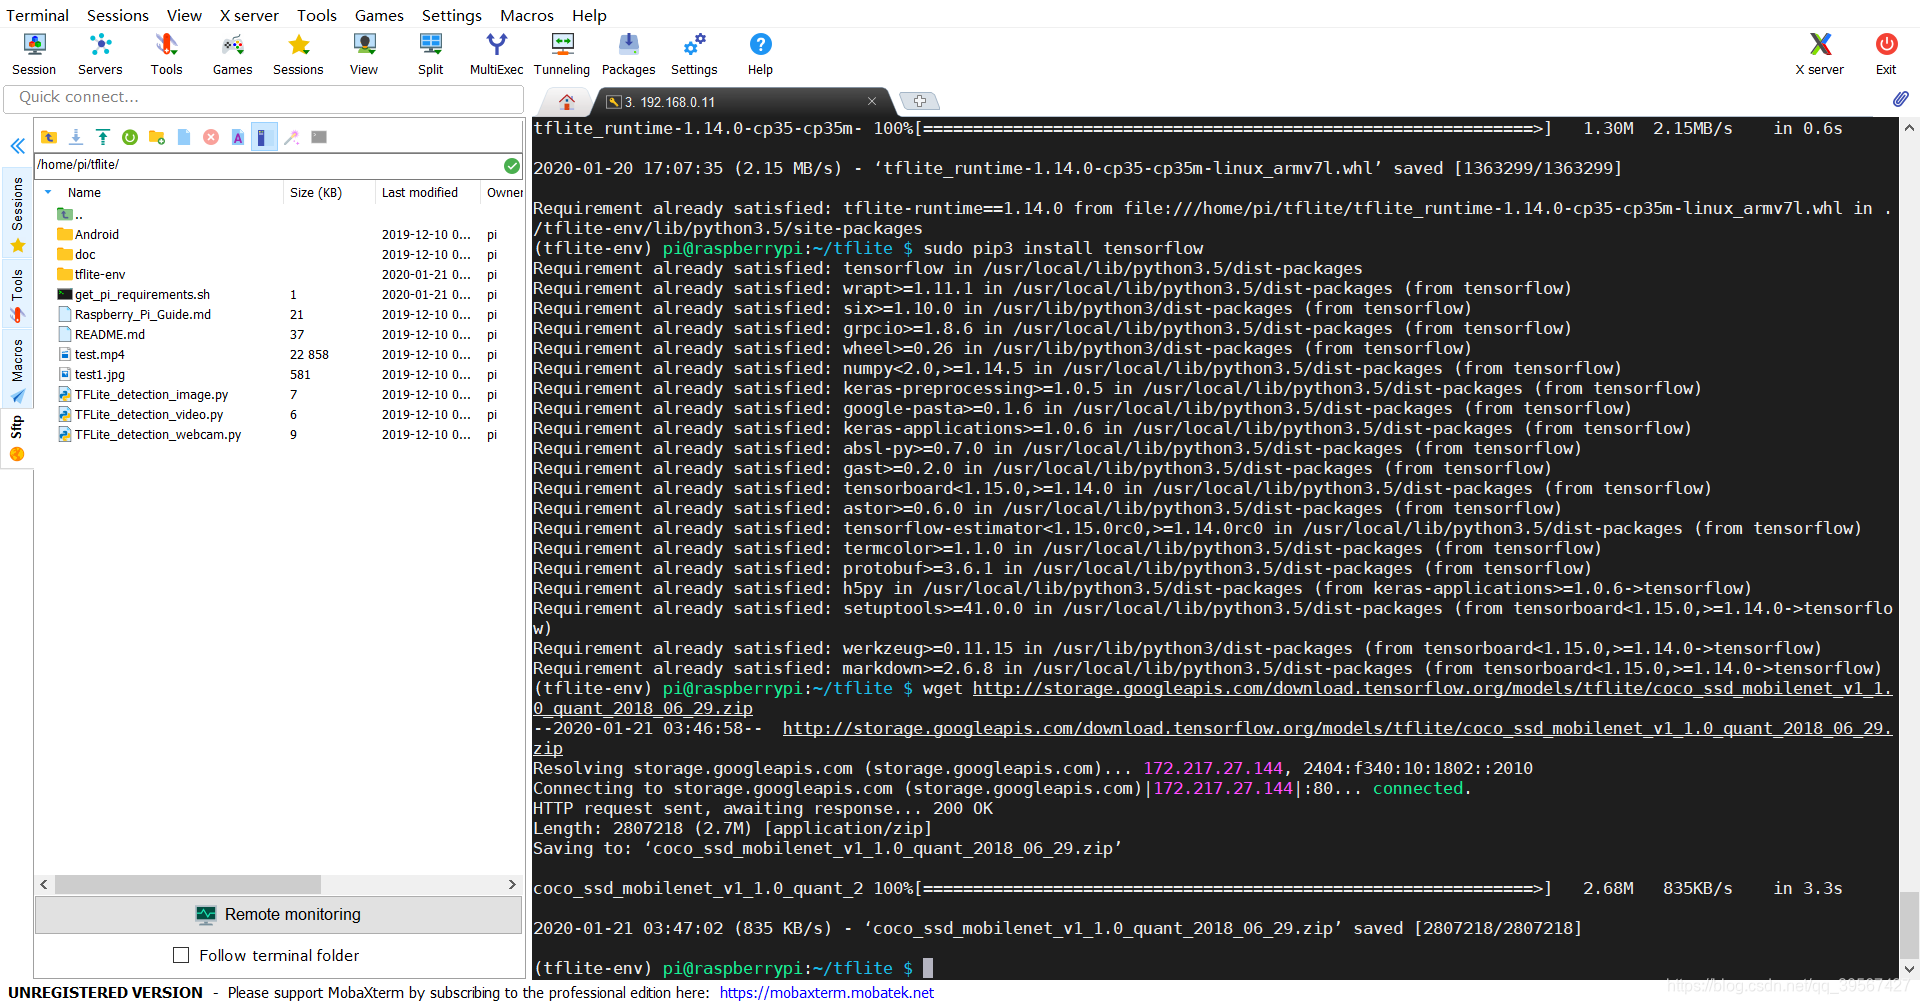
wget http://storage.googleapis.com/download.tensorflow.org/models/tflite/coco_ssd_mobilenet_v1_1.0_quant_2018_06_29.zip
unzip coco_ssd_mobilenet_v1_1.0_quant_2018_06_29.zip -d Sample_TFlite_model
下载完成
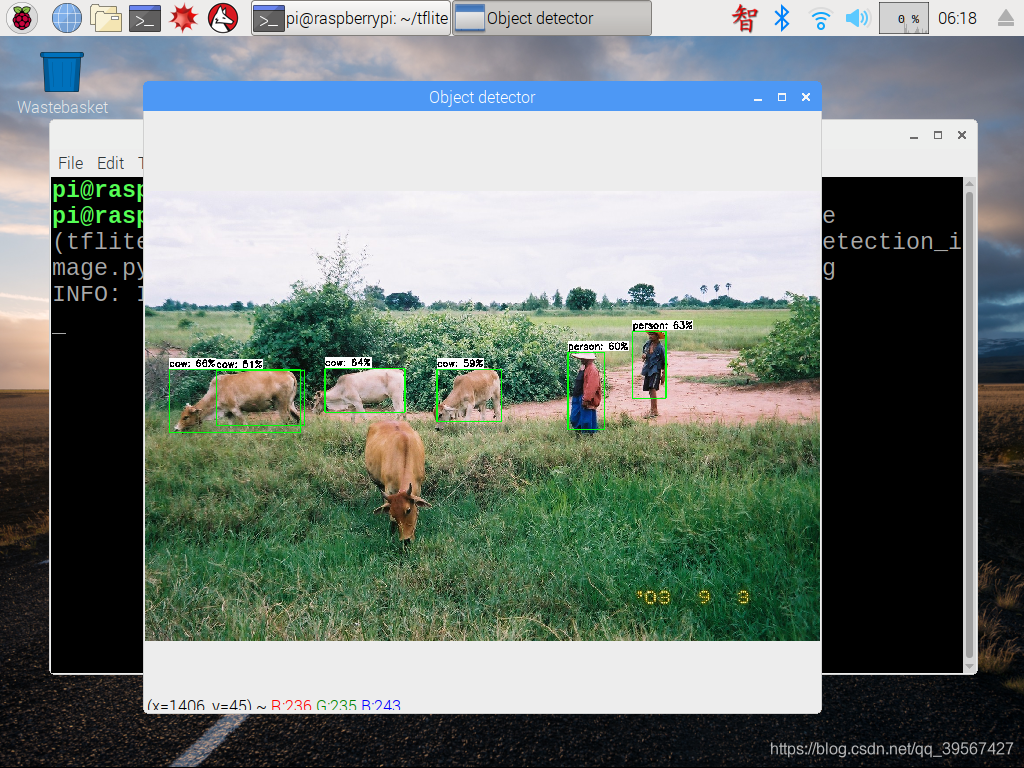
运行示例
python TFLite_detection_image.py --modeldir=Sample_TFlite_model --image=test1.jpg
运行命令示例如下
python TFLite_detection_image.py --modeldir=TFLite_model
python TFLite_detection_image.py --modeldir=TFLite_model --image=squirrel.jpg
python TFLite_detection_image.py --modeldir=TFLite_model --imagedir=squirrels
到此树莓派使用 TensorFlow-Lite 就完成了