time
如果要在应用程序中周期性地进行某项操作,则需要用到QTimer定时器,QTimer类提供了重复的和单次的定时器。要使用定时器,需要先创建一个QTimer实例,将其timeout信号连接到相应的槽,并调用start()。然后定时器会以恒定的间隔发出timeout信号,当窗口控件收到timeout信号后,它就会停止这个定时器。
常用方法
| 方法 | 描述 |
|---|---|
| start(milliseconds) | 启动或重新启动定时器,时间间隔为毫秒。如果定时器已经运行,它将被停止并重新启动。如果singleShot信号为真,定时器将仅被激活一次 |
| Stop() | 停止定时器 |
常用信号
| 方法 | 描述 |
|---|---|
| singleShot | 在给定的时间间隔后调用一个槽函数时发射此信号 |
| timeout | 当定时器超时时发射此信号 |
算例1
# -*- coding: utf-8 -*-
'''
【简介】
PyQT5中 QTimer例子
'''
from PyQt5.QtWidgets import QWidget, QPushButton , QApplication ,QListWidget, QGridLayout , QLabel
from PyQt5.QtCore import QTimer ,QDateTime
import sys
class WinForm(QWidget):
def __init__(self,parent=None):
super(WinForm,self).__init__(parent)
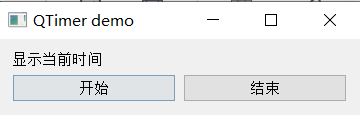
self.setWindowTitle("QTimer demo")
self.listFile= QListWidget()
self.label = QLabel('显示当前时间')
self.startBtn = QPushButton('开始')
self.endBtn = QPushButton('结束')
layout = QGridLayout(self)
# 初始化一个定时器
self.timer = QTimer(self)
# showTime()方法
self.timer.timeout.connect(self.showTime)
layout.addWidget(self.label,0,0,1,2)
layout.addWidget(self.startBtn,1,0)
layout.addWidget(self.endBtn,1,1)
self.startBtn.clicked.connect( self.startTimer)
self.endBtn.clicked.connect( self.endTimer)
self.setLayout(layout)
def showTime(self):
# 获取系统现在的时间
time = QDateTime.currentDateTime()
# 设置系统时间显示格式
timeDisplay = time.toString("yyyy-MM-dd hh:mm:ss dddd");
# 在标签上显示时间
self.label.setText( timeDisplay )
def startTimer(self):
# 设置计时间隔并启动
self.timer.start(1000)
self.startBtn.setEnabled(False)
self.endBtn.setEnabled(True)
def endTimer(self):
self.timer.stop()
self.startBtn.setEnabled(True)
self.endBtn.setEnabled(False)
if __name__ == "__main__":
app = QApplication(sys.argv)
form = WinForm()
form.show()
sys.exit(app.exec_())
会一直不断的更新时间

首先初始化一个定时器,把定时器的timeout信号与showTime()槽函数连接起来
self.timer=QTimer(self)
self.timer.timeout.connect(self.showTime)
使用连接的槽函数显示当前时间,并在标签上显示系统当前的时间
def showTime(self):
#获取系统当前时间
time=QDateTime.currentDateTime()
#设置系统时间的显示格式
timeDisplay=time.toString(‘yyyy-MM-dd hh:mm:ss dddd’)
#在标签上显示时间
self.lable.setText(timeDisplay)
单击开始按钮,启动定时器,并使按钮失效
#设置时间间隔并启动定时器
self.timer.start(1000)
#设置开始按钮不可点击,结束按钮可点击
self.startBtn.setEnabled(False)
self.endBtn.setEnabled(True)
单击结束按钮,停止定时器,并使按钮失效
#停止定时器
self.timer.stop()
#结束按钮不可点击,开始按钮可以点击
self.startBtn.setEnabled(True)
self.endBtn.setEnabled(False)
# -*- coding: utf-8 -*-
'''
    【简介】
    PyQT5中关闭应用例子


'''

import sys
from PyQt5.QtWidgets import *
from PyQt5.QtGui import *
from PyQt5.QtCore import *

if __name__ == '__main__':
	app = QApplication(sys.argv)
	label = QLabel("<font color=red size=128><b>Hello PyQT,窗口会在10秒后消失!</b></font>")
	label.setWindowFlags(Qt.SplashScreen|Qt.FramelessWindowHint)
	label.show()

    # 设置10s后自动退出
	QTimer.singleShot(10000, app.quit)
	sys.exit(app.exec_())
10秒后窗口消失
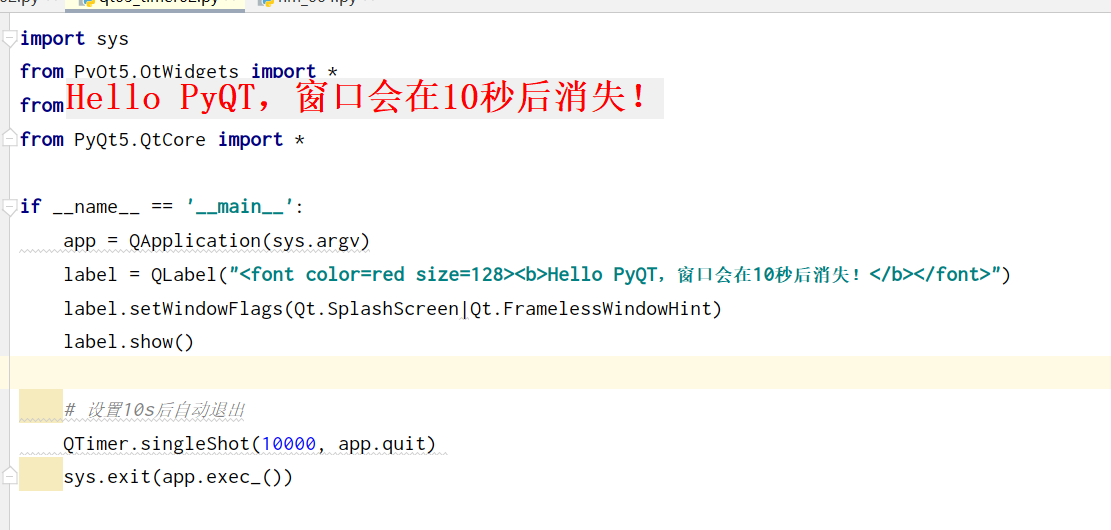
弹出的窗口会在10秒后消失,模仿程序的启动界面,将弹出的窗口设置为无边框
#设置无边框窗口
label.setWindowFlags(Qt.SplashScreen|Qt.FramelessWindowHint)
使用QTimer设置时间间隔,10秒后退出程序
#设置10秒后自动退出
QTimer.singleShot(10000,app.quit)
网页交互
PyQt5 使用 QWebEngineView 控件来展示 HTML 页面,WebEngine 框架时基于谷歌的 Chromium 引擎开发。
QWebEngine 类常用方法如下:
| 方法 | 描述 |
|---|---|
| load(QUrl url) | 加载指定的 URL 并显示 |
| setHtml(QString &html) | 将网页视图的内容设置为指定的 HTML 内容 |
注意事项
说明下 如果算例出现错误
from PyQt5.QtWebEngineWidgets import *
ImportError: DLL load failed: 找不到指定的程序。
则需要先安装下PyQtWebEngine
pip install PyQtWebEngin
算例1
#!/usr/bin/env python3
# -*- coding: utf-8 -*-
# @Author: yudengwu
# @Date : 2020/8/31
import sys
from PyQt5.QtWidgets import *
from PyQt5.QtCore import *
from PyQt5.QtGui import *
from PyQt5.QtWebEngineWidgets import *
class MainWindow(QMainWindow):
def __init__(self):
super(MainWindow, self).__init__()
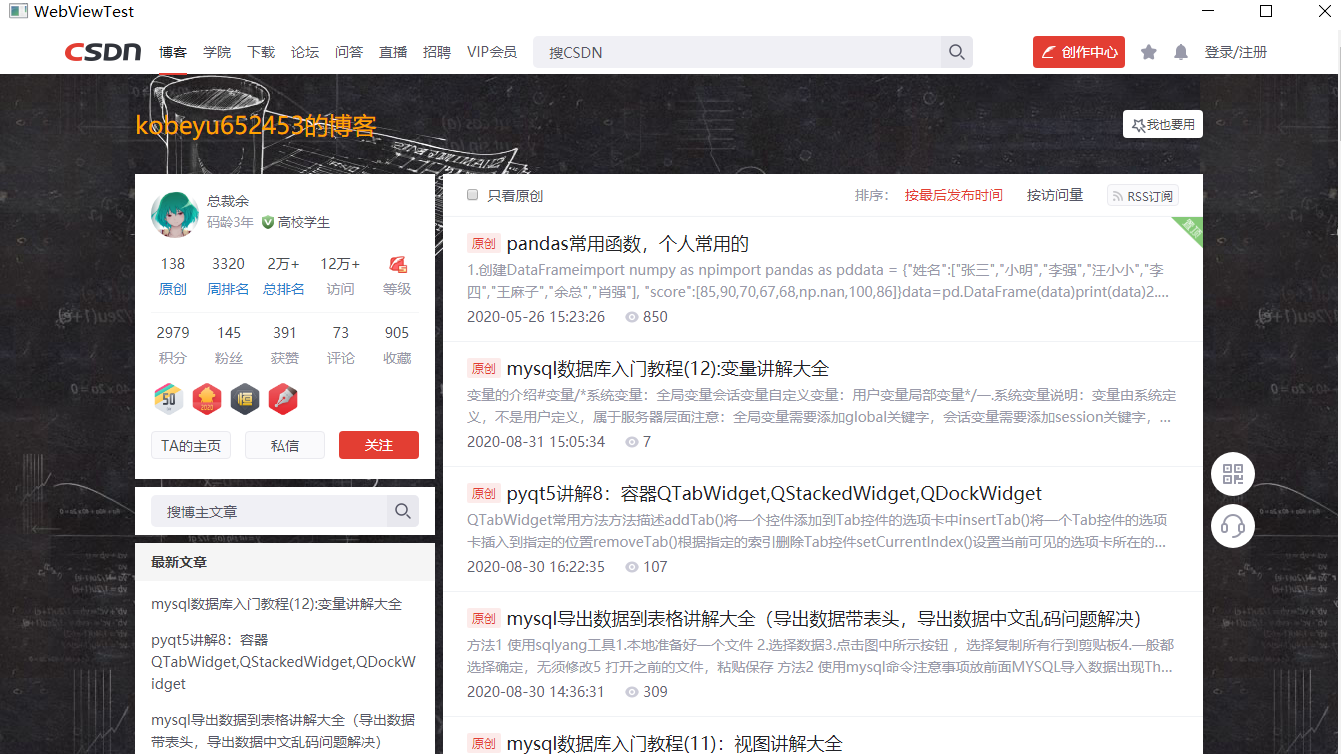
self.setWindowTitle('WebViewTest')
#self.setWindowIcon(QIcon("./images/Python2.ico"))
self.setGeometry(5, 30, 1355, 730)
self.browser = QWebEngineView()
# 加载外部的 Web 页面
self.browser.load(QUrl('https://blog.csdn.net/KOBEYU652453'))
self.setCentralWidget(self.browser)
if __name__ == "__main__":
app = QApplication(sys.argv)
win = MainWindow()
win.show()
sys.exit(app.exec_())
算例2
# -*- coding: utf-8 -*-
'''
【简介】
QWebEngineView 打开本地网页例子
'''
from PyQt5.QtCore import *
from PyQt5.QtGui import *
from PyQt5.QtWidgets import *
from PyQt5.QtWebEngineWidgets import *
import sys
class MainWindow(QMainWindow):
def __init__(self):
super(QMainWindow, self).__init__()
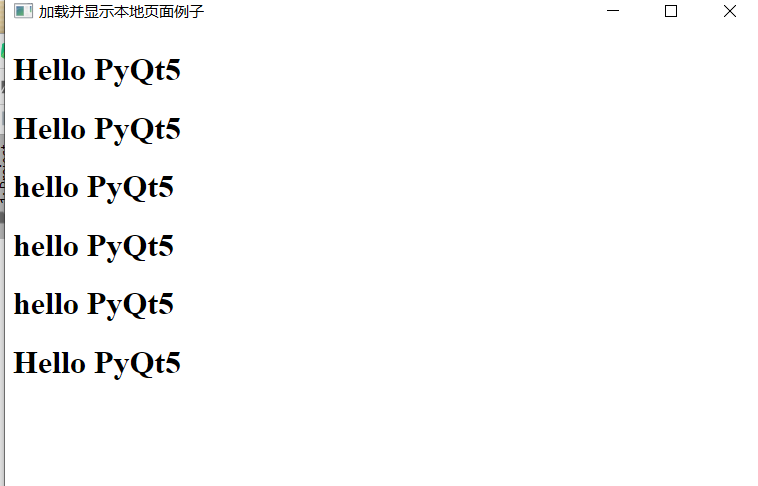
self.setWindowTitle('加载并显示本地页面例子')
self.setGeometry(5, 30, 755, 530)
self.browser = QWebEngineView()
# 加载本地页面
url = r'D:/deeplearn/学习草稿/index.html'
self.browser.load(QUrl(url))
self.setCentralWidget(self.browser)
if __name__ == '__main__':
app = QApplication(sys.argv)
win = MainWindow()
win.show()
sys.exit(app.exec_())
index.html
<!DOCTYPE html>
<html lang="en">
<head>
    <meta charset="UTF-8">
    <title>Test</title>
</head>
<body>
    <h1>Hello PyQt5</h1>
    <h1>Hello PyQt5</h1>
    <h1>Hello PyQt5</h1>
    <h1>Hello PyQt5</h1>
    <h1>Hello PyQt5</h1>
    <h1>Hello PyQt5</h1>
    <h1>Hello PyQt5</h1>
    <h1>Hello PyQt5</h1>
</body>
</html>
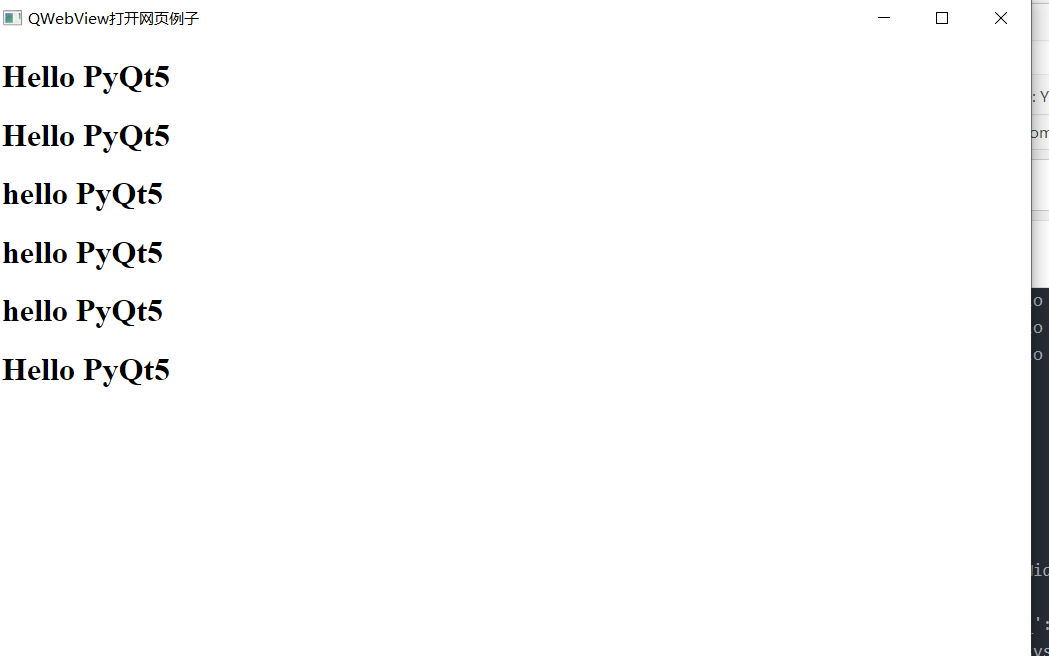
算例3
# -*- coding: utf-8 -*-

'''
    【简介】
	QWebView打开网页例子

'''

from PyQt5.QtCore import *
from PyQt5.QtGui import *
from PyQt5.QtWidgets import *
from PyQt5.QtWebEngineWidgets import *
import sys

class MainWindow(QMainWindow):

	def __init__(self ):
		super(QMainWindow, self).__init__()
		self.setWindowTitle('QWebView打开网页例子')
		self.setGeometry(5, 30, 1355, 730)
		self.browser = QWebEngineView()
        #1 加载html代码
		self.browser = QWebEngineView()
		self.browser.setHtml('''
		<!DOCTYPE html>
		<html>
			<head>
				<meta charset="UTF-8">
				<title></title>
			</head>
			<body>
				<h1>Hello PyQt5</h1>
				<h1>Hello PyQt5</h1>
                <h1>hello PyQt5</h1>
                <h1>hello PyQt5</h1>
                <h1>hello PyQt5</h1>
                <h1>Hello PyQt5</h1>

			</body>
		</html>

		'''
		)

		self.setCentralWidget(self.browser)

if __name__ == '__main__':
	app = QApplication(sys.argv)

	win = MainWindow()
	win.show()
	sys.exit(app.exec_())
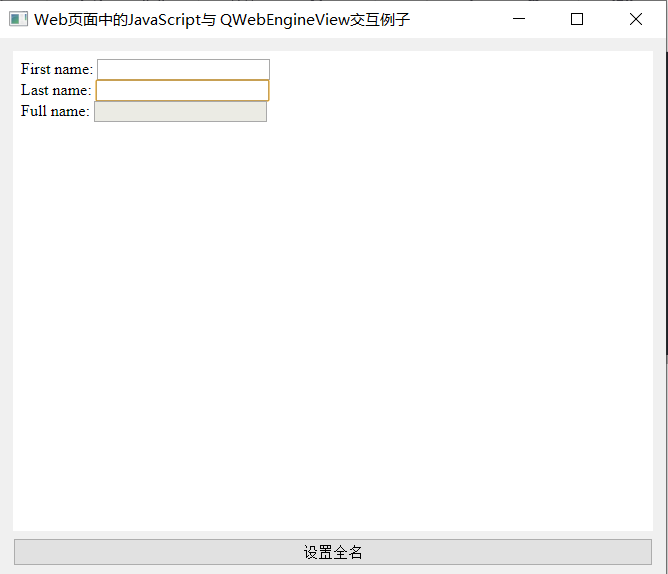
算例4
# -*- coding: utf-8 -*-

'''
    【简介】
	QWebView中网页调用JavaScript

'''


from PyQt5.QtWidgets  import QApplication , QWidget , QVBoxLayout , QPushButton
from PyQt5.QtWebEngineWidgets import QWebEngineView
import sys


# 创建一个 application实例
app = QApplication(sys.argv)
win = QWidget()
win.setWindowTitle('Web页面中的JavaScript与 QWebEngineView交互例子')

# 创建一个垂直布局器
layout = QVBoxLayout()
win.setLayout(layout)

# 创建一个 QWebEngineView 对象
view = QWebEngineView()
view.setHtml('''
  <html>
    <head>
      <title>A Demo Page</title>

      <script language="javascript">
        // Completes the full-name control and
        // shows the submit button
        function completeAndReturnName() {
          var fname = document.getElementById('fname').value;
          var lname = document.getElementById('lname').value;
          var full = fname + ' ' + lname;

          document.getElementById('fullname').value = full;
          document.getElementById('submit-btn').style.display = 'block';

          return full;
        }
      </script>
    </head>

    <body>
      <form>
        <label for="fname">First name:</label>
        <input type="text" name="fname" id="fname"></input>
        <br />
        <label for="lname">Last name:</label>
        <input type="text" name="lname" id="lname"></input>
        <br />
        <label for="fullname">Full name:</label>
        <input disabled type="text" name="fullname" id="fullname"></input>
        <br />
        <input style="display: none;" type="submit" id="submit-btn"></input>
      </form>
    </body>
  </html>
''')

# 创建一个按钮去调用 JavaScript代码
button = QPushButton('设置全名')

def js_callback(result):
    print(result)

def complete_name():
   view.page().runJavaScript('completeAndReturnName();', js_callback)

# 按钮连接 'complete_name'槽,当点击按钮是会触发信号
button.clicked.connect(complete_name)

# 把QWebView和button加载到layout布局中
layout.addWidget(view)
layout.addWidget(button)

# 显示窗口和运行app
win.show()
sys.exit(app.exec_())

电气工程的计算机萌新,写博文不容易。如果你觉得本文对你有用,请点个赞支持下,谢谢。