文章目录
1.安装依赖包
//一键安装上面四个依赖
yum -y install gcc zlib zlib-devel pcre-devel openssl openssl-devel
2.下载并解压安装包
//创建一个文件夹
cd /usr/local
mkdir nginx
cd nginx
//下载tar包
wget http://nginx.org/download/nginx-1.18.0.tar.gz
tar -xvf nginx-1.18.0.tar.gz
3.安装nginx
//进入nginx目录
cd /usr/local/nginx
//进入目录
cd nginx-1.13.7
//执行命令
./configure
3.1 执行./configure过程
[root@localhost nginx-1.18.0]# ./configure
checking for OS
 + Linux 3.10.0-1062.4.1.el7.x86_64 x86_64
checking for C compiler ... found
 + using GNU C compiler
 + gcc version: 4.8.5 20150623 (Red Hat 4.8.5-39) (GCC)
checking for gcc -pipe switch ... found
checking for -Wl,-E switch ... found
checking for gcc builtin atomic operations ... found
。。。。
checking for PCRE library ... found
checking for PCRE JIT support ... found
checking for zlib library ... found
creating objs/Makefile

Configuration summary
  + using system PCRE library
  + OpenSSL library is not used
  + using system zlib library

  nginx path prefix: "/usr/local/nginx"
  nginx binary file: "/usr/local/nginx/sbin/nginx"
  nginx modules path: "/usr/local/nginx/modules"
  nginx configuration prefix: "/usr/local/nginx/conf"
  nginx configuration file: "/usr/local/nginx/conf/nginx.conf"
  nginx pid file: "/usr/local/nginx/logs/nginx.pid"
  nginx error log file: "/usr/local/nginx/logs/error.log"
  nginx http access log file: "/usr/local/nginx/logs/access.log"
  nginx http client request body temporary files: "client_body_temp"
  nginx http proxy temporary files: "proxy_temp"
  nginx http fastcgi temporary files: "fastcgi_temp"
  nginx http uwsgi temporary files: "uwsgi_temp"
  nginx http scgi temporary files: "scgi_temp"
//执行make命令
make
3.2 执行make的过程
[root@localhost nginx-1.18.0]# make
make -f objs/Makefile
make[1]: 进入目录“/usr/local/nginx/nginx-1.18.0”
cc -c -pipe  -O -W -Wall -Wpointer-arith -Wno-unused-parameter -Werror -g  -I src/core -I src/event -I src/event/modules -I src/os/unix -I objs \
        -o objs/src/core/nginx.o \
        src/core/nginx.c
。。。
。。。
objs/src/http/modules/ngx_http_upstream_zone_module.o \
objs/ngx_modules.o \
-ldl -lpthread -lcrypt -lpcre -lz \
-Wl,-E
sed -e "s|%%PREFIX%%|/usr/local/nginx|" \
        -e "s|%%PID_PATH%%|/usr/local/nginx/logs/nginx.pid|" \
        -e "s|%%CONF_PATH%%|/usr/local/nginx/conf/nginx.conf|" \
        -e "s|%%ERROR_LOG_PATH%%|/usr/local/nginx/logs/error.log|" \
        < man/nginx.8 > objs/nginx.8
make[1]: 离开目录“/usr/local/nginx/nginx-1.18.0”
//执行make install命令
make install
3.3 执行make install 的过程
[root@localhost nginx-1.18.0]# make install
make -f objs/Makefile install
make[1]: 进入目录“/usr/local/nginx/nginx-1.18.0”
test -d '/usr/local/nginx' || mkdir -p '/usr/local/nginx'
。。。
        || mkdir -p '/usr/local/nginx/logs'
test -d '/usr/local/nginx/html' \
        || cp -R html '/usr/local/nginx'
test -d '/usr/local/nginx/logs' \
        || mkdir -p '/usr/local/nginx/logs'
make[1]: 离开目录“/usr/local/nginx/nginx-1.18.0”
[root@localhost nginx-1.18.0]#
4.配置nginx.conf
打开配置文件
vi /usr/local/nginx/conf/nginx.conf
将端口号改成81,因为可能apeache占用80端口,apeache端口尽量不要修改,我们选择修改nginx端口。
localhost修改为你服务器ip地址。
反向代理的简单配置
server {
        listen       81;
        server_name  192.168.102.11; #服务端地址

        location / {
            root   html;
            index  index.html index.htm;
        }
}
5.启动nginx
/usr/local/nginx/sbin/nginx -s reload

如果出现报错:nginx: [error] open() "/usr/local/nginx/logs/nginx.pid" failed

则运行: /usr/local/nginx/sbin/nginx -c /usr/local/nginx/conf/nginx.conf

再次启动即可!

ps -ef | grep nginx

访问: 192.168.102.11:81
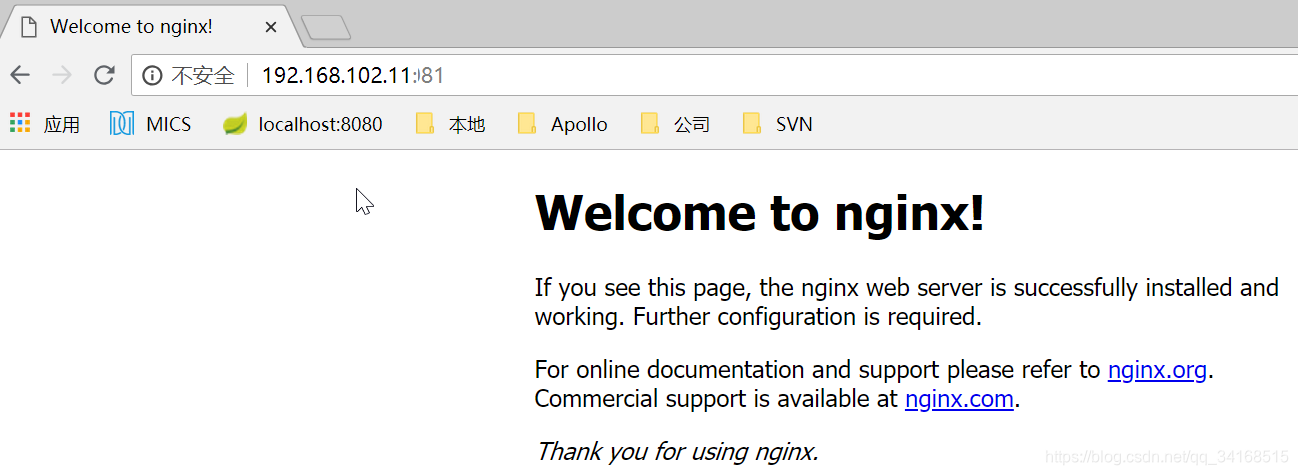
出现上面的页面,代表nginx安装成功