由于环境是内网,本文采用因此方式也只有几种
1 系统基础依赖包,现场安装部署,但过程中可能会出现各种问题,部署时间长。不推荐
2 docker镜像方式,安装部署前准备先打好镜像,现场部署时,只要源码安装docker包,导入镜像即可将zabbix架设起来,现场部署快,推荐
1 环境
本文采用nginx+jdk1.8+php7.3+zabbix5.0+mysql8.0
#nginx+jdk1.8+php7.3+zabbix5.0打包成一个镜像,当然最好的方式应该是每个应用都拆开,我这是比较懒,所以使用这种方式
#mysql8.0直接使用官网提供的mysql docker镜像,原因是自己可能没找到好的方式,源码安装跟yum的镜像都超过2G,官网提供的就500多M
[root@demo110 ~]# cat /etc/redhat-release
CentOS Linux release 7.5.1804 (Core)
2 打包镜像环境的docker安装
2.1 yum安装
#有外网的直接yum安装,并设置服务开机启动,见2.2后半部分,推荐
yum install docker
2.2 源码包安装
#没有外网环境下好安装包,再解压安装,内网环境部署即可用到
tar xzvf docker-18.09.9.tar.gz  #docker自行选择版本下载
sudo cp docker/* /usr/bin/
sudo dockerd &
#配置服务启动项
#创建服务启动项,保存退出
#vim /usr/lib/systemd/system/docker.service
[Service]

ExecStart=

ExecStart=/usr/bin/dockerd --graph=/var/lib/docker
#重新加载服务并设置开机启动
systemctl daemon-reload
systemctl enable docker
systemctl start docker
3 Docker镜像打包
3.1 Dockerfile编写
#前期软件包准备
#nginx:源码安装
#jdk1.8:源码安装
#zabbix5.0:源码安装
#php73:yum安装
[root@demo110 dockerimages]# ll
total 2289976
-rw-r--r--  1 root   root         2523 Jun 11 00:24 CentOS-Base.repo
-rw-r--r--  1 root   root         3331 Jun 11 19:06 Dockerfile
drwxr-xr-x  7     10    143       4096 Dec 16  2018 jdk1.8.0_201
-rw-r--r--  1 root   root    191817140 Jun  6 00:03 jdk-8u201-linux-x64.tar.gz #提前解压
-rw-r--r--  1 root   root         1432 Jun  9 10:24 my.cnf
drwxr-xr-x  8   1001   1001       4096 Aug 13  2019 nginx-1.16.1
-rw-r--r--  1 root   root      1032630 Jun  6 00:18 nginx-1.16.1.tar.gz#jdk提前解压
-rw-r--r--  1 root   root        63561 Jun  9 09:40 php.ini
drwxr-xr-x 13 centos centos       4096 May 11 17:19 zabbix-5.0.0
-rw-r--r--  1 root   root     18519888 Jun 11 01:13 zabbix-5.0.0.tar.gz#jdk提前解压
#Dockerfile内容如下:
# setup ENV
FROM centos:7  #设置基础系统
MAINTAINER kkcai #作者
ENV TZ=Asia/Shanghai #设置环境时区

# mkdir DIR 创建后期要映射的文件夹,主要根据自己的项目需求所设置
RUN mkdir -p /data/logs/ #将所有日志都放到统一文件夹,建议这么做,为后期排错,提供了便利,但是每个应用的日志要提前设置好日志目录指向,本文没有指出
RUN mkdir -p /home/app/zabbixui

# Install jdk1.8.0_201
ADD jdk1.8.0_201 /opt/jdk8
ENV JAVA_HOME /opt/jdk8
ENV PATH $JAVA_HOME/bin:$PATH

# Install necessary tools 安装基础使用工具
COPY CentOS-Base.repo /etc/yum.repos.d/CentOS-Base.repo #更新系统所使用的yum包,可不设置
RUN yum install -y less vim lrzsz bash-completion yum unzip zip pcre-devel wget net-tools gcc zlib zlib-devel make openssl-devel

# Setup program #项目相关的设置这里就隐藏了

# Install Nginx
ADD nginx-1.16.1 /nginx-1.16.1
RUN cd /nginx-1.16.1/ && ./configure --prefix=/opt/nginx && make && make install

# Install php73
RUN yum install -y https://mirrors.aliyun.com/remi/enterprise/remi-release-7.rpm
RUN yum install yum-utils -y
RUN yum install -y cmake make gcc gcc-c++ libaio ncurses ncurses-devel -y
RUN yum install -y php73-php-fpm php73-php-cli php73-php-bcmath php73-php-gd php73-php-json php73-php-mbstring php73-php-mcrypt php73-php-mysqlnd php73-php-opcache php73-php-pdo php73-php-pecl-crypto php73-php-pecl-mcrypt php73-php-pecl-geoip php73-php-recode php73-php-snmp php73-php-soap php73-php-xml
COPY php.ini /etc/opt/remi/php73/php.ini #zabbix对php环境有要求,所以可以提前设置好

# Install zabbix5.0
RUN yum install -y mysql-devel fping net-snmp net-snmp-devel curl curl-devel libxml2 libxml2-devel libevent-devel.x86_64 libcurl-devel
RUN mkdir -p /usr/local/zabbix #创建zabbix使用的目录
RUN groupadd zabbix #创建zabbix用户使用的组
RUN useradd -g zabbix zabbix -s /sbin/nologin
ADD zabbix-5.0.0 /zabbix-5.0.0
RUN cd /zabbix-5.0.0 && ./configure --prefix=/usr/local/zabbix --enable-server --enable-agent --with-mysql --with-net-snmp --with-libcurl --with-libxml2 && make install
COPY zabbix_server /etc/init.d/zabbix_server #设置zabbix_server启动项
COPY zabbix_agentd /etc/init.d/zabbix_agentd #设置zabbix_agent启动项
ADD /zabbix-5.0.0/ui/ /home/app/zabbixui/ #zabbix web项目使用的目录
RUN chmod 777 /etc/init.d/zabbix_*

# Clean ALL 清理垃圾包
#RUN rm -rf /zabbix-5.0.0
RUN rm -rf /nginx-1.16.1
RUN yum clean all

# Service Manager
#systemctl daemon-reload
#systemctl enable zhongyuan.service nginx.service php73-php-fpm.service zabbix_server.service zabbix_agentd.service
#systemctl restart zhongyuan.service nginx.service php73-php-fpm.service zabbix_server.service zabbix_agentd.service
#附:php.ini内容,修改以下这几项
#vim /etc/opt/remi/php73/php.ini
vim /etc/php.ini
post_max_size = 16M
max_execution_time = 300
max_input_time = 300
date.timezone = Asia/Shanghai
3.2 docker镜像打包
#执行dockerfile,打包镜像
docker build -t php73jdk8nginx116zabbix5:1.0 .
#打包完成后,查看镜像
[root@demo110 dockerimages]# docker images
REPOSITORY                      TAG                 IMAGE ID            CREATED             SIZE
php73jdk8nginx116zabbix5        1.0                 f763073d4a2d        3 days ago          1.96GB
mysql                           8.0                 30f937e841c8        3 weeks ago         541MB
4 客户现场内网部署
4.1前期准备
#导出刚做好的镜像及mysql镜像
docker save php73jdk8nginx116zabbix5:1.0  >./zabbix5.0.tar
docker save mysql:8.0 >./mysql.tar #mysql8.0,由官网拉取
#将项目所需文件导到u盘,如:docker源码包,jar包,前端包
4.2 安装docker,见2.2,导入u盘内文件
4.3 导入镜像
docker load -i zabbix5.0.tar
docker load -i mysql.tar
4.3.1 启动mysql8.0镜像,并配置相关配置
docker run --name mysql8 -t \
-e MYSQL_DATABASE="zabbix" \ #创建zabbix数据库
-e MYSQL_USER="zabbix" \ #创建zabbix用户
-e MYSQL_PASSWORD="zabbix" \ #设置zabbix用户密码
-e MYSQL_ROOT_PASSWORD="devops" \ #设置mysql的root密码
-e TZ="Asia/Shanghai" \ #指定镜像时区
-v /data/mysql/data/mysql:/var/lib/mysql \ #将mysql数据存储在本地
-v /data/mysql/my.cnf:/etc/mysql/my.cnf \ #将提前写好的my.cnf映射进系统里
-v /data/logs/:/data/logs/ \ #将日志映射至本地
--net=host \ #指定使用host模式,也就是直接使用宿主机网卡
-d mysql:8.0 \
--character-set-server=utf8 --collation-server=utf8_bin \ #设置数据库初始化参数
--default-authentication-plugin=mysql_native_password \ #使用能够使用native登陆
--lower_case_table_names=1 #设置不区分大小写
#在宿主机查看mysql服务是否正常启动
[root@demo110 ~]# ps -ef |grep mysqld
polkitd  13442 13427  2 Jun11 pts/0    02:10:43 mysqld --character-set-server=utf8 --collation-server=utf8_bin --default-authentication-plugin=mysql_native_password --lower_case_table_names=1
root     25499 15455  0 19:26 pts/0    00:00:00 grep --color=auto mysqld
[root@demo110 ~]# netstat -lantp |grep mysql
tcp6       0      0 :::33060                :::*                    LISTEN      13442/mysqld
tcp6       0      0 :::3306                 :::*                    LISTEN      13442/mysqld
#进入mysql给zabbix赋权
docker exec -ti mysql8 /bin/bash
root@demo110:/# mysql -h 127.0.0.1 -uroot -p
Enter password: devops#刚刚设置的密码
Welcome to the MySQL monitor.  Commands end with ; or \g.
Your MySQL connection id is 80113
Server version: 8.0.20 MySQL Community Server - GPL

Copyright (c) 2000, 2020, Oracle and/or its affiliates. All rights reserved.

Oracle is a registered trademark of Oracle Corporation and/or its
affiliates. Other names may be trademarks of their respective
owners.

Type 'help;' or '\h' for help. Type '\c' to clear the current input statement.

mysql> grant all privileges on zabbix.* to zabbix@localhost;
Query OK, 0 rows affected (1.93 sec)
4.3.2 启动制作好的镜像,并配置相关设置
docker run -it \
-v /data/logs/:/data/logs/ \ #将日志映射至本地
--net=host \ #指定使用host模式,也就是直接使用宿主机网卡
--privileged=true \ #使用特权模式
--name myprogram php73jdk8nginx116zabbix5:1.0 /usr/sbin/init
#查看是否已经正常启动
[root@demo110 ~]# docker ps -a
CONTAINER ID        IMAGE                          COMMAND                  CREATED             STATUS                    PORTS               NAMES
970e51620fb7        php73jdk8nginx116zabbix5:1.0                       "/usr/sbin/init"         3 days ago          Up 43 hours               myprogram
ccf3c745d8f8        mysql:8.0                      "docker-entrypoint.s…"   3 days ago          Up 3 days                                     mysql8
#进入项目镜像继续设置
[root@demo110 ~]# docker exec -ti myprogram /bin/bash
[root@demo110 /]#
#按照顺序,依次导入 sql,刚刚设置的zabbix密码为zabbix
mysql -uzabbix -p zabbix < /zabbix-5.0.0/database/mysql/schema.sql
mysql -uzabbix -p zabbix < /zabbix-5.0.0/database/mysql/images.sql
mysql -uzabbix -p zabbix < /zabbix-5.0.0/database/mysql/data.sql
#修改nginx配置
#vim /opt/nginx/conf/nginx.conf
        server {
        listen 8080;
        server_name localhost;
        error_log   /data/logs/nginx_zabbix_error.log; #指定zabbixweb的日志输出
        access_log  /data/logs/nginx_zabbix_access.log;
        root /home/app/zabbixui; #指定zabbixweb目录
        index index.php index.html index.htm default.php default.htm default.html;
        location / {
                try_files $uri $uri/ /index.html;

        }
        location ~ .*\.(php)?$ {
                expires -1s;
                try_files $uri =404;
                fastcgi_split_path_info ^(.+\.php)(/.+)$;
                include fastcgi_params;
                fastcgi_param PATH_INFO $fastcgi_path_info;
                fastcgi_index index.php;
                fastcgi_param SCRIPT_FILENAME $document_root$fastcgi_script_name;
                fastcgi_pass 127.0.0.1:9000;
        }
        }
#制作nginx启动项
#vim /usr/lib/systemd/system/nginx.service
[Unit]
Description=nginx - high performance web server
After=network.target remote-fs.target nss-lookup.target
[Service]
Type=forking
#PIDFile=/opt/nginx/sbin/nginx.pid
ExecStartPre=/opt/nginx/sbin/nginx -t -c /opt/nginx/conf/nginx.conf
ExecStart=/opt/nginx/sbin/nginx -c /opt/nginx/conf/nginx.conf
ExecReload=/opt/nginx/sbin/nginx -s reload
ExecStop=/opt/nginx/sbin/nginx -s stop
#ExecQuit=/opt/nginx/sbin/nginx -s quit
PrivateTmp=true
[Install]
WantedBy=multi-user.target
4.3 设置涉及服务的开机启动项目
systemctl daemon-reload
systemctl enable zhongyuan.service nginx.service php73-php-fpm.service zabbix_server.service zabbix_agentd.service
systemctl restart zhongyuan.service nginx.service php73-php-fpm.service zabbix_server.service zabbix_agentd.service
#到此所有应用部署完成
5 验证
#浏览器访问:http://172.16.1.138:8080/setup.php
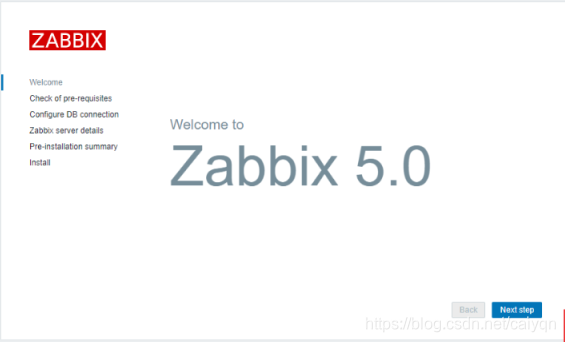
#根据提示安装,最终验证默认用户名:Admin 密码:zabbix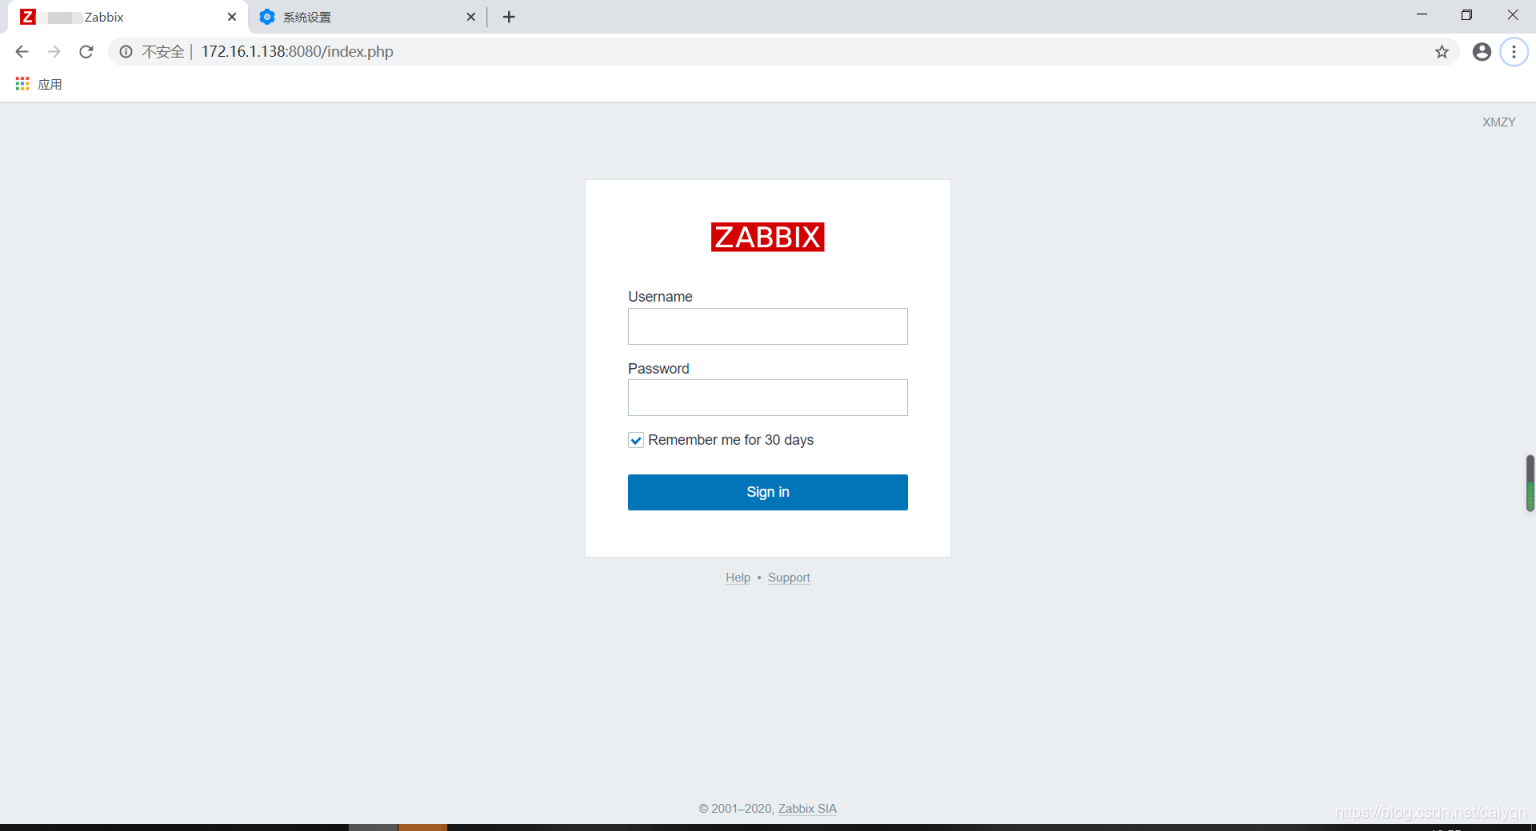
x.过程中遇到的问题(不分先后遇到的问题)
eg1.LC_CTYPE: cannot change locale (en_US.UTF-8): No such file or directory
解决方案:字符问题
vim /etc/sysconfig/i18n
# 添加下面的
LC_ALL=C
export LC_ALL
# 再执行下面的语句,使之生效
source /etc/sysconfig/i18n

eg2.hecking for mysql_config... configure: error: MySQL library not found #mysql源码安装过程遇到的问题
解决方案: yum install mysql-devel 执行后再安装

eg3.mysql报错Errcode: 13 "Permission denied"
原因是:目录权限
[root@220fe8ed9040 lib]# ll
drwxr-xr-x 7 root   root       4096 Jun  9 02:53 mysql
解决方案: chown -R mysql:mysql mysql

eg4.Warning: World-writable config file ‘/etc/my.cnf’ is ignored
原因是my.cnf权限问题,被设置成777
ll /etc/my.cnf
-rwxrwxrwx 1 root root 1404 Oct 16 19:31 /etc/my.cnf
解决方案:
chmod 644 /etc/my.cnf
systemctl start mysql

eg5.configure: error: Not found Net-SNMP library
解决方案:yum install net-snmp-devel 执行后再安装

eg6.[ERROR] [MY-010095] [Server] Failed to access directory for --secure-file-priv. Please make sure that directory exists and is accessible by MySQL Server. Supplied value : /var/lib/mysql-files
解决方案:
修改my.cnf 在[mysqld]内加入
secure_file_priv=/var/lib/mysql

eg7.docker load -i No space left on device
原因是:镜像解压的时候默认存储位置磁盘满了,可使用:df -i 查看是否具体哪里满了
解决方案:网上有很多种,但这里只写了这种
#vi /etc/systemd/system/docker.service.d/docker.conf
```bash
[Service]

ExecStart=

ExecStart=/usr/bin/dockerd --graph=/var/lib/docker #将这里的graph位置修改至数据盘,然后保存退出得启docker服务

eg8. root@demo110:/# mysql -uroot -p
Enter password:
ERROR 2002 (HY000): Can't connect to local MySQL server through socket '/var/run/mysqld/mysqld.sock' (2)
解决方案:加上 -h 127.0.0.1
root@demo110:/# mysql -h 127.0.0.1 -uroot -p
Enter password:
Welcome to the MySQL monitor.  Commands end with ; or \g.
Your MySQL connection id is 80113
Server version: 8.0.20 MySQL Community Server - GPL

Copyright (c) 2000, 2020, Oracle and/or its affiliates. All rights reserved.

Oracle is a registered trademark of Oracle Corporation and/or its
affiliates. Other names may be trademarks of their respective
owners.

Type 'help;' or '\h' for help. Type '\c' to clear the current input statement.

mysql>