一、FastDFS安装配置
1. 下载
| 包名 | 下载地址 |
|---|---|
| fastdfs100-fastdfs-V6.06.zip | https://gitee.com/fastdfs100/fastdfs |
| fastdfs100-libfastcommon-V1.0.43.zip | https://gitee.com/fastdfs100/libfastcommon |
| fastdfs100-fastdfs-nginx-module-V1.22.zip | https://gitee.com/fastdfs100/fastdfs-nginx-module |
| nginx-1.17.7.tar.gz | http://nginx.org/en/download.html |
2. 准备
- 上传文件
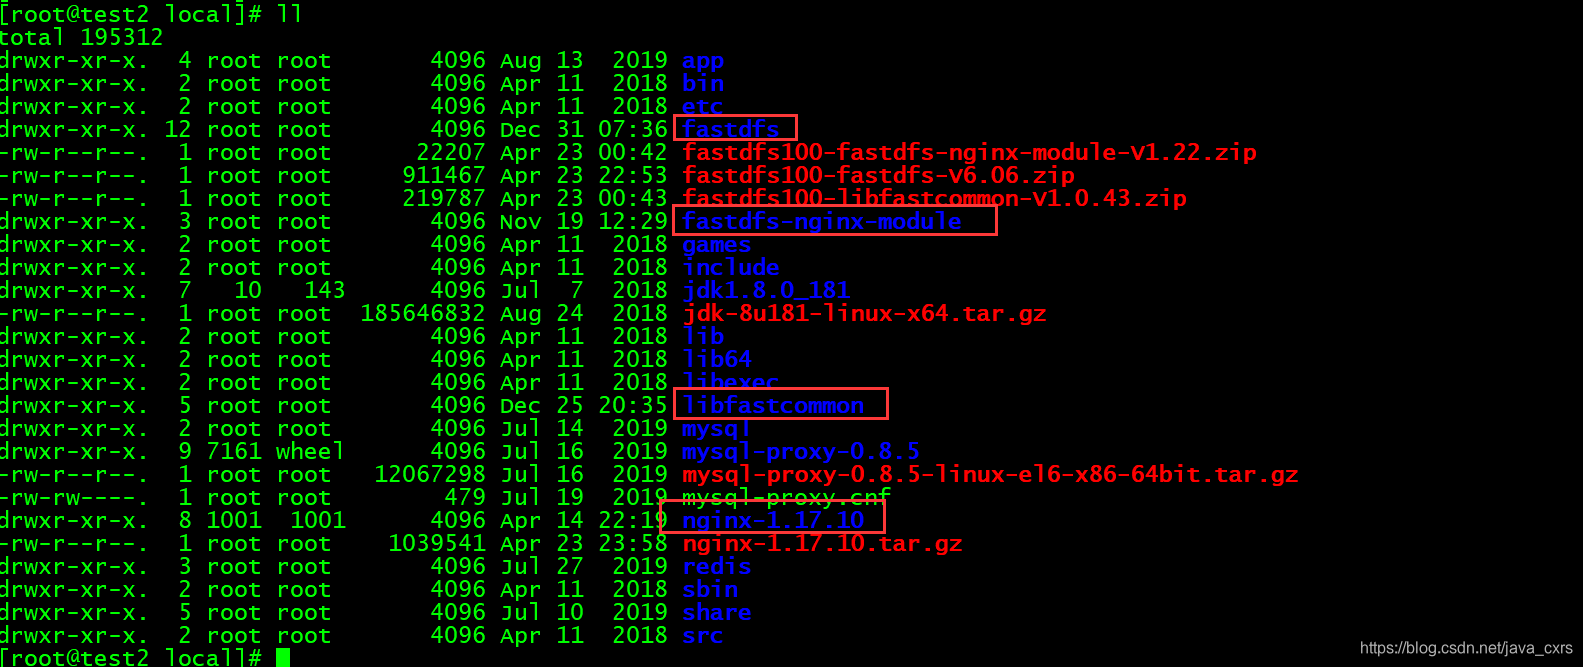
将安装包上传到服务器指定目录下 ,比如我将上述文件都上传到/usr/local目录下
- 解压文件
unzip fastdfs100-libfastcommon-V1.0.43.zip
unzip fastdfs100-fastdfs-V6.06.zip
unzip fastdfs100-fastdfs-nginx-module-V1.22.zip
tar -zxvf nginx-1.17.10.tar.gz
红框是解压后的文件目录
3. 安装
-
安装gcc
yum install -y gcc gcc-c++ -
安装libfastcommon
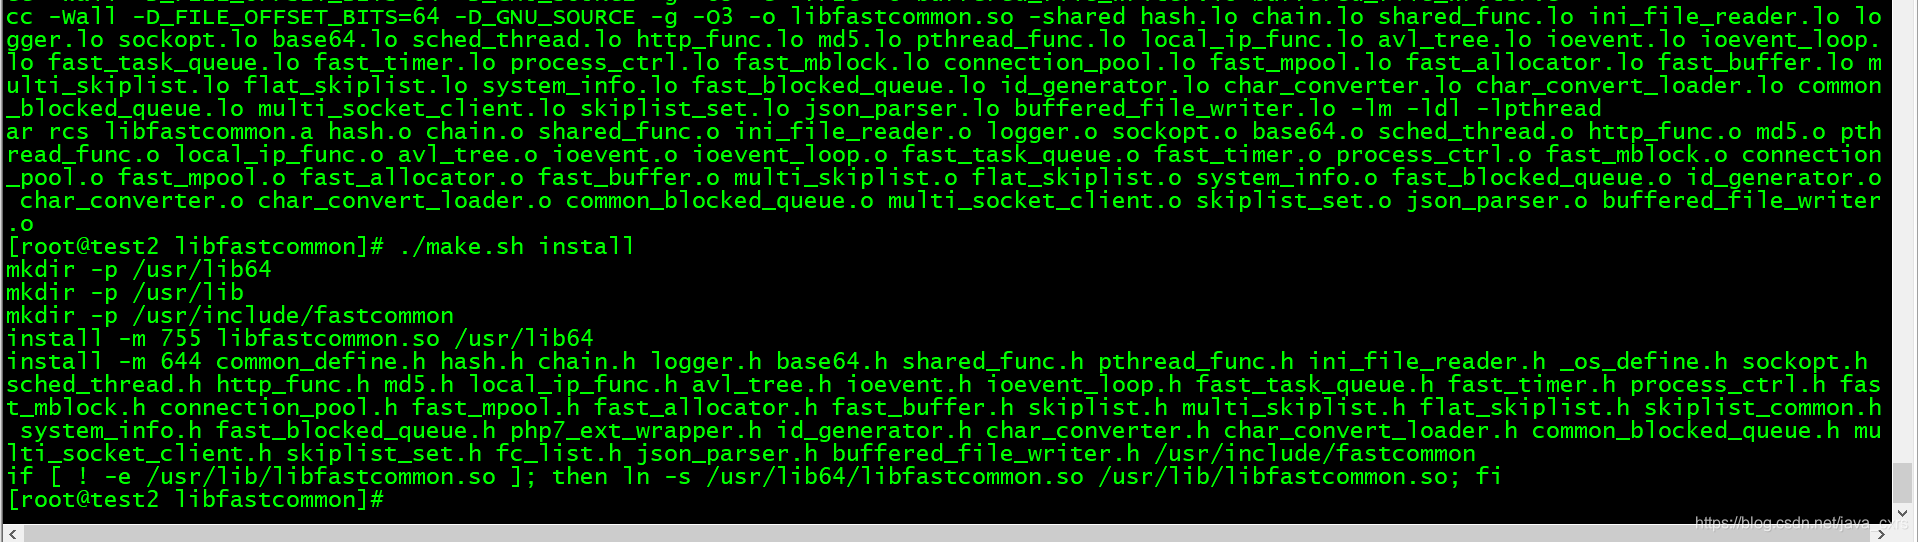
cd libfastcommon/
./make.sh           #编译
./make.sh install   #安装
- 进入FastDFS目录,编译安装
cd /usr/local/fastdfs
./make.sh
./make.sh install

- 将/usr/local/fastdfs/conf目录下的文件复制到 /etc/fdfs目录下
cp /usr/local/fastdfs/conf/* /etc/fdfs
4. Tracker和Storage的配置
- 创建tracker服务器上面的目录
cd /usr/local/fastdfs
mkdir -p  /mydata/fastdfs/tracker
- tracker server配置
vim /etc/fdfs/tracker.conf
修改如下内容:
base_path = /mydata/fastdfs/tracker
该目录设置的是第8步创建的目录,该目录在服务启动后会创建data和log目录,主要用于存储数据和日志文件
- storage server配置
vim /etc/fdfs/storage.conf
修改如下内容:
base_path = /mydata/fastdfs/storage
store_path0 = /mydata/fastdfs/storage
tracker_server = 192.168.1.107:22122
- 创建storage目录
mkdir -p /mydata/fastdfs/storage

- 启动tracker和storage
/usr/bin/fdfs_trackerd /etc/fdfs/tracker.conf
/usr/bin/fdfs_storaged /etc/fdfs/storage.conf
- 查看是否启动成功
ps -ef | grep fdfs

- tracker开机自启
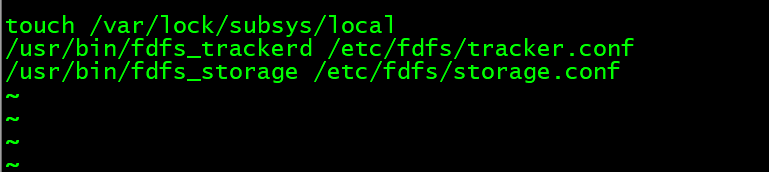
vim /etc/rc.d/rc.local
增加如下内容
/usr/bin/fdfs_trackerd /etc/fdfs/tracker.conf
- storage开机自启
vim /etc/rc.d/rc.local
增加如下内容
/usr/bin/fdfs_storaged /etc/fdfs/storage.conf
5. 测试安装是否成功
- 修改client.conf
base_path = /mydata/fastdfs/client
tracker_server = 192.168.1.107:22122
- 创建client目录
mkdir -p /mydata/fastdfs/client
使用fdfs_test命令将/etc/fdfs/anti-steal.jpg上传到FastDFS中
/usr/bin/fdfs_test /etc/fdfs/client.conf upload /etc/fdfs/anti-steal.jpg

图片上传成功!!
6. nginx的安装
如果服务器上没有安装Nginx,则需要安装Nginx,具体安装步骤如下:
- 安装组件
yum -y install gcc gcc-c++ zlib zlib-devel openssl openssl-devel pcre pcre-devel
- 添加Nginx需要的配置
cd /usr/local/nginx-1.17.10
./configure \
--prefix=/usr/local/nginx \
--with-http_gzip_static_module \
--with-http_ssl_module
- 编译安装Nginx
make && make install
- 配置Nginx
  cd /usr/local/nginx/conf
  vim nginx.conf
修改如下内容:
server {
        listen       80;
        server_name  localhost;
    #charset koi8-r;

    #access_log  logs/host.access.log  main;

        location /group1/M00 {
            #root   html;
            #index  index.html index.htm;
           alias /mydata/fastdfs/storage/data/;
        }
     }
- 创建临时目录
mkdir /var/temp/nginx -p
- 启动Nginx
/usr/local/nginx/sbin/nginx
查看nginx是否启动成功
ps -ef |grep nginx

- 测试是否能够通过Nginx请求到FastDFS中的图片

7.fastdfs-nginx-module的安装
- 进入已解压完成的fastdfs-nginx-module/src目录
cd /usr/local/fastdfs-nginx-module/src
修改config文件
vim config
修改为如下内容:
if test -n "${ngx_module_link}"; then
    ngx_module_type=HTTP
    ngx_module_name=$ngx_addon_name
    ngx_module_incs="usr/include/fastdfs /usr/include/fastcommon"  #此处为更改后
    ngx_module_libs="-lfastcommon -lfdfsclient"
    ngx_module_srcs="$ngx_addon_dir/ngx_http_fastdfs_module.c"
    ngx_module_deps=
    CFLAGS="$CFLAGS -D_FILE_OFFSET_BITS=64 -DFDFS_OUTPUT_CHUNK_SIZE='256*1024' -DFDFS_MOD_CONF_FILENAME='\"/etc/fdfs/mod_fastdfs.conf\"'"
    . auto/module
else
    HTTP_MODULES="$HTTP_MODULES ngx_http_fastdfs_module"
    NGX_ADDON_SRCS="$NGX_ADDON_SRCS $ngx_addon_dir/ngx_http_fastdfs_module.c"
    CORE_INCS="$CORE_INCS usr/include/fastdfs /usr/include/fastcommon"   #此处为更改后
    CORE_LIBS="$CORE_LIBS -lfastcommon -lfdfsclient"
    CFLAGS="$CFLAGS -D_FILE_OFFSET_BITS=64 -DFDFS_OUTPUT_CHUNK_SIZE='256*1024' -DFDFS_MOD_CONF_FILENAME='\"/etc/fdfs/mod_fastdfs.conf\"'"
fi
- 拷贝mod_fastdfs.conf
将/fastdfs-nginx-module/src/mod_fastdfs.conf拷贝至/etc/fdfs下
cp mod_fastdfs.conf /etc/fdfs/
- 修改mod_fastdfs.conf
vim /etc/fdfs/mod_fastdfs.conf
修改内容如下:
base_path=/mydata/fastdfs/storage/

store_path0=/mydata/fastdfs/storage/

url_have_group_name = true

tracker_server=192.168.1.107:22122
- 创建临时目录
mkdir -p /var/temp/nginx/client
- 修改Nginx
cd /usr/local/nginx-1.17.10
./configure \

--prefix=/usr/local/nginx \
--with-http_gzip_static_module \
--with-http_ssl_module \
--add-module=/usr/local/fastdfs-nginx-module/src   #新增的配置
- 重新编译安装Nginx
make && make install
- 查看是否配置成功
/usr/local/nginx/sbin/nginx -V

- 修改nginx.conf
vim /usr/local/nginx/conf/nginx.conf
修改如下内容:
 server {


        listen       8085;
        server_name  localhost;

        #charset koi8-r;

        #access_log  logs/host.access.log  main;

        location /group1/M00 {


            #root   html;
           #index  index.html index.htm;
                ngx_fastdfs_module;
        }
 }
- 重启Nginx
/usr/local/nginx/sbin/nginx -s reload

从上图可以看到重启后控制台输出了ngx_http_fastdfs_set pid=21166
表明我们的fastdfs-nginx-module的安装成功!
8.合并存储
FastDFS提供了合并存储功能的实现,所有的配置都在tracker.conf文件中配置,具体配置如下:
use_trunk_file = true
store_server = 1
9.存储缩略图
Nginx生成缩略图
image_filter模块
用于对JPEG,GIF和PNG图片进行转换处理(压缩图片,裁剪图片,旋转图片等)。这个图片默认不被编译,所 以要在编译nginx源码的时候,加入相关配置信息。
- 检测是否已经安装image_filter模块
/usr/local/nginx/sbin/nginx -V
- 安装gd,HttpImageFilterModule模块需要依赖gd-devel的支持
yum -y install gd-devel
- 增加http_image_filter_module模块的配置
cd /usr/local/nginx-1.17.10

 ./configure \
--prefix=/usr/local/nginx \
--pid-path=/var/run/nginx/nginx.pid \
--lock-path=/var/lock/nginx.lock \
--error-log-path=/var/log/nginx/error.log \
--http-log-path=/var/log/nginx/access.log \
--http-client-body-temp-path=/var/temp/nginx/client \
--http-proxy-temp-path=/var/temp/nginx/proxy \
--http-fastcgi-temp-path=/var/temp/nginx/fastcgi \
--http-uwsgi-temp-path=/var/temp/nginx/uwsgi \
--http-scgi-temp-path=/var/temp/nginx/scgi \
--with-http_gzip_static_module \
--with-http_ssl_module \
--add-module=/usr/local/fastdfs-nginx-module/src \
--with-http_stub_status_module \
--with-http_realip_module \
--with-http_image_filter_module

make && make install
-
访问图片:
1)访问普通图片
图片的路径在本地某一目录下,例如/usr/local/image/abc.jpg,通过访问http://ip:port/image/abc_100x100.jpg
这样的请求路径可以生产宽为100,高也为100的小图,并且宽和高是可变得。
nginx.conf配置如下:
vim /usr/local/nginx/conf/nginx.conf

location ~* /image/(.*)_(\d+)x(\d+)\.(jpg|gif|png)$ {


        root /;
        set $s $1;
        set $w $2;
        set $h $3;
        set $t $4;
        image_filter resize $w $h;
        image_filter_buffer 50M;
        rewrite ^/image/(.*)$ /usr/local/image/$s.$t break;
}
重启Nginx
/usr/local/nginx/sbin/nginx -s stop
/usr/local/nginx/sbin/nginx
访问图片
http://192.168.1.107:8085/image/abc.jpg_100_100
2)访问FastDFS图片
nginx.conf配置如下:
#生成缩略图的配置
location ~ group1/M00/(.+)_([0-9]+)x([0-9]+)\.(jpg|gif|png) {


          alias /mydata/fastdfs/storage/data/;
            ngx_fastdfs_module;
          set $w $2;
            set $h $3;

            if ($w != "0") {


         		rewrite group1/M00(.+)_(\d+)x(\d+)\.(jpg|gif|png)$ group1/M00$1.$4 break;
            }

            if ($h != "0") {


                rewrite group1/M00(.+)_(\d+)x(\d+)\.(jpg|gif|png)$ group1/M00$1.$4 break;
            }

            image_filter resize $w $h;

            image_filter_buffer 30M;

            #try_files group1/M00$1.$4 $1.jpg;
      }
访问图片
http://192.168.1.107:8085/group1/M00/00/00/wKgBa165gmiAbi-9AABdreSfEnY501.jpg
Nginx Image 缩略图模块
主要功能:对请求的图片进行缩略/水印的处理,支持文字水印和图片水印。
支持自定义字体,文字大小,水印透明度,水印位置等
-
确定是否已安装了libcurl-dev libgd2-dev libpcre-dev 依赖库
yum install -y gd-devel prce-devel libcurl-devel -
下载nginx image 模块,并解压缩
wget https://github.com/oupula/ngx_image_thumb/archive/master.tar.gz -
添加nginx image 模块
cd /usr/local/nginx-1.17.10

 ./configure \
--prefix=/usr/local/nginx \
--pid-path=/var/run/nginx/nginx.pid \
--lock-path=/var/lock/nginx.lock \
--error-log-path=/var/log/nginx/error.log \
--http-log-path=/var/log/nginx/access.log \
--http-client-body-temp-path=/var/temp/nginx/client \
--http-proxy-temp-path=/var/temp/nginx/proxy \
--http-fastcgi-temp-path=/var/temp/nginx/fastcgi \
--http-uwsgi-temp-path=/var/temp/nginx/uwsgi \
--http-scgi-temp-path=/var/temp/nginx/scgi \
--with-http_gzip_static_module \
--with-http_ssl_module \
--with-http_stub_status_module \
--with-http_realip_module \
--with-http_image_filter_module \
--add-module=/usr/local/fastdfs-nginx-module/src \
--add-module=/usr/local/ngx_image_thumb-master \

make && make install
- nginx.conf配置如下:
 location /group1/M00 {


            #root   html;
           #index  index.html index.htm;
        alias /mydata/fastdfs/storage/data/;
        image on;
        image_output on;
        image_jpeg_quality 75;
 }