一:基于主机(ip)
1.module:ngx_http_access_module
2.Directives
(1):allow :允许某些主机
(2):deny :拒绝某些主机
3.Syntax:
(1) :Syntax: allow address | CIDR | unix: | all;
(2) :Context: http, server, location, limit_except
4.启动控制:
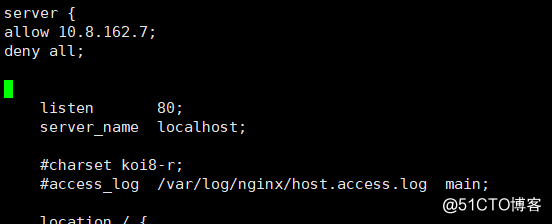
(1):限制主机访问:vim /etc/nginx/conf.d/default.conf
server {
allow 10.18.45.7;
deny all;
}
(2):systemctl restart nginx
(3) :测试 使用10.8.162.7的主机访问你的网站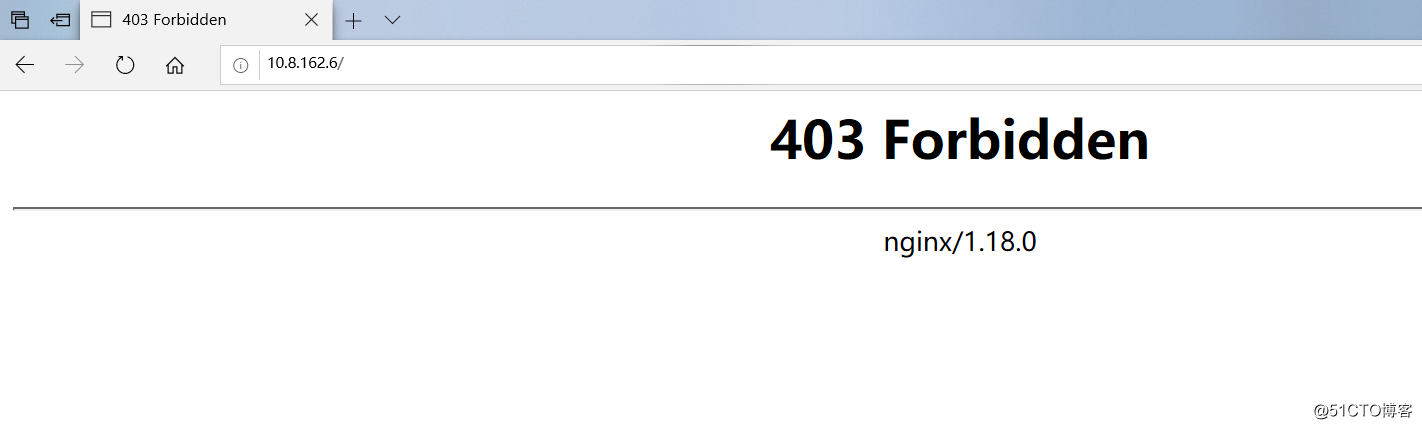
二、基于用户(username&password)
1.module:ngx_http_auth_basic_module
2.Syntax:
(1):方法一:
①:Syntax: auth_basic string | off;
②:Context: http, server, location, limit_except
(2):方法二:
①:Syntax: auth_basic_user_file file;
②:Context: http, server, location, limit_except
3.建立认证文件:
(1):yum install -y httpd-tools //生成秘钥的工具是由apache提供
(2):htpasswd -cm /etc/nginx/conf.d/passwd xiaoliu //会话密码
(3):cat /etc/nginx/conf.d/passwd //观察口令文件是否生成。已生成
4.启动认证:
(1):vim /etc/nginx/conf.d/default.conf
server {
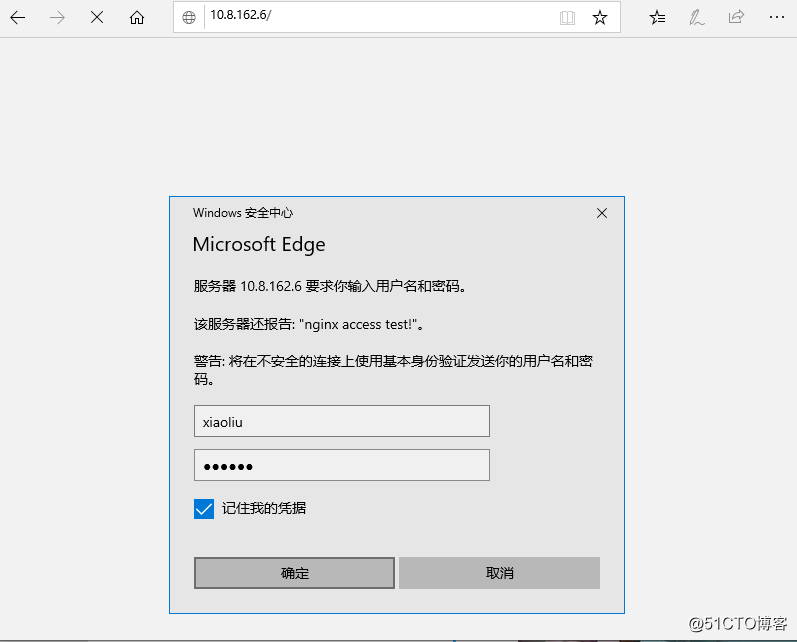
auth_basic "nginx access test!"; //提示信息
auth_basic_user_file /etc/nginx/conf.d/passwd; //引用认证文件

5.重启服务 : ystemctl restart nginx
6.访问验证: