其实如果你之前做过对接微信公众号其它接口,那做起来就简单很多。如果和我一样是第一次对接微信接口就有点难了。(看了文档无从下手)
一、基本配置
1-1:准备一个认证的微信号,然后添加客服功能插件

1-2:配置服务器地址
如果你之前做过其它的公众号接口对接,这一步应该是已经做好的。


接入api文档地址: https://developers.weixin.qq.com/doc/offiaccount/Basic_Information/Access_Overview.html
这里简单解释一下(具体实现在代码里面):
- 1、这个服务器地址是需要外网可以访问的,但是我们开发都是本地的。所以我们需要使用一个工具映射我们的ip。(https://www.jianshu.com/p/571fdbc98d25)
- 2、然后我们提供一个接口,让微信可以认证我们。认证操作见文档中 第二步:验证消息的确来自微信服务器
- 3、比如的我服务器地址是:http://f20d7f264d2d.ngrok.io/portal,其实就相当于 http://127.0.0.1:8080/portal
import org.springframework.web.bind.annotation.*;

/**
 * 微信认证
 */
@RestController
@RequestMapping("/portal")
public class WxPortalController {


    @GetMapping(produces = "text/plain;charset=utf-8")
    public String authGet(
            @RequestParam(name = "signature", required = false) String signature,
            @RequestParam(name = "timestamp", required = false) String timestamp,
            @RequestParam(name = "nonce", required = false) String nonce,
            @RequestParam(name = "echostr", required = false) String echostr) {


        return echostr;
//        return "非法请求";
    }

    @PostMapping(produces = "application/xml; charset=UTF-8")
    public String post(@RequestBody String requestBody,
                       @RequestParam("signature") String signature, @RequestParam("timestamp") String timestamp,
                       @RequestParam("nonce") String nonce, @RequestParam("openid") String openid,
                       @RequestParam(name = "encrypt_type", required = false) String encType,
                       @RequestParam(name = "msg_signature", required = false) String msgSignature) {


        System.out.println(requestBody);
        System.out.println(signature);
        System.out.println(timestamp);
        System.out.println(nonce);
        System.out.println(openid);
        System.out.println(encType);
        System.out.println(msgSignature);

        String str = " <xml> \n" +
                "  <ToUserName><![CDATA["+openid+"]]></ToUserName>  \n" +
                "  <FromUserName><![CDATA[xxxxx]]></FromUserName>  \n" +
                "  <CreateTime>1399197672</CreateTime>  \n" +
                "  <MsgType><![CDATA[transfer_customer_service]]></MsgType> \n" +
                "</xml>";


        return str;
    }
}
- 也就是以后微信需要给我们服务器发送消息的时候,get请求和post请求就会进入上面这两个方法。(理解这很重要)
二、接入客服功能
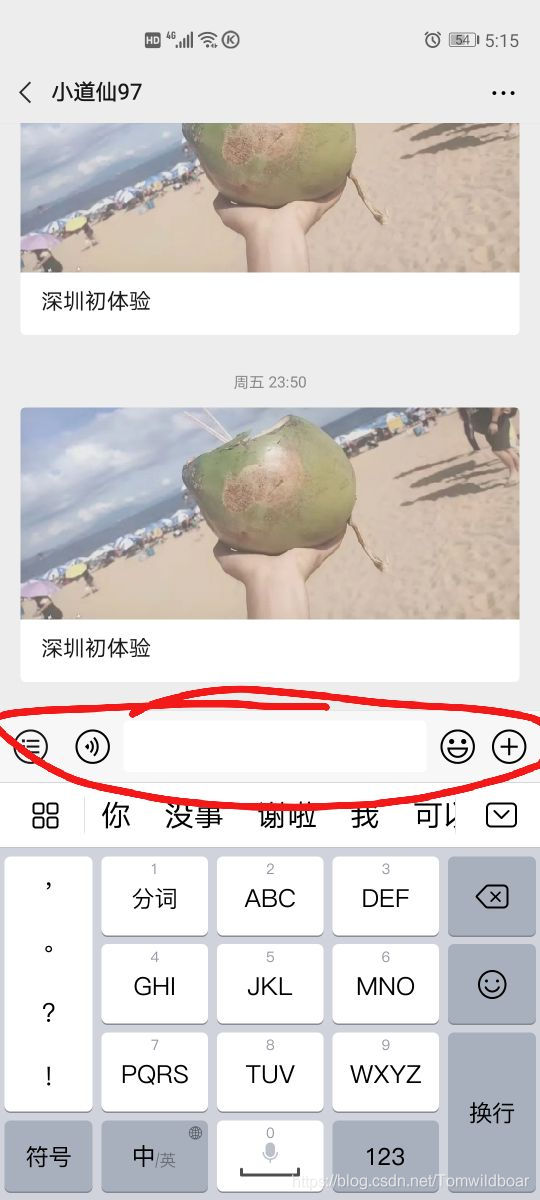
最开始可能有人和我想的一样,用户从那里输入消息呢?一般都是有个菜单联系客服,但是微信公众号是不需要的,用户直接输入就好了。
2-1:不需要api,直接操作
在公众号后台可以直接对客服进行增删改和绑定操作。 至于用户和那个客服进行对接,应该是轮询吧,这个我也没有尝试过。

2-2:接入api操作(重点)
2-2-1:对客服进行增删改查绑定操作
文档地址:https://developers.weixin.qq.com/doc/offiaccount/Customer_Service/Customer_Service_Management.html
这个也很简单,就是相对于的Get和Post请求,我们可以直接使用HttpClient进行操作就好了。 比如我们新增之后,我们可以到后台客服功能进行查看我们添加的客服。
2-2-2:对消息的处理
消息先是发送到你在微信公众号绑定的那个地址,然后你可以在这个方法里面进行你想要的操作:
- 比如对消息进行存入数据库
- 比如对消息进行发送到客服(消息是不直接发送给客服的,需要你这里操作)
- 比如对消息进行指定发送给客服
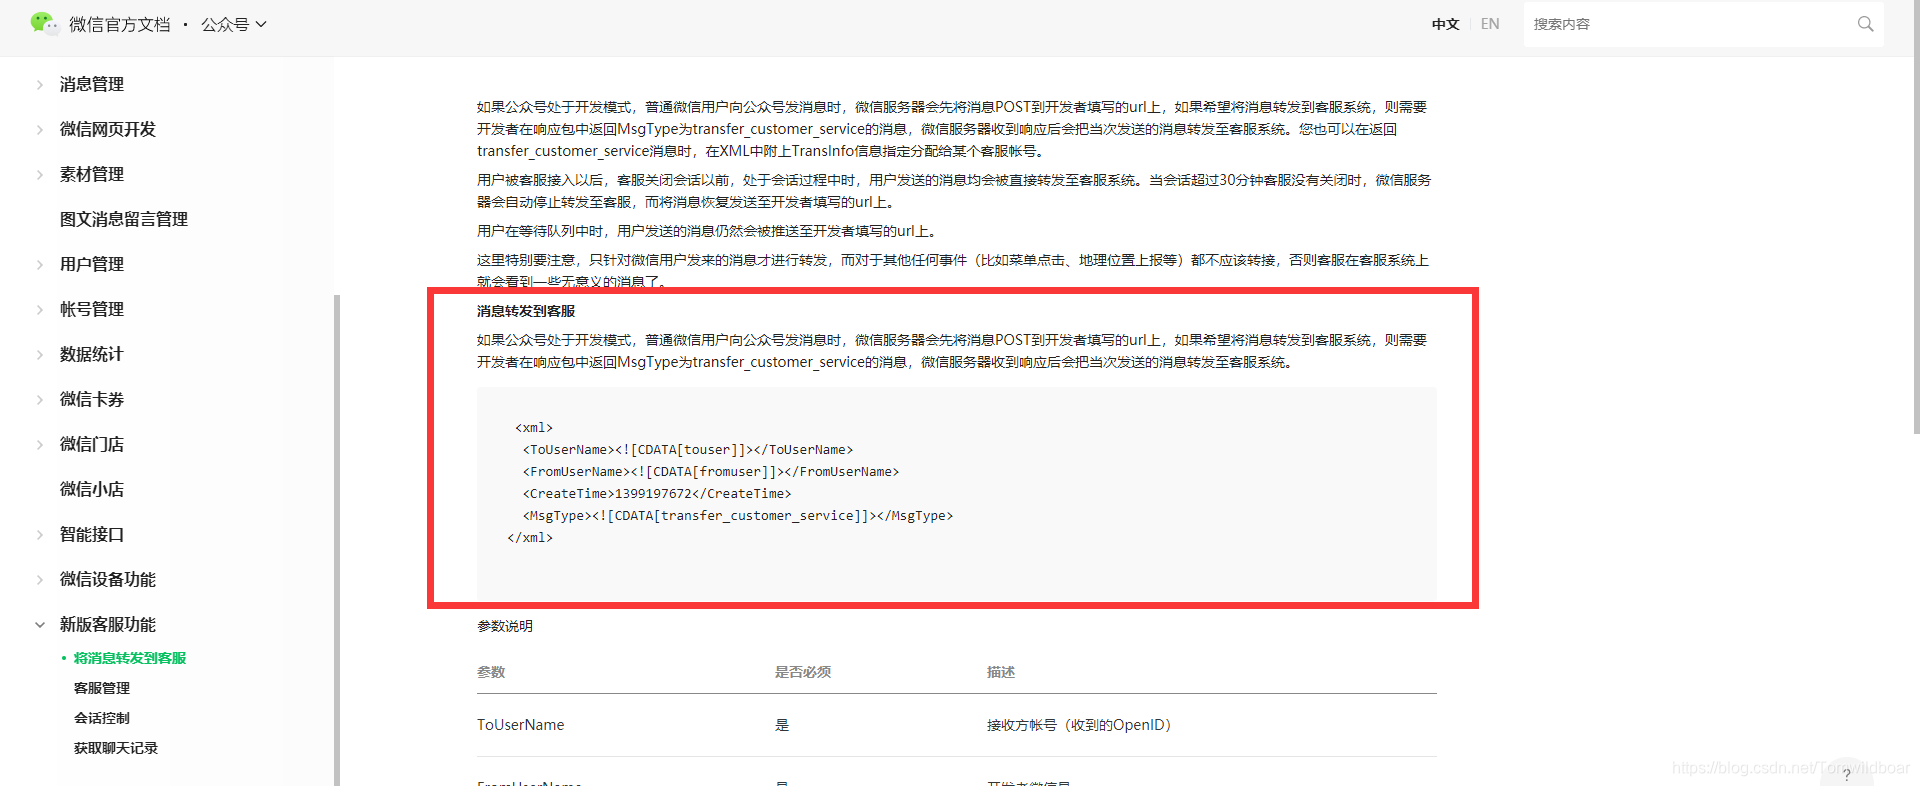
2-2-2-1:如果是随便哪个客服都可以进行消息的处理,那就使用这个
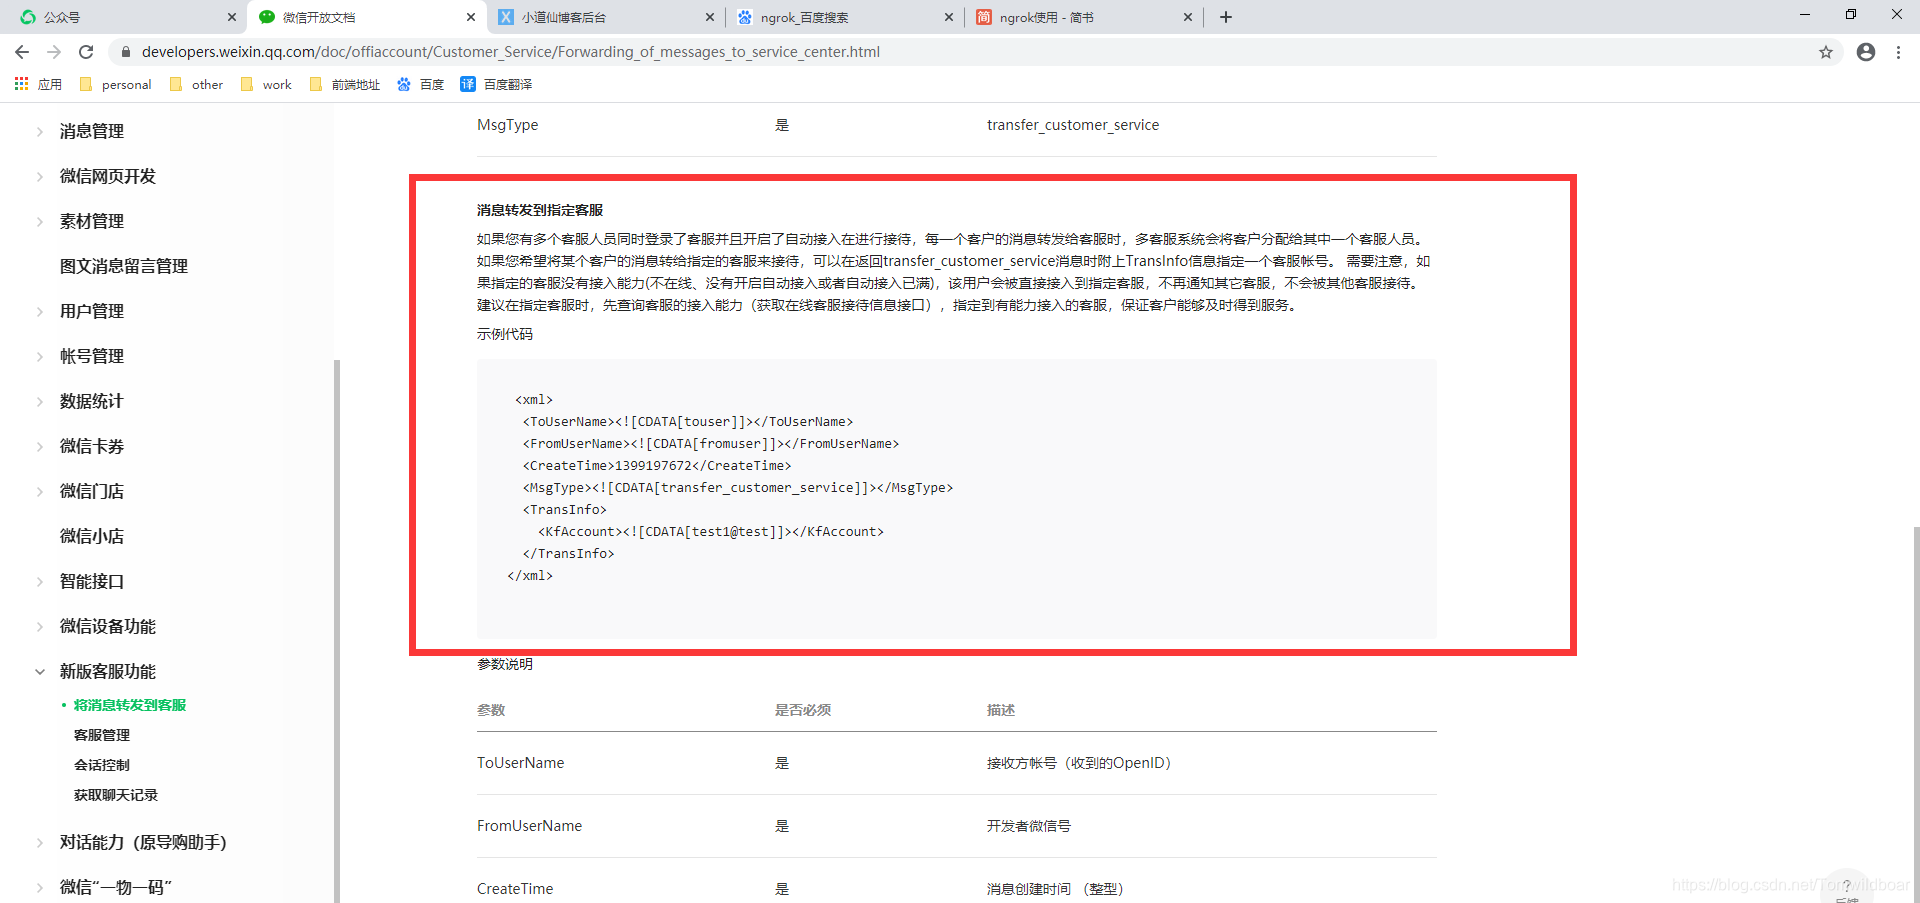
2-2-2-2:如果是要选定客服进行消息的处理,就是用这个
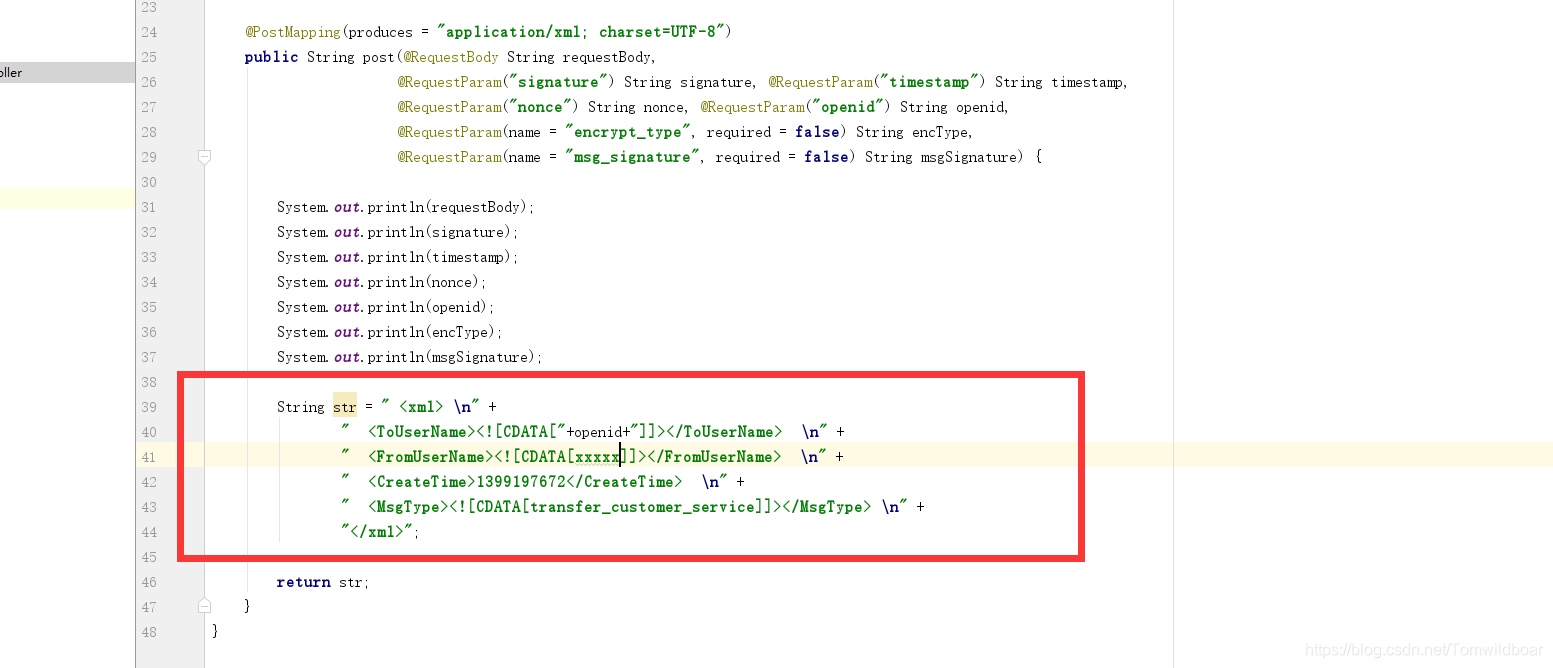
注:这个返回值,其实就是这个格式的字符串,在上面配置的微信地址接口里面
比如下面这个格式:
扫码关注公众号回复关键字获取源码:wxKfDemo