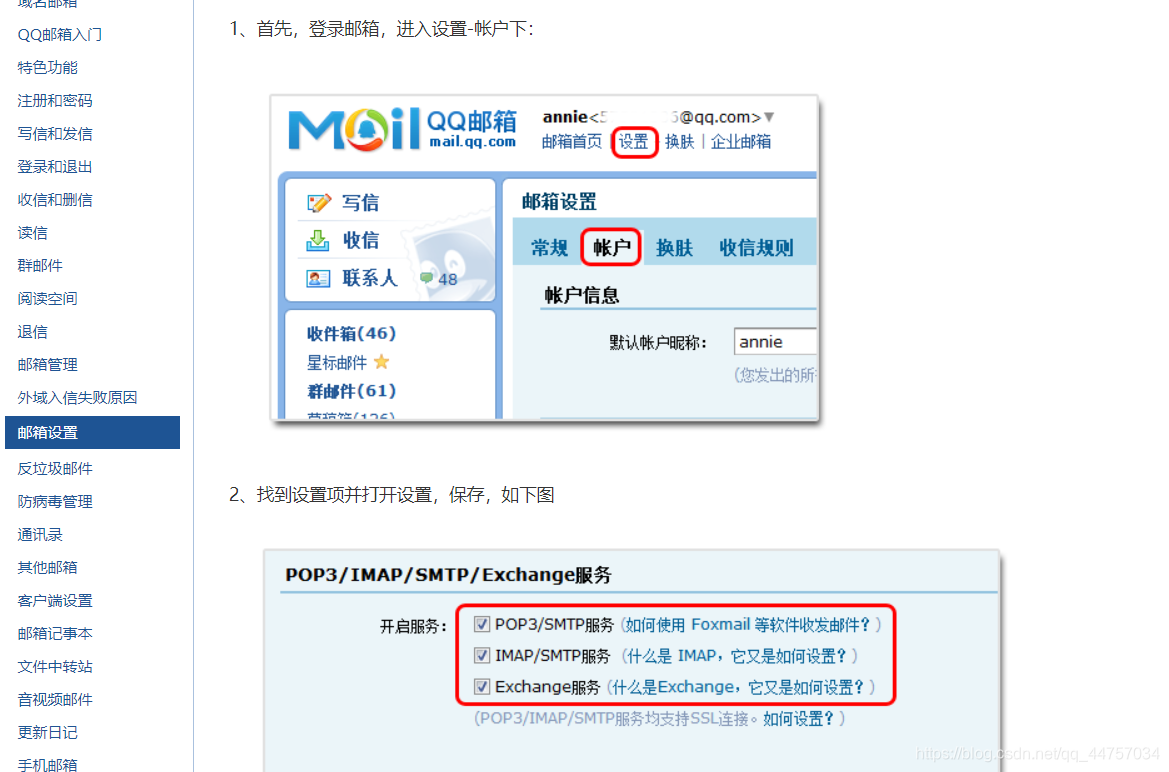
一、邮箱设置
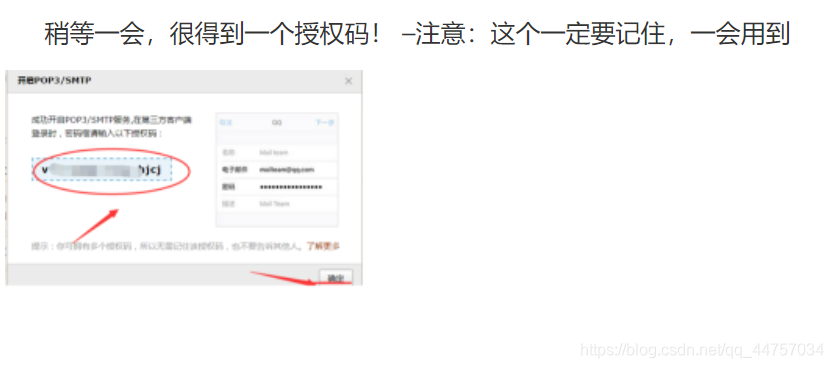
1、登陆邮箱后,进入设置,开启POP3/SMTPQQ邮箱为例
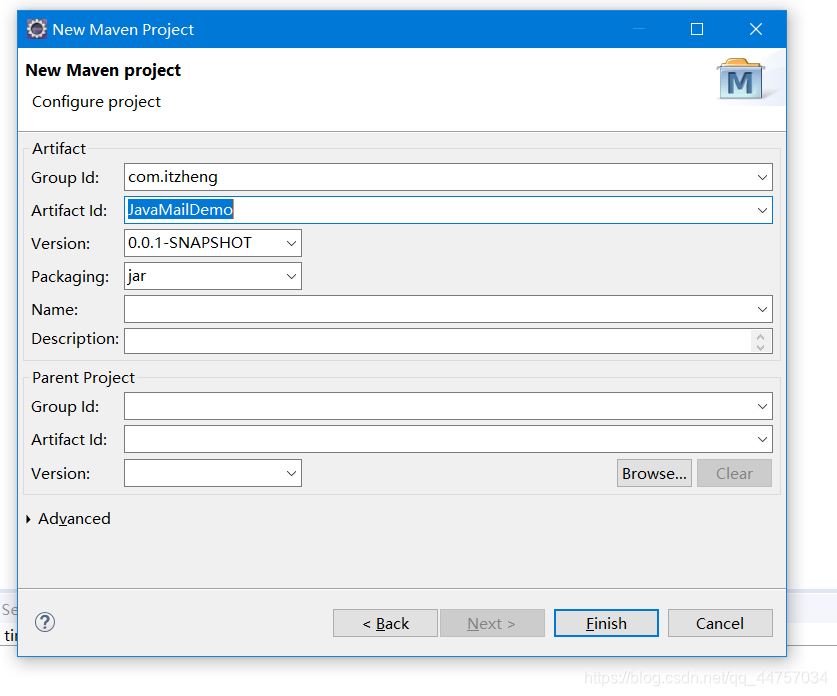
二、创建工程,添加依赖
在pom.xml当中添加依赖
<project xmlns="http://maven.apache.org/POM/4.0.0"
	xmlns:xsi="http://www.w3.org/2001/XMLSchema-instance"
	xsi:schemaLocation="http://maven.apache.org/POM/4.0.0 http://maven.apache.org/xsd/maven-4.0.0.xsd">
	<modelVersion>4.0.0</modelVersion>
	<groupId>com.itzheng</groupId>
	<artifactId>JavaMailDemo</artifactId>
	<version>0.0.1-SNAPSHOT</version>
	<dependencies>
		<dependency>
			<groupId>javax.mail</groupId>
			<artifactId>mail</artifactId>
			<version>1.4.4</version>
		</dependency>
		<dependency>
			<groupId>junit</groupId>
			<artifactId>junit</artifactId>
			<version>4.11</version>
		</dependency>
		<dependency>
			<groupId>org.springframework</groupId>
			<artifactId>spring-context-support</artifactId>
			<version>4.2.4.RELEASE</version>
		</dependency>
	</dependencies>
</project>
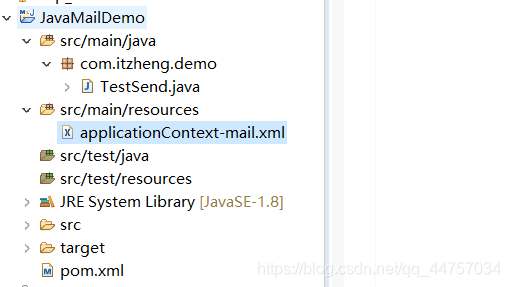
三、编写发送Email类

编写spring配置文件
创建applicationContext_mail.xml文件,copy文件头约束后,添加下面代码
<?xml version="1.0" encoding="UTF-8"?>
<beans xmlns="http://www.springframework.org/schema/beans"
xmlns:xsi="http://www.w3.org/2001/XMLSchema-instance"
xmlns:context="http://www.springframework.org/schema/context"
xmlns:aop="http://www.springframework.org/schema/aop"
xmlns:tx="http://www.springframework.org/schema/tx"
xsi:schemaLocation="
http://www.springframework.org/schema/beans
http://www.springframework.org/schema/beans/spring-beans.xsd
http://www.springframework.org/schema/context
http://www.springframework.org/schema/context/spring-context.xsd
http://www.springframework.org/schema/tx
http://www.springframework.org/schema/tx/spring-tx.xsd
http://www.springframework.org/schema/aop
http://www.springframework.org/schema/aop/spring-aop.xsd
">
<bean id="javaMailSender" class="org.springframework.mail.javamail.JavaMailSenderImpl" >
<!-- smtp:发送邮件的协议 -->
<property name="protocol" value="smtp" ></property>
<!-- 邮件服务器地址 -->
<property name="host" value="smtp.qq.com" ></property>
<!-- 端口 -->
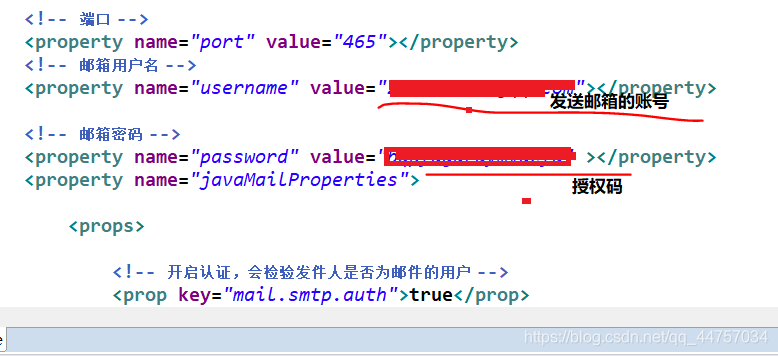
<property name="port" value="465"></property>
<!-- 邮箱用户名 -->
<property name="username" value="发送邮箱的用户名"></property>
<!-- 邮箱密码 -->
<property name="password" value="授权码" ></property>
<property name="javaMailProperties">
<props>
<!-- 开启认证,会检验发件人是否为邮件的用户 -->
<prop key="mail.smtp.auth">true</prop>
<!-- 采用ssl安全方式 -->
<prop key="mail.smtp.ssl.enable">true</prop>
</props>
</property>
</bean>
<bean id="testSend" class="com.itzheng.demo.TestSend" >
<property name="javaMailSender" ref="javaMailSender" ></property>
</bean>
</beans>
四、发送邮箱
package com.itzheng.demo;

import org.junit.Test;
import org.springframework.context.ApplicationContext;
import org.springframework.context.support.ClassPathXmlApplicationContext;

public class TestJavaMail {


	@Test
	public void testMail() throws Exception{


		ApplicationContext ac = new ClassPathXmlApplicationContext("classpath:applicationContext-mail.xml");
		TestSend ts = (TestSend) ac.getBean("testSend");
		ts.sendMail();

	}

}