准备工作
- 本地hexo已配置好
- 个人系统:deepin15.11
- 服务器:Ubuntu 18.04
开始吧
安装git和nginx
apt update
apt install git nginx
配置nginx
nginx version: nginx/1.14.0 (Ubuntu)
在此说明nginx版本是因为我曾试了网上很多nginx配置但都没生效(原谅我只用过Apache),后来搜了具体版本的配置才生效。所以日后还是要养成搜的时候加上版本的习惯。
我的博客目录在/opt/hexo
当然你也可以自己设置,之后的步骤里更换成你的目录就行
mkdir /opt/hexo
编写 nginx 配置文件
vim /etc/nginx/conf.d/blog.conf
server {


        listen 80 ;
        root /opt/hexo;
        index index.html index.htm index.nginx-debian.html;
        server_name 47.93.34.7; #有域名就填域名,也可填服务器公网ip
}
重启nginx
service nginx restart
这个时候我们已经把默认站点更换为/opt/hexo,你可以在相应目录下新建一个文件访问ip查看是否生效。
配置 Git Hooks
创建 Git 裸仓库
blog.git作为远程 Git 仓库,Hexo 在本地生成的博客静态文件可以通过 push 与其同步。
mkdir ~/blog.git && cd ~/blog.git
git init --bare
配置 Hooks 脚本
post-receive脚本将在blog.git仓库接收到 push 时执行。
vim ./hooks/post-receive
脚本非常简单,删除原有的**/opt/hexo目录,然后从blog.git仓库 clone 新的博客静态文件。
#!/bin/bash

rm -rf /opt/hexo
git clone /root/blog.git /opt/hexo
给post-receive脚本执行权限
chmod +x ./hooks/post-receive
修改本地文件
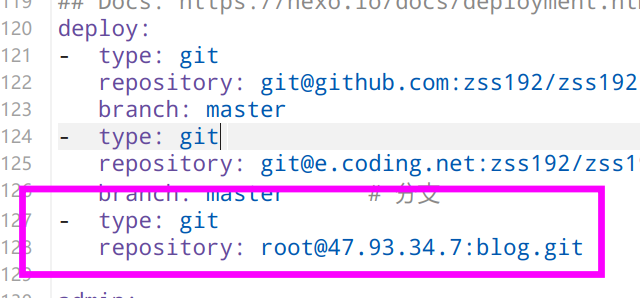
修改本地博客根目录下的_config.yml
deploy:
    type: git
    repo: root@你的公网ip:blog.git
如下图所示
免密推送代码
前提是本地有ssh密钥(可用cat ~/.ssh/id_rsa.pub查看是否存在)
若没有ssh密钥则要生成ssh key,按3个回车即可
ssh-keygen -t rsa -C "[email protected]"
然后把公钥推到服务器上
cat ~/.ssh/id_rsa.pub | ssh [username]@[remote_host] "mkdir -p ~/.ssh && cat >> ~/.ssh/authorized_keys"
例如:cat ~/.ssh/id_rsa.pub | ssh [email protected] "mkdir -p ~/.ssh && cat >> ~/.ssh/authorized_keys"
部署博客
在本地博客根目录下执行
hexo g -d
访问公网ip即可看到博客,若是配置的域名不要忘了去解析域名(注意端口是否开放)。
写在最后
以上就是hexo博客部署到服务器上的全部过程,之所以写这篇博客是之前白嫖了个服务器部署了博客,过期之后我又买了个服务器还得去搜相关操作比较麻烦。
在此记录下相关操作方便日后需要。