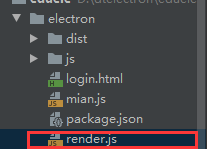
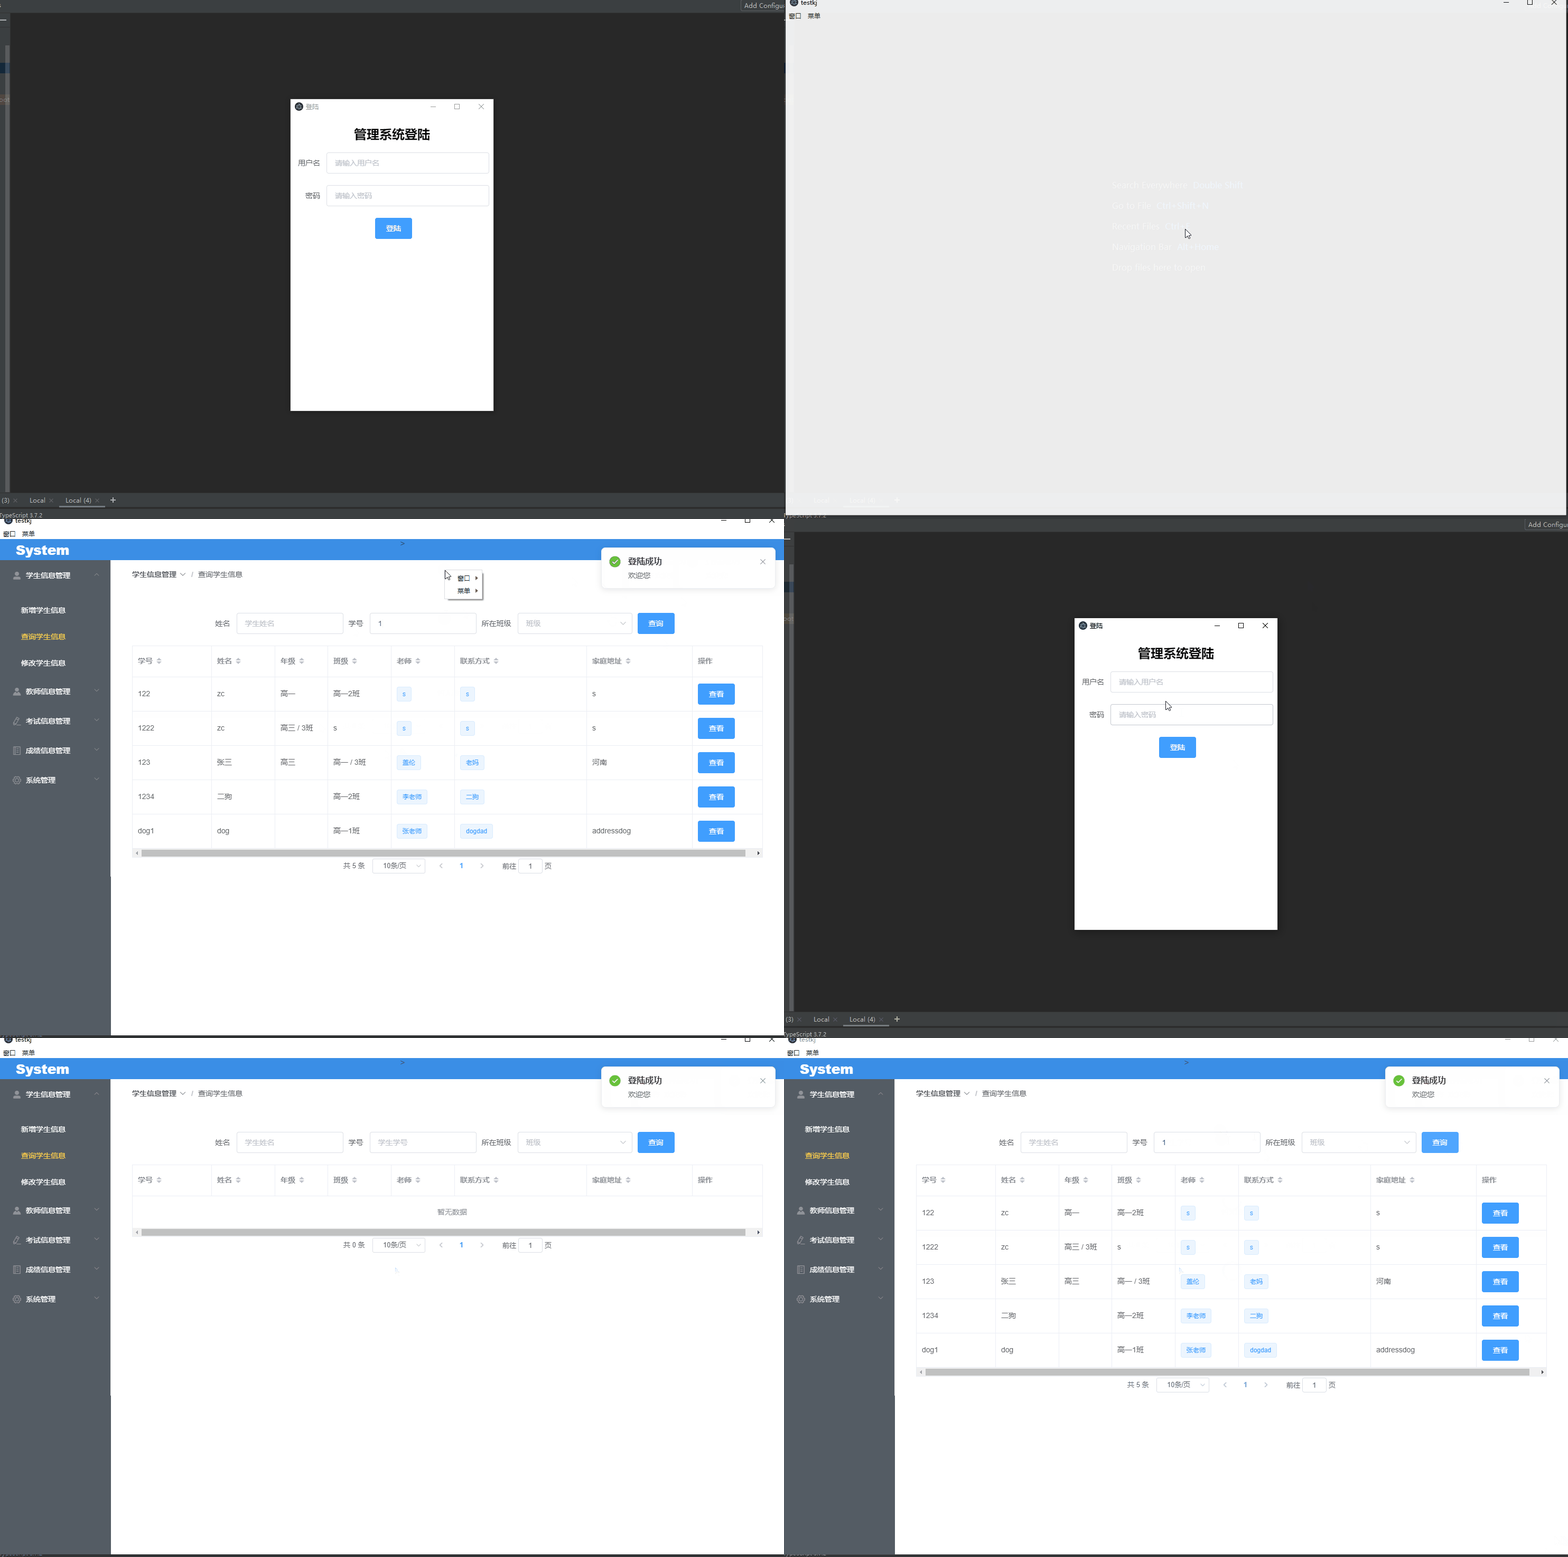
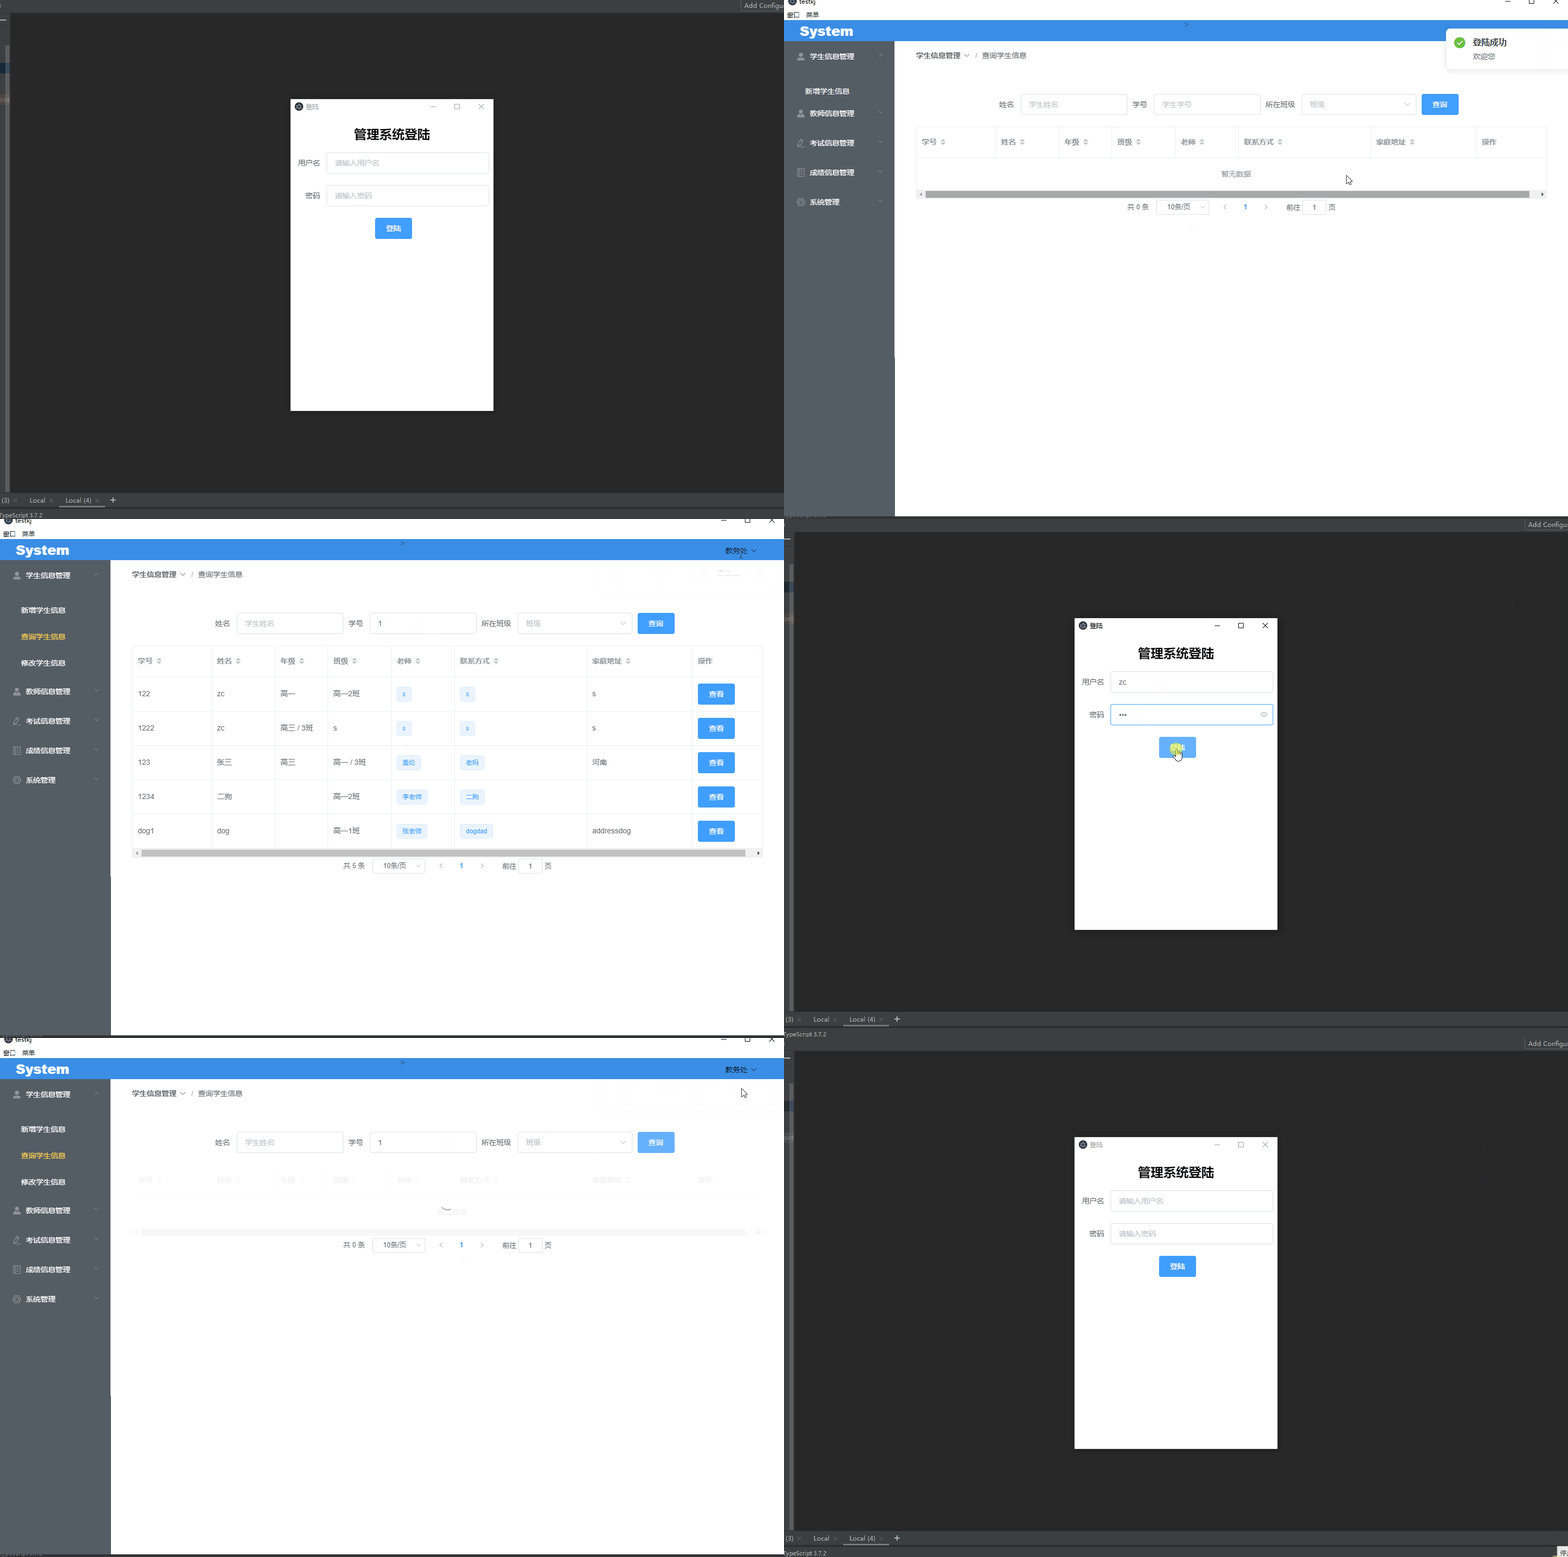
自己弄的框架中存在各种问题 搭建自己用electron的时候也许会碰到
Vue2.x版本
https://github.com/dmhsq/electron-vue-dmhsq
或者
https://github.com/dmhsq/electron-vue/tree/main/template
Vue3.x版本
https://github.com/dmhsq/electron-vue3-dmhsq
等教程写完 教程地址 会抽空封装几个工具
解决如下
踩坑
自己摸索的 可能有问题 大佬勿喷
1.解决fs.existsSync is not a function
vue引入electron的ipcRenderer等其它模块会出现这种情况
解决方案
自定义事件 使用渲染进程捕捉
在你的页面代码(比如vue文件)中加入
let cus = new CustomEvent("test_event",{

    detail:{

    你的数据}});
window.dispatchEvent(cus);
解释:
cus定义了一个window事件 detail传递数据
test_event:自定义事件名
window.dispatchEvent(cus);触发自定义事件
在渲染进程

添加以下代码负责监听
const {

     ipcRenderer } = require("electron");
window.addEventListener('test_event',(e)=>{


  console.log('开始了哦')
  console.log(e.detail)//这里就是你发送的数据
  ipcRenderer.send("test",e.detail);
})
渲染进程使用ipcRenderer向主进程发送数据
说明test为向主进程发送的事件名
以下为主进程接收代码
ipcMain.on("test", () => {


  ...做处理
});
2.解决electron发送请求时http://变file:// (也能解决代理)
发送请求时触发一个事件
比如
export const find = params => {


  let cus = new CustomEvent("axioes");
  window.dispatchEvent(cus);
  return axios.get("/api/find", {

     params: params });
};
在渲染进程中
window.addEventListener('axioes',()=>{


  ipcRenderer.send('axioso')
})
在主进程中(需要引入session模块)
const {


  app,
  BrowserWindow,
  Notification,
  Menu,
  MenuItem,
  ipcMain,
  net,
  session
} = require("electron");
ipcMain.addListener("axioso", () => {


  resq();
});
function resq() {


  const filter = {


    urls: ["*://api/*", "file://api/*"]
  };
  session.defaultSession.webRequest.onBeforeRequest(
    filter,
    (details, callback) => {


      console.log(122131231);
      console.log(details);
      // details.url = "http://www.baidu.com"
      let srt = details.url;
      details.url = "http://localhost:8080" + srt.substr(10);
      callback({

     redirectURL: details.url });
      console.log(details);
    }
  );
}
说明:
const filter = {


    urls: ["*://api/*", "file://api/*"]
  };
定义匹配api字符串的请求的拦截规则
说明:
 session.defaultSession.webRequest.onBeforeRequest(
    filter,
    (details, callback) => {


      console.log(122131231);
      console.log(details);
      // details.url = "http://www.baidu.com"
      let srt = details.url;
      details.url = "http://localhost:8080" + srt.substr(10);
      callback({

     redirectURL: details.url });
      console.log(details);
    }
  );
在发送请求之前 改写请求地址
原本我的请求地址是http://localhost:8086/edusys/admin/find
使用代理为 /api/find
我的vue项目端口为8080
所以需要将"/api/find"变为"http://localhost:8080/api/find"
所以我的nginx配置如下
   server {


            listen       8080;
            server_name  localhost;

            location / {


                root   html;
                index  index.html index.htm;
            }

            location /api {


               proxy_pass   http://localhost:8086/edusys/admin;
            }

        }
3.实现登陆以及切换用户
两种方案
方案一 主进程使用菜单切换
 主进程监听菜单事件

主进程处理代码
function changeUser() {


  const nm = new Menu();//创建空菜单
  Menu.setApplicationMenu(nm);//菜单设置为空
  createWindows();//创建登陆窗口
  wins.close();//关闭原先的大窗口这里的win是createWindowMain()创建窗口时返回的win
}
function createWindowMain() {


  const win = new BrowserWindow({


    width: 1500,
    height: 1000,
    webPreferences: {


      nodeIntegration: true
    }
  });
  win.loadFile(__dirname + "/dist/index.html");
  // win.webContents.openDevTools();
  reloadTheWin(win);
  return win;
}
function createWindows() {


  const win = new BrowserWindow({


    width: 400,
    height: 600,
    webPreferences: {


      nodeIntegration: true
    }
  });

  win.loadFile(__dirname + "./login.html");
  // reloadTheWins(win);
}
方案二 Vue开发的页面触发切换

这是切换按钮所在的菜单的代码(头部导航的部分代码)
页面点击切换用户触发自定义事件
<el-dropdown>
	<span style="color: black">
		教务处<i class="el-icon-arrow-down el-icon--right"></i>
	</span>
	<el-dropdown-menu slot="dropdown">
	<el-dropdown-item>退出</el-dropdown-item>
	<el-dropdown-item @click.native="changeUser">切换用户</el-dropdown-item>
	</el-dropdown-menu>
</el-dropdown>
<script>
export default {


  name: "MyHeader",
  methods:{


    changeUser(){


      console.log("改变用户")
      let cuss = new CustomEvent("changeUsers");//自定义事件
      window.dispatchEvent(cuss);//触发自定义事件
    }
  }
};
</script>
渲染进程处理代码
window.addEventListener("changeUsers", () => {

    //监听changeUsers事件
  ipcRenderer.send("changeUsr");//向主进程发送通知
})
主进程处理代码
ipcMain.on('changeUsr',()=>{


  changeUser();
});
function changeUser() {


  const nm = new Menu();//创建空菜单
  Menu.setApplicationMenu(nm);//菜单设置为空
  createWindows();//创建登陆窗口
  wins.close();//关闭原先的大窗口这里的win是createWindowMain()创建窗口时返回的win
}
function createWindowMain() {


  const win = new BrowserWindow({


    width: 1500,
    height: 1000,
    webPreferences: {


      nodeIntegration: true
    }
  });
  win.loadFile(__dirname + "/dist/index.html");
  // win.webContents.openDevTools();
  reloadTheWin(win);
  return win;
}
function createWindows() {


  const win = new BrowserWindow({


    width: 400,
    height: 600,
    webPreferences: {


      nodeIntegration: true
    }
  });

  win.loadFile(__dirname + "./login.html");
  // reloadTheWins(win);
}
大家好,我是代码哈士奇,是一名软件学院网络工程的学生,因为我是“狗”,狗走千里吃肉。想把大学期间学的东西和大家分享,和大家一起进步。但由于水平有限,博客中难免会有一些错误出现,有纰漏之处恳请各位大佬不吝赐教!暂时只在csdn这一个平台进行更新,博客主页:https://blog.csdn.net/qq_42027681。
未经本人允许,禁止转载

后续会推出
前端:vue入门 vue开发小程序 等
后端: java入门 springboot入门等
服务器:mysql入门 服务器简单指令 云服务器运行项目
python:推荐不温卜火 一定要看哦
一些插件的使用等
大学之道亦在自身,努力学习,热血青春
如果对编程感兴趣可以加入我们的qq群一起交流:974178910

有问题可以下方留言,看到了会回复哦