一,配置中心
为什么需要配置中心
单体应用,配置写在配置文件中,没有什么大问题。如果要切换环境 可以切换不同的profile(2种方式),但在微服务中,微服务比较多。成百上千,配置很多,需要集中管理,需要管理不同环境的配置,需要动态调整配置参数,更改配置不停服。
配置中心介绍
分布式配置中心包括3个部分:
- 存放配置的地方:git,svn ,数据库,本地文件 等。
- config server,从 1 读取配置。
- config client。是 config server 的客户端 消费配置。
注意:配置都不会自己更新,都是需要触发client才去git上拉取的。或者触发 在config-server上查看配置时,才去git上拉取。
二,使用
下面我们在Spring Boot 项目中集成 Spring Cloud Config,并以 github 作为配置存储,主要从以下两部分来演示:
- 脱离Eureka的配置中心搭建。
- 集成Eureka的配置中心搭建。
配置文件准备:
我们在github上面放以下四个配置文件:配置中心仓库地址

config-single-client-dev.yml
data:
  env: sinle-client-env
  user:
    username: bobo1
    password: 123
config-single-client-prod.yml
data:
  env: sinle-client-prod
  user:
    username: bobo2
    password: 1234
config-eureka-client-dev.yml
data:
  env: eureka-client-env
  user:
    username: bobo3
    password: 12345
config-eureka-client-prod.yml

data:
  env: eureka-client-prod
  user:
    username: bobo4
    password: 123456
1,脱离Eureka的配置中心搭建
最简单的配置中心,就是启动一个服务作为服务方,之后各个需要获取配置的服务作为客户端来这个服务方获取配置。
创建配置中心服务端
1,新建model,config-single-server,导入web和config-server依赖
		<dependency>
            <groupId>org.springframework.boot</groupId>
            <artifactId>spring-boot-starter-web</artifactId>
        </dependency>
        <dependency>
            <groupId>org.springframework.cloud</groupId>
            <artifactId>spring-cloud-config-server</artifactId>
        </dependency>
2,配置application.yml
server:
  port: 7001
spring:
  application:
    name: config-single-server
  cloud:
    config:
      server:
        git:
		  # 配置文件仓库地址
          uri: https://github.com/zhaosongbobo/spring-cloud-config-test
          username: github帐号
          password: github密码
		  # 配置文件主干
          default-label: master
		  # 跳过ssl检查
          skip-ssl-validation: true
		  # 配置文件保存的本地机器的目录
          basedir: /home/bobo/config
3,在启动类上面加@EnableConfigServer注解
@SpringBootApplication
@EnableConfigServer
public class ConfigSingleServerApplication {


    public static void main(String[] args) {


        SpringApplication.run(ConfigSingleServerApplication.class, args);
    }

}
4,启动config-single-server验证
Spring Cloud Config 有它的一套访问规则,我们通过这套规则在浏览器上直接访问就可以。
/{application}/{profile}[/{label}]
/{application}-{profile}.yml
/{label}/{application}-{profile}.yml
/{application}-{profile}.properties
/{label}/{application}-{profile}.properties
- {application} 就是应用名称,对应到配置文件上来,就是配置文件的spring.application.name值。
- {profile} 就是配置文件的版本,我们的项目有开发版本、测试环境版本、生产环境版本,对应到配置文件上来就是以 application-{profile}.yml 加以区分,例如application-dev.yml、application-sit.yml、application-prod.yml。
- {label} 表示 git 分支,默认是 master 分支,如果项目是以分支做区分也是可以的,那就可以通过不同的 label 来控制访问不同的配置文件了。
我们按照以上规则访问我们刚启动的服务端:
http://localhost:7001/config-single-client/dev/master
http://localhost:7001/config-single-client-dev.yml
http://localhost:7001/master/config-single-client-dev.yml
如下输出:
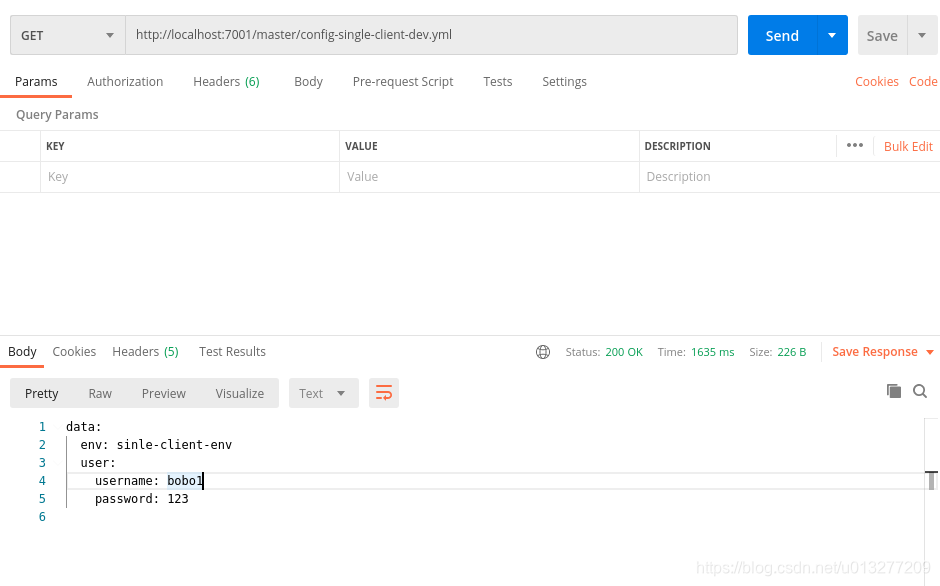
通过访问以上地址,如果可以正常返回数据,则说明配置中心服务端一切正常。
创建配置中心客户端
配置中心服务端好了,配置数据准备好了,接下来,就要在我们的项目中使用它了。
1,创建model,config-single-client,并导入web,config依赖
		<dependency>
            <groupId>org.springframework.boot</groupId>
            <artifactId>spring-boot-starter-web</artifactId>
        </dependency>
        <dependency>
            <groupId>org.springframework.cloud</groupId>
            <artifactId>spring-cloud-starter-config</artifactId>
        </dependency>
2,配置bootstrap.yml和application.yml配置文件
bootstrap.yml
spring:
  application:
    name: config-single-client
  cloud:
    config:
      uri: http://localhost:7001
      profile: dev
      label: master
  profiles:
    active: dev
注意:这里为什么要用bootstrap配置文件?
这是由spring boot的加载属性文件的优先级决定的,你想要在加载属性之前去spring cloud config server上取配置文件,那spring cloud config相关配置就是需要最先加载的,而bootstrap.yaml的加载是先于application.yaml的,所以config client要配置config的相关配置就只能写到bootstrap.properties里了。
application.yml
server:
  port: 7008
3,读取配置文件内容,一般通过@Value 或 @ConfigurationProperties 来获取
@Component
@Data
public class GitConfig {


    @Value("${data.env}")
    private String env;
    @Value("${data.user.username}")
    private String username;
    @Value("${data.user.password}")
    private String password;
}
@Component
@Data
@ConfigurationProperties(prefix = "data")
public class GitAutoRefreshConfig {


    private String env;
    private UserInfo user;

    @Data
    public static class UserInfo {


        private String username;
        private String password;
    }
}
4,GitController来测试配置
@RestController
public class GitController {
@Autowired
private GitConfig gitConfig;
@Autowired
private GitAutoRefreshConfig gitAutoRefreshConfig;
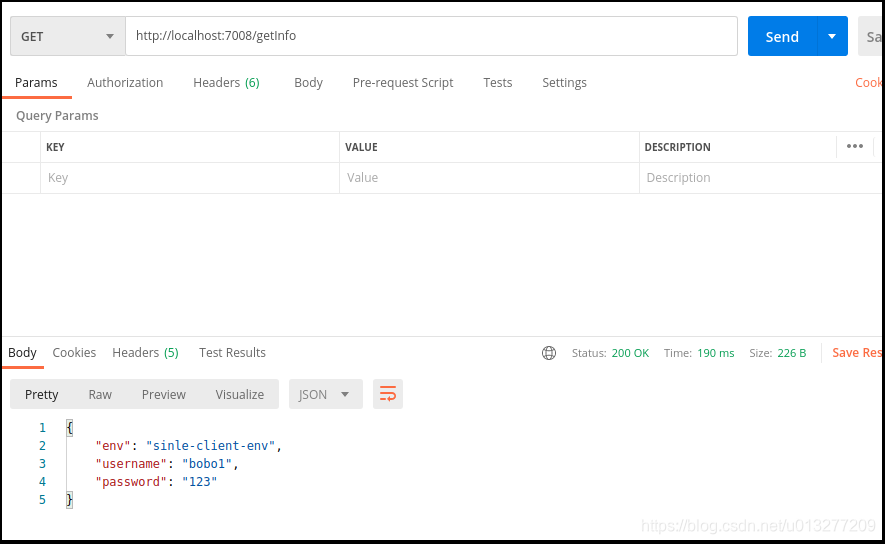
@GetMapping("/getInfo")
public Object getInfo(){
return gitConfig;
}
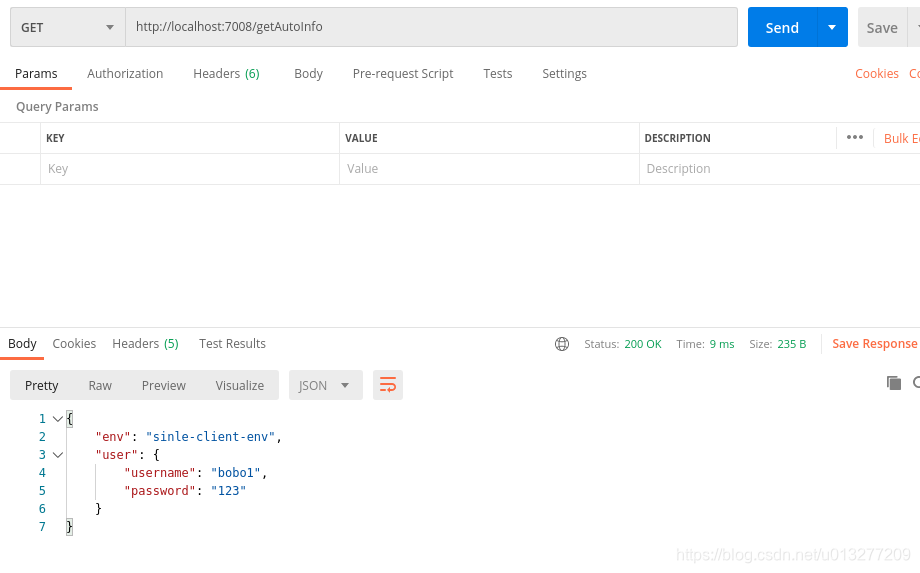
@GetMapping("/getAutoInfo")
public Object getAutoInfo(){
return gitAutoRefreshConfig;
}
}
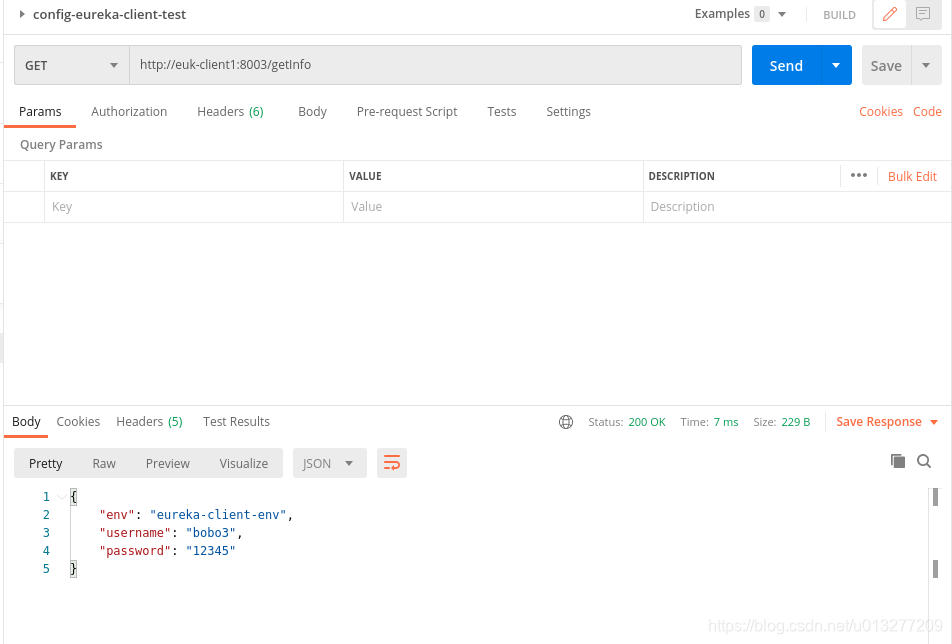
5,结果
2,集成Eureka的配置中心搭建
如果我们的系统中使用了 Eureka 作为服务注册发现中心,那么 Spring Cloud Config 也应该注册到 Eureka 之上,方便其他服务消费者使用,并且可以注册多个配置中心服务端,以实现高可用。
好的,接下来就来集成 Spring Cloud Config 到 Eureka 上。
创建Eureka服务端
1,新建model,eureka-server,配置pom依赖
		<dependency>
            <groupId>org.springframework.cloud</groupId>
            <artifactId>spring-cloud-starter-netflix-eureka-server</artifactId>
        </dependency>
2,配置eureka,application.yml
spring:
  application:
    name: eureka-server
eureka:
  client:
    service-url:
      defaultZone: http://euk-server1:8001/eureka/
  instance:
    hostname: euk-server1
server:
  port: 8001
3,启动类添加@EnableEurekaServer注解
@SpringBootApplication
@EnableEurekaServer
public class EurekaServerApplication {


    public static void main(String[] args) {


        SpringApplication.run(EurekaServerApplication.class, args);
    }

}
创建配置中心服务端并注册到EurekaServer
1,新建model,config-eureka-server,添加pom依赖
		<dependency>
            <groupId>org.springframework.boot</groupId>
            <artifactId>spring-boot-starter-web</artifactId>
        </dependency>
        <dependency>
            <groupId>org.springframework.cloud</groupId>
            <artifactId>spring-cloud-config-server</artifactId>
        </dependency>
        <dependency>
            <groupId>org.springframework.cloud</groupId>
            <artifactId>spring-cloud-starter-netflix-eureka-client</artifactId>
        </dependency>
2,配置eureka和config application.yml
server:
  port: 8002
spring:
  application:
    name: config-eureka-server
  cloud:
    config:
      server:
        git:
          uri: https://github.com/zhaosongbobo/spring-cloud-config-test
          username: github帐号
          password: github密码
          default-label: master
          skip-ssl-validation: true
          basedir: /home/bobo/config

eureka:
  instance:
    hostname: euk-server2
  client:
    service-url:
      defaultZone: http://euk-server1:8001/eureka
3,启动类添加@EnableConfigServer和@EnableEurekaClient注解
@SpringBootApplication
@EnableConfigServer
@EnableEurekaClient
public class ConfigEurekaServerApplication {


    public static void main(String[] args) {


        SpringApplication.run(ConfigEurekaServerApplication.class, args);
    }

}
4,启动config-eureka-sever,验证配置成功
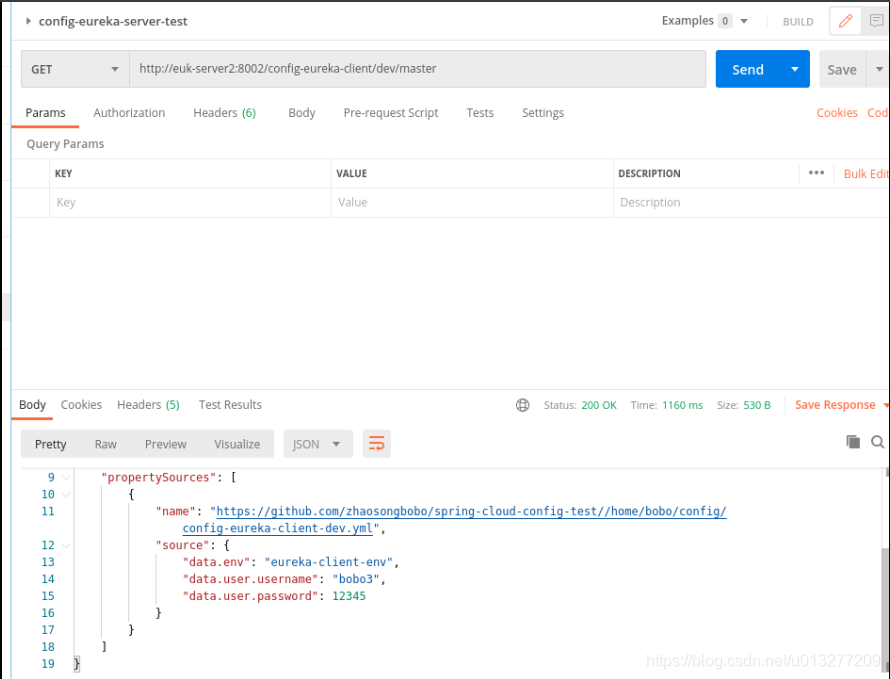
创建配置中心客户端
客户端的配置相对来说变动大一点,加入了 Eureka 之后,就不用再直接和配置中心服务端打交道了,要通过 Eureka 来访问。另外,还是要注意客户端的 application 名称要和 github 中配置文件的名称一致。
1,新建model,config-eureka-client,添加pom依赖
		<dependency>
            <groupId>org.springframework.boot</groupId>
            <artifactId>spring-boot-starter-web</artifactId>
        </dependency>
        <dependency>
            <groupId>org.springframework.cloud</groupId>
            <artifactId>spring-cloud-starter-config</artifactId>
        </dependency>
        <dependency>
            <groupId>org.springframework.cloud</groupId>
            <artifactId>spring-cloud-starter-netflix-eureka-client</artifactId>
        </dependency>
2,配置bootstrap.yaml和application.yaml
bootstrap.yml
spring:
  application:
    name: config-eureka-client
  cloud:
    config:
      discovery:
        enabled: true
		# 指定配置中心服务端的server-id
        service-id: config-eureka-server
	  # 指定仓库主干
      label: master
	  # 指定版本
      profile: dev
eureka:
  client:
    service-url:
      defaultZone: http://euk-server1:8001/eureka/
application.yml
server:
  port: 8003
除了注册到 Eureka 的配置外,就是配置和配置中心服务端建立关系。
其中 service-id 也就是服务端的application name。
注意:这里为什么要用bootstrap配置文件?
这是由spring boot的加载属性文件的优先级决定的,你想要在加载属性之前去spring cloud config server上取配置文件,那spring cloud config相关配置就是需要最先加载的,而bootstrap.yaml的加载是先于application.yaml的,所以config client要配置config的相关配置就只能写到bootstrap.properties里了。
3,读取配置文件内容,一般通过@Value 或 @ConfigurationProperties 来获取
直接从上面例子拿过来,不用做更改:
@Component
@Data
public class GitConfig {


    @Value("${data.env}")
    private String env;
    @Value("${data.user.username}")
    private String username;
    @Value("${data.user.password}")
    private String password;
}
@Component
@Data
@ConfigurationProperties(prefix = "data")
public class GitAutoRefreshConfig {


    private String env;
    private UserInfo user;

    @Data
    public static class UserInfo {


        private String username;
        private String password;
    }
}
4,GitController来测试配置
@RestController
public class GitController {


    @Autowired
    private GitConfig gitConfig;

    @Autowired
    private GitAutoRefreshConfig gitAutoRefreshConfig;

    @GetMapping("/getInfo")
    public Object getInfo(){


        return gitConfig;
    }

    @GetMapping("/getAutoInfo")
    public Object getAutoInfo(){


        return gitAutoRefreshConfig;
    }
}
5,启动类
@SpringBootApplication
@EnableDiscoveryClient
public class ConfigEurekaClientApplication {


    public static void main(String[] args) {


        SpringApplication.run(ConfigEurekaClientApplication.class, args);
    }

}
6,结果
三,手动刷新
Spring Cloud Config 在项目启动时加载配置内容这一机制,导致了它存在一个缺陷,修改配置文件内容后,不会自动刷新。例如我们上面的项目,当服务已经启动的时候,去修改 github 上的配置文件内容,这时候,再次刷新页面,对不起,还是旧的配置内容,新内容不会主动刷新过来。
但是,总不能每次修改了配置后重启服务吧。如果是那样的话,还是不要用它了为好,直接用本地配置文件岂不是更快。
它提供了一个刷新机制,但是需要我们主动触发。那就是 @RefreshScope 注解并结合 actuator ,注意要引入 spring-boot-starter-actuator 包。
1,在config-eureka-client的pom依赖中增加依赖actuator
		<dependency>
            <groupId>org.springframework.boot</groupId>
            <artifactId>spring-boot-starter-actuator</artifactId>
        </dependency>
2,在 config client 端配置中增加 actuator 配置
application.yml
server:
  port: 8003
management:
  endpoint:
    shutdown:
      enabled: false
  endpoints:
    web:
      exposure:
        include: "*"
2、在需要读取配置的类上增加 @RefreshScope 注解,我们是 controller 中使用配置,所以加在 controller 中。
@RestController
@RefreshScope
public class GitController {


    @Autowired
    private GitConfig gitConfig;

    @Autowired
    private GitAutoRefreshConfig gitAutoRefreshConfig;

    @GetMapping("/getInfo")
    public Object getInfo(){


        return gitConfig;
    }

    @GetMapping("/getAutoInfo")
    public Object getAutoInfo(){


        return gitAutoRefreshConfig;
    }
}
注意,以上都是在 client 端做的修改。
之后,重启 client 端,重启后,我们修改 github 上的配置文件config-eureka-client-dev.yml
原:
data:
  env: eureka-client-env
  user:
    username: bobo3
    password: 12345
修改后:
data:
  env: eureka-client-env
  user:
    username: bobo3修改111
    password: 12345
再次刷新页面,没有反应。
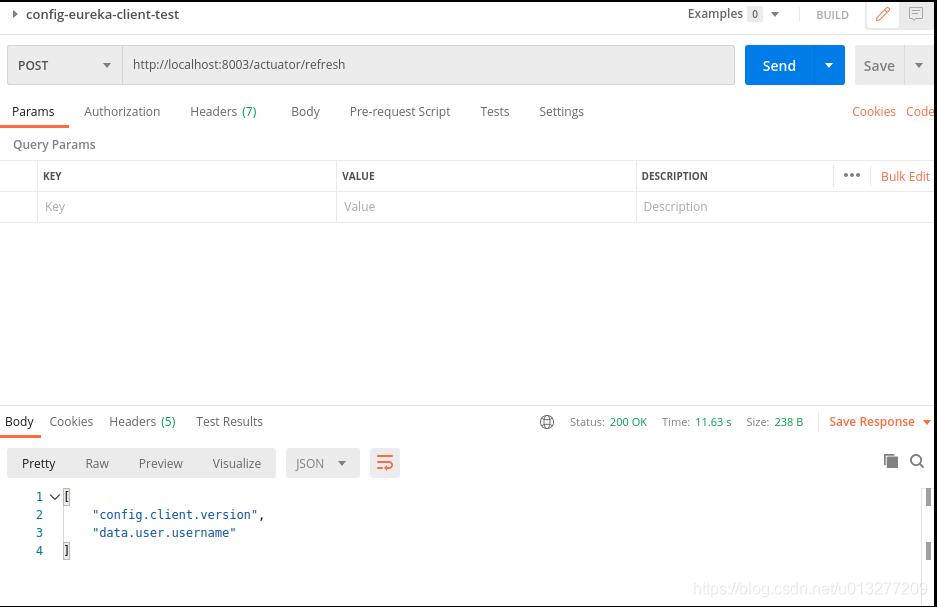
接下来,我们发送 POST 请求到 http://localhost:8003/actuator/refresh 这个接口,用 postman 之类的工具即可,此接口就是用来触发加载新配置的,返回内容如下:
之后,再次访问 RESTful 接口,http://localhost:8003/getAutoInfo
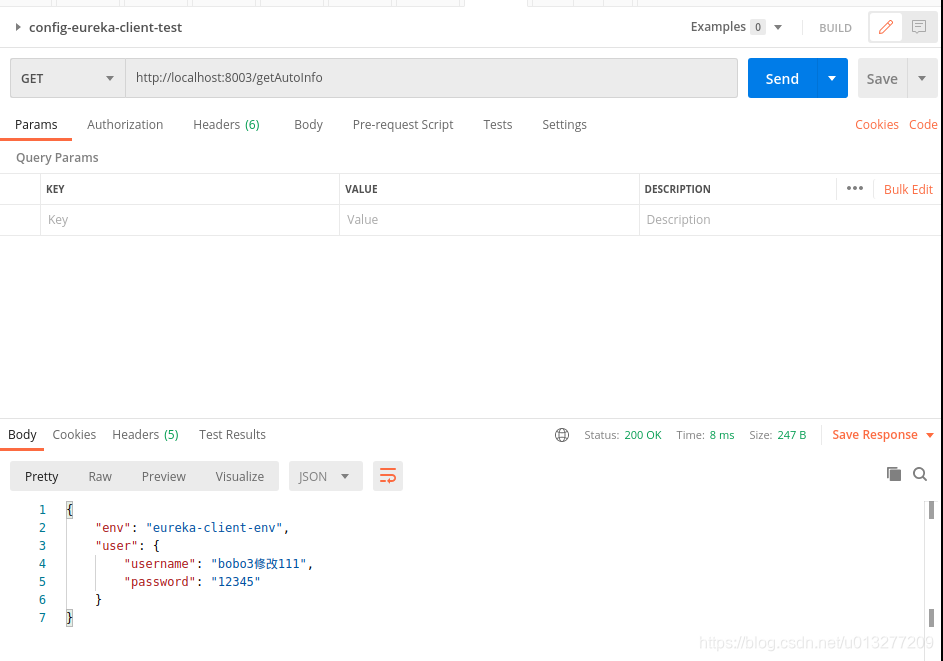
可以看到这个接口获取的数据已经是最新的了,说明 refresh 机制起作用了。
但是当我们访问http://localhost:8003/getInfo,获取的还是旧数据,这与 @Value 注解的实现有关,所以,我们在项目中就不要使用这种方式加载配置了。
改为自动刷新
github 提供了一种 webhook 的方式,当有代码变更的时候,会调用我们设置的地址,来实现我们想达到的目的。
1、进入 github 仓库配置页面,选择 Webhooks ,并点击 add webhook

2、之后填上回调的地址,也就是上面提到的 http://localhost:8003/actuator/refresh 这个地址,但是必须保证这个地址是可以被 github 访问到的。如果是内网就没办法了。这也仅仅是个演示,一般公司内的项目都会有自己的代码管理工具,例如自建的 gitlab,gitlab 也有 webhook 的功能,这样就可以调用到内网的地址了。

四,自动刷新
使用 Spring Cloud Bus 来自动刷新多个端:
Spring Cloud Bus 将分布式系统的节点与轻量级消息代理链接。这可以用于广播状态更改(例如配置更改)或其他管理指令。一个关键的想法是,Bus 就像一个扩展的 Spring Boot 应用程序的分布式执行器,但也可以用作应用程序之间的通信渠道。

—— Spring Cloud Bus 官方解释
这里不做介绍了,可以参考这篇文章来实现:
Spring Cloud教程–使用Spring Cloud Bus自动刷新配置更改
五,写到最后
这里在用客户端拉取配置时遇到一个这样的问题,这里强调一下:
我用spring boot 2.4.1和spring cloud 2020.0.0-RC1版本去获取配置时获取不到。

把版本改为spring boot 2.3.4.RELEASE 和 spring cloud Hoxton.SR8版本获取配置正常

暂时不清楚为什么,可能新的版本有了变化,如果大家知道原因的话可以在评论区留言告知!!!
本文中所用到的例子已上传码云: