前言
上节主要介绍了Qt5主窗口的各个要素,包含一个菜单栏(menubar)、多个工具栏(tool bars)、多个锚接部件(dock widgets)、一 个状态栏(status bar)及一个中心部件(central widget),是许多应用程序的基础。并通过文件的常用操作和案例进行了分析,文件的基本操作包括新建文件、打开文件、打印文件等。本节主要来讲解Qt5图像变换和文本的一些操作。
一、Qt5图像坐标变换
1、缩放功能
(1) 在头文件中添加“protected slots:” 变量:
void ShowZoomln();
(2)在createActions()函数的最后添加事件关联:
connect(zoomlnAction,SIGNAL(riggered(),this,SLOT(ShowZoom)n0));
(3)实现图形放大功能的ShowZoomln()函数如下:
void ImgProcessor:ShowZoomIn()
{


	if(img.isNul())
		return;
	QMatrix martix;
	martix.scale(2,2);
	img = img.transformed(martix);
	showWidget-simageL abel->setPixmap(QPixmap::fromlmage(img));
}
(4)在头文件中添加‘protectedslots:”变量:
void ShowZoomOut();
(5)在createActions()函数的最后添加事件关联:
connect(zoomOutAction,SIGNAL(riggered(),this,SLOT(ShowZoomOut));
(6)实现图形缩小功能的ShowZoomOut()函数如下:
void ImgProcessor:ShowZoomOut()
{


	if(img.isNul()
	return;
	QMatrix matrix;
	matrix.scale(0.5,0.5);
	img = img.transformed(matrix);
	showWidget->imageL abel->setPixmap(QPixmap::fromlmage(img));
}
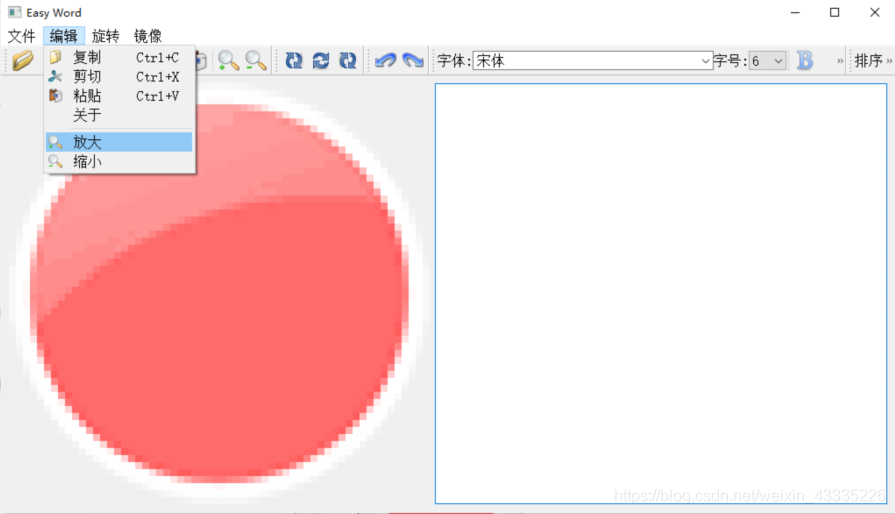
(7) 运行程序,单击“编辑”→“放大”命令或单击工具栏上的按钮,界面效果如下图所示。

2、旋转功能
(1)在头文件中添加“protectedslots:”变量:
void ShowRotate90();
(2)在createActions()函 数的最后添加事件关联:
connect(rotate90Action,SIGNAL(triggered(),this,SLOT(ShowRotate90());
(3)ShowRotate90()函数的具体实现代码如下:
void ImgProcessor::ShowRotate90()
{


	if(img.isNul())
	return;
	QMatrix matrix;
	matrix.rotate(90);
	img = img.transformed(matrix);
	showWidget->imagel _abel->setPixmap(QPixmap::fromlmage(img));
}
(4)在头文件中添加“protected slots:”变量:
void ShowRotate180();
void ShowRotate270();
(5)在createActions()函 数的最后添加事件关联:
connect(rotate1 80Action,SIGNAL(triggered(),this,SLOT(ShowRotate180());
connect(rotate270Action,SlGNAL(triggered(),this,SLOT(ShowRotate270));
(6) ShowRotate180()函数、 ShowRotate270()函数的具体实现代码如下:
//图像旋转180°
void ImgProcessor:ShowRotate180()
{


	if(img.isNull()
		return;
	QMatrix matrix;
	matrix.rotate(180);
	img = img.transformed(matrix);
	showWidget->imageL abel->setPixmap(QPixmap:fromlmage(img));
}
//图像旋转270°
void ImgProcessor:ShowRotate270()
{


	if(img.isNull()
		return;
	QMatrix matrix;
	matrix.rotate(270);
	img = img.transformed(matrix);
	showWidget- >imagel abel->setPixmap(QPixmap:fromlmage(img));
}
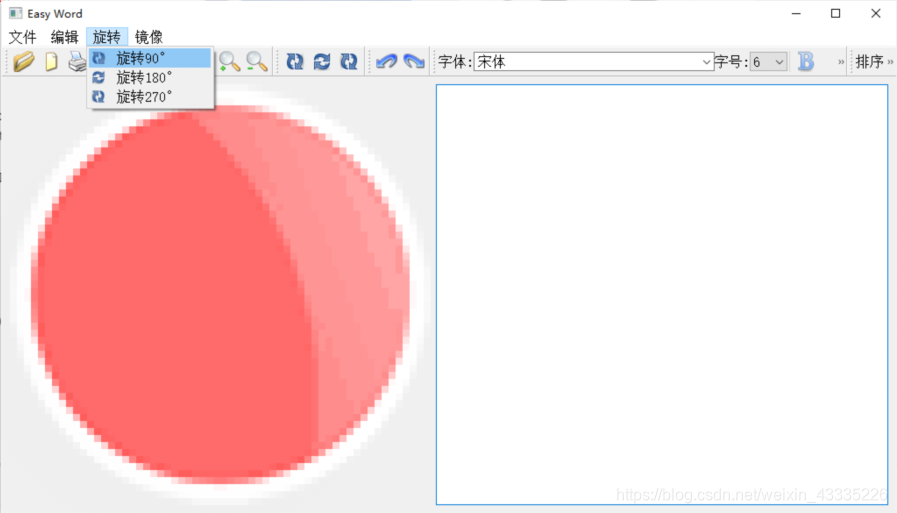
(7) 运行程序,单击“旋转”→“旋转90°”命令或单击工具栏上的按钮,图像旋转效果如下图所示。
3、镜像功能
(1)在头文件中添加“protected slots:” 变量:
void ShowMirrorVertical();
void ShowMirrorHorizontal();
(2)在createActions()函数的最后添加事件关联:
connect(mirrorVerticalAction,SIGNAL(triggered),this,SLOT(ShowMirrorVertical());
connect(mirrorHorizontalAction,SlGNAL(triggered(),this,SLOT(ShowMirrorHorizontal());
(3) ShowMirrorVertical()函数、ShowMirrorHorizontal ()函数的具体实现代码如下:
void ImgProcessor:ShowMirrorVertical()
{


	if(imng.isNull()
		return;
	img=img.mirrored(false,true);
	showWidget->imageL abel->setPixmap(QPixmapfromlmage(img));
}

void ImgProcessor:ShowMirrorHorizontal()
{


	if(img.isNul()
		return;
	img=img.mirrored(true,false);
	showWidget->imageL abel->setPixmap(QPixmap:fromlmage(img);
}
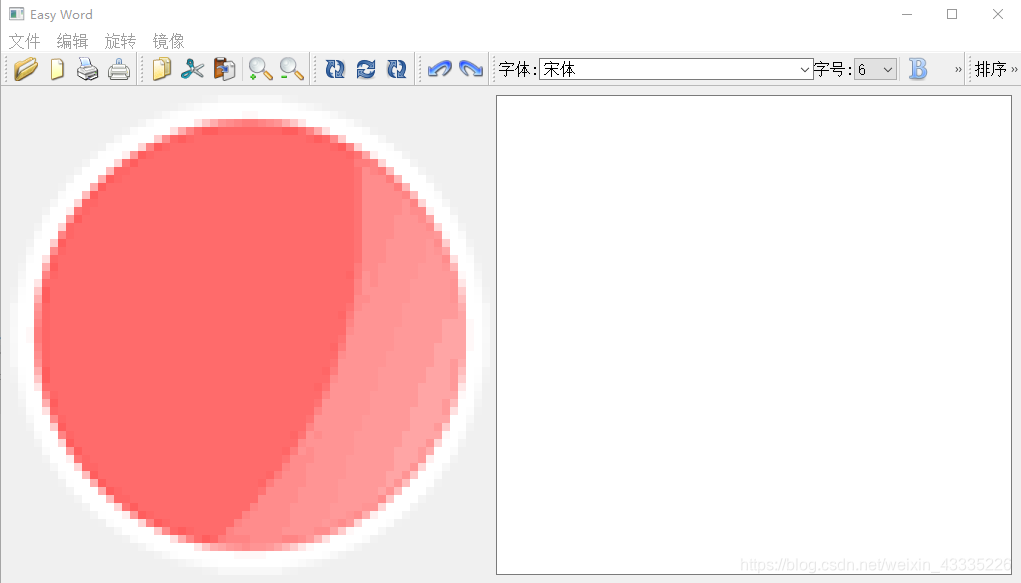
(4)此时运行程序,单击‘ 镜像”→“纵向镜像”命令,粉色圆球的阴影从上面移到下面,显示效果如下图所示。
二、Qt5文本
1、Qt5文本编辑功能
实现文本编辑的具体操作步骤如下。
(1)在头文件中添加“private:” 变量:
QLabel *fontL abel1;	//字体设置项
QFontComboBox *fontComboBox;
QLabel *fontL abel2;
QComboBox *sizeComboBox;
QToolButton *boldBtn;
QToolButton *italicBtn;
QToolButton *underlineBtn;
QToolButton *colorBtn;
QToolBar *fontToolBar;	//字体工具栏
(2)在头文件中添加“protectedslots:”变量:
void ShowFontComboBox(QString comboStr);
void ShowSizeSpinBox(QString spinValue);
void ShowBoldBtn();
void ShowltalicBtn();
void ShowUnderlineBtn();
void ShowColorBtn();
void ShowCurrentFormatChanged(const QTextCharFormat &fmt);
(3)在相对应的构造函数中,在语句“ setCentralWidget(showWidget);'与语句“ createActions();”之间添加如下代码。
//在工具栏上嵌入控件
   //设置字体
fontLabel1 =new QLabel(tr("字体:"));
fontComboBox =new QFontComboBox;
fontComboBox->setFontFilters(QFontComboBox::ScalableFonts);

fontLabel2 =new QLabel(tr("字号:"));
sizeComboBox =new QComboBox;
QFontDatabase db;
foreach(int size,db.standardSizes())
    sizeComboBox->addItem(QString::number(size));

boldBtn =new QToolButton;
boldBtn->setIcon(QIcon("bold.png"));
boldBtn->setCheckable(true);
italicBtn =new QToolButton;
italicBtn->setIcon(QIcon("italic.png"));
italicBtn->setCheckable(true);

underlineBtn =new QToolButton;
underlineBtn->setIcon(QIcon("underline.png"));
underlineBtn->setCheckable(true);

colorBtn =new QToolButton;
colorBtn->setIcon(QIcon("color.png"));
colorBtn->setCheckable(true);

//排序
listLabel =new QLabel(tr("排序"));
listComboBox =new QComboBox;
listComboBox->addItem("Standard");
listComboBox->addItem("QTextListFormat::ListDisc");
listComboBox->addItem("QTextListFormat::ListCircle");
listComboBox->addItem("QTextListFormat::ListSquare");
listComboBox->addItem("QTextListFormat::ListDecimal");
listComboBox->addItem("QTextListFormat::ListLowerAlpha");
listComboBox->addItem("QTextListFormat::ListUpperAlpha");
listComboBox->addItem("QTextListFormat::ListLowerRoman");
listComboBox->addItem("QTextListFormat::ListUpperRoman");
(4) 在该构造函数的最后部分添加相关的事件关联:
connect(fontComboBox,SIGNAL(activated(QString)),
this,SLOT(ShowFontComboBox(QString)));
connect(sizeComboBox,SIGNAL(activated(QString)),
this,SLOT(ShowSizeSpinBox(QString)));
connect(boldBtn,SIGNAL(clicked(),this,SLOT(ShowBoldBtn());
connect(italicBtn,SlGNAL(clicked(),this,SLOT(ShowItalicBtn());
connect(underlineBtn,SIGNAL(clicked(),this,SLOT(ShowUnderlineBtn());
connect(colorBtn,SIGNAL(clicked(),this,SLOT(ShowCorBtn());
connect(showWidget->text,SIGNAL(currentCharFormatChanged(QtextChar
Formata)),this,SLOT(ShowCurrentFormatChanged(QTextCharFormatal));
(5)在相对应的工具栏createToolBars()函数中添加如下代码:
//字体工具条
fontToolBar =addToolBar("Font");
fontToolBar->addWidget(fontL .abel1);
fontToolBar->addWidget(fontComboBox);
fontToolBar->addWidget(fontL abel2);
fontToolBar->addWidget(sizeComboBox);
fontToolBar->addSeparator();
fontToolBar->addWidget(boldBtn);
fontToolBar->addWidget(italicBtn);
fontToolBar->addWidget(underlineBtn);
fontToolBar->addSeparator();
fontToolBar >addWidget(colorBtn);
2、设置字体
(1)、设置字体
完成设置选定文字字体的函数ShowFontComboBox()代码如下:
void ImgProcessor:ShowFontComboBox(QString comboStr)
{


	//设置字体
	QTextCharFormat fmt;
	fmt.setFontFamily(comboStr);
	mergeFormat(fmt);//将新的格式应用到光标选区内的字符
}
前面介绍过,所有对于QTextDocument进行的修改都通过QTextCursor类来完成,具体代码如下:
void ImgProcessor:mergeFormat(QTextCharFormat format)
{


	QTextCursor cursor =showWidget >text->textCursor();
	if(!cursor.hasSelection())
		cursor.select(QTextCursor::WordUnderCursor);
	cursor.mergeCharFormat(format);
	showWidget->text->mergeCurrentCharFormat(format);
}
(2)、设置字号
设置选定文字字号大小的ShowSizeSpinBox()函数代码如下:
void ImgProcessr:ShowSizeSpinBox(QString spinValue) //设置字号
{


	QTextCharFormat fmt;
	fmt.setFontPointSize(spinValue.toFloat();
	showWidget >text- >mergeCurrentCharFormat(fmt);
}
(3)、设置字体加粗
设置选定文字为加粗显示的ShowBoldBtn()函数代码如下:
void ImgProcessr:ShowBoldBtn()  //设置文字显示加粗
{


	QTextCharFormat fmt;
	fmt.setFontWeight(boldBtn->isChecked()?QFont::Bold:QFont::Normal);
	showWidget- >text >mergeCurrentCharFormat(fmt);
}
(4)、设置字体倾斜
设置选定文字为斜体显示的ShowltalicBtn()函数代码如下:
void ImgProcessor::ShowltalicBtn()	//设置文字显示斜体
{


	QTextCharFormat fmt;
	fmt.setFontitalic(italicBtn->isChecked();
	showWidget- >text->mergeCurrentCharFormat(fmt);
}
(5)、文字加下划线
在选定文字下方加下画线的ShowUnderlineBtn()函数代码如下:
void ImgProcessor::ShowUnderlineBtn()	 //设置文字加下画线
{


	QTextCharFormat fmt;
	fmt.setFontUnderline(underlineBtn->isChecked();
	showWidget- >text->mergeCurrentCharFormat(fmt);
}
(6)、设置文字颜色
设置选定文字颜色的ShowColorBtn()函数代码如下:
void ImgProcessor:ShowColorBtn()	//设置文字颜色
{


	QColor color=QColorDialog:getCor(t:red,this);
	if(color.isValid()
	{


		QTextCharFormat fmt;
		fmt.setForeground(color);
		showWidget- >text->mergeCurrentCharFormat(fmt);
	}
}
在头文件中添加声明:
#include <QColorDialog>
#include <QColor>
(7)、设置字符格式
当光标所在处的字符格式发生变化时调用此槽函数,函数根据新的字符格式将工具栏.上各个格式控件的显示更新。
void ImgProcessor:ShowCurrentFormatChanged(const QTextCharFormat&fmt)	//设置字符格式
{


	fontComboBox->setCurrentIndex(fontComboBox->findText(fmt.fontFamilyl));
	sizeComboBox->setCurrentIndex(sizeComboBox >findText(
	QString::number(fmt.fontPointSize))));
	boldBtn->setChecked(fmt.font().bold);
	italicBtn->setChecked(fmt.fonttalic();
	underlineBtn->setChecked(fmt.fontUnderline();
}
三、Qt5排版功能
1、设置文件排版
(1)在头文件中添加“private:” 变量:
QLabel *listLabel;	//排序设置项
QComboBox *listComboBox;
QActionGroup *actGrp;
QAction *leftAction;
QAction *rightAction;
QAction *centerAction;
QAction *justifyAction;
QToolBar *listToolBar;	//排序工具栏
(2)在头文件中添加“protected slots:” 变量:
void ShowList(int);
void ShowAlignment(QAction *act);
void ShowCursorPositionChanged();
(3)在相对应的构造函数中,在语句“ setCentralWidget(showWidget);”与语句“ createActions();”之间添加如下代码:
//排序
listLabel =new QLabel(tr("排序"));
listComboBox =new QComboBox;
listComboBox->addltem("Standard");
listComboBox->addltem("QTextListFormat:ListDisc");
listComboBox- >addltem("QTextL istFormat::ListCircle");
listComboBox->addltem("QTextListFormat::ListSquare");
listComboBox- >addltem("QTextL istFormat::ListDecimal");
listComboBox->addltem("QTextListFormat:ListLowerAlpha");
listComboBox->addltem("QTextListFormat:ListUpperAlpha");
listComboBox->addltem("QTextListFormat:L istLowerRoman");
listComboBox->addltem("QTextListFormat:ListUpperRoman");
(4)在构造函数的最后部分添加相关的事件关联:
connect(listComboBox,SIGNAL(activated(int)),this,SLOT(ShowL itint));
connect(showWidget->text->document(),SIGNAL(undoAvailablel(bool)),redoAction,SLOT(setEnabled(bool));
connect(showWidget->text->document), SIGNAL(redoAvailable(ool)),redoAction,SLOT(setEnabled(ool));
connect(showWidget->text,SIGNAL(cursorPositionChanged(),this,SLOT(ShowCursorPositionChanged());
(5)在相对应的工具栏createActions()函数中添加如下代码:
//排序:左对齐、右对齐、居中和两端对齐
actGrp =new QActionGroup(this);

leftAction = new QAction(Qlcon("lef.ng"),"左对齐",actGrp);
leftAction->setCheckable(true);

rightAction = new QAction(Qlcon("right.png"),"右对齐",actGrp);
rightAction->setCheckable(true);

centerAction = new QAction(Qlcon("center.png"),"居中",actGrp);
centerAction->setCheckable(true);

justifyAction = new QAction(Qlcon("justifypng"),"两端对齐" ,actGrp);
justifyAction->setCheckable(rue);

connect(actGrp,SIGNAL(riggered(QAction.*),this,SLOT(ShowAlignment(QAction*));
(6)在相对应的工具栏create ToolBars()函数中添加如下代码:
//排序工具条
listToolBar =addToolBar("list");
listToolBar->addWidget(istL .abel);
listToolBar->addWidget(istComboBox);
listToolBar >addSeparator();
listToolBar->addActions(actGrp->actions<));
2、实现段落对齐
(1)、触发
完成对按下某个对齐按钮的响应用ShowAlignment()函数,根据比较判断触发的是哪个对齐按钮,调用QTextEdit的
setAlignment函数可以实现当前段落的对齐调整。具体代码如下:
void ImgProcessr:ShowAlignment(QAction *act)
{


	if(act==leftAction)
		showWidget->text->setAlignment(Qt::AlignLeft);
	if(act==rightAction)
		showWidget->text->setAlignment(Qt:AlignRight);
	if(act==centerAction)
		showWidget->text->setAlignment(Qt:AlignCenter);
	if(act==justifyAction)
		showWidget->text->setAlignment(Qt:AlignJustify);
}
(2)、响应
响应文本中光标位置处发生改变的信号的ShowCursorPositionChanged()函数,代码如下:
void ImgProcessr:ShowCursorPositionChanged()
{


	if(showWidget->text->alignment()==Qt::AlignLeft)
		leftAction->setChecked(true);
	if(showWidget->text->alignment()==Qt:AlignRight)
		rightAction->setChecked(true);
	if(showWidget->text->alignment()==Qt::AlignCenter)
		centerAction->setChecked(true);
	if(showWidget->text->alignment()==Qt::AlignJustify)
		justifyAction->setChecked(true);
}
(3)、介绍文本排序功能实现的基本流程,如下图所示:

(4)、主函数实现
根据用户选择的不同排序方式对文本进行排序的ShowList()函数代码。
在头文件中添加声明:
#include <QTextList>
最后,打开“main.cpp”文件, 具体代码如下 :
#include "imgprocessor.h"
#include <QApplication>

int main(int argc, char *argv[])
{


	QApplication a(argc, argv);
	//设置显示的字体格式
	QFont f("ZYSong18030",12);
	a.setFont(f);
	//构造一个w对象
	ImgProcessor w;
	//显示出对象w
	w.show();
	//运行程序
	return a.exec();
}