1. 前言
Vscode这种强大工具,我想应该很多人都会用到,这篇文章就教你怎么简单配置c/c++环境,只需要拷贝一下文件就好了。
2.配置
前提是你原本就有MinGW环境,或者安装有Devc++(内含MinGW环境),同时把D:\MinGW\bin添加进系统path(路径按你自己的安装做更改)。
链接:https://pan.baidu.com/s/1bknZ4i3YXV-Pg1jSJAM9Xg
提取码:4v6x
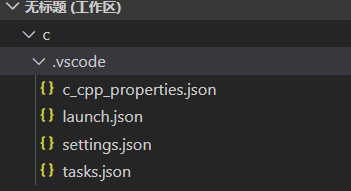
vscode打开一个空的文件夹,把我给你的.vscode文件拷贝进去。
c_cpp_properties.json
{
    "configurations": [
        {
            "name": "Win32",
            "includePath": [
                "${workspaceFolder}/**"
            ],
            "defines": [
                "_DEBUG",
                "UNICODE",
                "_UNICODE"
            ],
            "intelliSenseMode": "msvc-x64"
        }
    ],
    "version": 4
}
launch.json
{
    "version": "0.2.0",
    "configurations": [{
        "name": "C++ Launch (GDB)", // 配置名称,将会在启动配置的下拉菜单中显示
        "type": "cppdbg", // 配置类型,这里只能为cppdbg
        "request": "launch", // 请求配置类型,可以为launch(启动)或attach(附加)
        "targetArchitecture": "x86", // 生成目标架构,一般为x86或x64,可以为x86, arm, arm64, mips, x64, amd64, x86_64
        "program": "${file}.exe", // 将要进行调试的程序的路径

        "miDebuggerPath": "E:\\devc++\\Dev-Cpp\\MinGW64\\bin\\gdb32.exe", // miDebugger的路径,注意这里要与MinGw的路径对应

        "args": [], // 程序调试时传递给程序的命令行参数,一般设为空即可
        "stopAtEntry": false, // 设为true时程序将暂停在程序入口处,一般设置为false
        "cwd": "${fileDirname}", // 调试程序时的工作目录,一般为${workspaceRoot}即代码所在目录
        "externalConsole": true, // 调试时是否显示控制台窗口,一般设置为true显示控制台
        "preLaunchTask": "g++"   // 调试会话开始前执行的任务,一般为编译程序,c++为g++, c为gcc
    }]
}
settings.json
{
    "files.associations": {
        "array": "cpp",
        "atomic": "cpp",
        "*.tcc": "cpp",
        "bitset": "cpp",
        "cctype": "cpp",
        "cfenv": "cpp",
        "chrono": "cpp",
        "cinttypes": "cpp",
        "clocale": "cpp",
        "cmath": "cpp",
        "complex": "cpp",
        "condition_variable": "cpp",
        "csetjmp": "cpp",
        "csignal": "cpp",
        "cstdarg": "cpp",
        "cstddef": "cpp",
        "cstdint": "cpp",
        "cstdio": "cpp",
        "cstdlib": "cpp",
        "cstring": "cpp",
        "ctime": "cpp",
        "cwchar": "cpp",
        "cwctype": "cpp",
        "deque": "cpp",
        "forward_list": "cpp",
        "list": "cpp",
        "unordered_map": "cpp",
        "unordered_set": "cpp",
        "vector": "cpp",
        "exception": "cpp",
        "algorithm": "cpp",
        "functional": "cpp",
        "ratio": "cpp",
        "system_error": "cpp",
        "tuple": "cpp",
        "type_traits": "cpp",
        "fstream": "cpp",
        "future": "cpp",
        "initializer_list": "cpp",
        "iomanip": "cpp",
        "iosfwd": "cpp",
        "iostream": "cpp",
        "istream": "cpp",
        "limits": "cpp",
        "memory": "cpp",
        "mutex": "cpp",
        "new": "cpp",
        "ostream": "cpp",
        "numeric": "cpp",
        "scoped_allocator": "cpp",
        "sstream": "cpp",
        "stdexcept": "cpp",
        "streambuf": "cpp",
        "thread": "cpp",
        "regex": "cpp",
        "utility": "cpp",
        "typeindex": "cpp",
        "typeinfo": "cpp",
        "valarray": "cpp"
    }
}
tasks.json
{
    "version": "2.0.0",
    "command": "g++",
    "args": ["-g","${file}","-o","${file}.exe"],    // 编译命令参数
    "problemMatcher": {
        "owner": "cpp",
        "fileLocation": ["relative", "${workspaceRoot}"],
        "pattern": {
            "regexp": "^(.*):(\\d+):(\\d+):\\s+(warning|error):\\s+(.*)$",
            "file": 1,
            "line": 2,
            "column": 3,
            "severity": 4,
            "message": 5
        }
    }
}
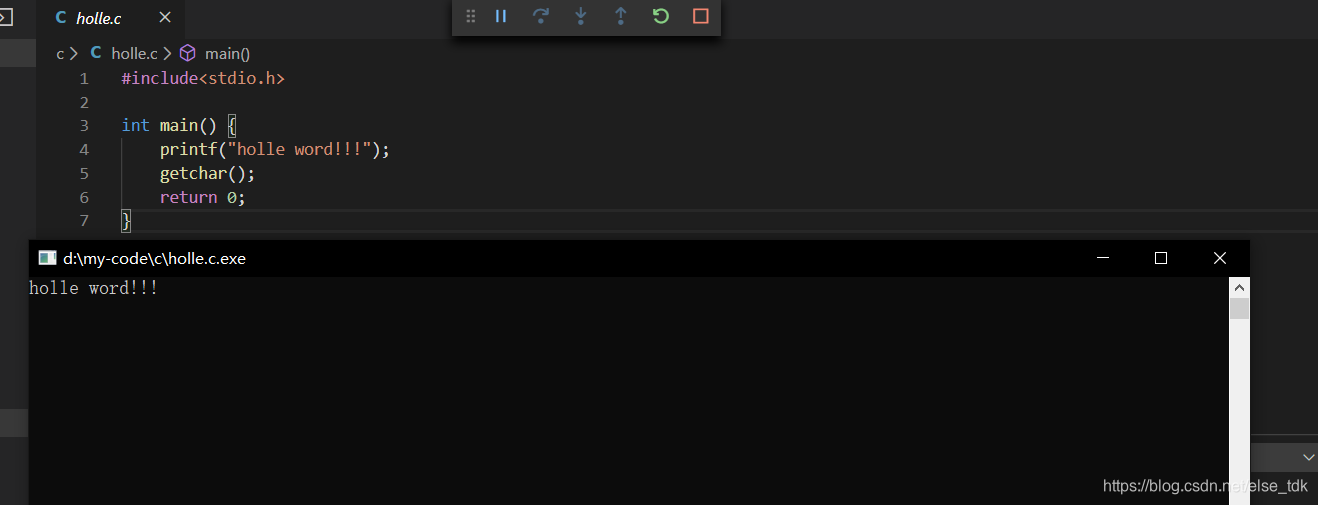
3.效果
话不多说,我们直接在vscode里面创建一个holle.cpp文件,随便写点代码,注意我们需要在return 0 那里设置一个断点(或者末尾加上getchar();),才能进行调试,然后按下快捷键F5 就可以弹出我们控制台了。
4.结束语
以上就是我配置方式,算是比较简单了,没有其他博客那么复杂,每次写代码都需要那4个文件,丢进去就完事了,如果读者使用有哪些错误,请评论区留言嗷~