WebSocket是啥?
在 HTTP 协议中,所有的请求都是由客户端发起的,由服务端进行响应,服务端无法向客户 端推送消息,但是在一些需要即时通信的应用中,又不可避免地需要服务端向客户端推送消息,解决方法:
- 轮询:客户端在固定的时间间隔下不停地向服务端 发送请求,查看服务端是否有最新的数据,若服务端有最新的数据,则返回给客户端,若服务端没 有,则返回一个空的 JSON 或者 XML 文档。 客户端每次都要新建 HTTP 请求,服务端要处理大量的无效请求,在高并发场景下会严重拖慢服务 端的运行效率,同时服务端的资源被极大的浪费了,因此这种方式并不可取。
- 长轮询:传统轮询的升级版,通过延迟应答,模拟实现服务器端向客户端推送(Server Push)的功能。即Comet(服务器推送)会先将响应置于挂起状态,当服务器端有内容更新时,再返回该响应, 这种方式可以在一定程度上节省网络资源和服务器资源,但是也存在一些 问题,
- 如果浏览器在服务器响应之前有新数据要发送,就只能创建一个新的并发请求,或者先尝试 断掉当前请求,再创建新的请求。
- TCP 和 HπP 规范中都有连接超时一说,所以所谓的长轮询并不能一直持续,服务端和客户 端的连接需要定期的连接和关闭再连接,
- Applet 和 Flash:applet创建一个 Socket 连接进行双向通信。 这种连接方式消除了 HTTP 协议中的诸多 限制,当服务器有消息发送到客户端的时候,开发者可以在 Applet 或者 Flash 中调用 JavaScript 函 数将数据显示在页面上,当浏览器有数据要发送给服务器时也一样,通过 Applet 或者 Flash 来传递。
WebSocket协议:
Web浏览器与Web服务器之间的双全工通信标准。其中WebSocket协议由IFTF定为标准,WebSocketAPI有W3C定位标准,主要解决Ajax和Comet里的XMLHttpRequest附带的缺陷引起的问题。是一种在单个 TCP 连接上进行全双工通信的协议,
一旦Web服务器与客户端之间建立起WebSocket协议的通信连接,之后的协议都依靠专用协议进行,通信过程中可以互发送JSON,XML,HTML或图片等任意格式的数据。由于是建立在HTTP基础的协议上,即发起方仍是客户端,一旦确立WebSocket通信连接,不论服务器还是客户端,任意一方都可以直接向对方发送报文。
特点:
- 推送功能:支持由服务器向客户端推送数据的推送功能。
- 减少通讯量:只要建立起WebSocket连接,就希望一直保持连接状态
- 握手请求:在实现webSocket通信前,需要完成一次握手动作,需要用到HTTP的,请求头中有一个 Connection:Upgrade 字段,表示客户端想要对协议进行升级,另外还有一个 Upgrade首部字段(Upgrade:websocket),告知服务器通讯协议发生改变,以达到握手目的。Sec-WebSocket字段内记录着握手过程中必不可少的键值,Sec-WebSocket—Protocol:字段内记录使用的子协议,子协议案webSocket协议标准在连接分开使用时,定义那些连接名称。
- 握手响应:Sec-WebSocket-Accept的字段值是由握手请求中的Sec-WebSocket-Key的字段值生成的,成功握手确立WebSocket连接之后,通信时不在使用HTTP的数据帧,而采用WebSocket独立的数据帧。
- WebSocket 使用时需要先创建连接,这使得 WebSocket 成为一种有状态的协议,WebSocket 连接关闭时将发送一个特殊的关闭消息。
- WebSocket 使用 HTTP 协议进行握手, 因此它可以自 然而然地集成到网络浏览器和 HTTP 服 务器中,而不需要额外的成本。
- WebSocket 连接在端口 80 ( WS )或者 443 ( wss )上创建,与 HTTP 使用的端口相同,这样, 基本上所有的防火墙都不会阻止 WebSocket 连接。
- WebSocket 支持跨域,可以避免 Ajax的限制。
握手请求:
GET/chat HTTP/1.1
Host:server.example.com
Upgrade:websocket
Connection:Upgrade
Sec-WebSocket-key:dGhlIHNhbxBsZSBub25jZQ==
Origin:http://example.com
Sec-WebSocke-Protocol:chat,superchat
Sec-WebSocket-Version:13
握手响应:
HTTP/1.1 101 Switching Protocols
Upgrade:websocket
Connection:Upgrade
Sec-WebSocket-Accept:上pPLMBiTXaQ9kyGZZ=
Sec-WebSocket-Protocol:chet
Spring Boot 整合 WebSocket
Spring Boot 对 WebSocket 提供了非常友好的支持,可以方便开发者在项目中快速集成 WebSocket 功能,实现单聊或者群聊。
只需要引入依赖即可。
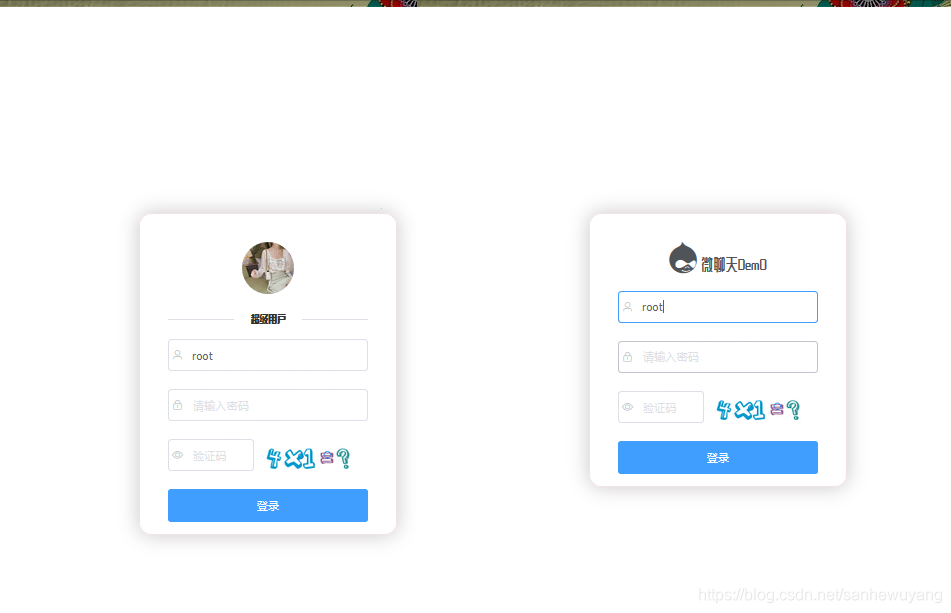
Demo
源码:
后端:https://github.com/LIRUILONGS/demo.git
前端:https://github.com/LIRUILONGS/Demo_UI.git

技术栈:
后端:springboot+H2+通用Mapper+Spring security+WebSocket
前端:Socket+Vue(Vuex...)+Element
这里实现很简单只是单聊的模式。
动图:
图示:


部分代码:
package com.liruilong.demo.controller;

import com.liruilong.model.ChatMsg;
import com.liruilong.model.Hr;
import org.springframework.beans.factory.annotation.Autowired;
import org.springframework.messaging.handler.annotation.MessageMapping;
import org.springframework.messaging.simp.SimpMessagingTemplate;
import org.springframework.security.core.Authentication;
import org.springframework.web.bind.annotation.RestController;


import java.util.Date;
import java.util.logging.Logger;

/**
 * @Description :
 * @Author: Liruilong
 * @Date: 2020/2/11 14:55
 */
@RestController
public class WsController {

    Logger logger = Logger.getLogger("com.liruilong.demo.controller.WsController");

    @Autowired
    SimpMessagingTemplate simpMessagingTemplate;


  /**
   * @param authentication
   * @param chatMsg
   * @return
   * @description 点对点。这个为了演示方遍,把请求对象放request里面了。request用户获取当前的用户信息。
   *              chatMag为客户端发送来的消息。
   * @author Liruilong
   * @date  2020年05月09日  20:05:49
   **/

    // 接受消息
    @MessageMapping("/chat")
    public void handleMsg(Authentication authentication, ChatMsg chatMsg) {
        Hr hr = (Hr) authentication.getPrincipal();
        //发送点
        chatMsg.setFrom(hr.getUsername());
        //发送点名称
        chatMsg.setFromNickname(hr.getName());
        // 发送日期
        chatMsg.setDate(new Date());
        logger.info("发送的消息实体为:"+chatMsg.toString());
        // 群发消息依然使用@SendTo 注解来实现, 点对点的消息发送则使用 SimpMessagingTemplate 来实现。
        // 对消息路径做了处理默认添加/user
        simpMessagingTemplate.convertAndSendToUser(chatMsg.getTo(), "/queue/chat", chatMsg);
    }

}
package com.liruilong.demo.config;

import org.springframework.context.annotation.Configuration;
import org.springframework.messaging.simp.config.MessageBrokerRegistry;
import org.springframework.web.socket.config.annotation.EnableWebSocketMessageBroker;
import org.springframework.web.socket.config.annotation.StompEndpointRegistry;
import org.springframework.web.socket.config.annotation.WebSocketMessageBrokerConfigurer;

/**
 * @Description : 自定义类 WebSocketConfig 继承自 WebSocketMessageBrokerConfigurer 进行 WebSocket 配置
 * 通过@EnableWebSocketMessageBroker注解开启 WebSocket 消息代理
 * @Author: Liruilong
 * @Date: 2020/2/11 14:45
 */
@Configuration
// 开启WebSocket消息代理
@EnableWebSocketMessageBroker
public class WebSocketConfig  implements WebSocketMessageBrokerConfigurer {


    /**
    * @Author Liruilong
    * @Description   建立链接
    * @Date 14:50 2020/2/11
    * @Param [registry]
    * @return void
    **/

    @Override
    public void registerStompEndpoints(StompEndpointRegistry registry) {
       //定义一个前缀为“/ws/ep”的 endPoint,并开启 sockjs 支持,
        registry.addEndpoint("/ws/ep").setAllowedOrigins("*").withSockJS();

    }
    @Override
    public void configureMessageBroker(MessageBrokerRegistry registry) {
        /*
        消息代理的前缀,即如果消息代理的前缀为指定的字符,就会将消息转发给消息代理broker
        在由消息代理将消息广播给当前的连接的客户端。
        */
        registry.enableSimpleBroker("/queue");
        /*
       前缀为“/app”的 destination 可以通过@MessageMapping 注解的方法处理,
       而其他 destination (例如“/topic”“/queue”)将被直接交给 broker 处理。
        */
        registry.setApplicationDestinationPrefixes("/ws");
    }
}
vue部分:
import Vue from 'vue'
import Vuex from 'vuex'
import {Notification} from 'element-ui';
import {getRequest} from "../utils/api";
import SockJS from 'sockjs-client';
import Stomp from 'stompjs';

Vue.use(Vuex)


const store = new Vuex.Store({
    state: {
        routes: [],
        sessions: {},
        hrs: [],
        cuuentHr: [],
        currentSession: '',
        currentHr: JSON.parse(window.sessionStorage.getItem("user")),
        filterKey: '',
        stomp: null,
        isDot: {}
    },
    // 方法提交,即定义需要提交的方法
    mutations: {
        //当前用户
        INIT_CURRENTHR(state, hr) {
            state.currentHr = hr;
        },
        //新建聊天对象。
        changeCurrentSession(state, currentSession) {
            console.log("新的发送对象为:" + JSON.stringify(currentSession));
            //添加到state
            Vue.set(state.isDot, state.currentHr.username + '#' + currentSession.username, false);
            // 更新聊天对象
            state.currentSession = currentSession;
        },
        // 构建前端的消息实体
        addMessage(state, msg) {
            let mss = state.sessions[state.currentHr.username + '#' + msg.to];
            // 使用 Vue.set(object, key, value) 方法将响应属性添加到嵌套的对象上:
            if (!mss) {
              //  state.sessions[state.currentHr.username + '#' + msg.to] = [];
                Vue.set(state.sessions, state.currentHr.username + '#' + msg.to, []);
            }
            state.sessions[state.currentHr.username + '#' + msg.to].push({
                content: msg.content,
                date: new Date(),
                self: !msg.notSelf
            })
        },
        //浏览器本地的历史聊天记录可以在这里完成
        INIT_DATA(state) {
            //浏览器本地的历史聊天记录可以在这里完成
            let data = localStorage.getItem('vue-chat-session');
            if (data) {
                state.sessions = JSON.parse(data);
            }
        },
        //初始化当前用户
        INIT_HR(state, data) {
            state.hrs = data;

        }
    },
    //做异步操作,同时提交mutatons。
    actions: {
        //建立Socket连接,服务端消息订阅。
        connect(context) {
            console.log("开始建立Socket连接");
            context.state.stomp = Stomp.over(new SockJS('/ws/ep'));
            console.log("建立stomp对象")
            //建立连接,执行成功和失败的回调
            context.state.stomp.connect({},
                () => {
                    // 调用 STOMP 中的 subscribe 方法订阅服务端发送回来的消息,并将服务端发送来的消息展示出来
                    context.state.stomp.subscribe('/user/queue/chat', msg => {
                        // msg.body 固定写法
                        let receiveMsg = JSON.parse(msg.body);
                        if (!context.state.currentSession || receiveMsg.from != context.state.currentSession.username) {
                            Notification.info({
                                title: '【' + receiveMsg.fromNickname + '】发来一条消息',
                                message: receiveMsg.content.length > 10 ? receiveMsg.content.substr(0, 10) : receiveMsg.content,
                                position: 'bottom-right'
                            })
                            // 接受前端的消息实体。
                            Vue.set(context.state.isDot, context.state.currentHr.username + '#' + receiveMsg.from, true);
                        }
                        // 是否新发标识
                        receiveMsg.notSelf = true;
                        //发送人
                        receiveMsg.to = receiveMsg.from;
                       //提交
                        context.commit('addMessage', receiveMsg);
                    })
                }, () => {
                    Notification.info({
                        title: "系统讯息",
                        message: "服务器连接失败",

                    })
                })
        },
        initData(context) {
            //加载历史聊天记录
            context.commit('INIT_DATA')
            getRequest("/chat/hrs").then(resp => {
                if (resp) {
                    //获取所以的用户
                    context.commit('INIT_HR', resp);
                }
            })
        }
    }
})

store.watch(function (state) {
    return state.sessions
}, function (val) {
    localStorage.setItem('vue-chat-session', JSON.stringify(val));
}, {
    deep: true/*这个貌似是开启watch监测的判断,官方说明也比较模糊*/
})


export default store;
————————————————
参考文献
《图解HTTP》 第九章 基于HTTP的功能追加协议
《SpringbootBoot+Vue全栈开发实战》 第 十一章 Spring Boot 整合 WebSocket