文章目录
零、学习目标
- 掌握利用Spring Boot实现文件上传功能
一、文件上传概述
开发Web应用时,文件上传是很常见的一个需求,浏览器通过表单形式将文件以流的形式传递给服务器,服务器对上传的数据解析处理,Spring Boot中进行文件上传与Spring MVC框架上传类似。
二、实现文件上传功能
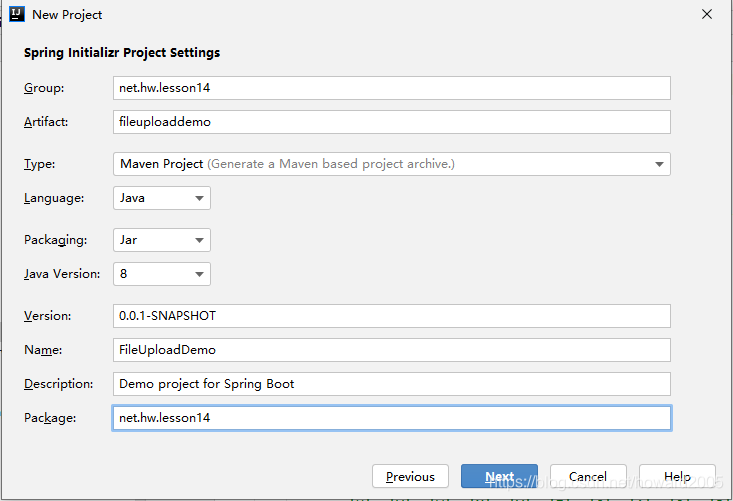
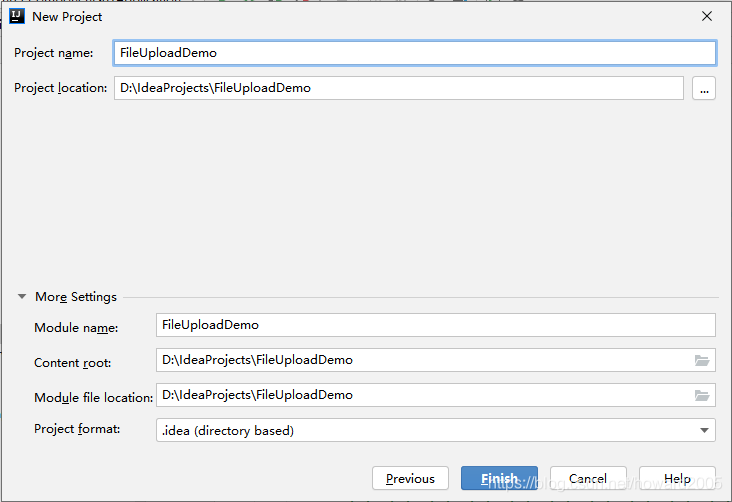
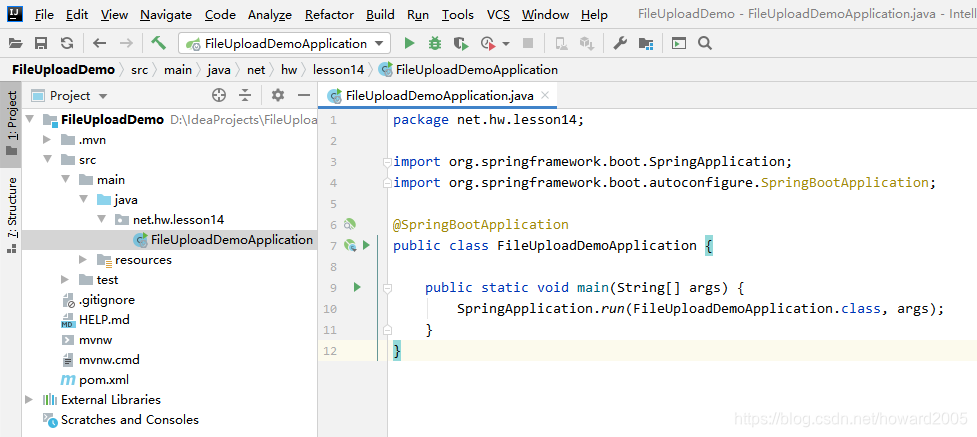
(一)创建Spring Boot项目
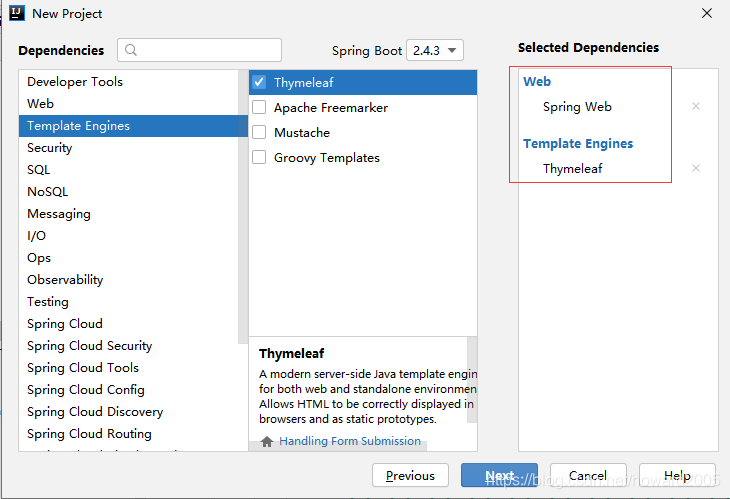
- 创建FileUploadDemo项目,添加Web和Thymeleaf依赖
(二)整合Bootstrap
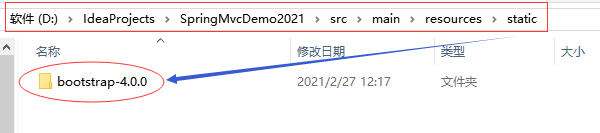
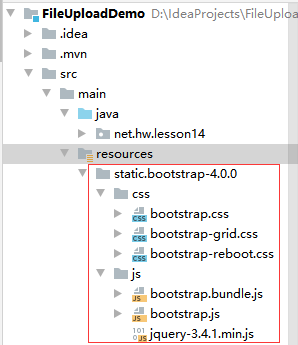
- 将第11讲项目SpringMvcDemo2021的resources/static里的bootstrap-4.0.0拷贝到当前项目相应位置

(三)编写文件上传页面
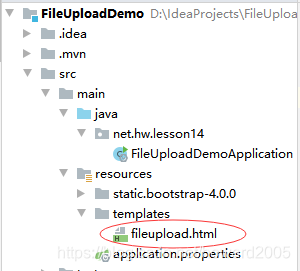
- 在templates目录里创建文件上传页面 - fileupload.html
<!DOCTYPE html>
<html lang="en" xmlns:th="http://www.thymeleaf.org">
<head>
<meta charset="UTF-8">
<title>文件上传</title>
<meta name="viewport" content="width=device-width, initial-scale=1, shrink-to-fit=no">
<link th:href="@{/bootstrap-4.0.0/css/bootstrap.css}" rel="stylesheet"></link>
<script th:src="@{/bootstrap-4.0.0/js/jquery-3.4.1.min.js}"></script>
<script th:src="@{/bootstrap-4.0.0/js/bootstrap.bundle.js}"></script>
<script th:src="@{/bootstrap-4.0.0/js/bootstrap.js}"></script>
<script>
function add() {
var innerDiv = "<div>";
innerDiv += "<input type='file' name='files' required='required' class='m-2'/>"
innerDiv += "<input type='button' value='删除' οnclick='remove(this)'/>"
innerDiv += "</div>";
$("#file").append(innerDiv);
}
//删除整个文件上传div包括2个input
function remove(obj) {
$(obj).parent().remove();
//$(obj).remove();// 仅删除按钮
}
</script>
</head>
<body>
<div class="col-xl-6 m-auto text-lg-left bg-info pt-3 pl-5">
<div th:if="${uploadMsg}" th:text="${uploadMsg}" class="m-2 text-danger">恭喜,上传成功!</div>
<form th:action="@{/uploadFile}" method="post" enctype="multipart/form-data">
上传文件 <input th:type="button" th:value="添加文件" th:onclick="add()" class="m-2"/>
<div th:text="文件上传区域" id="file"></div>
<input th:type="submit" value="上传" class="bg-info btn bg-warning m-2"/>
</form>
</div>
</body>
</html>
- 表单method必须使用
post - 表单enctype必须是
multipart/form-data

(四)编写项目配置文件
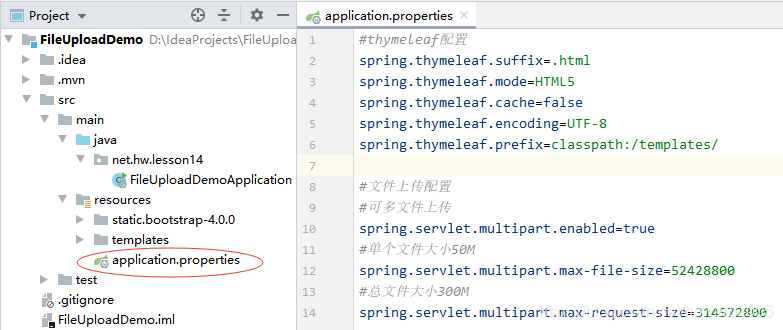
#thymeleaf配置
spring.thymeleaf.suffix=.html
spring.thymeleaf.mode=HTML5
spring.thymeleaf.cache=false
spring.thymeleaf.encoding=UTF-8
spring.thymeleaf.prefix=classpath:/templates/

#文件上传配置
#可多文件上传
spring.servlet.multipart.enabled=true
#单个文件大小50M
spring.servlet.multipart.max-file-size=52428800
#总文件大小300M
spring.servlet.multipart.max-request-size=314572800
- 注意配置文件上传文件大小不是M做单位,而是Byte
- 50M = 50 * 1024 * 1024 B= 52428800 B
- 300M = 300 * 1024 * 1024 B = 314572800 B
(五)编写文件上传控制器

package net.hw.lesson14.controller;
import org.springframework.stereotype.Controller;
import org.springframework.ui.Model;
import org.springframework.web.bind.annotation.RequestMapping;
import org.springframework.web.multipart.MultipartFile;
import javax.servlet.http.HttpServletRequest;
import java.io.File;
import java.io.FileOutputStream;
import java.io.InputStream;
import java.util.UUID;
/**
* 功能:文件上传控制器
* 作者:华卫
* 日期:2021年02月28日
*/
@Controller
public class FileUploadController {
@RequestMapping("/toFileUpload")
public String toUpload(HttpServletRequest request, Model model) {
return "fileupload";
}
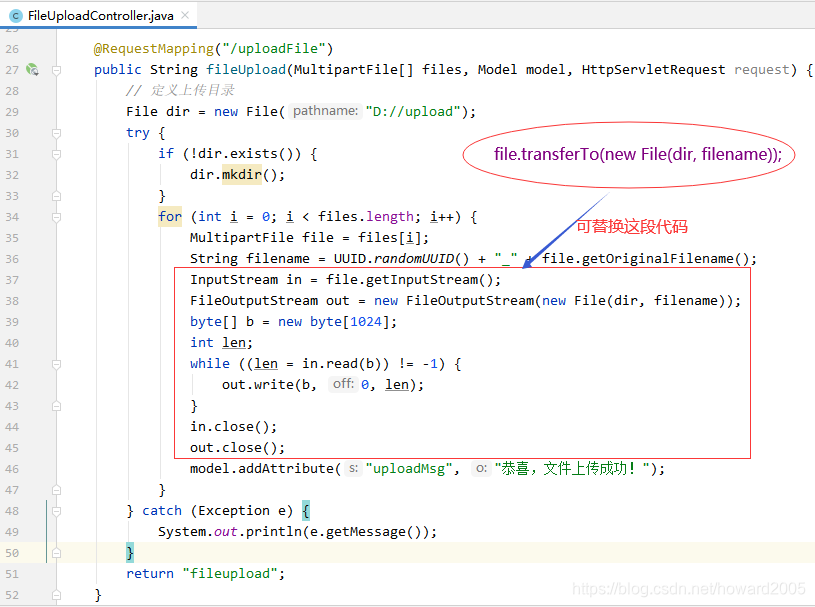
@RequestMapping("/uploadFile")
public String fileUpload(MultipartFile[] files, Model model, HttpServletRequest request) {
// 定义上传目录
File dir = new File("D://upload");
try {
if (!dir.exists()) {
dir.mkdir();
}
for (int i = 0; i < files.length; i++) {
MultipartFile file = files[i];
String filename = UUID.randomUUID() + "_" + file.getOriginalFilename();
InputStream in = file.getInputStream();
FileOutputStream out = new FileOutputStream(new File(dir, filename));
byte[] b = new byte[1024];
int len;
while ((len = in.read(b)) != -1) {
out.write(b, 0, len);
}
in.close();
out.close();
model.addAttribute("uploadMsg", "恭喜,文件上传成功!");
}
} catch (Exception e) {
System.out.println(e.getMessage());
}
return "fileupload";
}
}
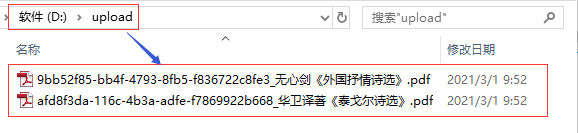
(六)启动应用,测试效果
- 访问
http://localhost:8080/uploadFile
- 查看上传成功的文件
- 修改文件上传控制器的uploadFile方法的代码

- 启动应用,测试效果
三、课后拓展练习 - 控制上传文件类型
- 可通过上传文件的contentType(
String contentType = file.getContentType();)来判断,符合要求的文件则写入磁盘,否则反馈错误信息。 - 文件超过指定大小也可以在控制器中进行判断,然后给前台反馈友好的提示。
- 前台也可以先用js做初步判断后再提交表单。