记录一下微信小程序封装请求的方法:
首先在utils文件中创建request.js文件封装get与post请求

具体代码如下:
const headerParams = {


  hjf_source: 'HUAJIFEN_WX_MIN_PROG',
  hjf_channel: "WX",
}

/**
 * get请求封装
 * @param {String} url
 * @param {Object} params
 *
 */

export const get = (url, params, header = {

    }) => {


  return new Promise((resolve, reject) => {


    wx.request({


      url: url,
      method: 'GET',
      data: params,
      header: {


        "content-type": "application/json",
        ...header,
        ...headerParams
      },
      success(res) {


          resolve(res)
      },
      fail: (err) => {


        err_popup('请求出错')
      }
    })
  })
}

/**
 * post请求封装
 * @param {String} url
 * @param {Object} params
 *
 */

export const post = (url, params, header = {

    }) => {


  return new Promise((resolve, reject) => {


    wx.request({


      url: url,
      method: 'POST',
      data: params,
      header: {


        "content-type": "application/x-www-form-urlencoded",
        ...header,
        ...headerParams
      },
      success: (res) => {


          resolve(res)
      },
      fail: (err) => {


        err_popup('请求出错')
      }

    })
  })
}
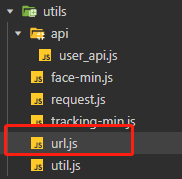
其次在utils文件中创建url.js文件,用来存放接口路径地址,代码如下:
//接口地址
const url = '接口地址前面域名'
const urlMap = {


  url,
  //用户相关接口
  one: `${

      url}拼接接口地址`, // 接口1
  two: `${

      url}拼接接口地址`, // 接口2
}

module.exports = urlMap
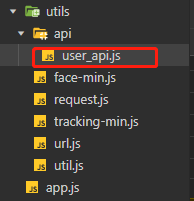
最后在utils文件中创建user_api.js文件,封装每个接口的请求,在页面中调用的方法也已注释的方式写入:
import {


  get,
  post
} from '../request'

//定义接口地址
const url = require('../url')

/**
 *  引用接口封装示例
 * 在page.js文件中
 * import {
 *   one,
 *   two
 * } from ''../../utils
 *
 * 调用封装接口方法
 * oneFun:function(){
 *  let header = {
 *    "content-type": "application/json",
 *    "Authorization":wx.getStorageSync('tokeninfo')
 *  }
 *  one({
 *    header:header
 *  }).then(res=>{
 *    console.log('接口返回的信息')
 *  })
 * }
 */


/**
 * 获取欢迎词语
 */
export const one= ({


  params = {

    },
  header = {

    }
}) => {


  return post(url.one, params, header)
}

/**
 * 用户意图解析
 */
export const two= ({


  params = {

    },
  header = {

    }
}) => {


  return get(url.two, params, header)
}