第一步创建SpringBoot项目
这里可以移步到我前几天发布的《快速创建SpringBoot》进行创建
那么直接进入重点
第二步导入依赖
<!--mysql数据源-->
        <dependency>
            <groupId>mysql</groupId>
            <artifactId>mysql-connector-java</artifactId>
            <scope>runtime</scope>
        </dependency>

        <!--druid连接接-->
        <dependency>
            <groupId>com.alibaba</groupId>
            <artifactId>druid-spring-boot-starter</artifactId>
            <version>1.1.22</version>
        </dependency>

        <!--mybatis-SpringBoot-->
        <dependency>
            <groupId>org.mybatis.spring.boot</groupId>
            <artifactId>mybatis-spring-boot-starter</artifactId>
            <version>2.0.1</version>
        </dependency>

        <!--json-->
        <dependency>
            <groupId>com.alibaba</groupId>
            <artifactId>fastjson</artifactId>
            <version>1.2.66</version>
        </dependency>
我前端使用的是html页面 没有用jsp 所以使用json进行数据交互
打开application.properties 设置数据库的信息
spring.application.name=SpringBootDemo3 server.port=8080
spring.datasource.url=jdbc:mysql://localhost:3306/mysql?
useSSL=false&serverTimezone=UTC spring.datasource.username=root
spring.datasource.password=123456mybatis.type-aliases-package=com.web.demo.model
mybatis.mapper-locations=classpath:/mapper/*.xml
type-aliase-package填自己model包
第三步 编写后端
先写Mapper
package com.web.demo.mapper;

import com.web.demo.model.User;
import org.apache.ibatis.annotations.Mapper;
import org.apache.ibatis.annotations.Select;

import java.util.List;

public interface UserMapper {


    @Select("select * from users")
    public List<User> findAll();
}
再写Service
package com.web.demo.service;

import com.web.demo.model.User;

import java.util.List;

public interface UserService {


    public List<User> findAll();
}
这里是service的实现类
package com.web.demo.service.impl;

import com.web.demo.mapper.UserMapper;
import com.web.demo.model.User;
import com.web.demo.service.UserService;
import org.mybatis.spring.annotation.MapperScan;
import org.springframework.beans.factory.annotation.Autowired;
import org.springframework.stereotype.Service;

import javax.annotation.Resource;
import java.util.List;

@Service
public class UserServiceImpl implements UserService {


    @Autowired
    UserMapper userMapper;
    @Override
    public List<User> findAll() {


        return userMapper.findAll();
    }
}
如果使用@Autowired Mapper下面有红色波浪线的话 不用管
为了美观就用这个@Autowired(required = false)
编写User类接收数据
package com.web.demo.model;

public class User {


    private String username;
    private String password;
}
记得写get和set
前端
<!DOCTYPE html>
<html lang="en">
<head>
    <meta charset="UTF-8">
    <title>Title</title>
    <script src="js/jquery-1.8.2.js"></script>
    <script>
        $(document).ready(function () {


            $.ajax({


                url:'/data',
                success:function (data) {


                    console.log(data);
                }
            })
        })
    </script>
</head>
<body>
<div class="data"></div>
</body>
</html>
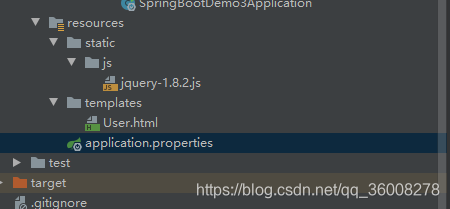
静态资源放在resources/static下 比如这个js
然后是我们的controller
import com.web.demo.model.User;
import com.web.demo.service.UserService;
import org.springframework.beans.factory.annotation.Autowired;
import org.springframework.stereotype.Controller;
import org.springframework.ui.Model;
import org.springframework.web.bind.annotation.RequestMapping;
import org.springframework.web.bind.annotation.ResponseBody;

import java.util.List;

@Controller
public class HelloController {


    @Autowired
    UserService userService;
    @RequestMapping("")
    public String index(){


        return "User";
    }
    @RequestMapping("/data")
    @ResponseBody
    public List<User> findAll(){


        return userService.findAll();
    }
}
最后是启动类
package com.web.demo;

import org.mybatis.spring.annotation.MapperScan;
import org.springframework.boot.SpringApplication;
import org.springframework.boot.autoconfigure.SpringBootApplication;

@SpringBootApplication
@MapperScan("com.web.demo.mapper")
public class SpringBootDemo3Application {


    public static void main(String[] args) {


        SpringApplication.run(SpringBootDemo3Application.class, args);
    }

}
这里的MapperScan我没有精确到类,是因为它一直报错 说找不到Mapper的实现类等等
然后改着改着把Mapper的@Mapper去掉了 将启动类的@MapperScan改成这样 就可以了…
最后一步 运行
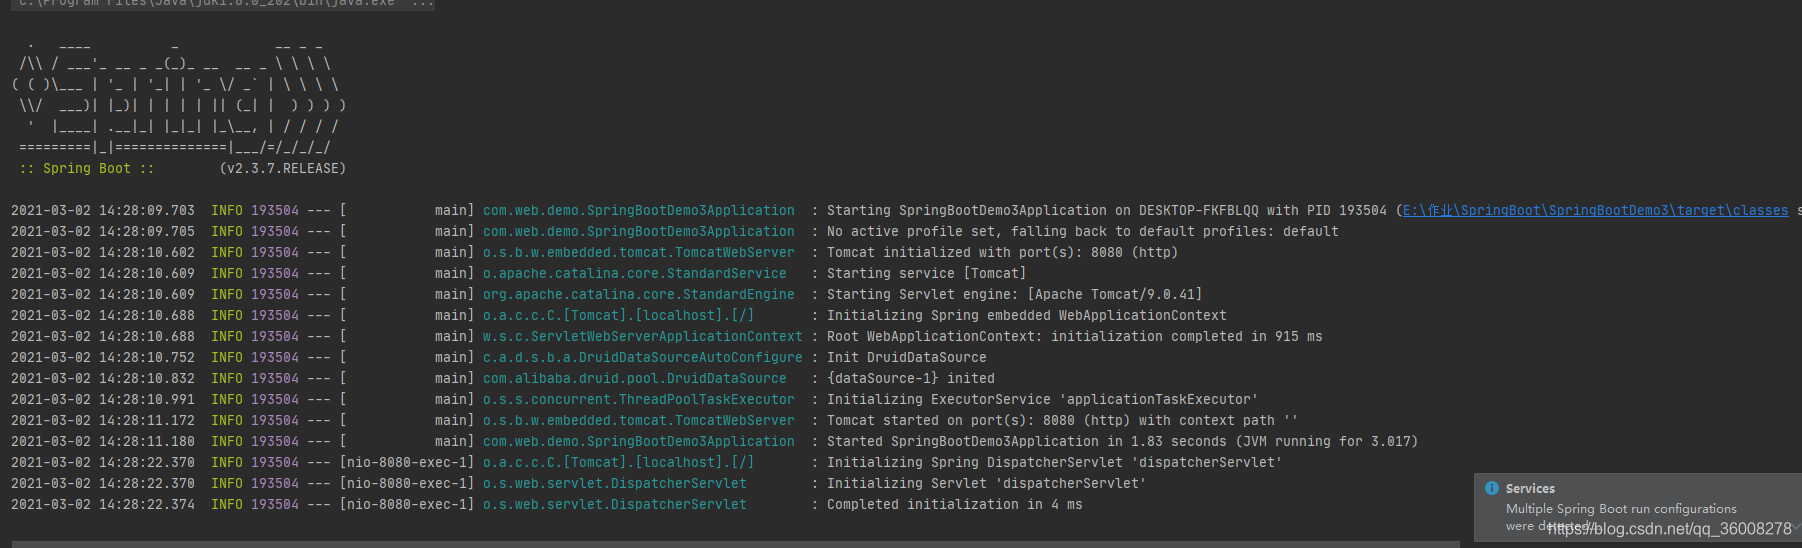
输入网址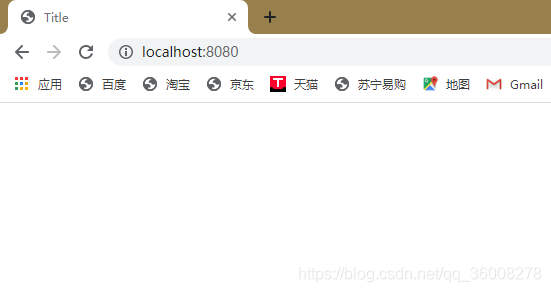
查看控制台
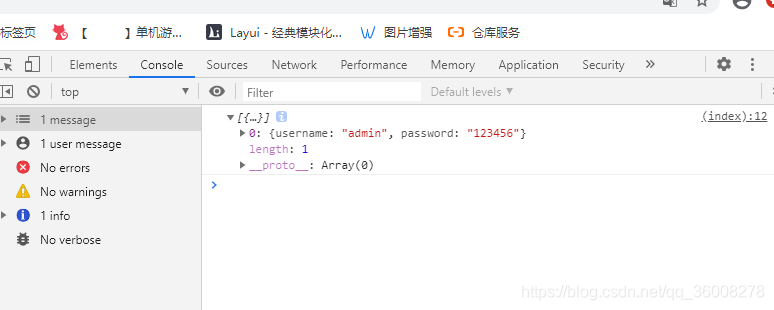
大功告成!
有问题可以留言一起解决…
:)