系列文章
SSM之SpringMVC 01 —— SpringMVC原理及概念、Hello SpringMVC 注解版和配置版
SSM之SpringMVC 02 —— Controller和RestFul风格、转发和重定向、数据处理和乱码问题、Json
SSM之SpringMVC 03 —— 整合SSM(简单图书系统)
SSM之SpringMVC 04 —— Ajax、拦截器、文件上传和下载
文章目录
4、Controller和RestFul风格
4.1、Controller 控制器
- 控制器负责提供访问应用程序的行为,通常利用接口或注解实现。(@Controller)
- 控制器负责解析用户的请求并将其转换为一个模型
- Spring MVC中,一个控制器类可以包含多个方法
4.1.1 实现Controller接口
Controller接口中只有一个方法,返回一个模型视图。
@FunctionalInterface
public interface Controller {


	@Nullable
	ModelAndView handleRequest(HttpServletRequest request, HttpServletResponse response) throws Exception;

}
说明:
- 实现Controller接口是较老的方法
- 明显的缺点是,一个控制器只有一个方法,需要多个方法则还得定义新Controller
测试:在配置文件中,只需要有视图解析器和实现类的bean,和之前的Hello SpringMVC的配置版不同,也就是是说,其实映射器和适配器是不需要配置的。
<?xml version="1.0" encoding="UTF-8"?>
<beans xmlns="http://www.springframework.org/schema/beans"
       xmlns:xsi="http://www.w3.org/2001/XMLSchema-instance"
       xsi:schemaLocation="http://www.springframework.org/schema/beans
        http://www.springframework.org/schema/beans/spring-beans.xsd">

    <!-- 视图解析器 -->
    <bean id="internalResourceViewResolver"           class="org.springframework.web.servlet.view.InternalResourceViewResolver" >
        <!-- 前缀 -->
        <property name="prefix" value="/WEB-INF/jsp/" />
        <!-- 后缀 -->
        <property name="suffix" value=".jsp" />
    </bean>
	<!-- 通过/test获取请求 -->
    <bean id="/test" class="com.zcy.controller.ControllerTest1"/>
</beans>
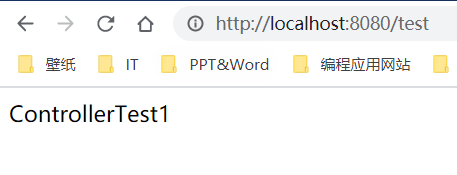
ControllerTest1.java
//注意导入Controller的包别错了
public class ControllerTest1 implements Controller {


    public ModelAndView handleRequest(
            HttpServletRequest request, HttpServletResponse response
                                     ) throws Exception {


        ModelAndView mv = new ModelAndView();
        mv.addObject("msg","ControllerTest1");
        mv.setViewName("test");
        return mv;
    }
}
结果:
4.2、Controller 注解
在Spring中说过,@Controller、@Service、@Component、@Repository这四个注解的效果是一样的,只是在不同层要用不同注解。
使用注解开发,我们可以在一个Controller中设置多个方法,而让它们访问同一个视图,实现视图复用。
在用注解前,需要注意SpringMVC的配置,且由于有自动扫描包,就不需要给类注册bean。
<!-- 自动扫描包,让指定包下的注解生效 -->
<context:component-scan base-package="com.zcy.controller"/>
<!-- 让Spring MVC不处理静态资源 -->
<mvc:default-servlet-handler />
<!-- 注解驱动 -->
<mvc:annotation-driven />
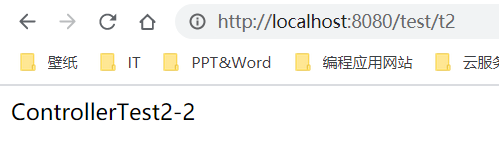
ControllerTest2.java
@Controller
@RequestMapping("/test")//既可以写在方法上,也可以写在类上
public class ControllerTest2 {


	//请求映射:访问/test/t1就会跳转到这里
    @RequestMapping("/t1")
    public String  testView1(Model model){


        //写入参数
        model.addAttribute("msg", "ControllerTest2-1");
        return "test";//跳转到视图 /WEB-INF/jsp/test.jsp
    }

    @RequestMapping("/t2")
    public String  testView2(Model model){


        model.addAttribute("msg", "ControllerTest2-2");
        return "test";
    }
}
结果:

4.2、RestFul风格
RestFul风格就是一种对资源定位符以及资源操作的风格,既不是标准,也不是协议。这种风格可以让URL更加简洁、高效、安全。
我们原来带有参数的URL是这样:http://localhost:8080/name=小白&password=123
而RestFul风格的URL是这样:http://localhost:8080/小白/123
当然,不只是将&变为斜杠,省略参数名称,它还可以通过不同的请求方式实现不同的效果,
例如:同样的URL,但操作却不同。
- http://127.0.0.1/item 新增,POST
- http://127.0.0.1/item 更新,PUT
学习测试:
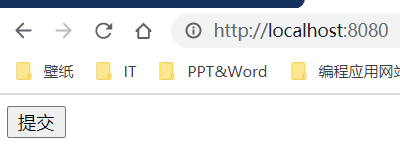
index.jsp
<%@ page contentType="text/html;charset=UTF-8" language="java" %>
<html>
  <head>
    <title>$Title$</title>
  </head>
  <body>
  <form action="/test/restful/3/3" method="post">
    <input type="submit"/>
  </form>
  </body>
</html>
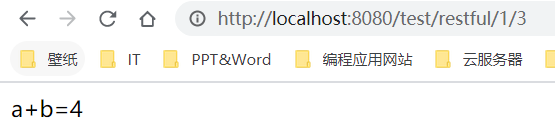
RestFulTest.java
@Controller
@RequestMapping("/test")
public class RestFulTest {
//{a}和{b}搭配注解@PathVariable-> http://localhost:8080/test/restful/1/2
//参数method(可省略)指定访问方式
@RequestMapping(value = "/restful/{a}/{b}", method = RequestMethod.GET)
public String test1(@PathVariable int a, @PathVariable int b, Model model){
int result = a + b;
model.addAttribute("msg", "a+b="+result);
return "test";
}
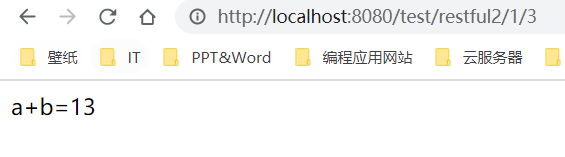
//这是简化版
@GetMapping("/restful2/{a}/{b}")
public String test2(@PathVariable String a, @PathVariable String b, Model model){
String result = a + b;
model.addAttribute("msg", "a+b="+result);
return "test";
}
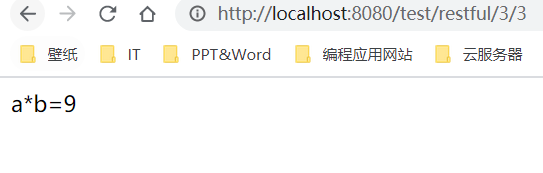
//获取前端表单的数据,POST方式
@PostMapping("/restful/{a}/{b}")
public String test3(@PathVariable int a, @PathVariable int b, Model model){
int result = a * b;
model.addAttribute("msg", "a*b="+result);
return "test";
}
}
结果:
优点:
-
使路径变得简洁;
-
获得参数更加方便,框架会自动进行类型转换;
-
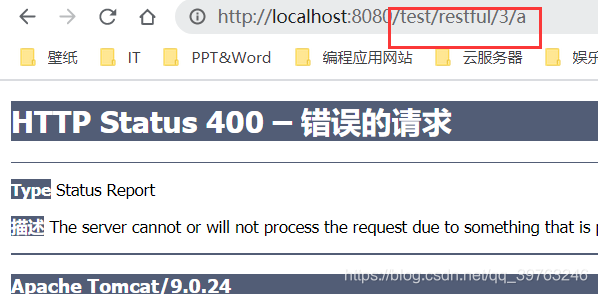
通过路径类型的变量,可以约束访问的参数。如果类型不一致,则访问不到对应的请求。
例如我们输入URL:http://localhost:8080/test/restful/3/a,由于我们方法里规定的是两个int型变量,所以会报错。
5、转发和重定向
5.1、ModelAndView
这种方式基本弃用,就是Hello SpringMVC中配置版的方式,需要用到视图解析器。
<!-- 视图解析器 -->
<bean id="internalResourceViewResolver"
      class="org.springframework.web.servlet.view.InternalResourceViewResolver" >
    <!-- 前缀 -->
    <property name="prefix" value="/WEB-INF/jsp/" />
    <!-- 后缀 -->
    <property name="suffix" value=".jsp" />
</bean>
同时实现Controller接口
public class ControllerTest1 implements Controller {


    public ModelAndView handleRequest(
            HttpServletRequest request, HttpServletResponse response
                                     ) throws Exception {


        ModelAndView mv = new ModelAndView();
        mv.addObject("msg","ControllerTest1");
        mv.setViewName("test");
        return mv;
    }
}
5.2、Servlet的方式
这种方式不需要视图解析器,直接利用Servlet的redirect和forward,因为Spring本质也是利用Servlet,所以自然也能用Servlet的方式。
先将视图解析器注释掉。
@Controller
@RequestMapping("/test")
public class RedirectForward {


    @RequestMapping("/redirect")
    public void redirectTest(HttpServletRequest req, HttpServletResponse resp) throws IOException {


        resp.sendRedirect("/index.jsp");
    }
    @RequestMapping("/forward")
    public void forwardTest(HttpServletRequest req, HttpServletResponse resp) throws IOException, ServletException {


        req.getSession().setAttribute("msg","Servlet,Forward");
        req.getRequestDispatcher("test.jsp").forward(req, resp);
    }
}
5.3、SpringMVC的方式
不使用视图解析器:
记得先注释掉视图解析器
@Controller
@RequestMapping("/test")
public class RedirectForward {


    @RequestMapping("/redirect")
    public String redirectTest() {


        return "redirect:/index.jsp";
    }
    @RequestMapping("/forward")
    public String forwardTest(Model model) {


        return "forward:/index.jsp";
    }
}
使用视图解析器:
package com.zcy.controller;

import org.springframework.stereotype.Controller;
import org.springframework.ui.Model;
import org.springframework.web.bind.annotation.RequestMapping;

@Controller
@RequestMapping("/test")
public class RedirectForward {


    @RequestMapping("/redirect")
    public String redirectTest() {


        //重定向本身就不需要视图解析器
        return "redirect:/index.jsp";
    }
    @RequestMapping("/forward")
    public String forwardTest(Model model) {


        return "test";
    }
}
6、数据处理
下述代码依然都是写在Controller类中,记得要用视图解析器,上一节被注释掉了的。
6.1、处理前端的数据
前面RestFul风格是对这种类型的优化。
1、前端传递的参数名和方法的参数名一致时:http://localhost:8080/data/username=Bob&age=12
方法的参数对应前端URL的参数,可直接获取
@RequestMapping("/t1")
public String deal1(String username, int age, Model model){


    model.addAttribute("msg", "deal1前端数据:"+username+":"+age);
    return "test";
}
[外链图片转存失败,源站可能有防盗链机制,建议将图片保存下来直接上传(img-Hx36bKQu-1614394072207)(SpringMVC1.assets/1614342263731.png)]
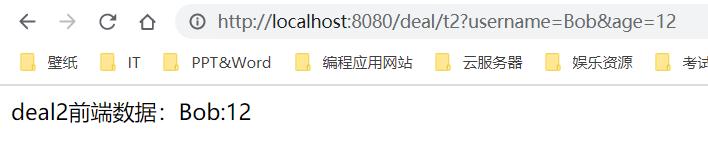
2、前端传递的参数名和方法的参数名不一致时:http://localhost:8080/data/username=Bob&age=12
加上@RequestParam注解,可指定URL参数名(也推荐直接用这种方式,可以显式告诉前端参数是哪些)
@RequestMapping("/t2")
public String deal2(@RequestParam("username") String name, @RequestParam("age")int age, Model model){


    model.addAttribute("msg", "deal2前端数据:"+name+":"+age);
    return "test";
}
3、前端传递的参数可作为一个对象进接收:http://localhost:8080/data/username=Bob&age=12
要求:对象里的成员变量名称要和前端参数名一致(不一致的变量为null值),这种方式无需注解,直接作为方法参数即可
User.java
package pojo;

import lombok.Data;
//这里使用Lombok的注解,可省略set、get、toString等方法
@Data
public class User {


    private String username;
    private String password;
}
Controller.java 传递的是age,但User中是password,所以为null
@RequestMapping("/t3")
public String deal3(User user, Model model){


    model.addAttribute("msg", "deal3前端数据:"+user);
    return "test";
}

6.2、传递数据到前端
有三种方式:
- 通过ModelAndView
- 通过Model
- 通过ModelMap
它们三种方法效果都一样,Model和Model通过addAttribute方法,而ModelAndView通过addObject和setViewName。
这里说下它们区别:
- Model:只有很少的几个方法用于存储数据,简化了新手对Model对象的操作,常用!
- ModelMap:继承了LinkedMap,除了存储数据外还有些其他方法,但也不怎么用。
- ModelAndView:可以在存储数据时设置返回视图,主要用在接口实现Controller时。基本不用。
6.3、乱码问题
开发中经常出现中文乱码问题,之前在JavaWeb的解决方法是我们自定义过滤器,在Spring中,官方已经给我们写好了!
下面进行乱码测试:
index.jsp
<%@ page contentType="text/html;charset=UTF-8" language="java" %>
<html>
<head>
<title>$Title$</title>
</head>
<body>
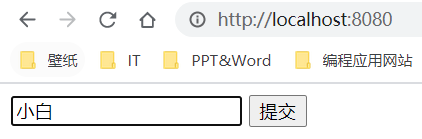
<form action="/encoding/test" method="post">
<input type="text" name="name"/>
<input type="submit"/>
</form>
</body>
</html>
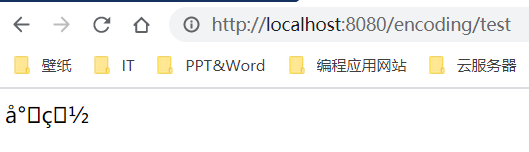
CharacterEncoding.java
@Controller
@RequestMapping("encoding")
public class CharacterEncoding {


    @PostMapping("test")
    public String test(@RequestParam("name") String name, Model model){


        model.addAttribute("msg", name);
        return "test";
    }
}
结果:
解决方法:
1、Spring自带乱码过滤器
<filter>
	<filter-name>encoding</filter-name>
	<filter-class>org.springframework.web.filter.CharacterEncodingFilter</filter-class>
    <init-param>
        <param-name>encoding</param-name>
        <param-value>utf-8</param-value>
    </init-param>
</filter>
<filter-mapping>
    <filter-name>encoding</filter-name>
	<url-pattern>/*</url-pattern>
</filter-mapping>
2、修改Tomcat配置文件:设置编码
 <Connector URIEncoding="utf-8" port="8080" protocol="HTTP/1.1"
               connectionTimeout="20000"
               redirectPort="8443" />
3、网上大佬写的最完整的自定义乱码过滤器
web.xml引用
<filter>
    <filter-name>GenericEncodingFilter</filter-name>
    <filter-class>com.zcy.filter.GenericEncodingFilter</filter-class>
</filter>
<filter-mapping>
    <filter-name>GenericEncodingFilter</filter-name>
    <url-pattern>/*</url-pattern>
</filter-mapping>
通用过滤器类
package com.zcy.filter;

import javax.servlet.*;
import javax.servlet.http.HttpServletRequest;
import javax.servlet.http.HttpServletRequestWrapper;
import javax.servlet.http.HttpServletResponse;
import java.io.IOException;
import java.io.UnsupportedEncodingException;
import java.util.Map;
/**
 * 解决get和post请求 全部乱码的过滤器
 */
public class GenericEncodingFilter implements Filter {


    public void init(FilterConfig filterConfig) throws ServletException {


    }

    public void doFilter(
            ServletRequest request, ServletResponse response, FilterChain chain
                        ) throws IOException, ServletException {


        //处理response的字符编码
        HttpServletResponse myResponse=(HttpServletResponse) response;
        myResponse.setContentType("text/html;charset=UTF-8");
        // 转型为与协议相关对象
        HttpServletRequest httpServletRequest = (HttpServletRequest)
                request;
        // 对request包装增强
        HttpServletRequest myrequest = new
                MyRequest(httpServletRequest);
        chain.doFilter(myrequest, response);
    }

    public void destroy() {


    }
}
//自定义request对象,HttpServletRequest的包装类
class MyRequest extends HttpServletRequestWrapper {


    private HttpServletRequest request;
    //是否编码的标记
    private boolean hasEncode;

    //定义一个可以传入HttpServletRequest对象的构造函数,以便对其进行装饰
    public MyRequest(HttpServletRequest request) {


        super(request);// super必须写
        this.request = request;
    }

    // 对需要增强方法 进行覆盖
    @Override
    public Map getParameterMap() {


        // 先获得请求方式
        String method = request.getMethod();
        if (method.equalsIgnoreCase("post")) {


            // post请求
            try {


                // 处理post乱码
                request.setCharacterEncoding("utf-8");
                return request.getParameterMap();
            } catch (UnsupportedEncodingException e) {


                e.printStackTrace();
            }
        }
        else if (method.equalsIgnoreCase("get")) {


            // get请求
            Map<String, String[]> parameterMap = request.getParameterMap();
            if (!hasEncode) {

     // 确保get手动编码逻辑只运行一次
                for (String parameterName : parameterMap.keySet()) {


                    String[] values = parameterMap.get(parameterName);
                    if (values != null) {


                        for (int i = 0; i < values.length; i++) {


                            try {


                                // 处理get乱码
                                values[i] = new String(values[i]
                                        .getBytes("ISO-8859-1"), "utf-8");
                            } catch (UnsupportedEncodingException e) {


                                e.printStackTrace();
                            }
                        }
                    }
                }
                hasEncode = true;
            }
            return parameterMap;
        }
        return super.getParameterMap();
    }

    //取一个值
    @Override
    public String getParameter(String name) {


        Map<String, String[]> parameterMap = getParameterMap();
        String[] values = parameterMap.get(name);
        if (values == null) {


            return null;
        }
        return values[0]; // 取回参数的第一个值
    }

    //取所有值
    @Override
    public String[] getParameterValues(String name) {


        Map<String, String[]> parameterMap = getParameterMap();
        String[] values = parameterMap.get(name);
        return values;
    }
}
7、Json
7.1、什么是Json
- JSON(JavaScript Object Notation, JS 对象标记) 是一种轻量级的数据交换格式,目前使用特别广
泛。 - 采用完全独立于编程语言的文本格式来存储和表示数据,对于Java来说就是个String。
- 简洁和清晰的层次结构使得 JSON 成为理想的数据交换语言。
- 易于人阅读和编写,同时也易于机器解析和生成,并有效地提升网络传输效率
前端中的Json
<!DOCTYPE html>
<html lang="en">
<head>
    <meta charset="UTF-8">
    <title>JSON</title>
</head>
<body>
    <script type="text/javascript">
        //编写一个JavaScript的对象
        var user = {


            name:"小白",
            age:3,
            sex:"男"
        };
        //将JavaScript对象转换成json字符串
        var str = JSON.stringify(user);
        console.log(str);
        //将json字符串转换为js对象
        var user2 = JSON.parse(str);
        console.log(user2.age,user2.name,user2.sex);
    </script>
</body>
</html>

7.2、Jackson
相关依赖:
<!-- https://mvnrepository.com/artifact/com.fasterxml.jackson.core/jackson-databind -->
<dependency>
    <groupId>com.fasterxml.jackson.core</groupId>
    <artifactId>jackson-databind</artifactId>
    <version>2.12.1</version>
</dependency>
自己编写的工具类:可自定义时间Json格式
package com.zcy.utils;

import com.fasterxml.jackson.core.JsonProcessingException;
import com.fasterxml.jackson.databind.ObjectMapper;
import com.fasterxml.jackson.databind.SerializationFeature;

import java.text.SimpleDateFormat;

public class JsonUtils {


    //重载方法
    public static String getJson(Object object) throws JsonProcessingException {


        //默认的时间格式 年月日 时分秒
        return getJson(object, "yy-MM-dd HH:mm:ss");
    }

    public static String getJson(Object object, String format) throws JsonProcessingException {


        //ObjectMapper是Jackson对象映射器,用于解析数据
        ObjectMapper mapper = new ObjectMapper();
        mapper.configure(SerializationFeature.WRITE_DATES_AS_TIMESTAMPS, false);

        //自定义时间格式对象
        SimpleDateFormat sdf = new SimpleDateFormat(format);

        //设置Jackson时间格式,如果不是时间类型,也不会有影响,因为format只用设置Json的时间格式
        mapper.setDateFormat(sdf);

        //将对象转化为Json字符串
        String result = mapper.writeValueAsString(object);
        return result;
    }
}
具体使用
@Controller
@RequestMapping("/json")
public class JsonController {
//这个备注让该方法不走视图解析器,返回值直接就是个字符串
@ResponseBody
//produces指定该方法返回值作为json,并设置编码
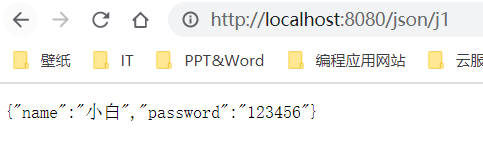
@RequestMapping(value = "/j1", produces = "application/json;charset=utf-8")
public String json1() throws JsonProcessingException {
User user = new User("小白", "123456");
ObjectMapper mapper = new ObjectMapper();
String result = mapper.writeValueAsString(user);
return result;
}
@ResponseBody
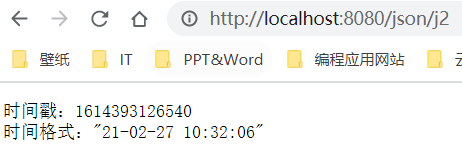
@RequestMapping(value = "/j2", produces = "application/json;charset=utf-8")
public String json2() throws JsonProcessingException {
//Jackson默认时间是时间戳
ObjectMapper mapper = new ObjectMapper();
String result1 = mapper.writeValueAsString(new Date());
//自定义事件格式
String result2 = JsonUtils.getJson(new Date());
return "时间戳:"+result1+"/n时间格式:"+result2;
}
}
结果:
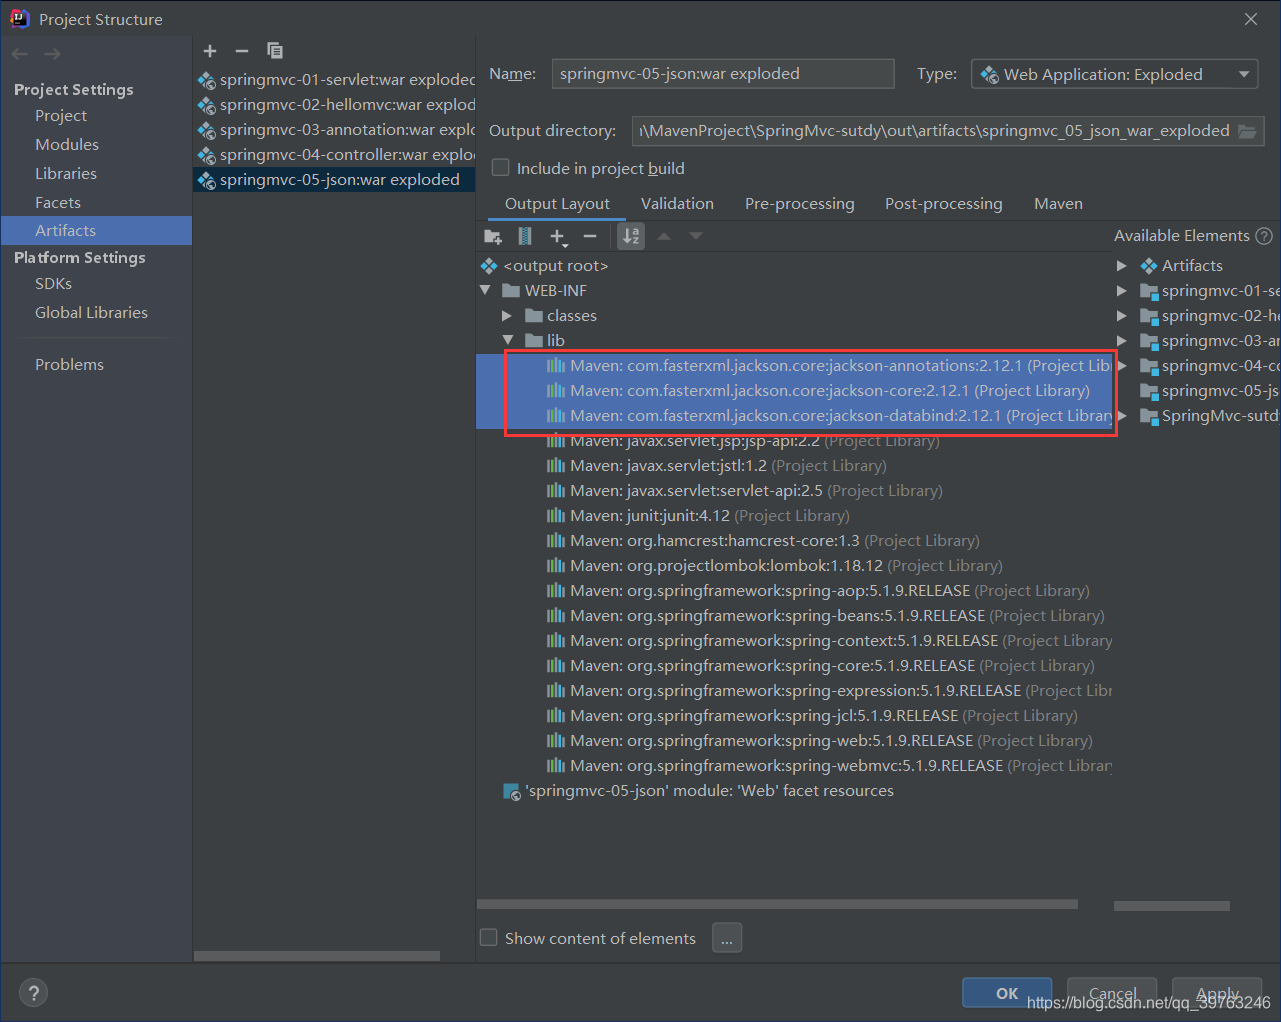
可能出现的问题:添加了新的依赖后,Artifacts里的lib目录没有更新,需手动重新导包。
4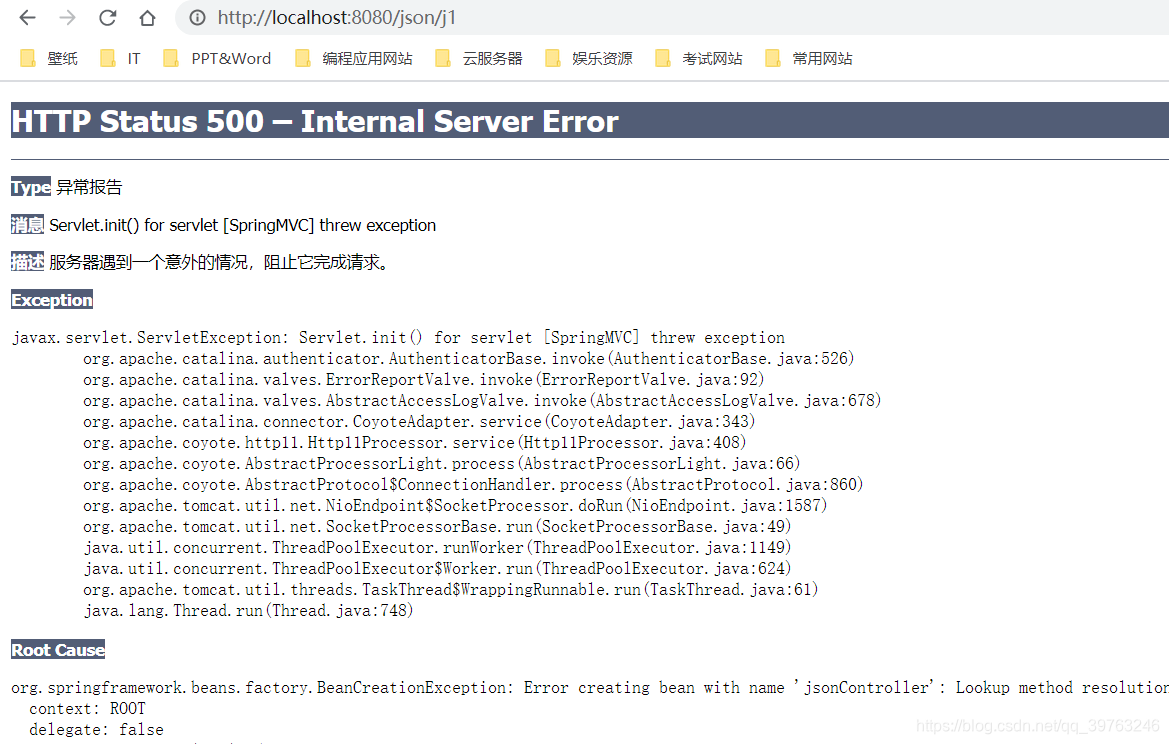
解决:
7.3、优化代码
上面使用Jackson时,我们注解@ResponseBody和注解@RequestMapping的produces属性来解决json字符串以及编码问题,现在我们可以通过@RestController以及在springmvc-servlet.xml中配置编码来简化。(第一种方式,每个方法都要写重复的代码,比较麻烦)
springmvc-servlet.xml中的注解驱动增加属性
<!-- 注解驱动 -->
<mvc:annotation-driven>
    <mvc:message-converters register-defaults="true">
        <bean class="org.springframework.http.converter.StringHttpMessageConverter">
            <constructor-arg value="UTF-8"/>
        </bean>
        <bean class="org.springframework.http.converter.json.MappingJackson2HttpMessageConverter">
            <property name="objectMapper">
                <bean class="org.springframework.http.converter.json.Jackson2ObjectMapperFactoryBean">
                    <property name="failOnEmptyBeans" value="false"/>
                </bean>
            </property>
        </bean>
    </mvc:message-converters>
</mvc:annotation-driven>
JsonController.java的类上使用@RestController,使该类下所有方法返回都是字符串,不走视图解析。
@RestController
@RequestMapping("/json")
public class JsonController {


    @RequestMapping("/j1")
    public String json1() throws JsonProcessingException {


        User user = new User("小白", "123456");
        ObjectMapper mapper = new ObjectMapper();
        String result = mapper.writeValueAsString(user);
        return result;
    }

    @RequestMapping("/j2")
    public String json2() throws JsonProcessingException {


        ObjectMapper mapper = new ObjectMapper();
        String result1 = mapper.writeValueAsString(new Date());
        //自定义事件格式
        String result2 = JsonUtils.getJson(new Date());
        return "时间戳:"+result1+"\n时间格式:"+result2;
    }
}
7.4、FastJson
这是由阿里巴巴开发的,专门针对json对象和JavaBean对象的转化,使用比Jackson还要简单。
fastjson依赖:
<!-- https://mvnrepository.com/artifact/com.alibaba/fastjson -->
<dependency>
    <groupId>com.alibaba</groupId>
    <artifactId>fastjson</artifactId>
    <version>1.2.75</version>
</dependency>
FastJson三个主要类:
- JSONObject 代表 json 对象
- 底层实现了Map接口,所以可以用键值对方式获取json字符串的值
- JSONArray 代表 json对象数组
- 内部由List接口的方法实现
- JSON 代表 JSONObject和Java的转化
- 主要实现Json对象、Json数组对象、JavaBean对象、Json字符串间的相互转化
具体使用:
public String json3(){


    List<User> list = new ArrayList<User>();
    User user1 = new User("张三", "111111");
    User user2 = new User("李四", "222222");
    list.add(user1);
    list.add(user2);

    //Java 转 Json字符串
    String jsonString = JSON.toJSONString(list);

    //Json字符串 转 Java对象
    List<User> jsonList = JSON.parseArray(jsonString, User.class);

    //Java 转 Json对象
    JSONObject object = (JSONObject)JSON.toJSON(user1);

    //Json对象 转 Java对象
    User json_user1 = JSON.toJavaObject(object, User.class);
}