那么,接下来来个简单的案例。
首先,我们需要创建Spring WEB MVC项目,不妨从官网找如何开始,首先找官方文档,


可以看见创建Spring应用的环境要求,JDK1.8&Maven 3.2+。然后,找到手动创建的介绍:

然后,按照上面的步骤,将至导入到了idea中,并在idea中配置下maven:
指定为自己安装和配置过的maven即可,文件位置maven安装目录下的conf/settings.xml文件,比如阿里云镜像地址:
<!-- 阿里云仓库 -->
<mirrors>
	<mirror>
	  <id>nexus-aliyun</id>
	  <mirrorOf>central</mirrorOf>
	  <name>Nexus aliyun</name>
	  <url>http://maven.aliyun.com/nexus/content/groups/public</url>
	</mirror>
</mirrors>

  <profiles>
         <profile>
              <id>jdk-1.8</id>
              <activation>
                <activeByDefault>true</activeByDefault>
                <jdk>1.8</jdk>
              </activation>
              <properties>
                <maven.compiler.source>1.8</maven.compiler.source>
                <maven.compiler.target>1.8</maven.compiler.target>
                <maven.compiler.compilerVersion>1.8</maven.compiler.compilerVersion>
              </properties>
         </profile>
  </profiles>
最后导入这个下载的示例项目,同步了下maven,但出现了错误:

网上说,需要指定springframework.boot的版本即可,如:
<build>
		<plugins>
			<plugin>
				<groupId>org.springframework.boot</groupId>
				<artifactId>spring-boot-maven-plugin</artifactId>
				<version>2.4.4</version>
			</plugin>
		</plugins>
	</build>
果然解决了报红的问题。
然后,按照文档,创建如下两个文件:

然后,在Application中启动:


按照提示,地址为:http://localhost:8080/
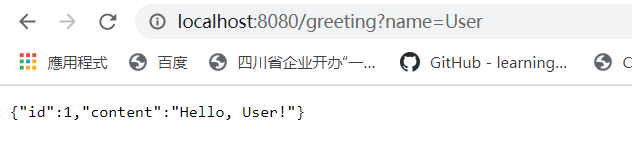
然后,根据配置的controller中的地址http://localhost:8080/greeting?name=User,进行测试:

官方案例地址:https://spring.io/guides/gs/rest-service/
官方文档地址:https://docs.spring.io/spring-framework/docs/current/reference/html/