ssm实现一个简易的图书管理模块,完成书籍的添加,修改,查询,删除
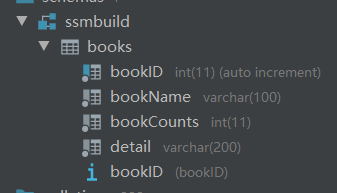
- 建立数据库
一个简单的books表,bookID主键自增,bookName书名,
- 新建一个maven项目,配置pom.xml
<?xml version="1.0" encoding="UTF-8"?>
<project xmlns="http://maven.apache.org/POM/4.0.0"
         xmlns:xsi="http://www.w3.org/2001/XMLSchema-instance"
         xsi:schemaLocation="http://maven.apache.org/POM/4.0.0 http://maven.apache.org/xsd/maven-4.0.0.xsd">
    <modelVersion>4.0.0</modelVersion>

    <groupId>org.example</groupId>
    <artifactId>ssmbuild</artifactId>
    <version>1.0-SNAPSHOT</version>
    <!--    依赖:junit,数据库驱动,连接池,servlet,jsp,mybatis,mybatis-spring,spring-->
    <dependencies>
    <dependency>
        <groupId>junit</groupId>
        <artifactId>junit</artifactId>
        <version>4.12</version>
        <scope>test</scope>
    </dependency>
    <dependency>
        <groupId>mysql</groupId>
        <artifactId>mysql-connector-java</artifactId>
        <version>5.1.46</version>
    </dependency>
    <dependency>
        <groupId>com.mchange</groupId>
        <artifactId>c3p0</artifactId>
        <version>0.9.5.4</version>
    </dependency>
<!--        servlet-->
    <dependency>
        <groupId>javax.servlet</groupId>
        <artifactId>servlet-api</artifactId>
        <version>2.5</version>
    </dependency>
    <dependency>
        <groupId>javax.servlet.jsp</groupId>
        <artifactId>jsp-api</artifactId>
        <version>2.2</version>
    </dependency>
        <dependency>
            <groupId>javax.servlet</groupId>
            <artifactId>jstl</artifactId>
            <version>1.2</version>
        </dependency>
<!--        Mybatis-->
        <dependency>
            <groupId>org.mybatis</groupId>
            <artifactId>mybatis</artifactId>
            <version>3.5.2</version>
        </dependency>
        <dependency>
            <groupId>org.mybatis</groupId>
            <artifactId>mybatis-spring</artifactId>
            <version>2.0.6</version>
        </dependency>
<!--        spring-->
        <dependency>
            <groupId>org.springframework</groupId>
            <artifactId>spring-webmvc</artifactId>
            <version>5.2.13.RELEASE</version>
        </dependency>
        <dependency>
            <groupId>org.springframework</groupId>
            <artifactId>spring-jdbc</artifactId>
            <version>5.2.13.RELEASE</version>
        </dependency>
    </dependencies>
<!--静态资源导出问题-->
    <build>
        <resources>
            <resource>
                <directory>src/main/java</directory>
                <includes>
                    <include>**/*.xml</include>
                    <include>**/*.properties</include>
                </includes>
            </resource>
            <resource>
                <directory>src/main/resources</directory>
                <includes>
                    <include>**/*.xml</include>
                    <include>**/*.properties</include>
                </includes>
            </resource>
        </resources>
    </build>
</project>
- 添加web支持
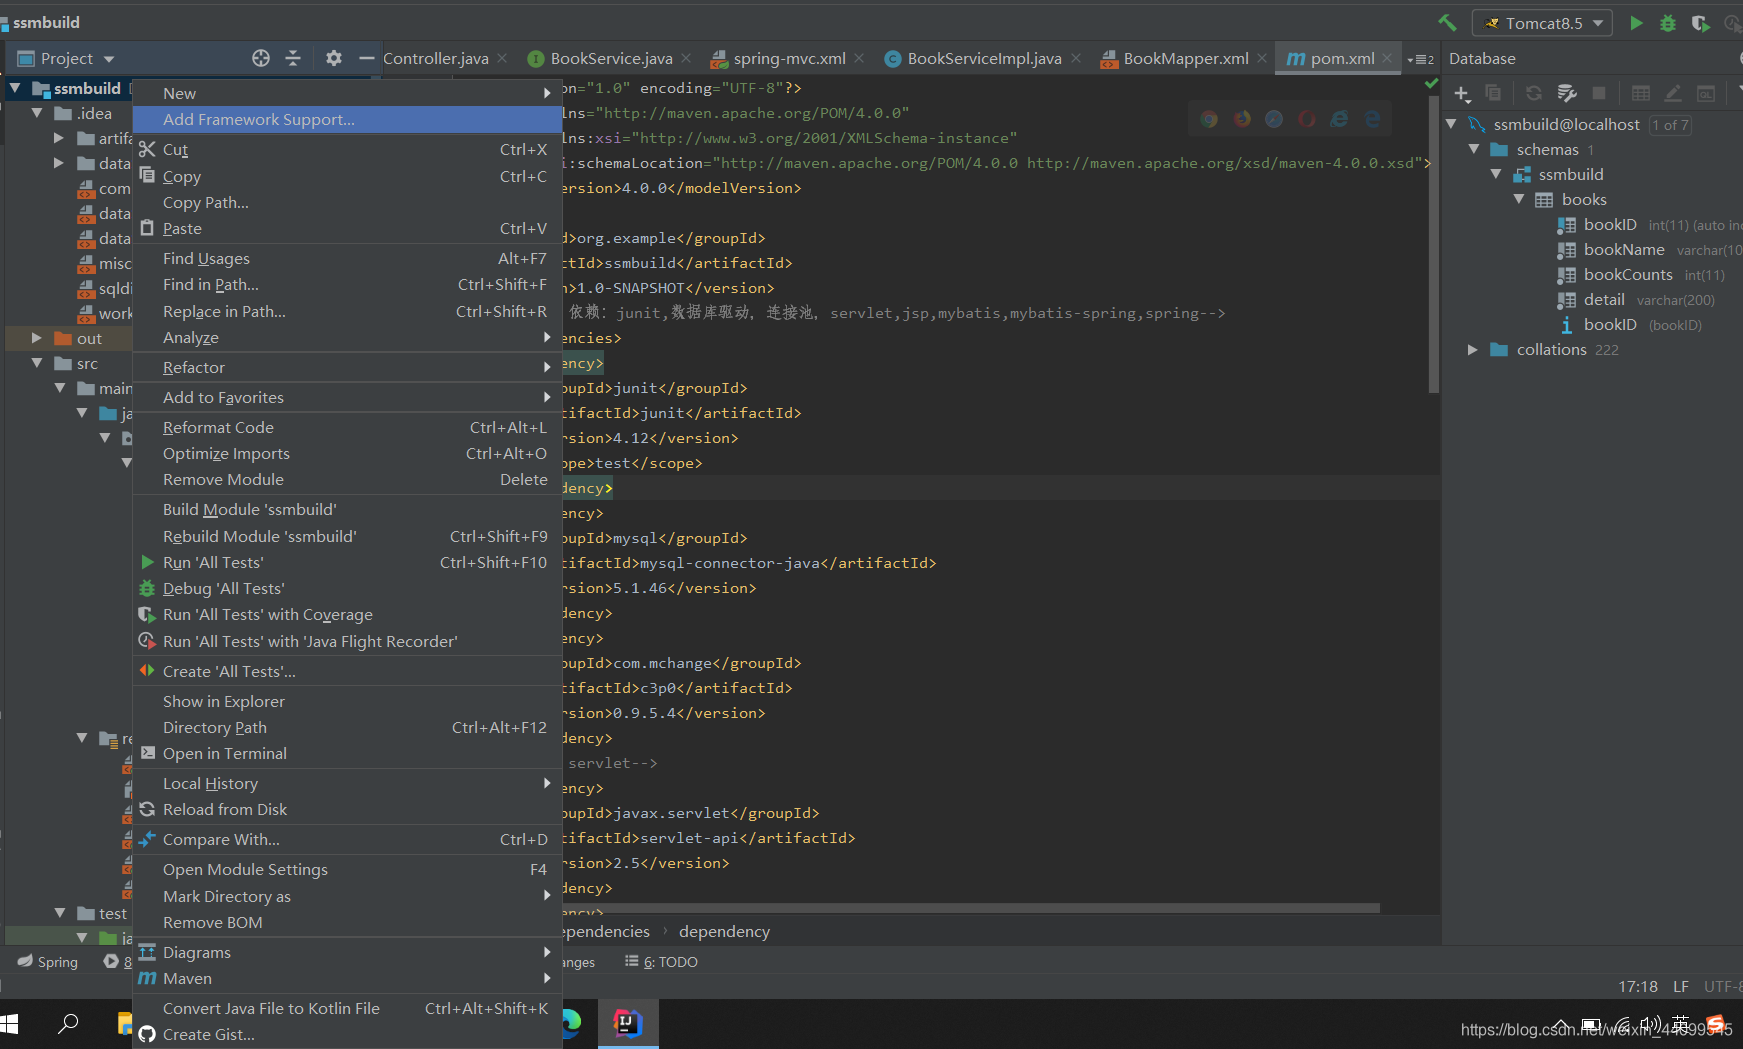
- 配置web.xml
<?xml version="1.0" encoding="UTF-8"?>
<web-app xmlns="http://xmlns.jcp.org/xml/ns/javaee"
         xmlns:xsi="http://www.w3.org/2001/XMLSchema-instance"
         xsi:schemaLocation="http://xmlns.jcp.org/xml/ns/javaee http://xmlns.jcp.org/xml/ns/javaee/web-app_4_0.xsd"
         version="4.0">
<!-- DispatcherServlet   -->
    <servlet>
        <servlet-name>spring</servlet-name>
        <servlet-class>org.springframework.web.servlet.DispatcherServlet</servlet-class>
        <init-param>
            <param-name>contextConfigLocation</param-name>
            <param-value>classpath:applicationContext.xml</param-value>
        </init-param>
        <load-on-startup>1</load-on-startup>
    </servlet>
    <servlet-mapping>
        <servlet-name>spring</servlet-name>
        <url-pattern>/</url-pattern>
    </servlet-mapping>
    <!--乱码过滤-->
    <filter>
        <filter-name>encodingFilter</filter-name>
        <filter-class>org.springframework.web.filter.CharacterEncodingFilter</filter-class>
        <init-param>
            <param-name>encoding</param-name>
            <param-value>utf-8</param-value>
        </init-param>
    </filter>
    <filter-mapping>
        <filter-name>encodingFilter</filter-name>
        <url-pattern>/*</url-pattern>
    </filter-mapping>
    <!--Session-->
    <session-config>
        <session-timeout>1</session-timeout>
    </session-config>
</web-app>
- 配置数据源,先编写db.properties
# 注意注意
jdbc.driver=com.mysql.jdbc.Driver
jdbc.url=jdbc:mysql://localhost:3306/mybaits?characterEncoding=utf8&useSSL=false&serverTimezone=UTC
jdbc.username=root
jdbc.password=123456
6.mybatis-config.xml
<?xml version="1.0" encoding="UTF-8" ?>
<!DOCTYPE configuration
        PUBLIC "-//mybatis.org//DTD Config 3.0//EN"
        "http://mybatis.org/dtd/mybatis-3-config.dtd">
<configuration>

<!--    配置数据源让Spring搞定-->
    <typeAliases>
        <package name="com.wu.pojo"/>
    </typeAliases>
    <mappers>
        <mapper class="com.wu.dao.BookMapper"/>
    </mappers>
</configuration>
7.spring整合数据库,使用cp30数据库,spring-dao.xml
<?xml version="1.0" encoding="UTF-8"?>
<beans xmlns="http://www.springframework.org/schema/beans"
               xmlns:xsi="http://www.w3.org/2001/XMLSchema-instance"
               xmlns:context="http://www.springframework.org/schema/context"
               xsi:schemaLocation="http://www.springframework.org/schema/beans
        https://www.springframework.org/schema/beans/spring-beans.xsd
        http://www.springframework.org/schema/context
        https://www.springframework.org/schema/context/spring-context.xsd">

<!--    1.关联数据库配置文件-->
<context:property-placeholder location="classpath:database.properties"/>

<!--    2.连接池
        c3po:
-->
    <bean id="dataSource" class="com.mchange.v2.c3p0.ComboPooledDataSource">
        <property name="driverClass" value="${jdbc.driver}"/>
        <property name="jdbcUrl" value="${jdbc.url}"/>
        <property name="user" value="${jdbc.username}"/>
        <property name="password" value="${jdbc.password}"/>

        <!-- c3p0连接池的私有属性-->
        <property name="maxPoolSize" value="30"/>
        <property name="minPoolSize" value="10"/>
        <!--关闭连接后不自动commit -->
        <property name="autoCommitOnClose" value="false"/>
        <!--获取连接超时时问-->
        <property name="checkoutTimeout" value="10080"/>
        <!--当获取连接失败重试次数-->
        <property name="acquireRetryAttempts" value="2"/>
    </bean>
<!--    3.sqlSessionFactory-->
    <bean id="sqlSessionFactory" class="org.mybatis.spring.SqlSessionFactoryBean">
        <property name="dataSource" ref="dataSource"/>
        <property name="configLocation" value="classpath:mybatis-config.xml"/>
    </bean>

    <!--配置dao接口扫描包,动态的实现了Dao接口可以注入到Spring容器中! -->
    <bean class="org.mybatis.spring.mapper.MapperScannerConfigurer">
    <!--注入sqLsessionFactory -->
        <property name="sqlSessionFactoryBeanName" value="sqlSessionFactory"/>
        <property name="basePackage" value="com.wu.dao"/>
    </bean>
</beans>
8.配置spring整合service层 spring-service.xml
<?xml version="1.0" encoding="UTF-8"?>
<beans xmlns="http://www.springframework.org/schema/beans"
       xmlns:xsi="http://www.w3.org/2001/XMLSchema-instance"
       xmlns:context="http://www.springframework.org/schema/context"
       xsi:schemaLocation="http://www.springframework.org/schema/beans
        https://www.springframework.org/schema/beans/spring-beans.xsd
        http://www.springframework.org/schema/context
        https://www.springframework.org/schema/context/spring-context.xsd">

    <!--    1.关联数据库配置文件-->
    <context:component-scan base-package="com.wu.service"/>
    <!--2.将我们的所有业务类,注入到Spring,可以通过配置,或者注解实现-->
    <bean id="bookServiceImpl" class="com.wu.service.BookServiceImpl">
        <property name="bookMapper" ref="bookMapper"/>
    </bean>
    <!-- 3.开启事务-->
    <bean id="transactionManager" class="org.springframework.jdbc.datasource.DataSourceTransactionManager">
        <property name="dataSource" ref="dataSource"/>
    </bean>
</beans>
9.spring-mvc.xml
<?xml version="1.0" encoding="UTF-8"?>
<beans xmlns="http://www.springframework.org/schema/beans"
       xmlns:xsi="http://www.w3.org/2001/XMLSchema-instance"
       xmlns:mvc="http://www.springframework.org/schema/mvc"
       xmlns:context="http://www.springframework.org/schema/context"
       xsi:schemaLocation="http://www.springframework.org/schema/beans
        https://www.springframework.org/schema/beans/spring-beans.xsd
        http://www.springframework.org/schema/mvc
         http://www.springframework.org/schema/mvc/spring-mvc.xsd
         http://www.springframework.org/schema/context
         http://www.springframework.org/schema/context/spring-context.xsd">
<!--1.注解驱动-->
    <mvc:annotation-driven/>
<!--    2.静态资源过滤-->
    <mvc:default-servlet-handler/>
<!--    3.扫描包controller-->
    <context:component-scan base-package="com.wu.controller"/>
<!--    4.视图解析器-->
    <bean class="org.springframework.web.servlet.view.InternalResourceViewResolver">
        <property name="prefix" value="/WEB-INF/jsp/"/>
        <property name="suffix" value=".jsp"/>
    </bean>
</beans>
9.在applicationContext.xml把这几个配置文件导入
<?xml version="1.0" encoding="UTF-8"?>
<beans xmlns="http://www.springframework.org/schema/beans"
       xmlns:xsi="http://www.w3.org/2001/XMLSchema-instance"
       xsi:schemaLocation="http://www.springframework.org/schema/beans
        https://www.springframework.org/schema/beans/spring-beans.xsd">

    <import resource="classpath:spring-dao.xml"/>
    <import resource="classpath:spring-service.xml"/>
    <import resource="classpath:spring-mvc.xml"/>
</beans>
配置地狱,终于做好准备工作,开始编写业务代码,包结构大致如下
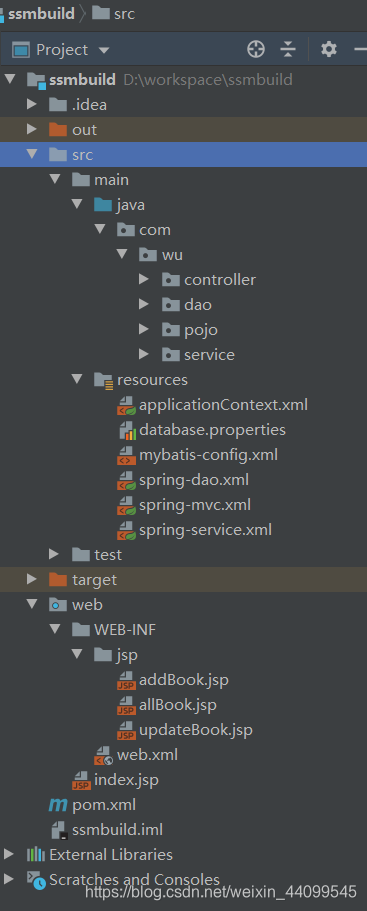 调用顺序是controller 调用service层,service层调用dao层,因此开发顺序应该是与此相反
10.编写实体类Books (用Lombok插件可以偷偷懒,不去写getter,setter那些方法)
package com.wu.pojo;

public class Books {


        private int bookID;
        private String bookName;
        private int bookCounts;
        private String detail;
        //getter setter 构造器略
 }
11.编写dao层,先写mapper接口
package com.wu.dao;
public interface BookMapper {


    //增加一本书
    int addBooks(Books books);
    //删除一本书
    void deleteBookByID(@Param("bookID") int id);
    //修改一本书
    void updateBook(Books books);
    //查询一本书
    Books queryBooksByID(@Param("bookID") int id);
    //查询全部书籍
    List<Books> queryAllBooks();
}
12.接着编写对应的实现类com/wu/dao/BookMapper.xml
<?xml version="1.0" encoding="UTF-8" ?>
<!DOCTYPE mapper
        PUBLIC "-//mybatis.org//DTD Mapper 3.0//EN"
        "http://mybatis.org/dtd/mybatis-3-mapper.dtd">
<!--命名空间绑定一个对应的Dao或Mapper接口-->
<mapper namespace="com.wu.dao.BookMapper">
    <insert id="addBooks" parameterType="Books">
        insert into ssmbuild.books (bookName,bookCounts,detail)
        values (#{bookName},#{bookCounts},#{detail});
    </insert>

    <delete id="deleteBookByID" parameterType="int">
        delete from ssmbuild.books where bookID = #{bookID};
    </delete>

    <update id="updateBook" parameterType="Books">
        update ssmbuild.books
        set bookName = #{bookName},bookCounts=#{bookCounts},detail=#{detail}
        where bookID = #{bookID};
    </update>

    <select id="queryBooksByID" parameterType="int" resultType="Books">
        select * from ssmbuild.books where bookID = #{bookID};
    </select>

    <select id="queryAllBooks" resultType="Books">
        select * from ssmbuild.books;
    </select>

</mapper>
13.编写Service层
扫描二维码关注公众号,回复:
12908105 查看本文章

package com.wu.service;
public interface BookService {
    //增加一本书
    int addBooks(Books books);
    //删除一本书
    void deleteBookByID(int id);
    //修改一本书
    void updateBook(Books books);
    //查询一本书
    Books queryBooksByID(int id);
    //查询全部书籍
    List<Books> queryAllBooks();
}
14.在编写controller之前,可以test包下编写利用单元测试,看自己写得代码是否和预期的一致。
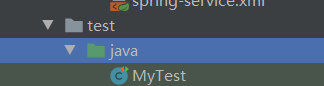
public class MyTest {


    @Test
    public void test(){


        ApplicationContext context = new ClassPathXmlApplicationContext("applicationContext.xml" );
        BookService bookServiceImpl = (BookService) context.getBean( "bookServiceImpl");
        for (Books books : bookServiceImpl.queryAllBooks()) {


            System.out.println(books.getBookName());
        }
    }
}
运行结果
 15.编写controller层
package com.wu.controller;

@Controller
@RequestMapping("/book")
public class BookController {
    //Controller层调用Service层
    @Autowired
    @Qualifier("bookServiceImpl")
    private BookService bookService;
    //查询全部的书籍,并返回一个战士页面
    @RequestMapping("/allBook")
    public String list(Model model){
        List<Books> list =  bookService.queryAllBooks();
        model.addAttribute("list",list);
        return "allBook";
    }

    @RequestMapping("/toAddPages")
    public String toAddPages(){
        return "addBook";
    }

    //添加书籍的请求
    @RequestMapping("/addBook")
    public String addBook(Books books){
//        System.out.println( "addBook=>"+books.getBookName()+" "+books.getBookCounts()+""+books.getDetail());
        bookService.addBooks(books);
        return "redirect:/book/allBook";//重定向到我们的@RequestMapping("/aLLBook")请求;
    }

    @RequestMapping("/toUpdate")
    public String toUpdatePages(int id,Model model){
        Books book = bookService.queryBooksByID(id);
        model.addAttribute("QBook",book);
        return "updateBook";
    }
    @RequestMapping("/updateBook")
    public String updateBook(Books books){
        System.out.println( "addBook=>"+books.getBookID()+" "+books.getBookName()+" "+books.getBookCounts()+" "+books.getDetail());
        bookService.updateBook(books);
        return "redirect:/book/allBook";
    }

    @RequestMapping("/deleteBook/{bookID}")
    public String deleteBook(@PathVariable("bookID") int id){
//        System.out.println(id);
        bookService.deleteBookByID(id);
        return "redirect:/book/allBook";
    }

}
16.在此期间需要编写相应的jsp文件
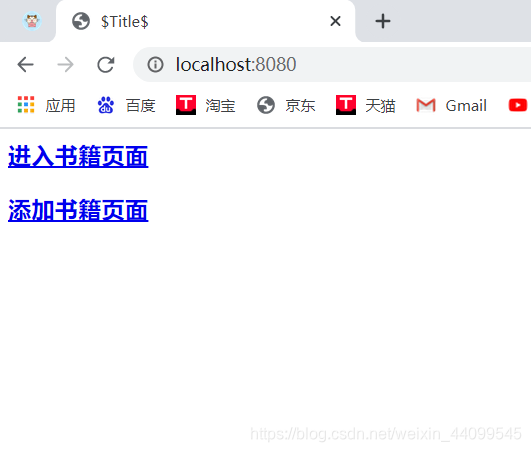
首页index.jsp
<%@ page contentType="text/html;charset=UTF-8" language="java" %>
<html>
  <head>
    <title>$Title$</title>
  </head>
  <body>
  <h3><a href="${pageContext.request.contextPath}/book/allBook">进入书籍页面</a></h3>
  <h3><a href="${pageContext.request.contextPath}/book/toAddPages">添加书籍页面</a></h3>
  </body>
</html>
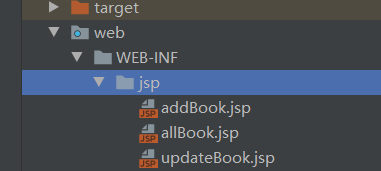
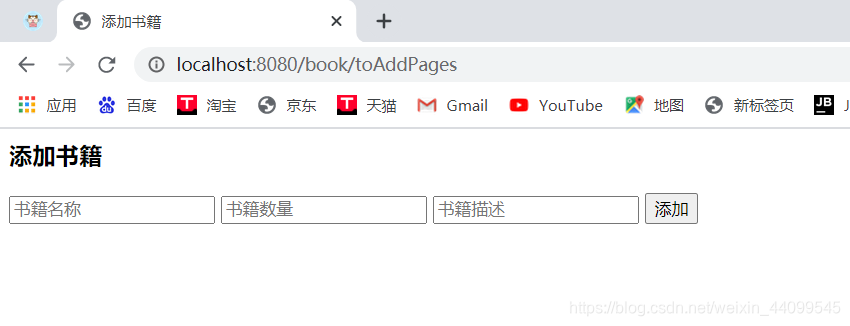
addBook.jsp
<%@ page contentType="text/html;charset=UTF-8" language="java" %>
<html>
<head>
    <title>添加书籍</title>
</head>
<body>
<h3>添加书籍</h3>
<form action="${pageContext.request.contextPath}/book/addBook" method="post">
    <input type="text" required name="bookName" placeholder="书籍名称"/>
    <input type="text" required name="bookCounts" placeholder="书籍数量"/>
    <input type="text" required name="detail" placeholder="书籍描述"/>
    <input type="submit" value="添加"/>
</form>
</body>
</html>
allBook.jsp
<%@ page contentType="text/html;charset=UTF-8" language="java" %>
<html>
<head>
<title>书籍展示</title>
</head>
<body>
<h1>书籍展示</h1>
<c:forEach var="book" items="${list}">
<h4>
<span>${book.bookID}</span>
<span>${book.bookName}</span>
<span>${book.bookCounts}</span>
<span>${book.detail}</span>
<span><a href="${pageContext.request.contextPath}/book/toUpdate?id=${book.bookID}">修改</a></span> |
<span><a href="${pageContext.request.contextPath}/book/deleteBook/${book.bookID}">删除</a></span>
</h4>
</c:forEach>
</body>
</html>
updateBook.jsp
<%@ page contentType="text/html;charset=UTF-8" language="java" %>
<html>
<head>
    <title>修改书籍</title>
</head>
<body>
<h3>修改书籍</h3>
<form action="${pageContext.request.contextPath}/book/updateBook" method="post">
    <input type="hidden" name="bookID" value="${QBook.bookID}"/>
    <input type="text" required name="bookName" value="${QBook.bookName}" placeholder="书籍名称"/>
    <input type="text" required name="bookCounts" value="${QBook.bookCounts}"placeholder="书籍数量"/>
    <input type="text" required name="detail"value="${QBook.detail}" placeholder="书籍描述"/>
    <input type="submit" value="修改"/>
</form>
</body>
</html>
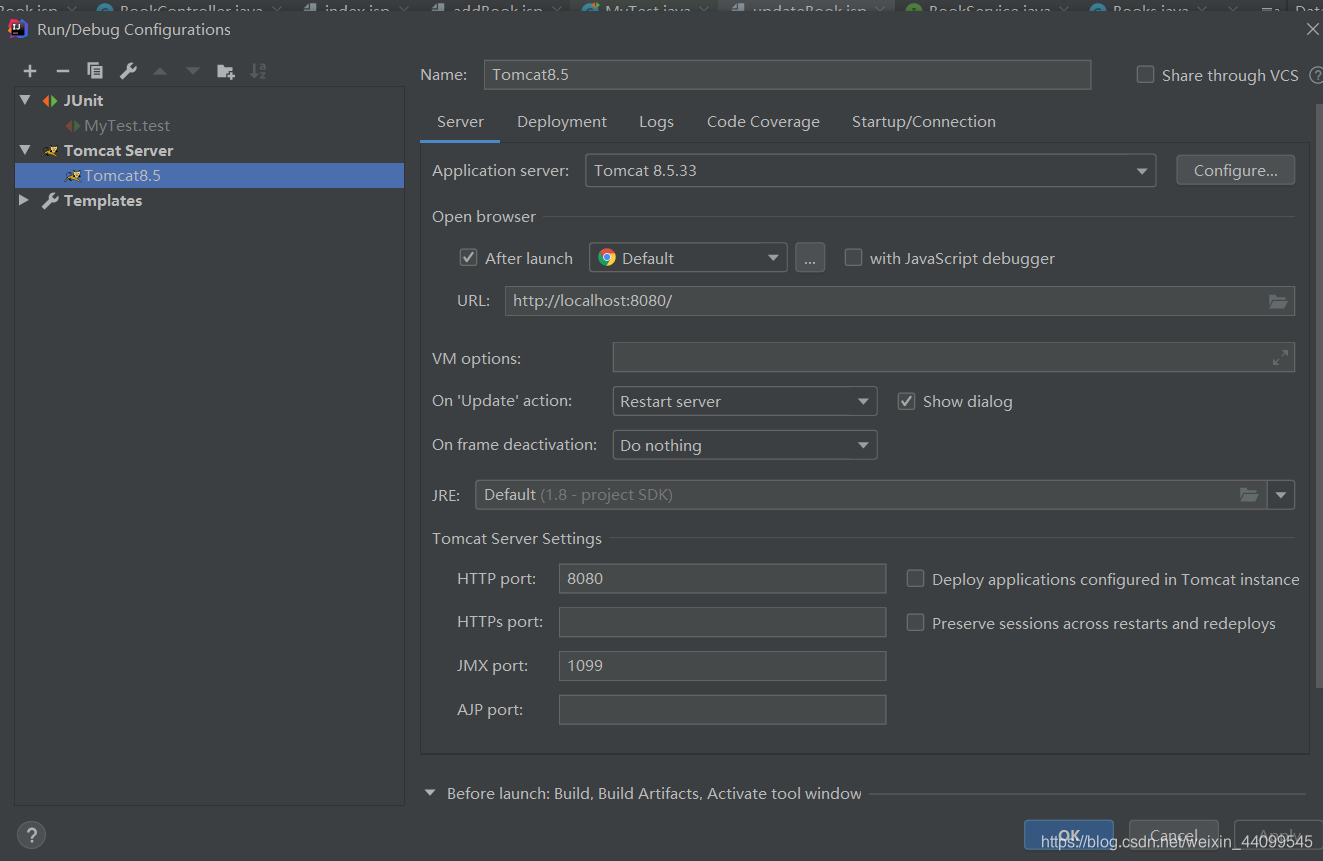
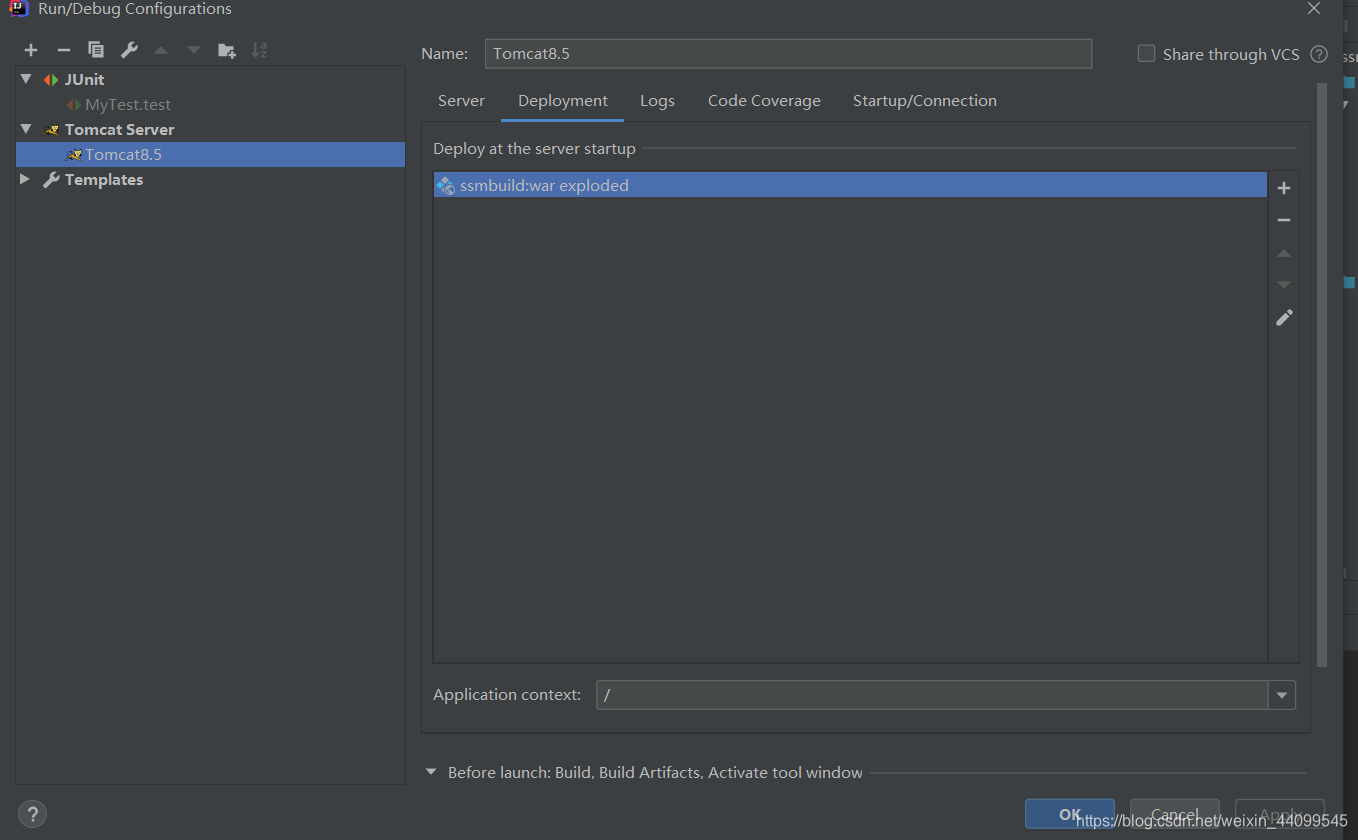
最后配置一下tomcat,就可以跑起来了
index.jsp页面,时间有限,样式没去弄
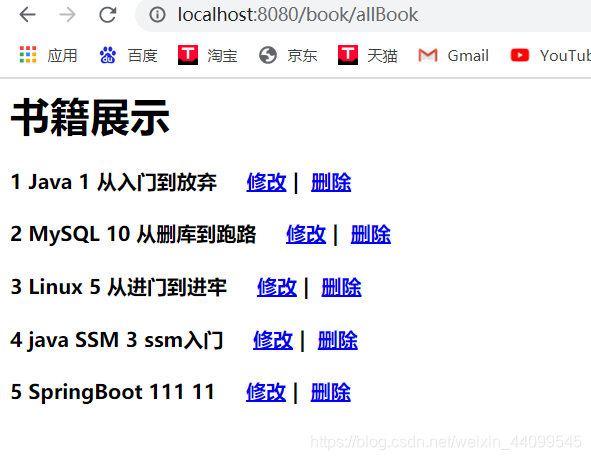
 书籍展示页面
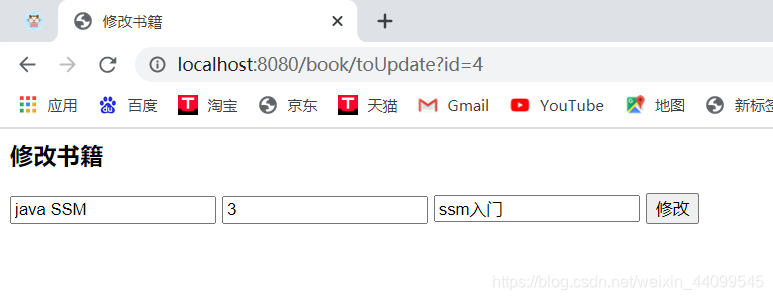
 修改书籍页面
 添加书籍页面