高德地图+Vue3.0组件构建
近期,在进行项目开发的时候,系统中一大功能就是物流系统。所以以高德地图原生API结合Vue3.0,开发相关功能...
一、如何在Vue3中引入高德地图?
①在index.html中
your key 在高德地图官网申请的key码
<script type="text/javascript" src="http://webapi.amap.com/maps?v=1.3&key='your key'"></script>
②在main.js中引入
import AMap from "AMap";
Vue.use(AMap);
③在vue.config.js中引入
  configureWebpack: {


    externals: {


      AMap: "AMap",
    },
  },
二、需求一:在首页制作轮播图类型的地图组件
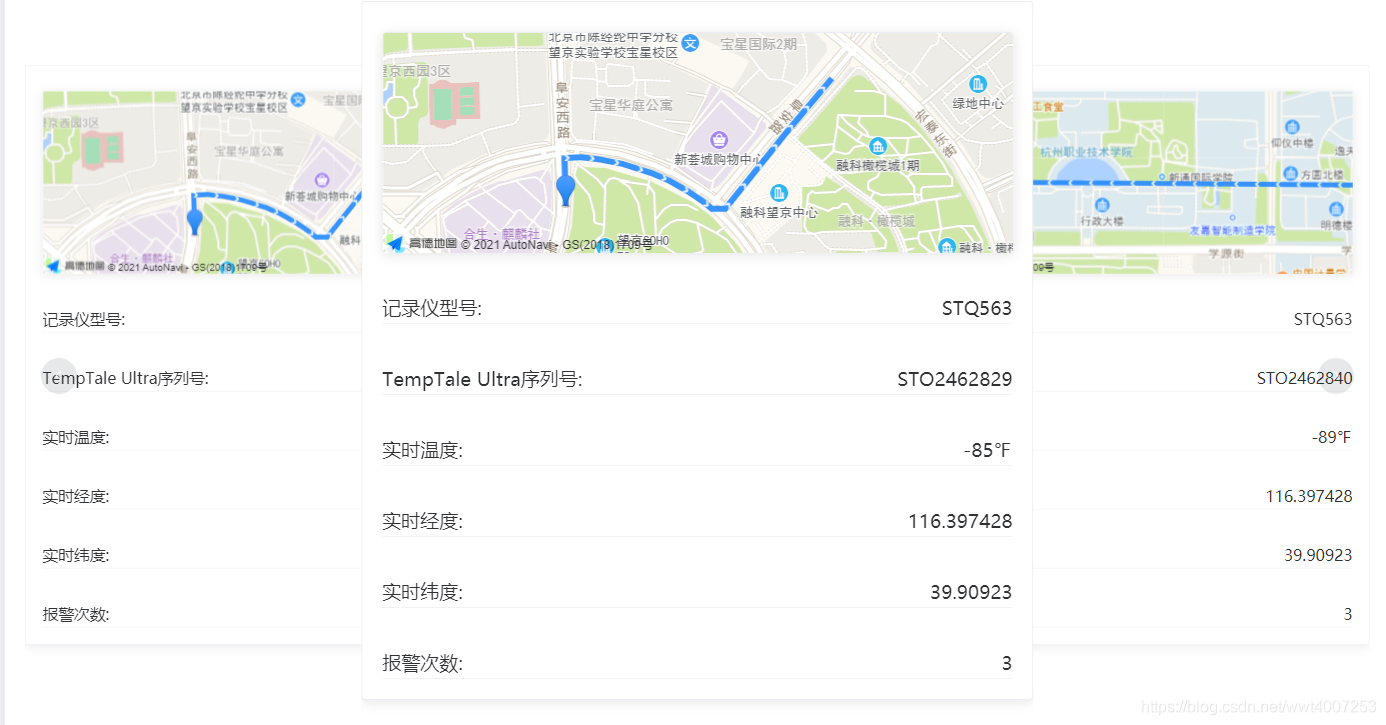
作为子组件,他需要获取从上层父级元素遍历来的数组进行渲染,主要点还是在于要把包括id在内的所有数据动态绑定在data中
<!-- 高德地图组组件 -->
<template>
  <div>
    <div :id="container" style="width: 630px; height: 221px"></div>
  </div>
</template>

<script>
import AMap from "AMap";
export default {


  data() {


    return {


      container: "",
      lineArr: [],
      map: {

    },
      maker: {

    },
      polyline: {

    },
    };
  },
  created() {


    this.printData();
  },
  mounted() {


    this.init();
  },
  props: ["recordData"],
  methods: {


    printData() {


    //处理从上层传值来的数据
      this.lineArr = this.recordData.recordMap.mapAO;
      this.container = this.recordData.id;
    },
    init() {


      //制作地图
      this.map = new AMap.Map(this.recordData.id, {


        resizeEnable: true,
        center: this.recordData.recordMap.mapData.center,
      });
      //制作点
      this.marker = new AMap.Marker({


        map: this.map,
        position: this.recordData.recordMap.mapData.position,
      });
      //制作路径
      this.polyline = new AMap.Polyline({


        map: this.map,
        path: this.lineArr,
        showDir: true,
        strokeColor: "#28F",
        strokeWeight: 6,
      });
      //打印点,路径,以及动态设置zoom大小
      this.map.add(this.marker);
      this.map.setFitView();
      this.map.setZoom(16);
    },
  },
};
</script>


<style  scoped>
</style>
相关Bug
1.在netlify上代码托管时浏览器报错https错误,在index.html中添加如下代码,再git push,但是记得在开发中注释掉以防止网页报错
<meta http-equiv="Content-Security-Policy" content="upgrade-insecure-requests">
2.在组价制作中首先就是渲染过程,发现只能渲染第一张图。调试后发现,通过动态绑定id变换可以解决
3.图例问题,要将图例动态放到最后设置,否则在渲染过程中有可能会出现失去图片失效等问题