Yum(Shell前端包管理器)
Yum(全称为 Yellow dog Updater, Modified)是一个在Fedora和RedHat以及CentOS中的Shell前端软件包管理器。基于RPM包管理,能够从指定的服务器自动下载RPM包并且安装,可以自动处理依赖性关系,并且一次安装所有依赖的软件包,无须繁琐地一次次下载、安装。
一、配置Yum源
1.新建目录进行保存镜像和挂载
[root@foundation79 /]# mkdir /resource7.0 /resource7.2 /iso

   #目录iso用于保存镜像,目录resource7.0和resource7.2用于镜像的挂载

[root@foundation79 iso]# mount rhel-server-7.2-x86_64-dvd.iso /resource/

mount: /dev/loop0 is write-protected, mounting read-only

    #将镜像rhel-server-7.2-x86_64-dvd.iso挂载到resource目录下面。
##备份本地缓存
新建目录repobackup在根目录,用于备份本地缓存
[root@foundation79 yum.repos.d]# mkdir /repobackup##清除缓存
[root@foundation79 yum.repos.d]# mv * /repobackup/
2.编辑yum.repo即yum源的配置文件
[root@foundation79 yum.repos.d]# vim yum.repo| [rhel7.2] name=rhel7.2 baseurl=file:///resource #挂载镜像的本地目录 baseurl=http:/// gpgcheck=0 #是否使用gpg校验 |
4.清除yum缓存
以上配置结束之后,要清空yum 缓存,并重建yum缓存。
yum clean all
或 rm -rf /var/cache/yum/*
[root@foundation79 yum.repos.d]# yum clean all

Loaded plugins: langpacks, product-id, search-disabled-repos, subscription-

              : manager

This system is not registered to Red Hat Subscription Management. You can use subscription-manager to register.
挂载镜像后,resource目录下会产生一些相关文件,其中安装包就在Packages目录下。至此,yum源就安装好了,可以直接与yum指令
二、使用yum源安装软件
1.查看相关软件
(1)在目录中查找
[root@foundation79 iso]# ls /resource/Packages/ |grep dhcp

dhcp-4.2.5-42.el7.x86_64.rpm

dhcp-common-4.2.5-42.el7.x86_64.rpm

dhcp-libs-4.2.5-42.el7.i686.rpm

dhcp-libs-4.2.5-42.el7.x86_64.rpm
(2)使用yum指令查看
[kiosk@foundation79 Desktop]$ yum list dhcp
Loaded plugins: langpacks, product-id, search-disabled-repos, subscription-
              : manager
Installed Packages
dhcp.x86_64                       12:4.2.5-42.el7                       @rhel7.2
2.安装软件
[root@foundation79 yum.repos.d]# yum install dhcp

Loaded plugins: langpacks, product-id, search-disabled-repos, subscription-

              : manager

This system is not registered to Red Hat Subscription Management. You can use subscription-manager to register.

Resolving Dependencies

--> Running transaction check

---> Package dhcp.x86_64 12:4.2.5-42.el7 will be installed

--> Finished Dependency Resolution


Dependencies Resolved


================================================================================

 Package       Arch            Version                   Repository        Size

================================================================================

Installing:

 dhcp          x86_64          12:4.2.5-42.el7           rhel7.2          511 k

...

Installed:

  dhcp.x86_64 12:4.2.5-42.el7

Complete!


Cleaning repos: rhel7.2

Cleaning up everything
##查看软件是否安装
[root@foundation79 yum.repos.d]# yum list installed | grep dhcp

dhcp.x86_64                             12:4.2.5-42.el7            @rhel7.2

dhcp-common.x86_64                      12:4.2.5-42.el7            @anaconda/7.2

dhcp-libs.x86_64                        12:4.2.5-42.el7            @anaconda/7.2
二、共享yum源到局域网中
- 配置yum源
- 安装好http服务
- 将yum源挂载到http目录下
- 客户机更改yum配置
1.使用yum源安装httpd服务
[root@foundation79 yum.repos.d]# yum install httpd

Loaded plugins: langpacks, product-id, search-disabled-repos, subscription-manager

This system is not registered to Red Hat Subscription Management. You can use subscription-manager to register.

Resolving Dependencies

--> Running transaction check

---> Package httpd.x86_64 0:2.4.6-40.el7 will be installed

--> Processing Dependency: httpd-tools = 2.4.6-40.el7 for package: httpd-2.4.6-40.el7.x86_64

--> Processing Dependency: libapr-1.so.0()(64bit) for package: httpd-2.4.6-40.el7.x86_64
...
Installed:
  httpd.x86_64 0:2.4.6-40.el7
Dependency Installed:
  apr.x86_64 0:1.4.8-3.el7            apr-util.x86_64 0:1.5.2-6.el7            httpd-tools.x86_64 0:2.4.6-40.el7

Complete!
2.启动httpd程序
同时可以选择设置开机自启实现重启后自动共享
[root@foundation79 yum.repos.d]# systemctl start httpd
[root@foundation79 ~]# systemctl enable httpd.service

Created symlink from /etc/systemd/system/multi-user.target.wants/httpd.service to /usr/lib/systemd/system/httpd.service.
3.关闭防火墙
[root@foundation79 ~]# systemctl stop firewalld
[root@foundation79 ~]# systemctl disable firewalld
4.新建目录,该目录下的文件可以通过httpd共享
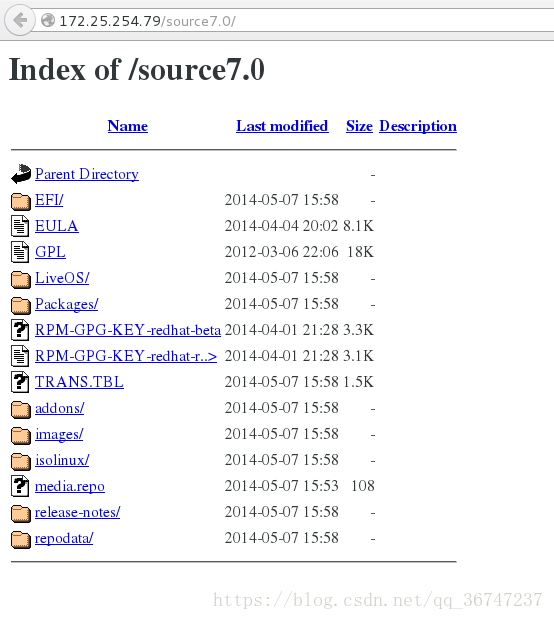
[root@foundation79 ~]# mount /iso/rhel-server-7.0-x86_64-dvd.iso /var/www/html/source7.0/
mount: /dev/loop1 is write-protected, mounting read-only
You have new mail in /var/spool/mail/root
##利用df指令查看镜像是否被挂载
[root@foundation79 ~]# df
Filesystem     1K-blocks     Used Available Use% Mounted on
/dev/sda9      125254908 13544464 111710444  11% /
devtmpfs         3951352        0   3951352   0% /dev
tmpfs            3964400      160   3964240   1% /dev/shm
tmpfs            3964400     9128   3955272   1% /run
tmpfs            3964400        0   3964400   0% /sys/fs/cgroup
/dev/sda7         505580   149292    356288  30% /boot
tmpfs             792884       36    792848   1% /run/user/1000
/dev/sdb1       15133232 10161792   4971440  68% /run/media/kiosk/D6BC-DE4E
tmpfs            3964400       88   3964312   1% /tmp
/dev/loop0       3947824  3947824         0 100% /resource
/dev/loop1       3654720  3654720         0 100% /var/www/html/source7.0
You have new mail in /var/spool/mail/root
##如何实现开机时自动挂载
添加可执行权限—->编辑开机自启动配置
[root@foundation79 ~]# chmod +x /etc/rc.d/rc.local
[root@foundation79 ~]# vim /etc/rc.d/rc.local| mount /iso/rhel-server-7.0-x86_64-dvd.iso /var/www/html/source7.0/ mount /iso/rhel-server-7.2-x86_64-dvd.iso /var/www/html/source7.2/ |
5.在客户机中检测
在浏览器中键入ip:/yum源挂载目录/