前言
最近从事性能测试相关的工作,用 Locust 来进行性能测试,前期翻阅了相关资料,对 Locust 有个基本了解,详细信息还是以官网 Locust 为主。
经过实践得出 Locust 是非常简单易用的负载测试工具,提供 Web UI 可视化报告,上手比较快,当然对于复杂系统,还是需要大量研究和努力的。
本文主要介绍:
- TaskSet 类
- HttpUser 类
- Locust 启动
- 通过实例了解 Locust 并发执行过程
环境
最好用 Python 3 高一点的版本,装最新的 Locust 版本
通过 pip install locust 安装 Locust
python -V
Python 3.7.7

Locust -V
locust 2.2.3
Locust 两个主要的类:
TaskSet 类
主要是定义用户要执行的 task 集合。
@task
我们可以定义了一个类继承自 TaskSet 类,类的方法标上 @task 方法就是用户要执行的 task。
当一个 TaskSet 开始运行时,每个虚拟的用户每次都会从中挑选一个 task 执行,执行完一个 task 再去挑选另外一个 task 执行,就这样循环执行下去,直到停止运行。
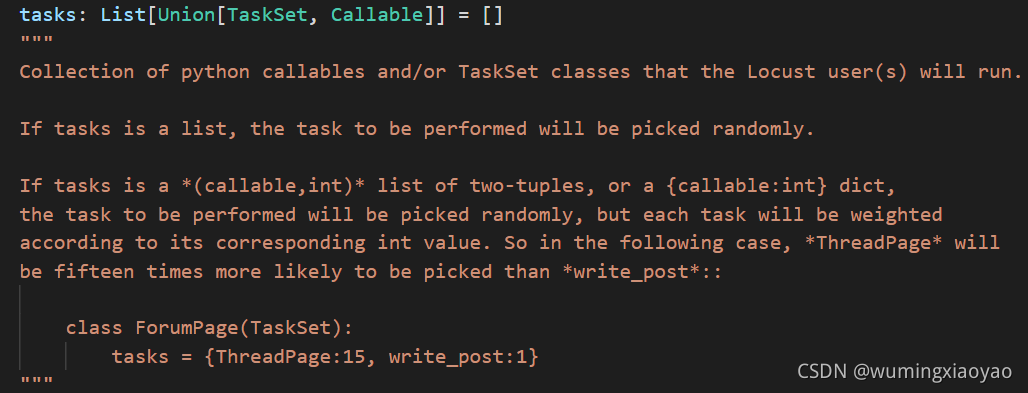
针对 task 的挑选,如果不设置权重,task 被选中的机会是均等的。如果设置权重, 如:@task(1), @task(2)
假设用户要执行 3 次 task,那么标上 @task(1) 的task会执行一次,而标上 @task(2) 会执行 2 次。
on_start 和 on_stop 方法
TaskSet 类源码中还有下面两个方法,如果有需要我们也可以重写这两个方法,实现执行前一些初始化操作和执行完后的操作。
on_start 是用户在开始执行一个 TaskSet 时会执行,on_stop 是用户停止执行一个TaskSet 时会执行。
注意不是 task 级别哟,而是 TaskSet 级别。
    def on_start(self):
        """
        Called when a User starts executing this TaskSet
        """
        pass

    def on_stop(self):
        """
        Called when a User stops executing this TaskSet. E.g. when TaskSet.interrupt() is called
        or when the User is killed
        """
        pass
特别说明一下,有些版本还会有 setup,teardown 方法,具体要看版本是否支持,可通过 TaskSet 源码来看。我用的是 Locust 2.2.3,就不支持 setup,teardown 方法。
TaskSet 类例子
定义了一个 UserBehavior 类继承自 TaskSet,类中两个方法分别发起 HTTP GET 方法,并标上 @task 标签。
class UserBehavior(TaskSet):

    def on_start(self):
        print('task set start')
        self.image_index = 0
        self.root_index = 0

    def on_stop(self):
        print('task set end')

    @task
    def get_images(self):
        print("get_images task")
        print("image index : " + str(self.image_index))
        self.image_index += 1
        response = self.client.get('/images', name='get_images')
        if not response.ok:
            print(response.text)
            response.failure('Got wrong response')

    @task
    def get_root(self):
        print("get_root task")
        print("root index : " + str(self.root_index))
        self.root_index += 1
        response = self.client.get('',name='get_root')
        if not response.ok:
            print(response.text)
            response.failure('Got wrong response')
HttpUser 类
代表性能测试时模拟的用户,继承自 User 类,但比 User 类更实用,以为多出一个 client 属性,可以用于发送 HTTP 请求。
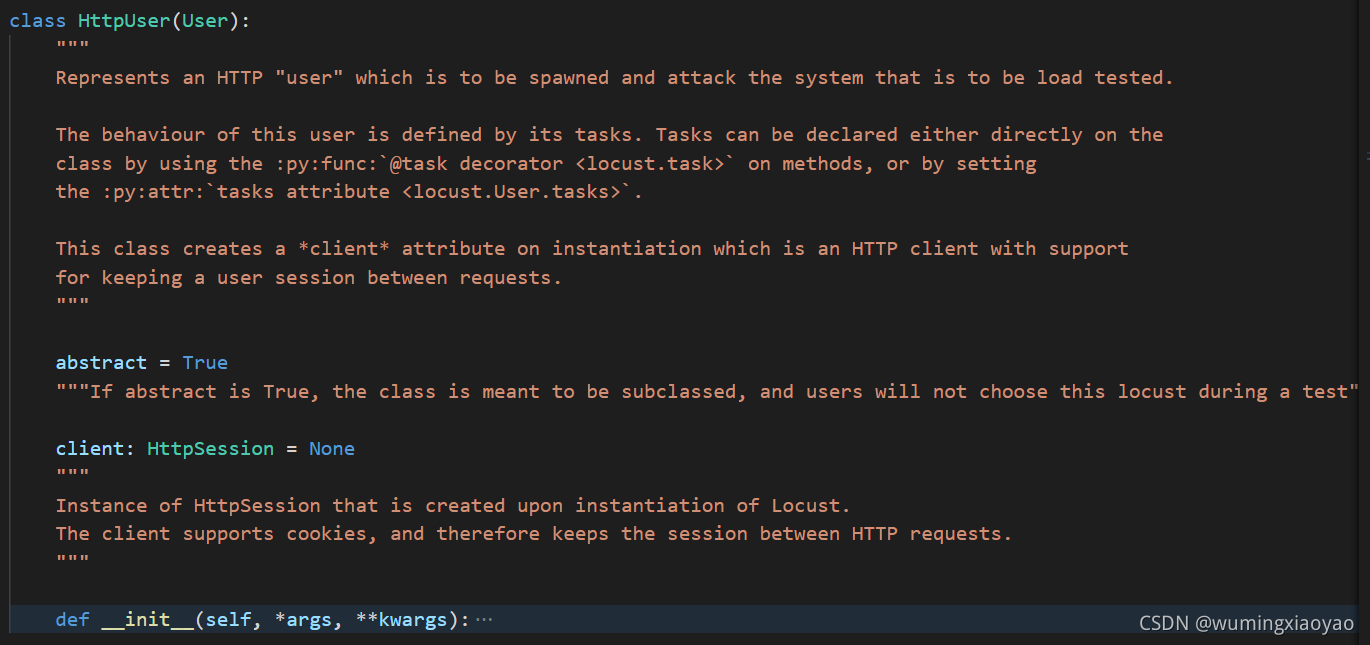
client 属性是 HttpSession 类的实例,
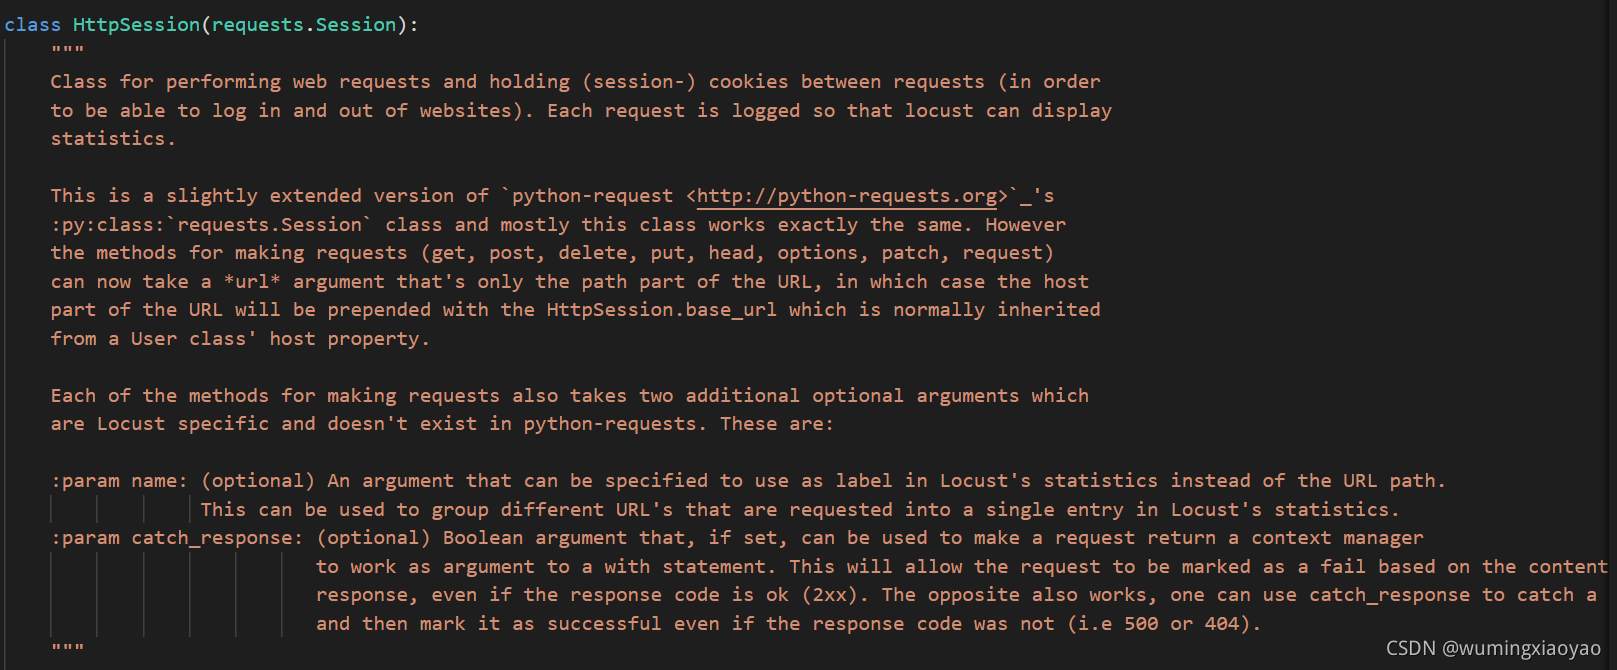
HttpSession是requests.Session的子类,requests就是常用来做接口测试的那个requests库
on_start() 和 on_stop 方法
父类 User 中的两个方法:
on_start() 用于用户开始运行时
on_stop() 用于用户停止运行时

wait_time
父类 User 中 wait_time 属性,用于模拟用户执行 task 间等待的时候,如果默认不设置,就表示一个 task 执行结束,不等待直接执行下一个 task。
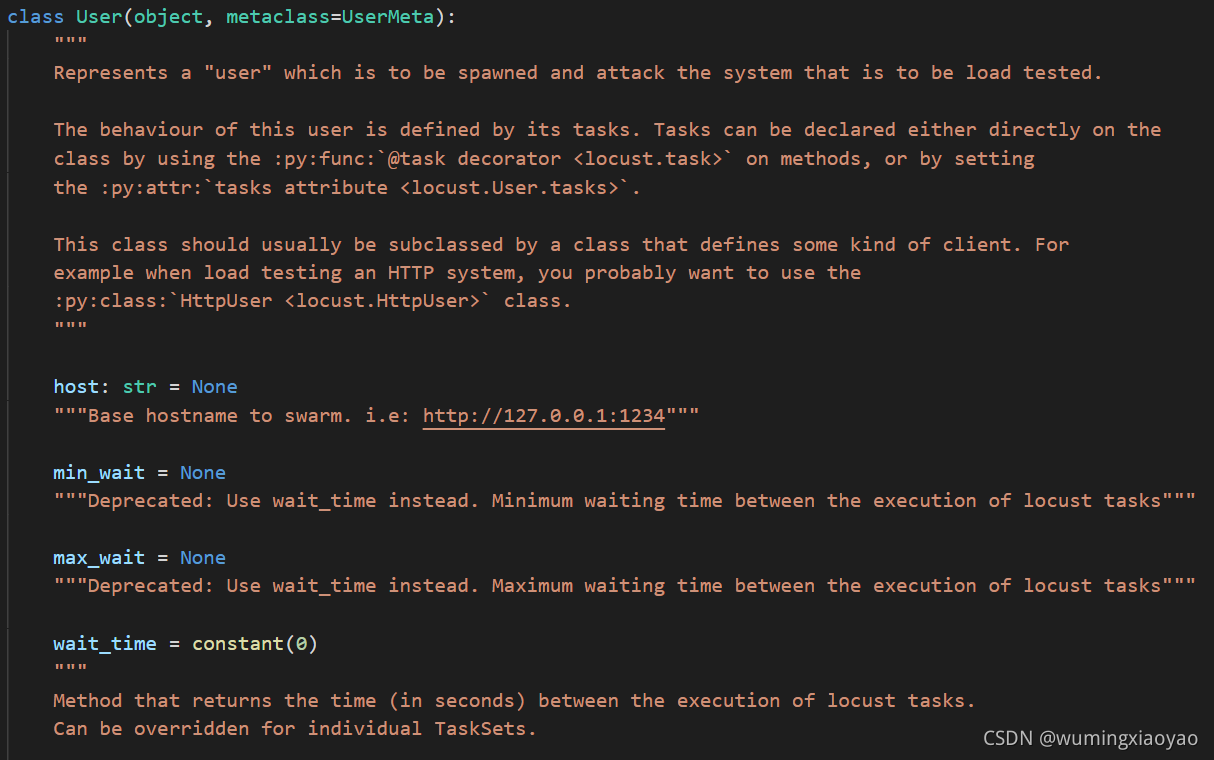
host
父类 User 中 host 属性,也可以不设置,在请求 HTTP request 时写完整的 URL。如果设置,就只需写除去 host 的部分 path。
tasks
父类 User 中的 tasks 属性,用于指定用户要执行的 TaskSet,注意类型是一个数组,网上一些实例中会用到 Locust 之前的版本 HttpLocust 类中的 task_set 属性,Locust 新版本中不支持 HttpLocust 类了。
HttpUser 类例子
定义一个 TestLocust 类,继承自 HttpUser 类。
class TestLocust(HttpUser):
    # If no wait_time is specified, the next task will be executed as soon as one finishes.
    wait_time = between(0,1)

    def on_start(self):
        print('locust start')

    def on_stop(self):
        print('locust stop')

    tasks = [UserBehavior]
    host = "https://cn.bing.com"
Locust 启动
通常我们用 python 来描述单个用户的行为,如上面定义 TaskSet 和 HttpUser,组成一个普通的 python 模块,如果写作 locust_demo.py,我们也称这个文件为 locust file,也就是性能测试的用户脚本。那么我们怎么去执行性能测试呢。
方法一:结合 Web UI
Comand run: locust -f locust_files/my_locust_file.py
打开 Locust Web UI:http://localhost:8089/
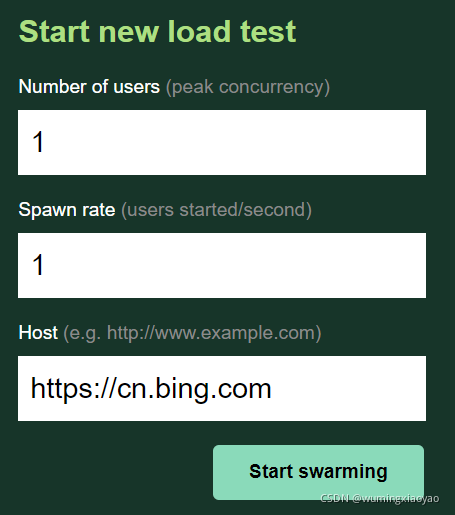
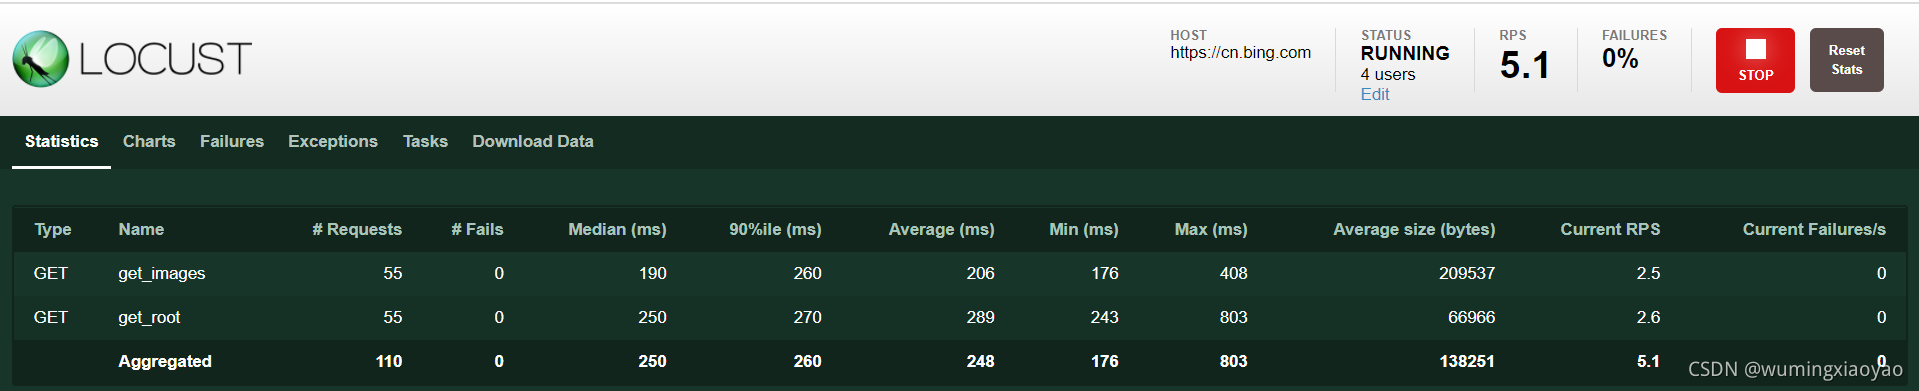
通过 Web UI 设置并发 user 数,每秒到达用户数,host(脚本里有设置也会带到UI上),点击 Start swarming 就开始执行了。
想要停止测试,就通过 UI 上的 点击 Stop button
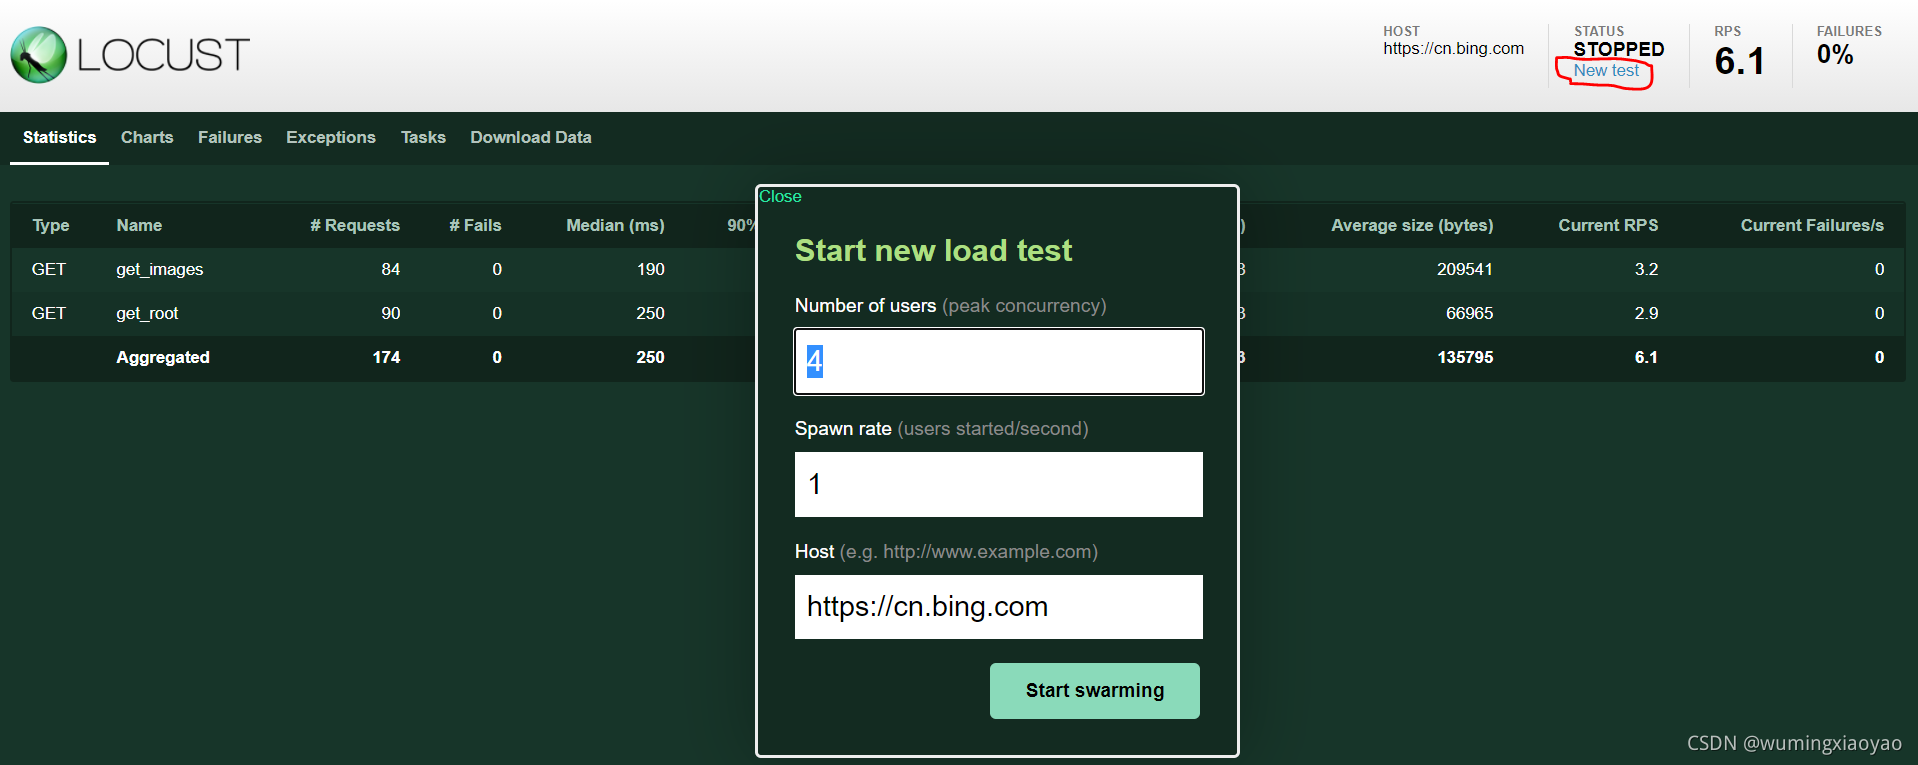
想执行新一轮测试,可以 click New Test。
想结束整个 Locust,可以在命令行里执行 Ctrl + c
方法二:没有 Web UI
command run:"locust -f locust_demo.py --headless -u 4 -r 2 --run-time 5 --stop-timeout 15 --logfile log.txt --csv=example"
注意用 --headless 一定要结合 -u 和 -r 参数一起用
| 参数 | 说明 |
|---|---|
| - -headless | 无 Web UI |
| -u | 设置并发 user 数 |
| -r | 每秒到达 user 数 |
| - -run-time | 执行时间 |
| - -stop-timeout | 结束时允许处理的时间 |
| - -logfile | 设置 log 文件 |
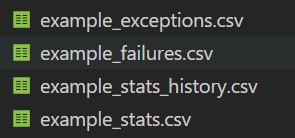
| - -csv | 收集统计数据以csv格式 |
结束测试通过 command run工:Ctrl + c
可以看到有统计数据表生成,还有log 文件。

方法三:配置 config
上面两种方式,参数要么在命令中设置,要么通过 UI来配置,还有一种方式,通过config 文件来设置,可以创建一个文件,默认名字可以为 locust.conf, Locust 启动时只要使用了 --config 参数会自动寻找 locust.conf 这个文件,如果不用默认的名字,–config 参数就得指定config 文件。
# master.conf in current directory
locustfile = pipeline_locust.py
host =
users = 5
spawn-rate = 1
run-time = 15m
autostart = true
tags=tag1 tag2 tag3
| 参数 | 说明 |
|---|---|
| host | host 可以不设置,但必须要有 |
| autostart | 这个用于带 web UI的,当Locust Web UI 一直开着,会自动刷新 Locust Web UI |
| tags | 按tag来执行task,方法上标上@task 和 @tag(“tag name”) |
| 其它 | 可以设置其它任意参数,可以是带 Web UI的,也可以是 headless 不带 Web UI的 |
不用默认名 command run: locust --config=master.conf
采用默认名 command run:locust --config
结束测试通过 command run工:Ctrl + c
执行过程
通过一个例子来了解并发执行的过程
locust_demo.py
加了一些 log 方法方便观察
from locust import TaskSet, task, HttpUser
import os
from locust.user.wait_time import between

class UserBehavior(TaskSet):

    def on_start(self):
        print('taskset start')
        self.image_index = 0
        self.root_index = 0

    def on_stop(self):
        print('taskset end')

    @task
    def get_images(self):
        print("get_images task")
        print("image index : " + str(self.image_index))
        self.image_index += 1
        response = self.client.get('/images', name='get_images')
        if not response.ok:
            print(response.text)
            response.failure('Got wrong response')

    @task
    def get_root(self):
        print("get_root task")
        print("root index : " + str(self.root_index))
        self.root_index += 1
        response = self.client.get('',name='get_root')
        if not response.ok:
            print(response.text)
            response.failure('Got wrong response')

class TestLocust(HttpUser):
    # If no wait_time is specified, the next task will be executed as soon as one finishes.
    wait_time = between(0,1)


    def on_start(self):
        print('locust user start')

    def on_stop(self):
        print('locust user stop')

    tasks = [UserBehavior]
    host = "https://cn.bing.com"

if __name__ == "__main__":
    # -u concurrency user number
    # -r generate user number per second
    # --run-time or -t
    os.system("locust -f locust_demo.py --headless -u 4 -r 2 --run-time 10s --stop-timeout 5 --logfile log.txt --csv=example")
    # os.system("locust -f locust_demo.py --logfile log.txt --csv=example")
我们直接运行 locust_demo.py即可,Locust 启动命令也包含在文件中。
os.system("locust -f locust_demo.py --headless -u 4 -r 2 --run-time 10s --stop-timeout 5 --logfile log.txt --csv=example")
模拟 4 个 user 并发,每秒达到 2 个 user,运行 10s 结束。
log
locust user start
taskset start
get_root task
root index : 0
locust user start
taskset start
get_root task
root index : 0
get_images task
image index : 0
locust user start
taskset start
get_images task
image index : 0
locust user start
taskset start
get_root task
root index : 0
get_root task
root index : 1
get_images task
image index : 1
get_images task
image index : 1
get_root task
root index : 1
get_root task
root index : 2
get_root task
root index : 1
get_images task
image index : 2
get_images task
image index : 2
get_images task
image index : 0
get_images task
image index : 3
get_root task
root index : 2
get_images task
image index : 1
get_root task
root index : 3
get_root task
root index : 0
get_root task
root index : 3
get_images task
image index : 4
get_root task
root index : 1
get_root task
root index : 4
get_images task
image index : 5
get_images task
image index : 2
get_images task
image index : 6
get_images task
image index : 0
get_root task
root index : 5
get_root task
root index : 2
get_images task
image index : 3
get_images task
image index : 1
get_root task
root index : 3
get_root task
root index : 6
get_images task
image index : 7
get_root task
root index : 2
get_root task
root index : 4
get_root task
root index : 4
get_images task
image index : 3
get_root task
root index : 5
get_images task
image index : 4
get_images task
image index : 4
get_images task
image index : 2
get_images task
image index : 5
get_root task
root index : 5
get_images task
image index : 5
get_images task
image index : 8
get_images task
image index : 6
get_root task
root index : 6
get_images task
image index : 7
get_images task
image index : 6
get_images task
image index : 9
taskset end
locust user stop
taskset end
locust user stop
taskset end
locust user stop
taskset end
locust user stop
分析一下log,我把一些统计数据剔除了,方便了解执行过程。
每个模拟 User 执行的顺序是 HttpUser on_start -> TaskSet on_start -> 从TaskSet挑选一个task执行 -> 从TaskSet挑选另外一个task执行 -> 循环反复执行 task -> TaskSet on_stop -> HttpUser on_stop
“locust start” 出现4 次
”taskset start“ 出现4 次
每个 user 都维护着自己的 root_index, image_index 属性,执行过程中每完成一个 task 进行累积

最后结束时, 4 个 user 分别结束
taskset end
locust user stop
taskset end
locust user stop
taskset end
locust user stop
taskset end
locust user stop