1、JRebel简介
JRebel是一个热部署工具。
IDEA本身没有集成热部署工具,改动代码之后,都需要重新run或者debug,影响开发效率。因而可以在IDEA中安装JRebel插件。
安装和使用JRebel需要注意两点:激活和设置。
2、安装JRebel
【File 】----->【Settings】 -----> 【Plugins】
然后选择【Marketplace】,在搜索框中搜索JRebel,找到【JRebel and Xrebel for intellij】 ,点击【Install】,安装完成后点击【Restart IDE】,重启IDEA


3、激活JRebel
方式1:
1、在IDEA中,【File 】----->【Settings】 -----> 【JRebel & XRebel】,找到【Activate now(全新的是这个)】或者【Change license(已激活过的是这个)】,点击进入的激活界面
2、选择【Activate JRebel with】中的 【Team URL(connect to online licensing service)】
第一行输入:
https://jrebel.qekang.com/6f540b75-a1f5-4ccc-ae32-d00e12eda632
第二行输入:[email protected]第一行解释:服务地址 服务地址:https://jrebel.qekang.com/后面跟上{GUID} 生成GUID的几个地址: https://www.guidgen.com http://www.ofmonkey.com/transfer/guid https://www.guidgenerator.com/online-guid-generator.aspx 第二行解释:邮箱
然后勾选同意,点击【Active JRebel】
然后就看到激活了
3、最后,点一下【Work offline】,把JRebel设置为离线模式 ,不然过几天就失效了
方式2:
1、首先到github上去下载一个反向代理软件,根据自己的环境下载对应的版本,此处下载的是64位windows版本。
github地址:github地址
下载地址:下载地址
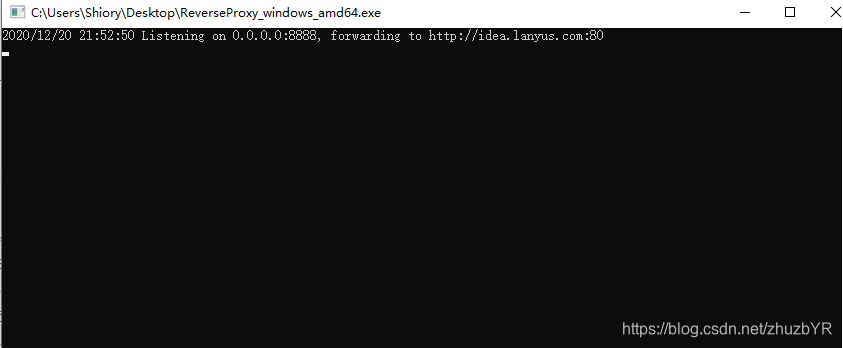
2、双击运行我们下载的程序
3、在IDEA中,【File 】----->【Settings】 -----> 【JRebel & XRebel】,找到【Activate now(全新的是这个)】或者【Change license(已激活过的是这个)】,点击进入的激活界面
4、选择【Activate JRebel with】中的 【Team URL(connect to online licensing service)】
第一行输入: http://127.0.0.1:8888/后面跟上GUID,GUID可以通过以下几个网站生成,并且必须是UUID才能通过验证
生成GUID的几个地址:
https://www.guidgen.com
http://www.ofmonkey.com/transfer/guid
https://www.guidgenerator.com/online-guid-generator.aspx
第二行输入:正确的邮箱格式,例如: [email protected]
然后勾选同意,激活即可
5、最后,点一下【Work offline】,把JRebel设置为离线模式 ,不然过几天就失效了


4、相关配置
设置以下两个地方,让热部署生效
1、设置项目自动编译
【File 】----->【Settings】 -----> 【Build,Execution,Deployment】----->【Compiler】,勾选上【Build project automatically】
2、设置 compiler.automake.allow.when.app.running
ctrl+shift+A 或者【help】----->【Find Action】,打开搜索,输入搜索registry
找到 compiler.automake.allow.when.app.running 并勾选上


