1. 虚拟机安装
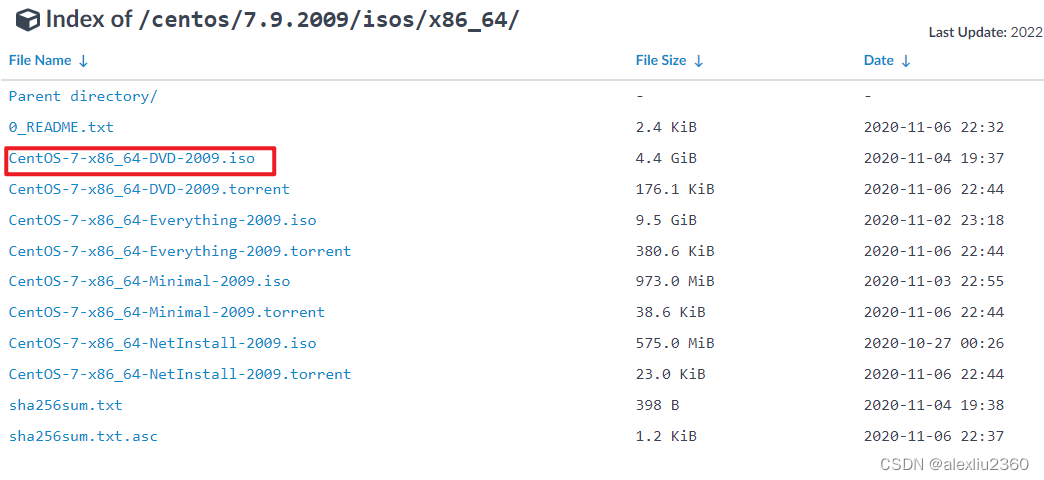
镜像源:https://mirrors.tuna.tsinghua.edu.cn/centos/7.9.2009/isos/x86_64/
- 设置虚拟机静态ip,设置windows vmnet8的子网掩码、网关
- 安装net-tools
- 安装sshd,开启sshd,关闭防火墙
- 安装wget
2. mysql安装 5.7.37版本
- 下载mysql:
wget https://downloads.mysql.com/archives/get/p/23/file/mysql-5.7.37-1.el7.x86_64.rpm-bundle.tar - 安装mysql
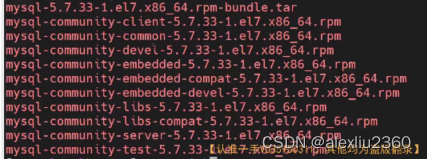
- 解压
tar- xvf mysql-5.7.37-1.el7.x86_64.rpm-bundle.tar rpm -ivh mysql-community-common-5.7.37-1.el7.x86_64.rpmrpm -ivh mysql-community-libs-5.7.37-1.el7.x86_64.rpm- 查看mariadb:
rpm -qa|grep mariadb - 卸载mariadb:
rpm -e --nodeps mariadb-libs-5.5.68-1.el7.x86_64# 注意是– rpm -ivh --force --nodeps mysql-community-libs-5.7.37-1.el7.x86_64.rpmrpm -ivh mysql-community-client-5.7.37-1.el7.x86_64.rpmrpm -ivh --nodeps mysql-community-server-5.7.37-1.el7.x86_64.rpm- 其他插件
- perl
- net-tools
- 查看mariadb:
- 解压
3. mysql配置
- 修改/etc/my.cnf
# For advice on how to change settings please see
# http://dev.mysql.com/doc/refman/5.7/en/server-configuration-defaults.html

[mysqld]
skip-grant-tables # 去掉所有的校验,但是在部署的时候不要这样做
#
# Remove leading # and set to the amount of RAM for the most important data
# cache in MySQL. Start at 70% of total RAM for dedicated server, else 10%.
# innodb_buffer_pool_size = 128M
#
# Remove leading # to turn on a very important data integrity option: logging
# changes to the binary log between backups.
# log_bin
#
# Remove leading # to set options mainly useful for reporting servers.
# The server defaults are faster for transactions and fast SELECTs.
# Adjust sizes as needed, experiment to find the optimal values.
# join_buffer_size = 128M
# sort_buffer_size = 2M
# read_rnd_buffer_size = 2M
datadir=/var/lib/mysql
socket=/var/lib/mysql/mysql.sock

# Disabling symbolic-links is recommended to prevent assorted security risks
symbolic-links=0

log-error=/var/log/mysqld.log
pid-file=/var/run/mysqld/mysqld.pid
- 启动:
systemctl start mysqld.service - 运行客户端:mysql 设置用户名密码:root/123456
update mysql.user set authentication_string=password('123456') where user='root';
flush privileges;
- 关掉mysql服务
systemctl stop mysqld.service重新设置/etc/my.cnf,将skip-grant-tables去掉 - 重新启动mysql服务
systemctl start mysqld.service(设置开机自启动:systemctl enable mysqld.service) - 登录:
mysql -uroot -p123456 - 重新设置密码
set global validate_password_policy=LOW;
set global validate_password_length=4;
set password=password('123456');
grant all privileges on *.* to 'root'@'%' identified by '123456' with grant option; # 可以远程登--宿主机登录
- 重新进入:
mysql -uroot -p123456
4. navicat安装 15版本
- 软件链接:software/navicat(需要的请私信我)
- ”安装“方法:https://blog.csdn.net/weixin_43914278/article/details/114692056
- 卸载:首先卸载navicat,然后再注册表(windows+R)输入regedit,在\HKEY_CURRENT_USER\Software\PremiumSoft删除navicat所有文件
- 安装(安装之前禁止网络)
- 先安装navicat,一路next,最后安装好的时候注意不要打开navicat
- 先打开"安装"软件Keygen ,点击Patch ,就会有提示XXX Crached,然后点击Generate
- 到此打开navicat点击注册,navicat保证断网的前提下,选择手动激活,将刚刚生成的Serial Keygen输入到navicat里,将信息再填到"安装"文件中的Request Code中,在"安装"文件中点击Generate,将generate的信息输入到Navicat里就"安装"成功了