参考PyTorch深度学习快速入门教程(绝对通俗易懂!)【小土堆】P2~5
PyCharm安装
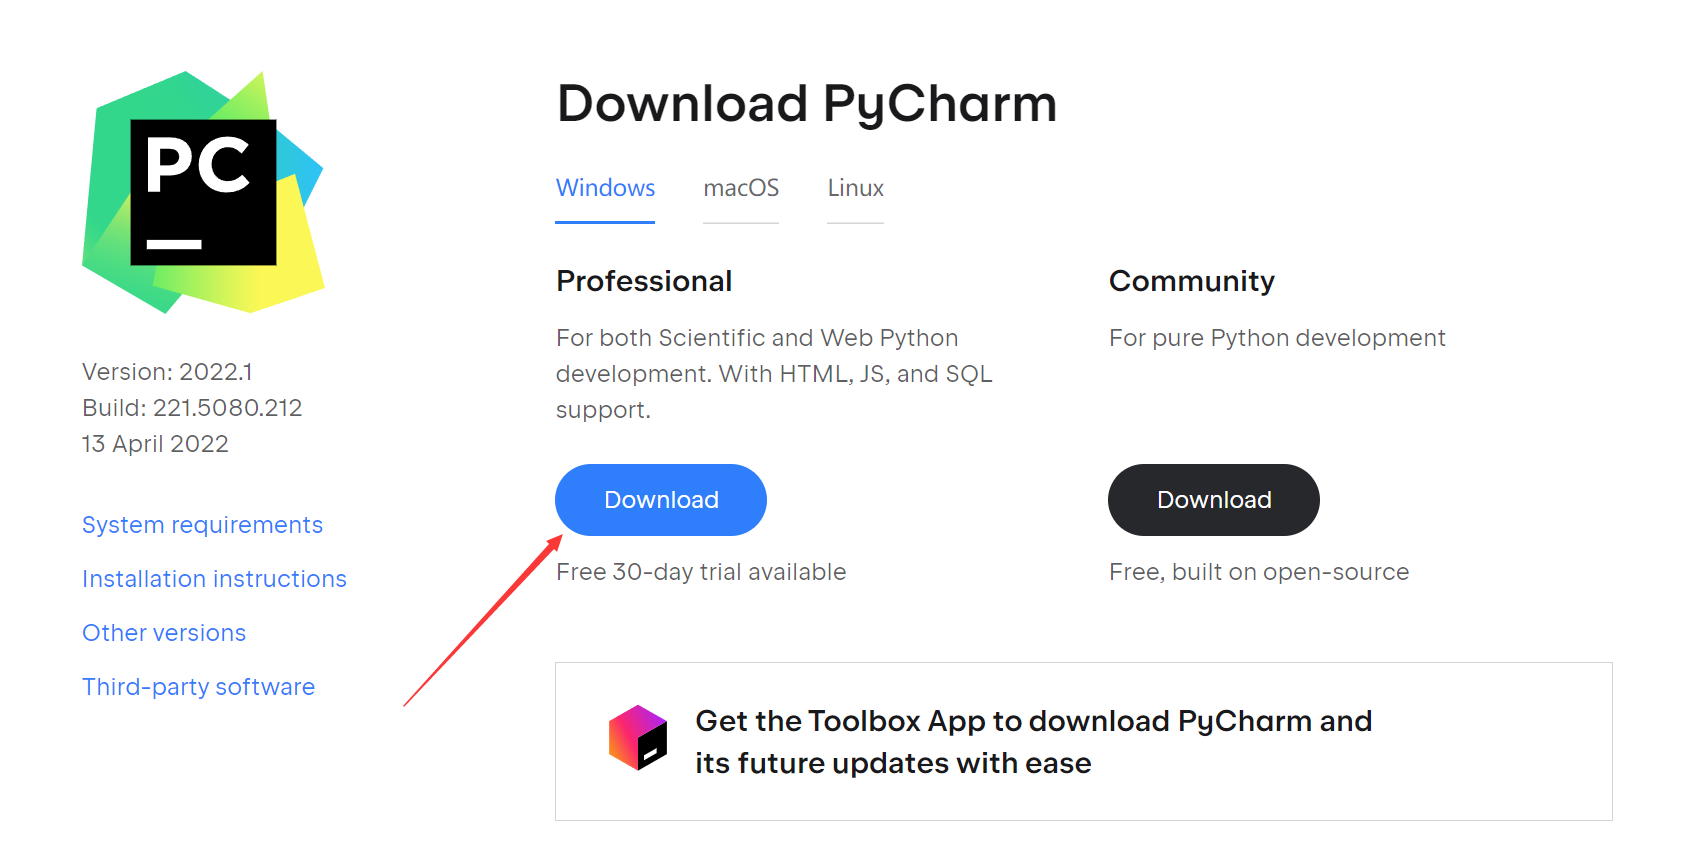
pyCharm官网
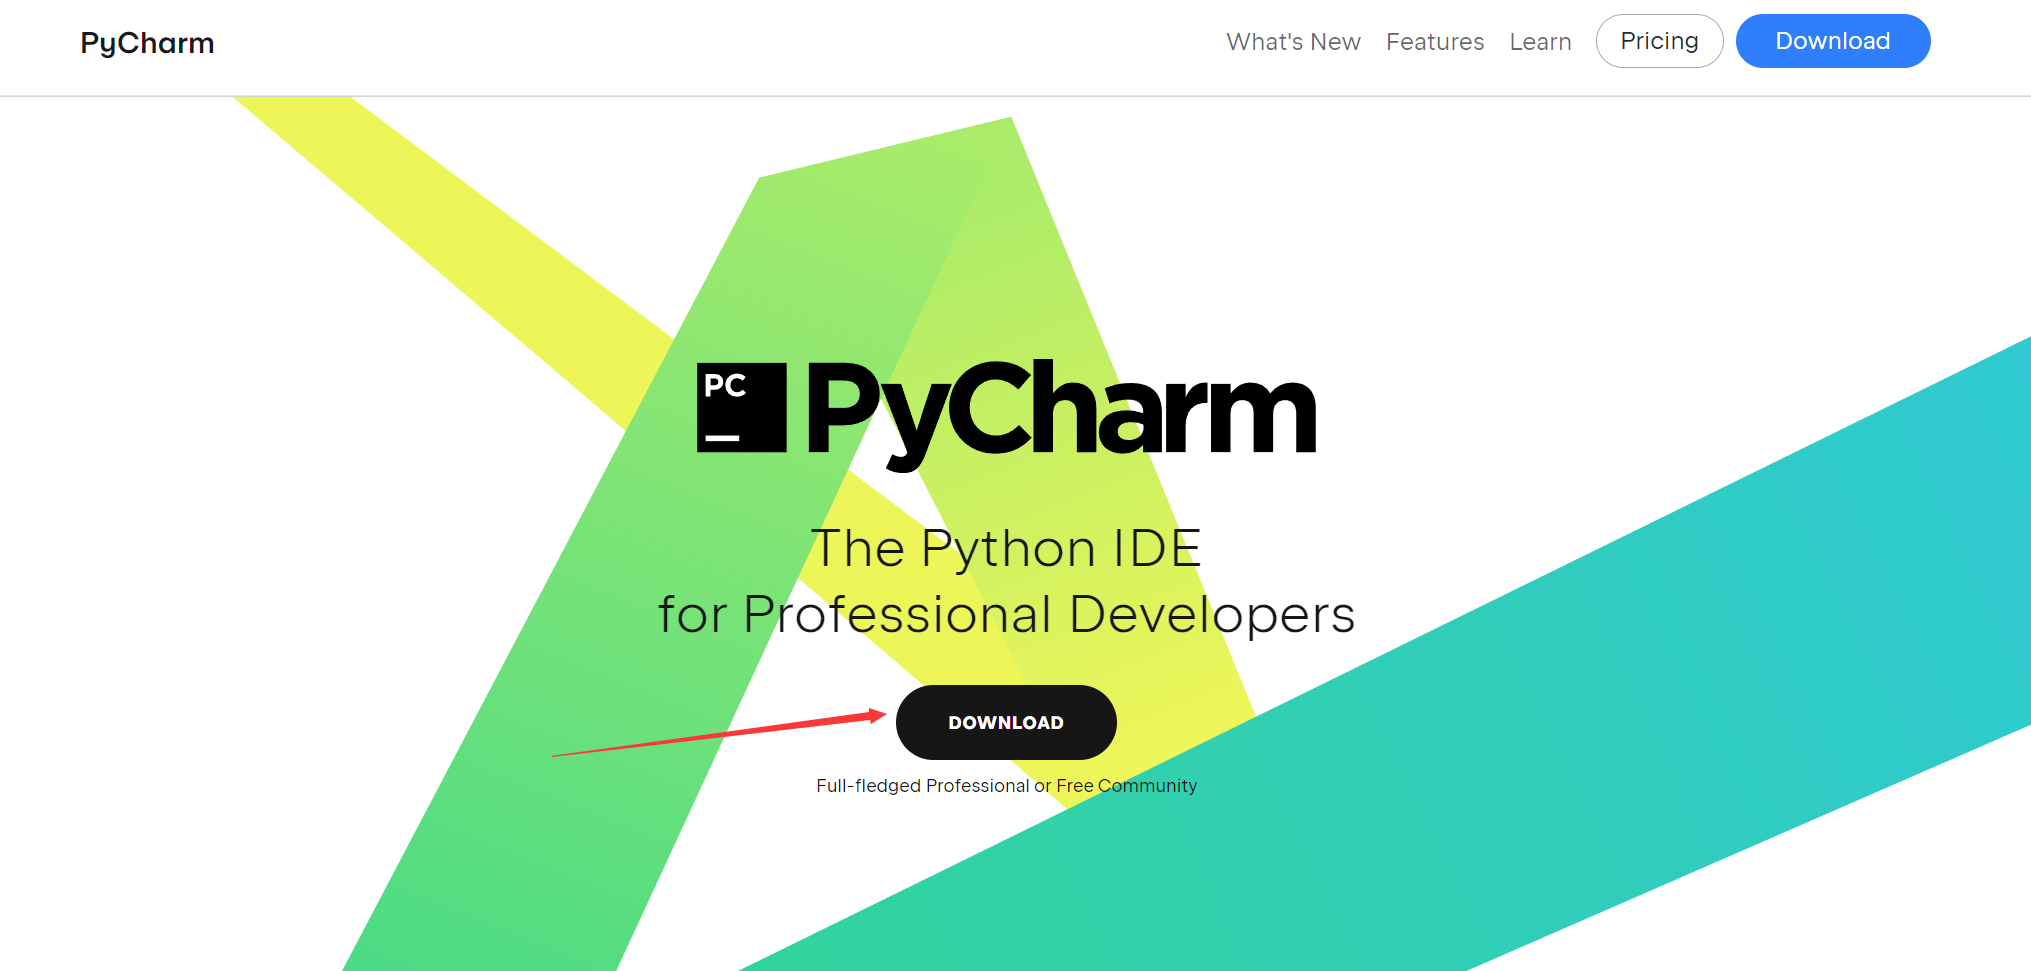
这里安装的是专业版
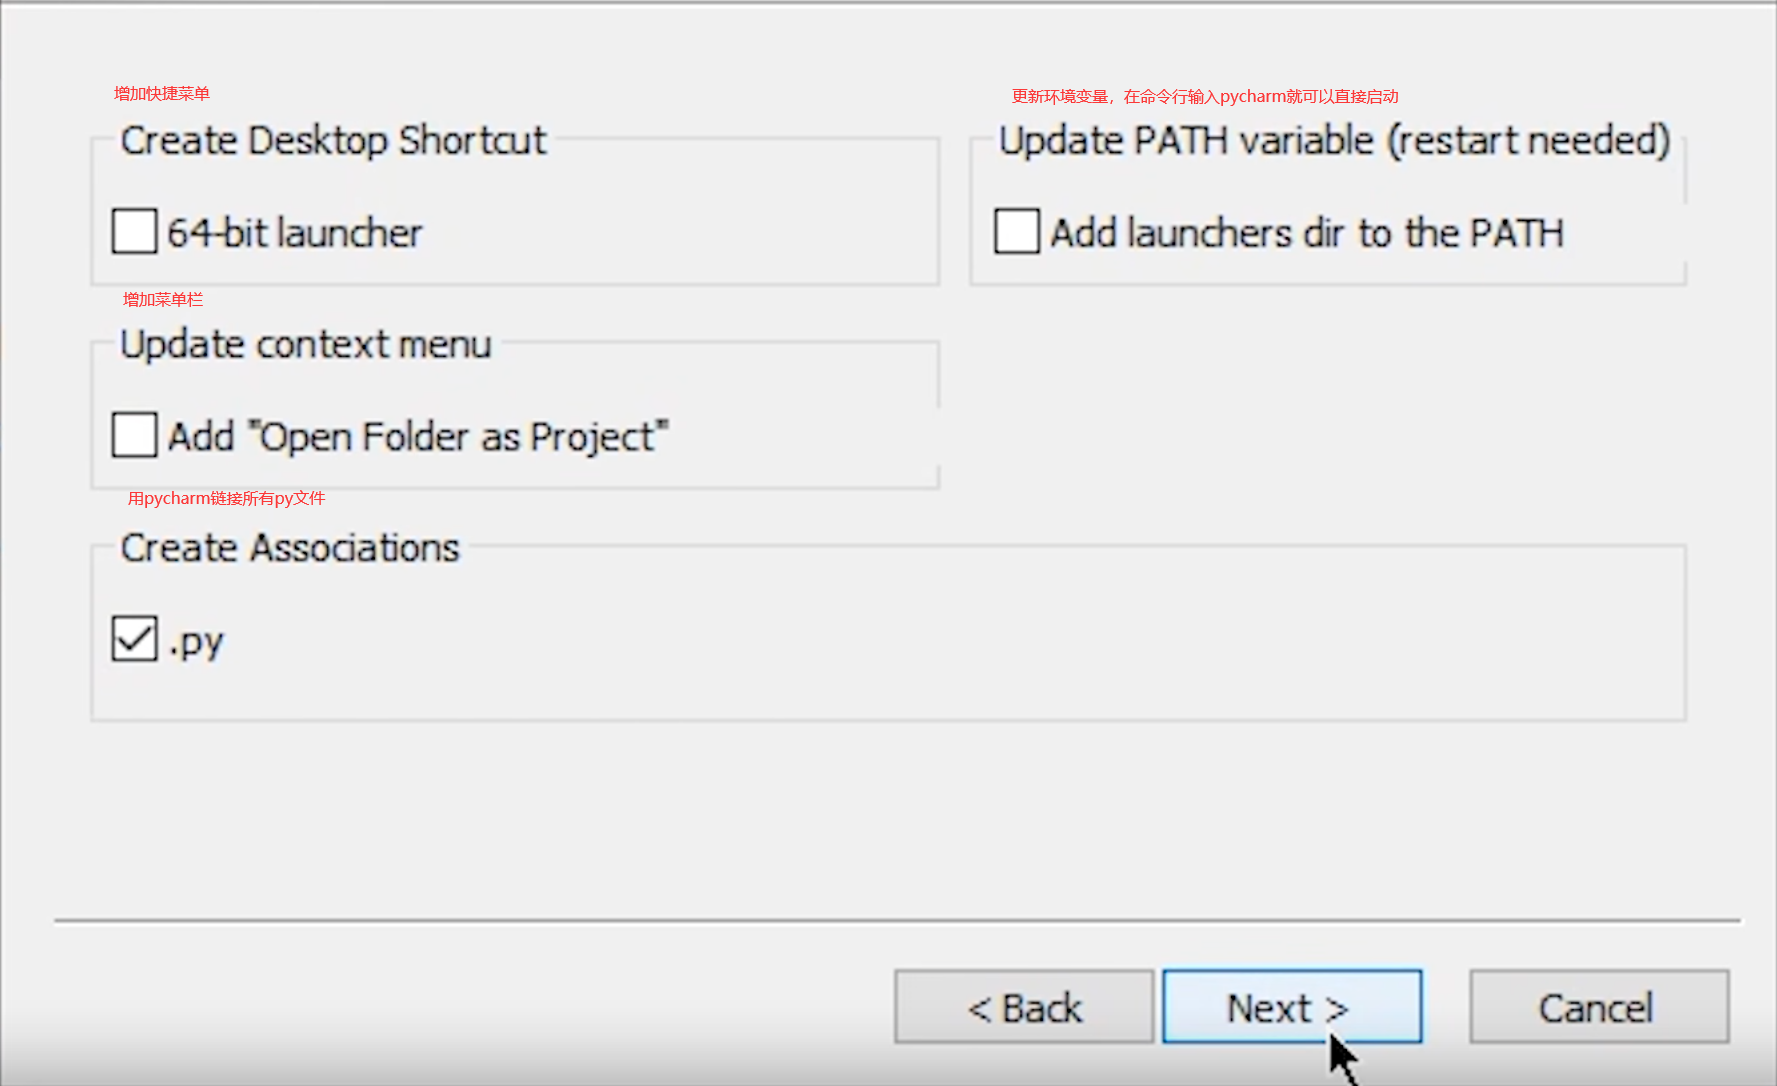
其他一路默认安装即可
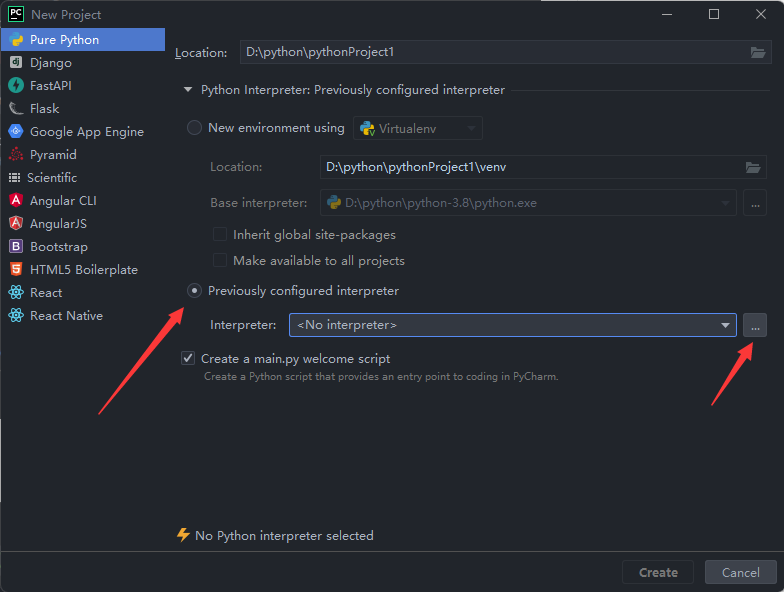
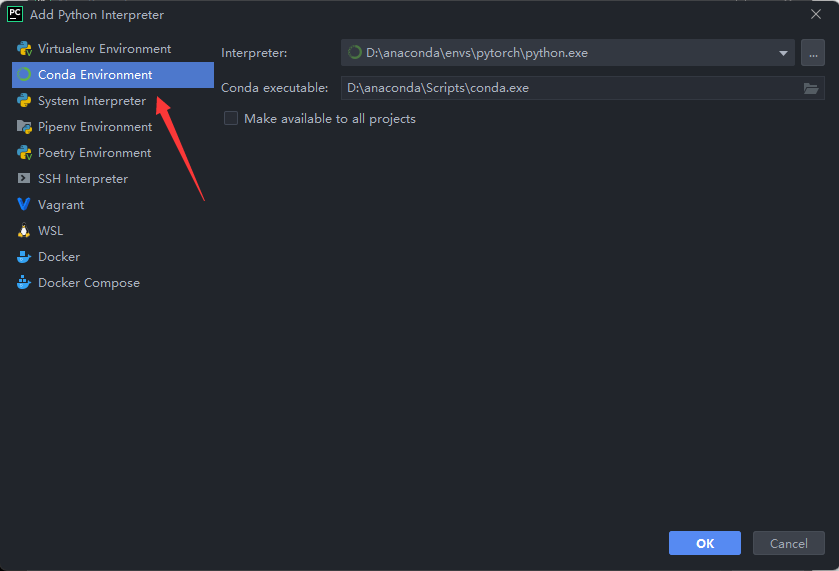
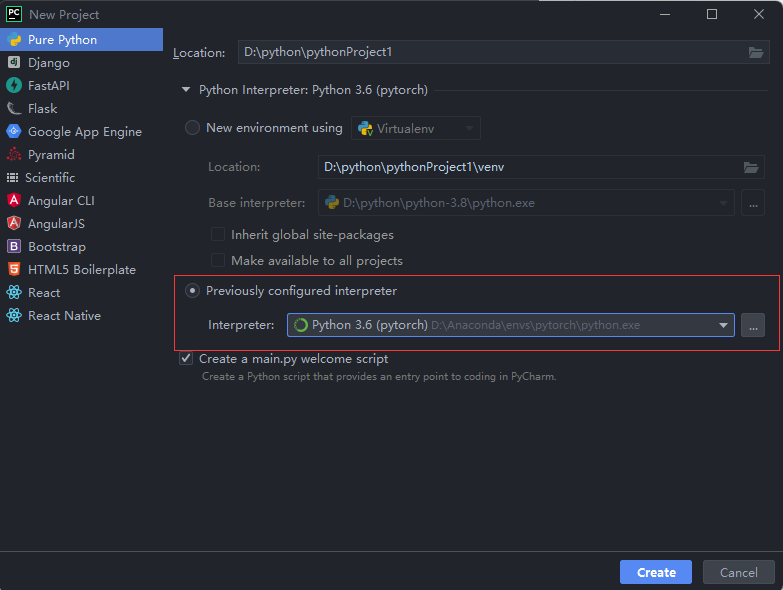
PyCharm配置
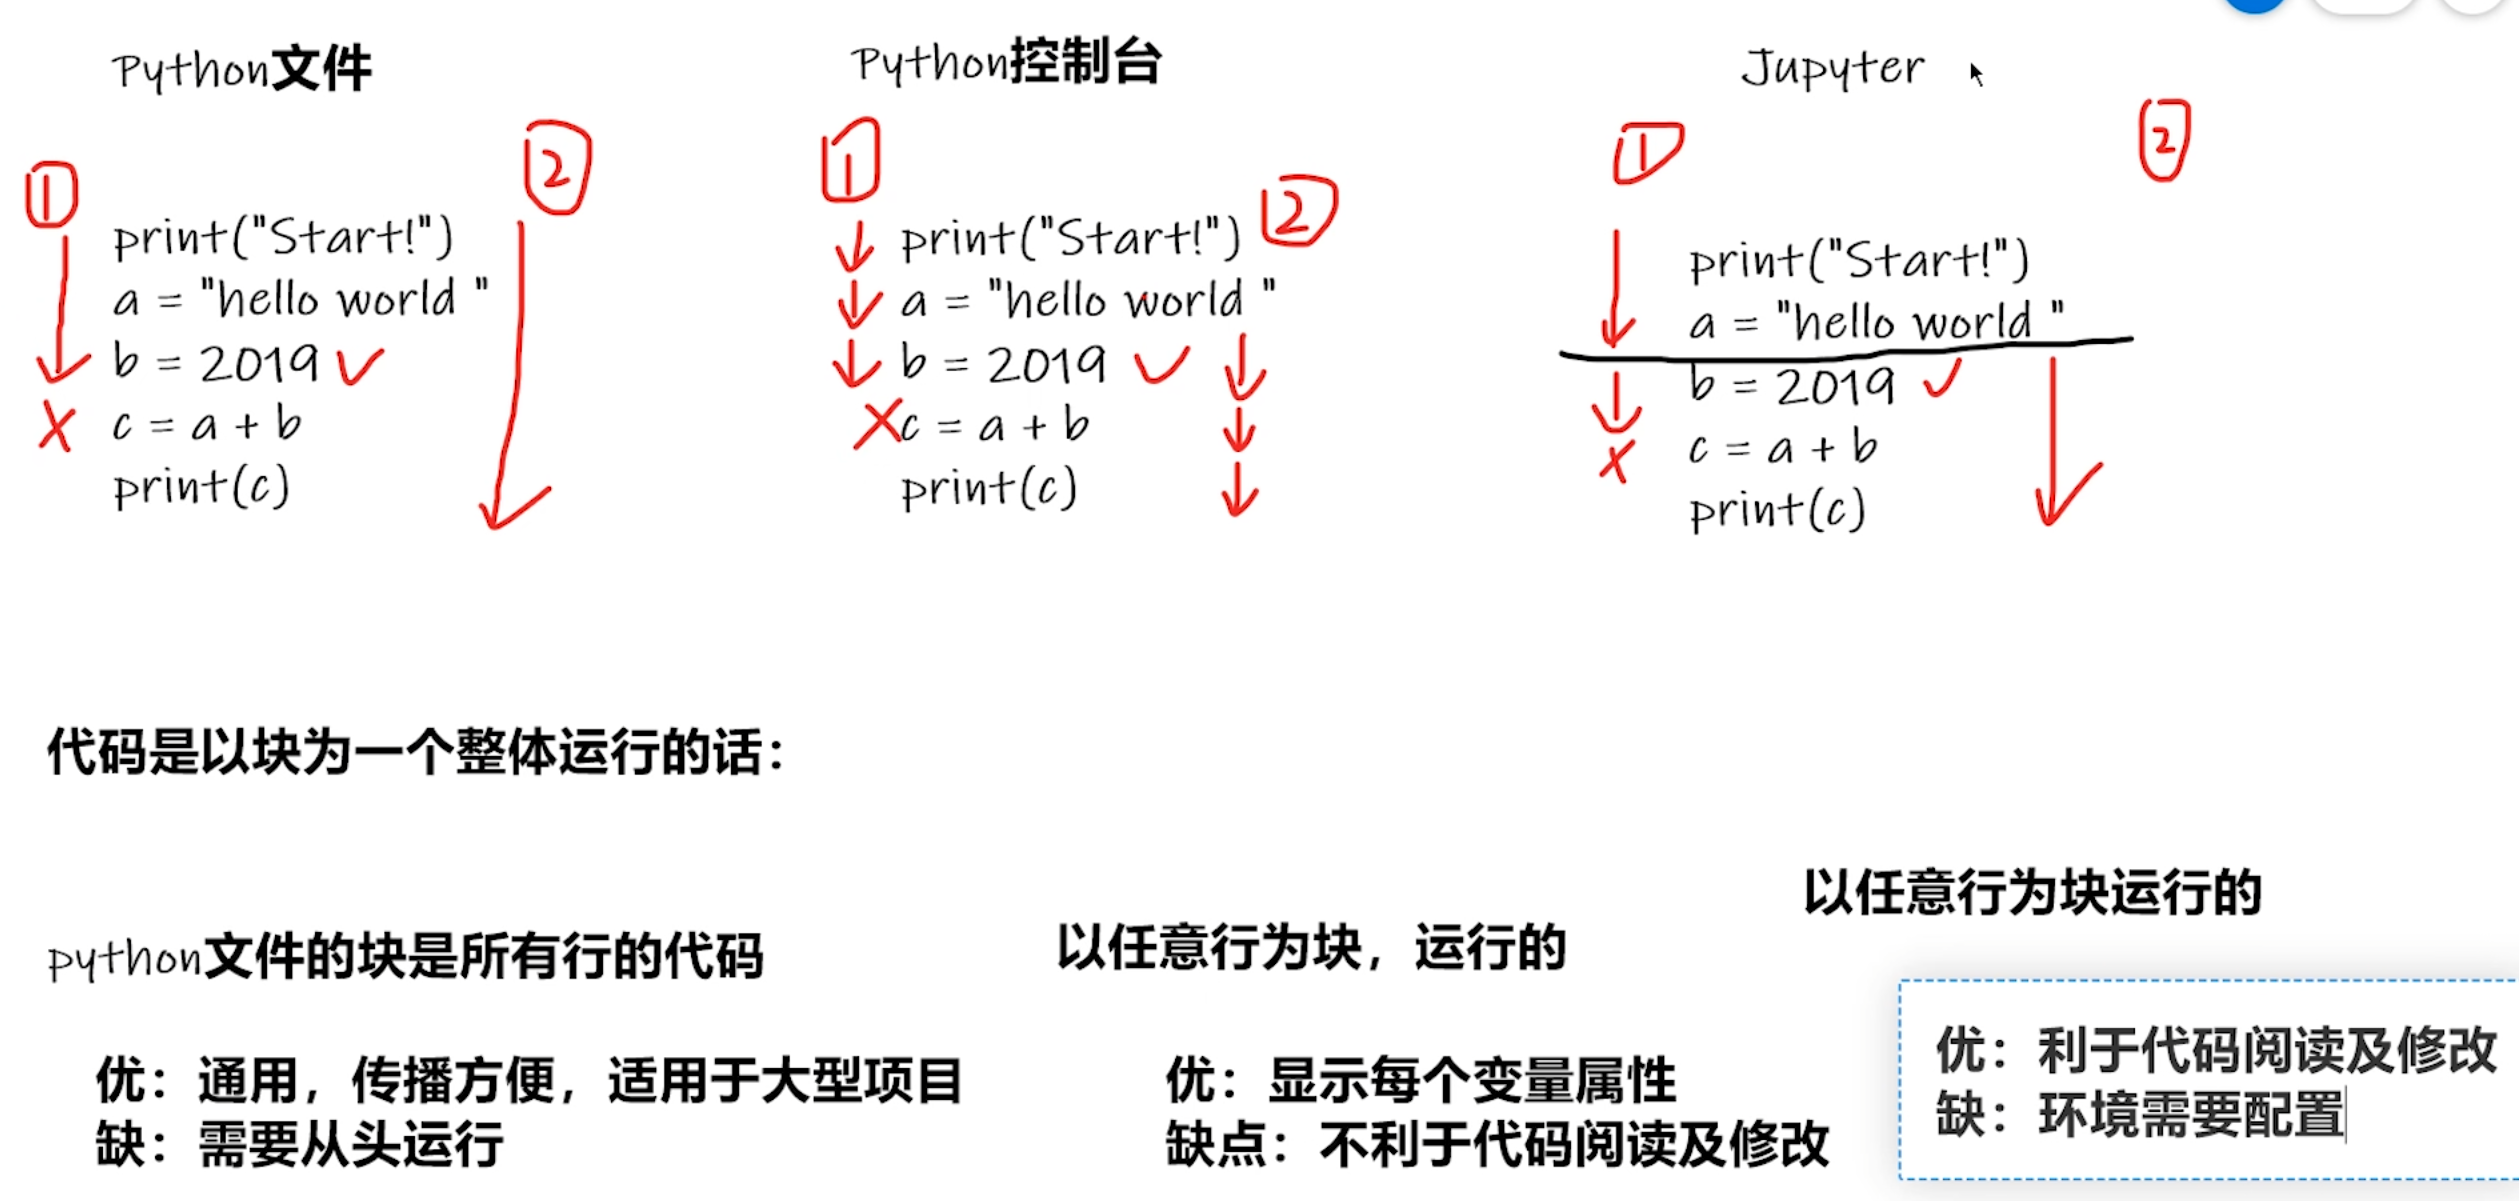
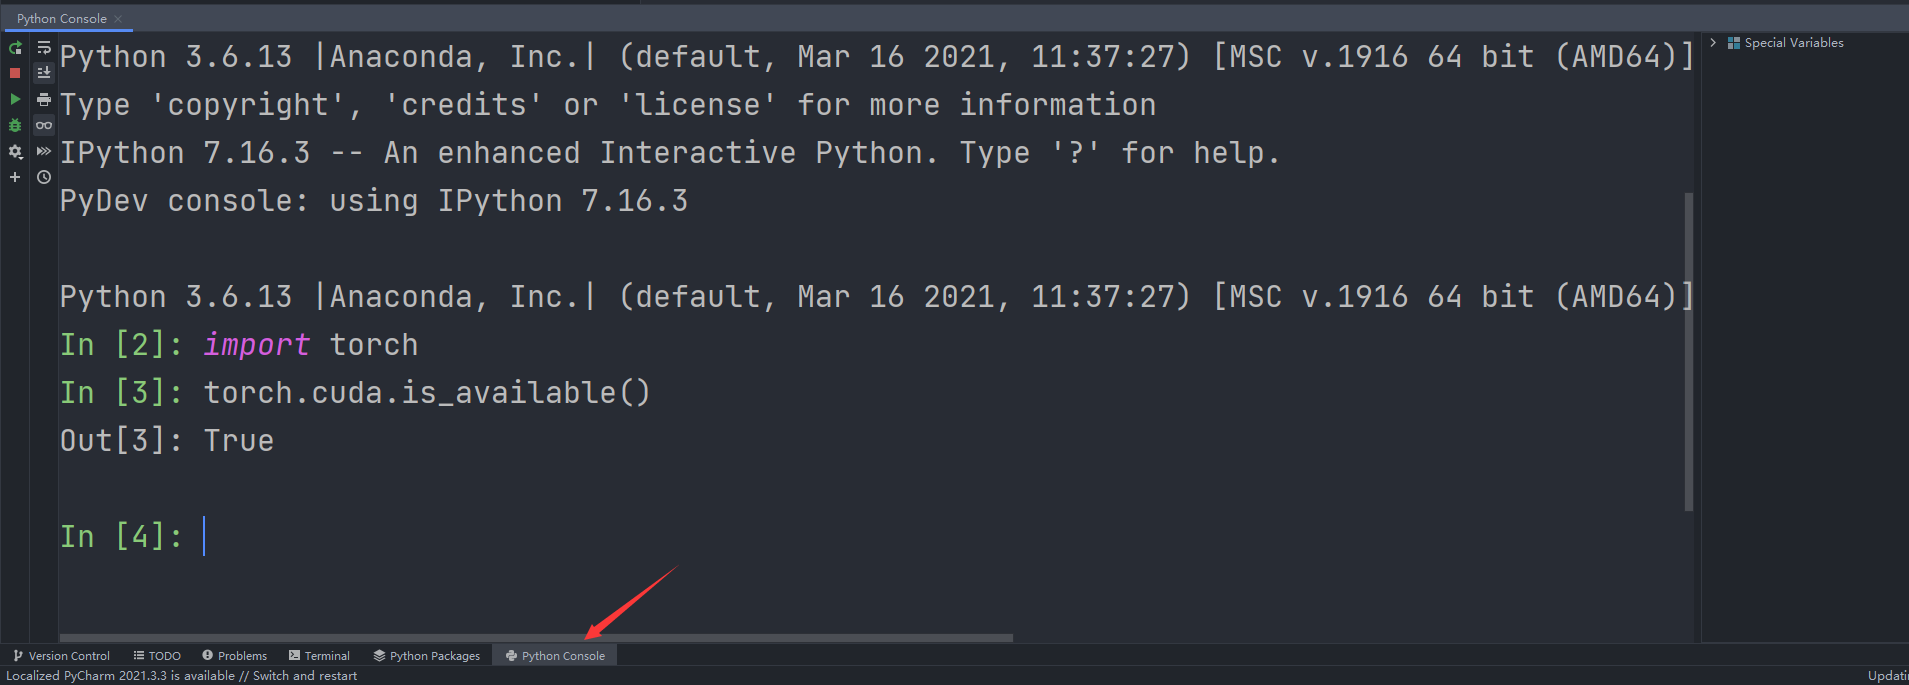
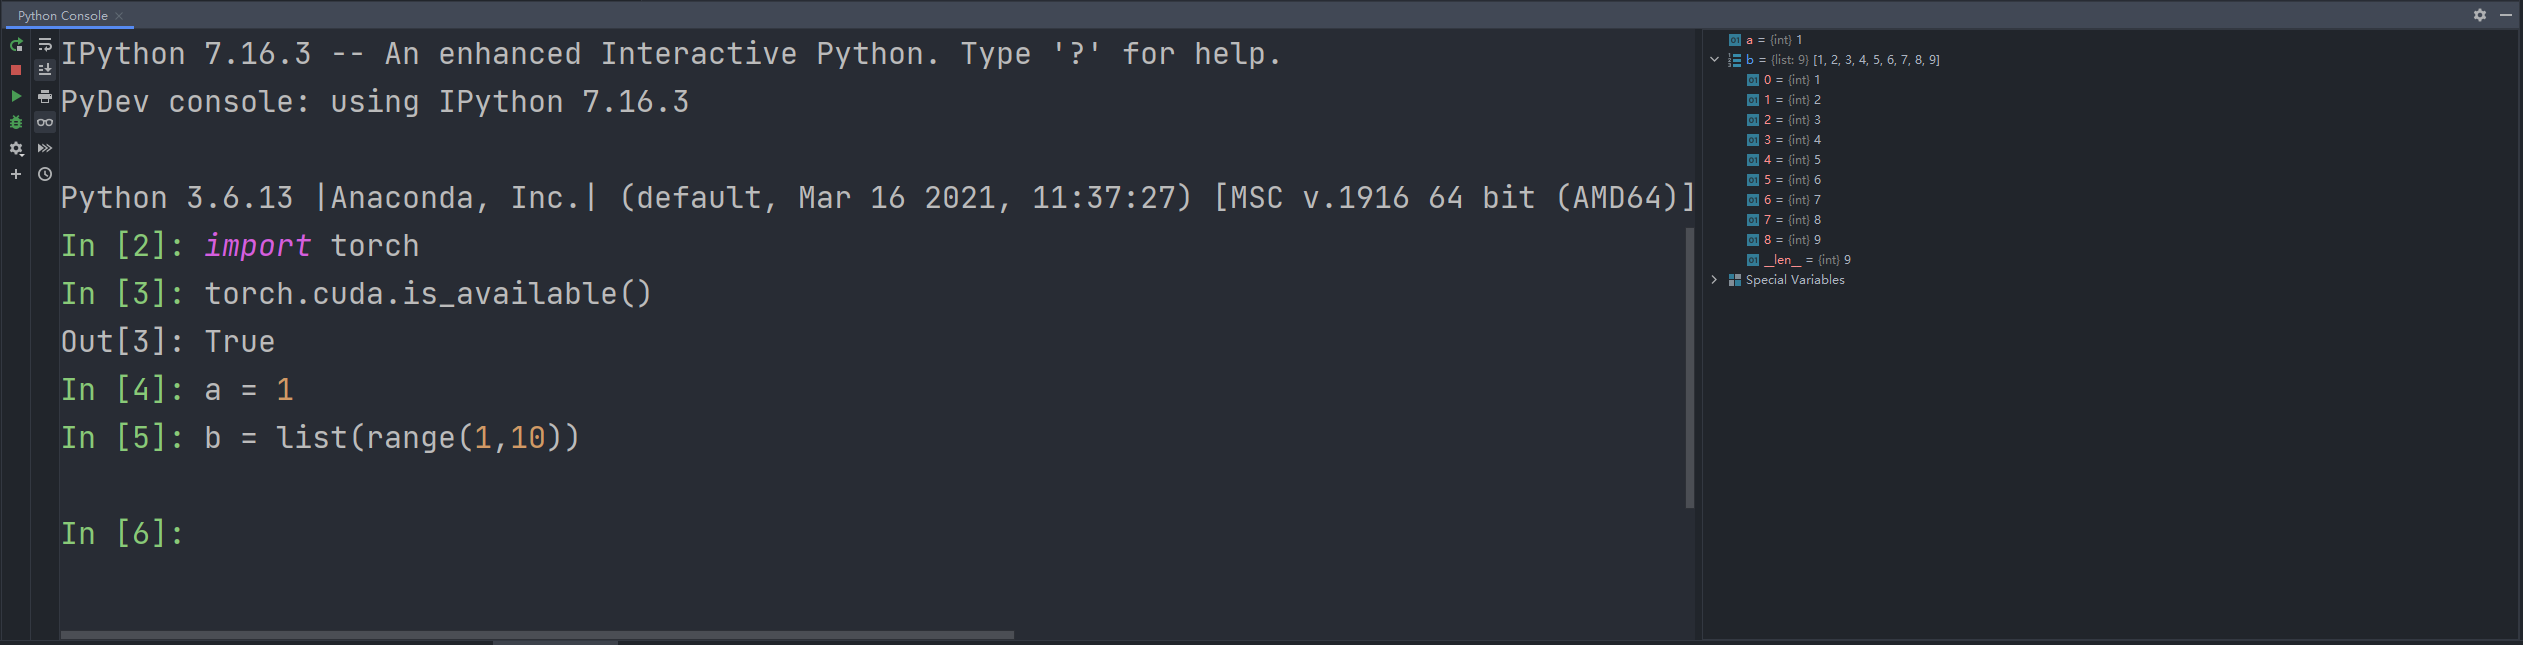
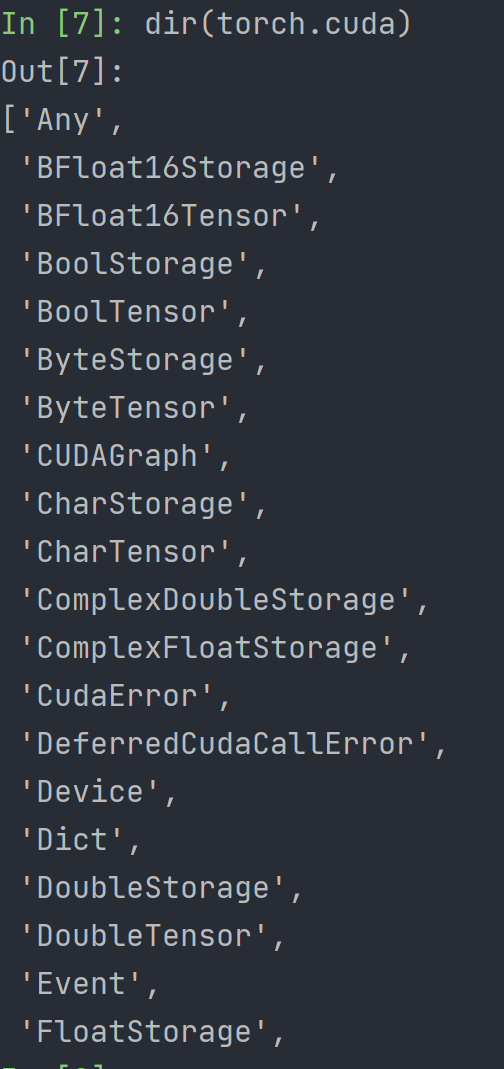
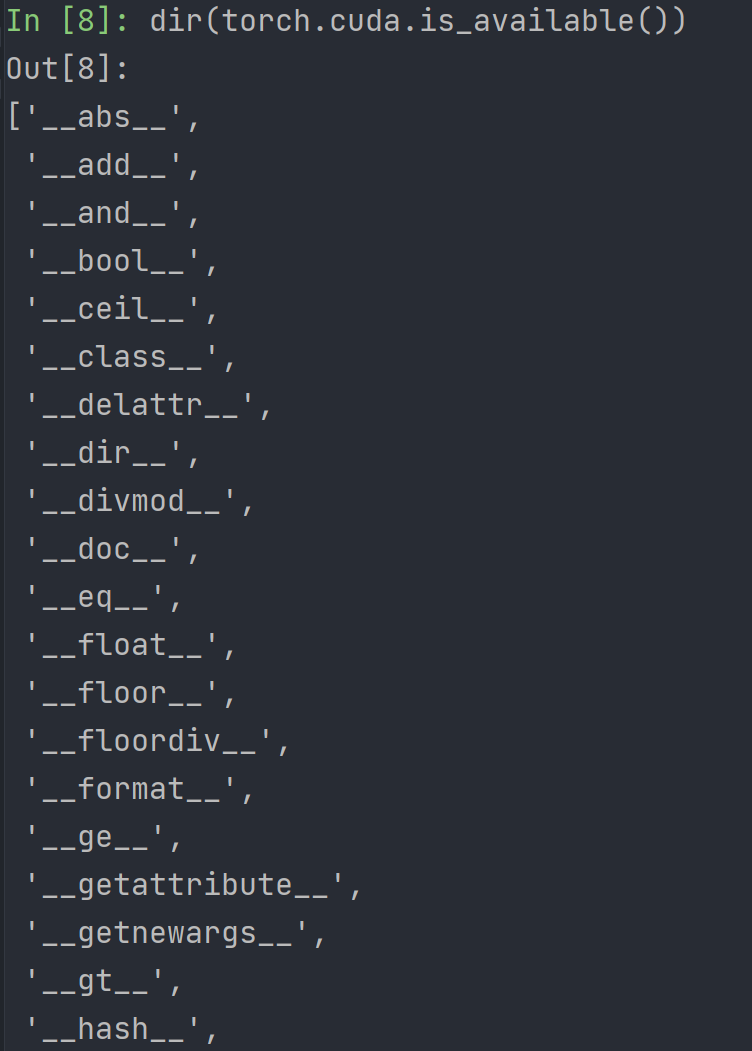
创建好项目后在Python Console内分别输入import torch和torch.cuda.is_available()进行测试
在Python Console内输入代码,在右边可以看到相应的属性
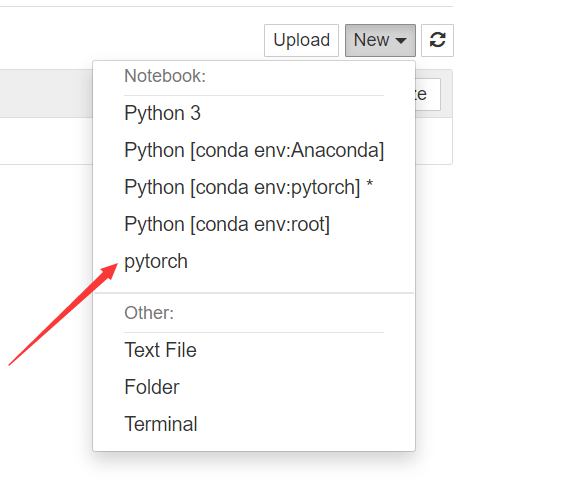
jupyter配置
安装了anaconda就已经安装了jupyter,但是此时在pytorch虚拟环境中是无法使用的,因此需要在pytorch环境中安装jupyter
输入pip list查看是否已经安装了ipykernel库,使用conda install nb_conda进行安装,如果仍然无法安装可以试试conda install nb_conda_kernels
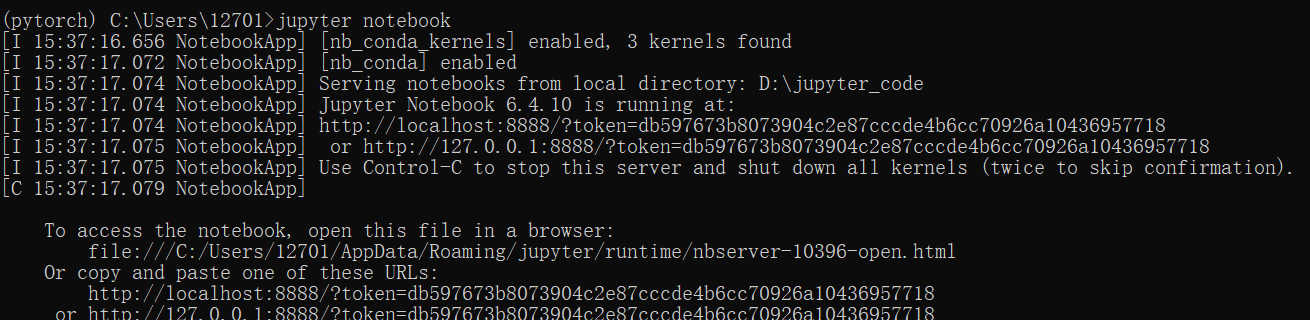
安装成功后在命令行输入jupyter notebook打开jupyter
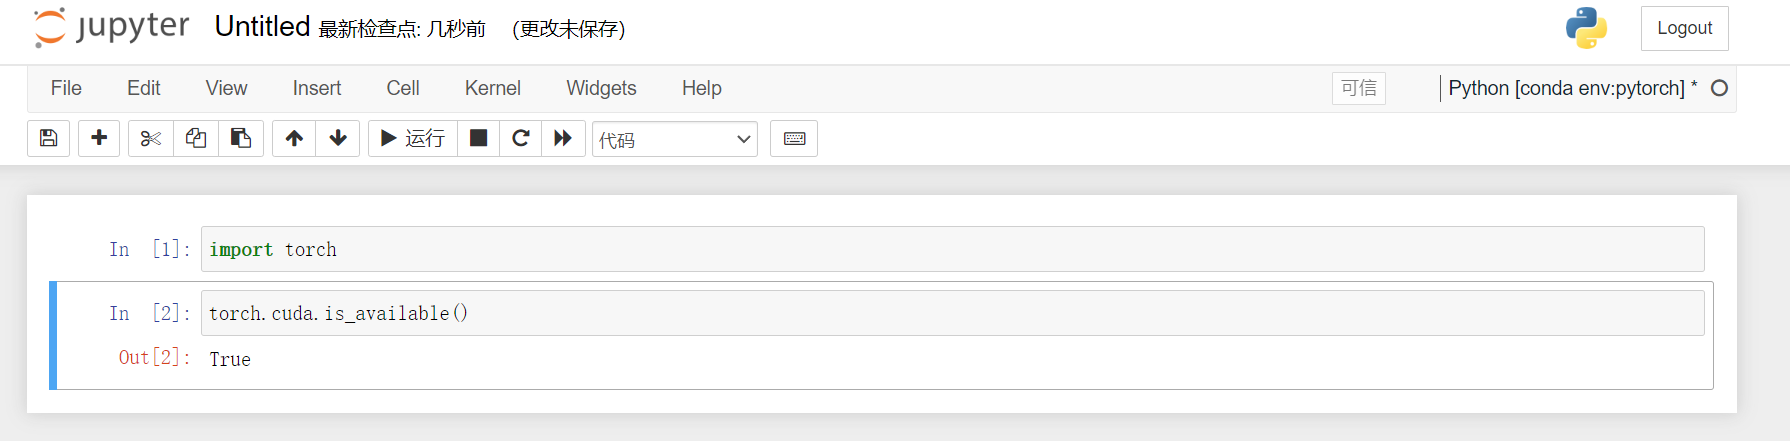
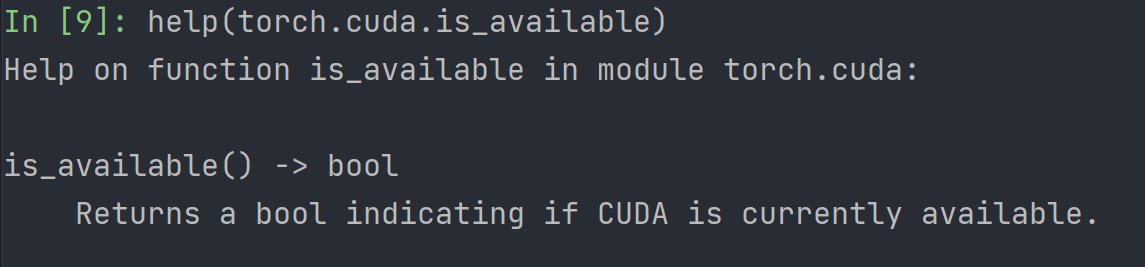
输入import torch和torch.cuda.is_available()进行测试
如果jupyter内pytorch环境不可信任KernelRestarter: restart failed,可能是版本过低导致的,可以试着pip install ipykernel --upgrade --ignore-installed ipykernel
创建pytorch虚拟环境
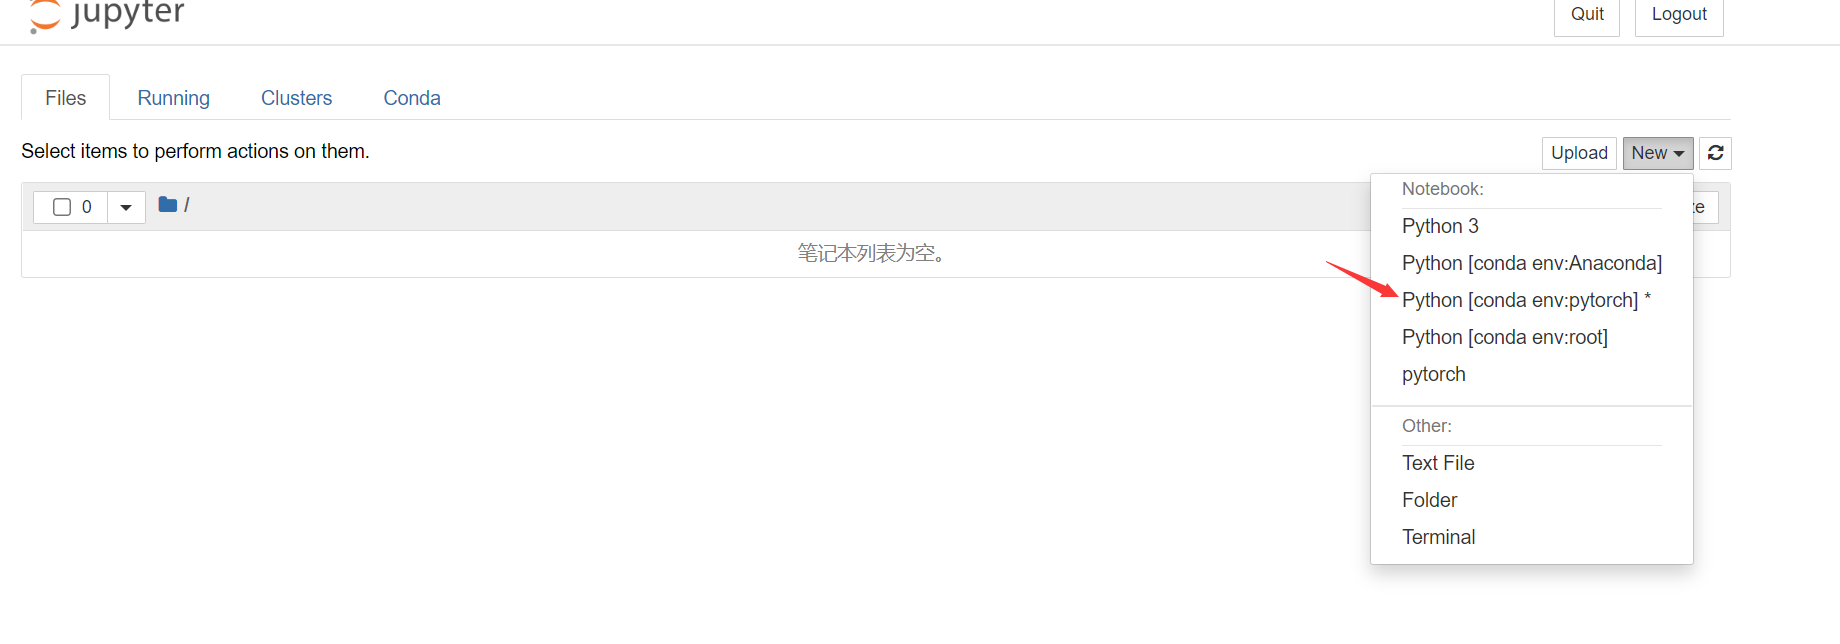
在anaconda命令行输入python -m ipykernel install --user --name pytorch --display-name "pytorch"将环境写入jupyter notebook的kernel中
anaconda常用命令
- 创建虚拟环境
conda create --name your_env_name python=x.x - 进入虚拟环境
windows: activate your_env_name | Linux: source activate your_env_name - 退出虚拟环境
deactivate - 查找虚拟环境
conda info -e 或者 conda info --envs - 删除虚拟环境
conda remove -n your_env_name --all
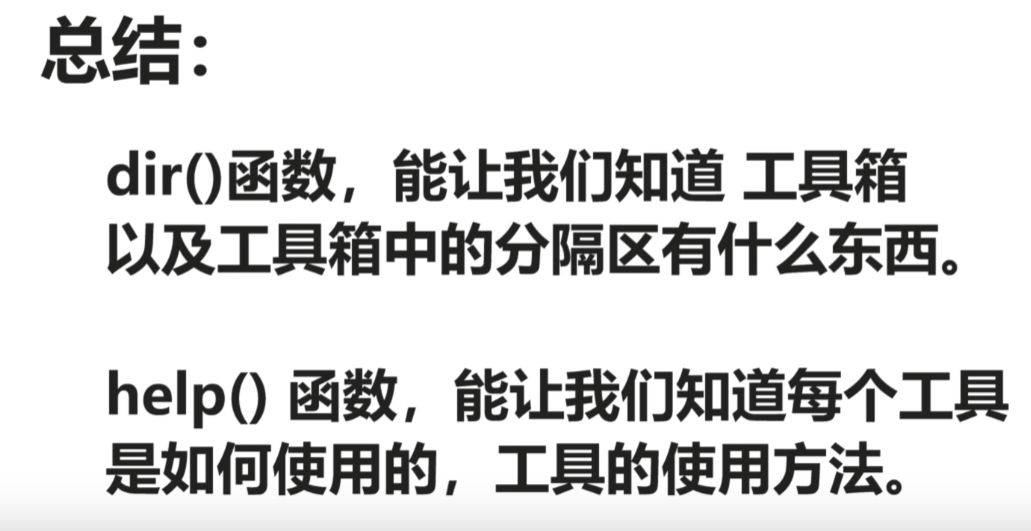
Python学习中的两大法宝函数
dir()help()


__xx__表示一种规范,不能篡改,私有属性
要注意
dir()括号内的方法是带括号的,而help()括号内的方法是不带括号的
PyCharm及Jupyter使用及对比