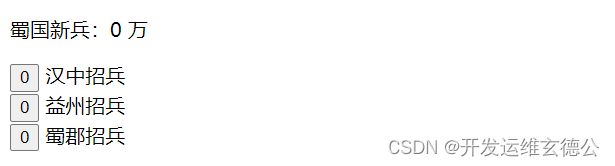
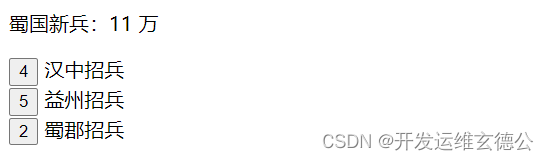
1. 监听子组件触发的事件(v-on)
说明
父组件可以在使用子组件的地方直接用 v-on 来监听子组件触发的事件
完整示例
<!DOCTYPE html>
<html>

<head>
  <meta charset="utf-8">
  <title>CROW-宋</title>
  <script src="https://cdn.staticfile.org/vue/2.2.2/vue.min.js"></script>
</head>

<body>
  <div id="app">
    <div id="counter-event-example">
      <p>蜀国新兵:{

   { total }} 万</p>
      <!-- 打印三个按钮,每个绑定 "incrementTotal"以计算total值 -->
      <button-counter v-on:increment="incrementTotal"></button-counter> 汉中招兵<br>
      <button-counter v-on:increment="incrementTotal"></button-counter> 益州招兵<br>
      <button-counter v-on:increment="incrementTotal"></button-counter> 蜀郡招兵<br>
    </div>
  </div>

  <script>
    // 注册组件
    Vue.component('button-counter', {


      //绑定incrementHandler函数以计算counter值,在按钮中打印counter值
      template: '<button v-on:click="incrementHandler">{

      { counter }}</button>',
      data: function () {


        return {


          counter: 0
        }
      },
      //为组件提供 counter的计算
      methods: {


        incrementHandler: function () {


          this.counter += 1
          //子组件中使用$emit方法调用该事件并传参
          this.$emit('increment')
        }
      },
    })
    new Vue({


      el: '#counter-event-example',
      data: {


        total: 0
      },
      methods: {


        incrementTotal: function () {


          this.total += 1
        }
      }
    })
  </script>
</body>

</html>
- 结果显示
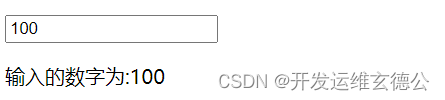
2. 双向绑定prop和 子组件数据(v-model)
说明
组件上的 v-model 默认会利用名为 value 的 prop 和名为 input 的事件
完整示例
<!DOCTYPE html>
<html>

<head>
  <meta charset="utf-8">
  <title>CROW-宋</title>
  <script src="https://cdn.staticfile.org/vue/2.2.2/vue.min.js"></script>
</head>

<body>
  <div id="app">
    <we-input v-model="num"></we-input>
    <p>输入的数字为:{

   {num}}</p>
  </div>
  <script>
    Vue.component('we-input', {


      template: `
    <p>
      <input
       ref="input"
       :value="value"
       @input="$emit('input', $event.target.value)"
      >
    </p>
    `,
      props: ['value'],
    })

    new Vue({


      el: '#app',
      data: {


        num: 100,
      }
    })
  </script>
</body>

</html>
说明:
ref="input":获取input的值:value="value":
即v-bind:value 单向绑定data中的数据到input上(给input一个初始值,之后input改变,data不会跟随改变。)@input="$emit('input', $event.target.value)":
让父组件监听到自定义事件 $emit( eventName, […args] )
- 结果显示