先在项目终端安装一个依赖
npm install http-proxy-middleware --save
然后在项目的src目录下创建一个 setupProxy.js 名字不能换
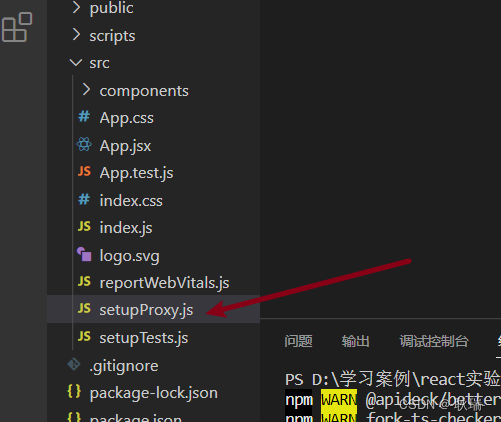
setupProxy.js参考代码如下
const proxy = require('http-proxy-middleware')

module.exports = function(app) {


  app.use(
 		// 可以配置多个代理
    proxy.createProxyMiddleware('/api', {


      target: 'http://tingapi.ting.baidu.com',
      changeOrigin: true,
    })
  )
}
这里这个http://tingapi.ting.baidu.com千万不要直接复制 他是你要请求的域名 你们需要根据自己想请求的地址进行修改
例如 我们想发的请求是这样的
http://tingapi.ting.baidu.com/v1/restserver/ting?method=baidu.ting.billboard.billList&type=1&size=10&offset=0
那么 http://tingapi.ting.baidu.com是 域 IP
v1/restserver/ting 则是接口
?method=baidu.ting.billboard.billList&type=1&size=10&offset=0是我们调用请求的参数
而这里target 代理的就是域名 IP地址
然后在package.json下编写
"proxy":"http://tingapi.ting.baidu.com"
然后我们在组件中调用请求
 fetch("/v1/restserver/ting?method=baidu.ting.billboard.billList&type=1&size=10&offset=0", {


}).then(res => res.json())
 .then(res => {


     console.log(res);
 });
因为前面的域名配置 我们配置中已经写了 我们这里直接写接口 跟请求参数即可
启动项目后发送请求 既不会再发生跨域问题了