
一、前言
2022年圣诞节即将到来啦,很高兴这次我们又能一起度过~
此篇文章主要使用小程序实现飞翔的圣诞老人,跟随文章步骤带着圣诞老人翻越障碍一起去送礼物吧。
二、实现步骤
2.1、创建小程序
- 访问微信公众平台,点击账号注册。
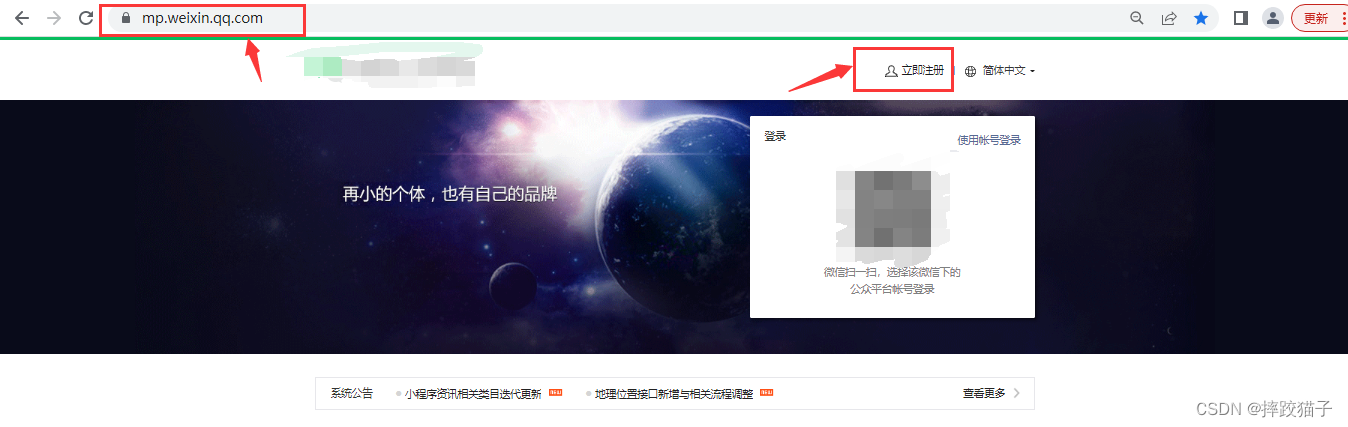
- 选择小程序,并在表单填写所需的各项信息进行注册。


- 在开发管理选择开发设置,将AppID及AppSecret复制出来进行存储。
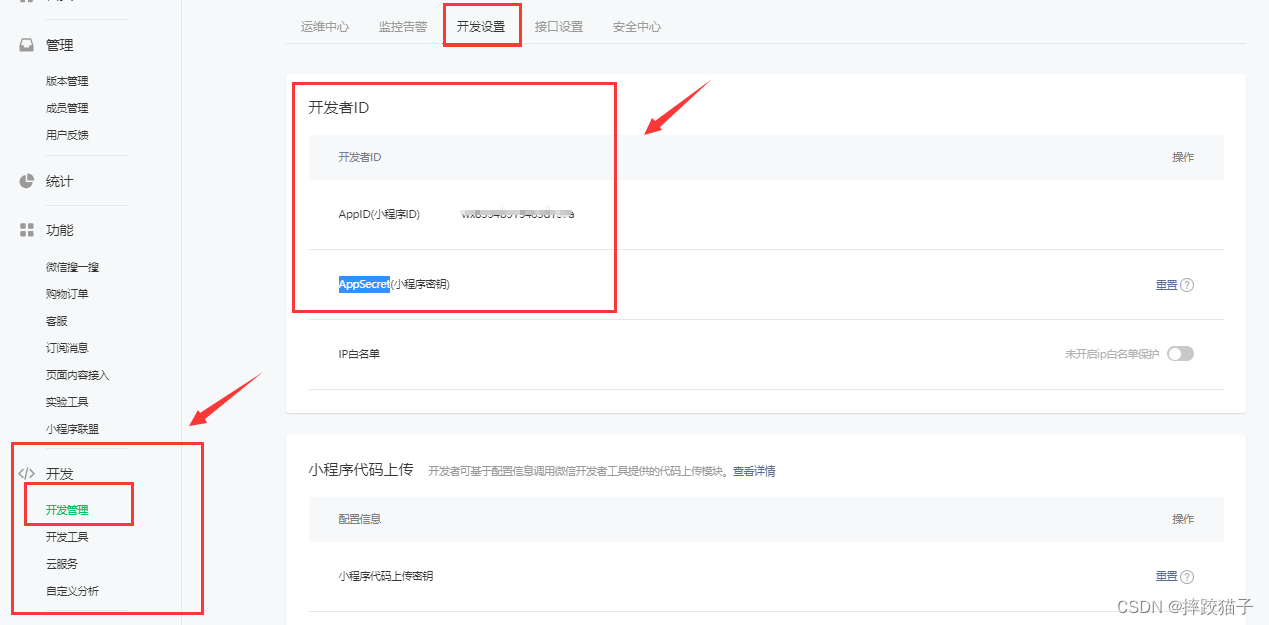
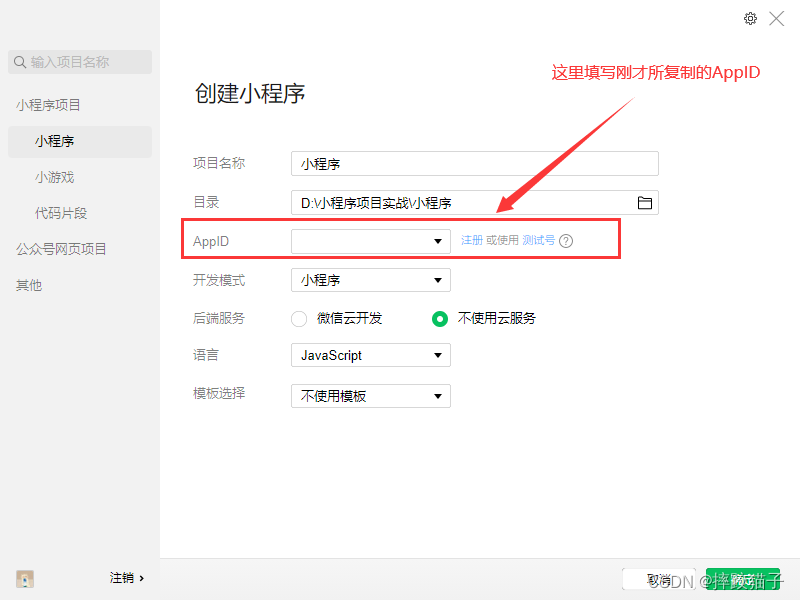
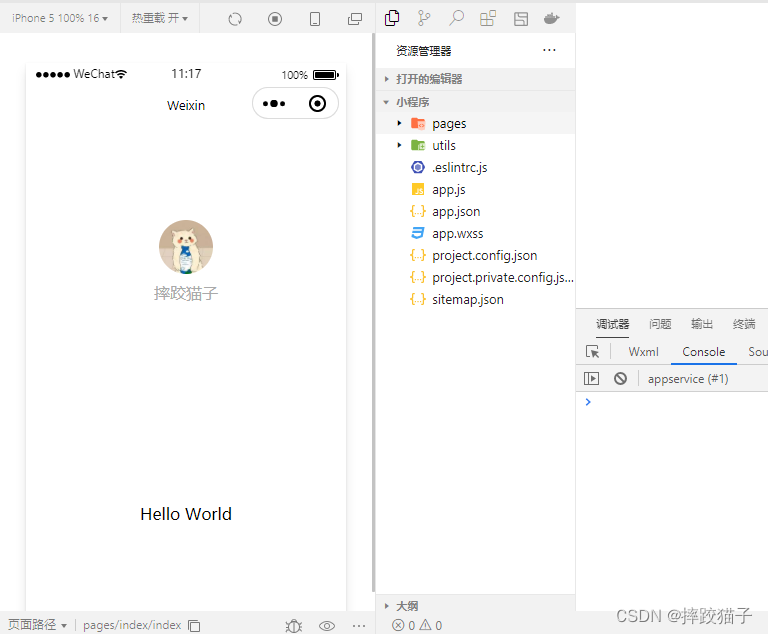
- 下载安装微信web开发者工具并创建一个新的项目,填入上图所复制的AppId。
2.2、游戏页
- 准备圣诞老人素材图片的同时在index页面中实现一个canvas标签,效果主要通过此标签进行实现。

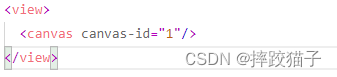
<view>
  <canvas canvas-id="1"/>
</view>
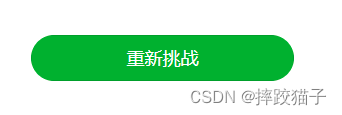
- 定义一个按钮用于控制圣诞老人升降,同时根据游戏状态显示不同的文字。

  <button id="flyButton" type="primary" bindtouchstart="handleTouchStart" bindtouchend="handleTouchEnd">
    {

    {

    status===0?'开始游戏':''}}
    {

    {

    status===1?'点击起飞':''}}
    {

    {

    status===2?'重新挑战':''}}
  </button>
- 在index.js中获取屏幕宽高信息并作用到canvas标签。
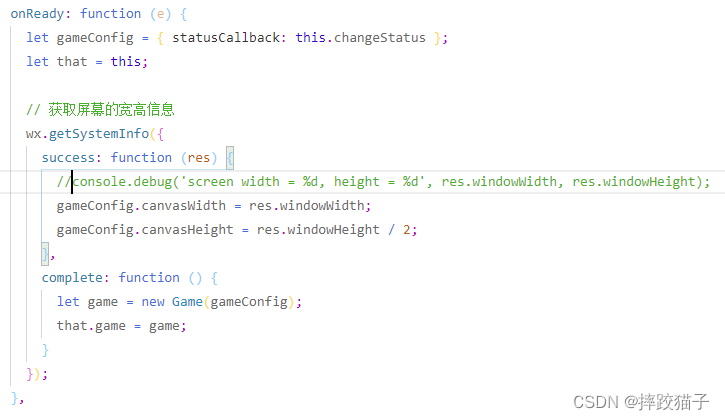
  onReady: function (e) {


    let gameConfig = {

     statusCallback: this.changeStatus };
    let that = this;

    // 获取屏幕的宽高信息
    wx.getSystemInfo({


      success: function (res) {


        //console.debug('screen width = %d, height = %d', res.windowWidth, res.windowHeight);
        gameConfig.canvasWidth = res.windowWidth;
        gameConfig.canvasHeight = res.windowHeight / 2;
      },
      complete: function () {


        let game = new Game(gameConfig);
        that.game = game;
      }
    });
  },
- 对页面上的按钮点击及放开事件进行处理。
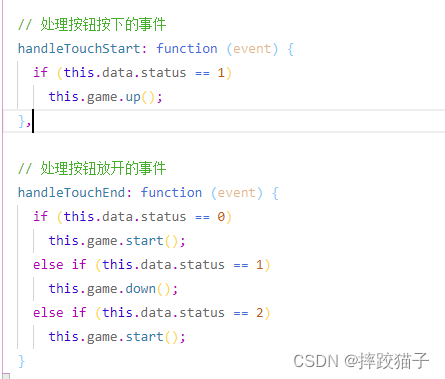
  // 处理按钮按下的事件
  handleTouchStart: function (event) {


    if (this.data.status == 1)
      this.game.up();
  },

  // 处理按钮放开的事件
  handleTouchEnd: function (event) {


    if (this.data.status == 0)
      this.game.start();
    else if (this.data.status == 1)
      this.game.down();
    else if (this.data.status == 2)
      this.game.start();
  }
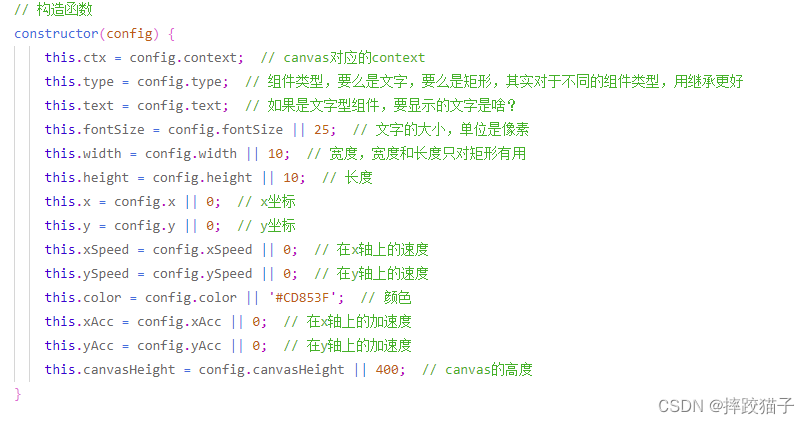
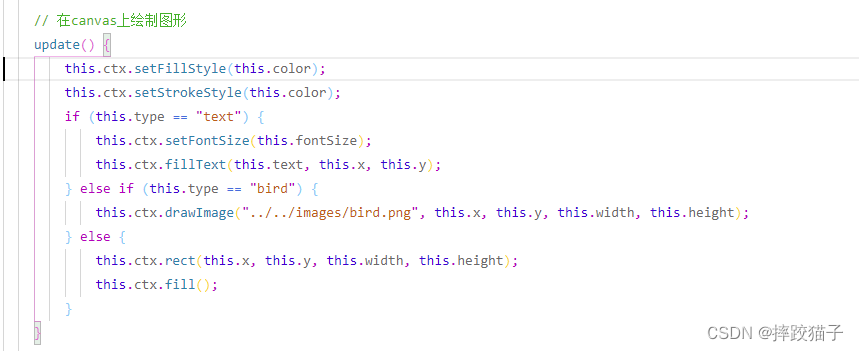
- 定义构造函数在canvas上绘制图形。
- 计算组件新的位置,每一帧都要重新计算一次
    newPos() {


        // console.log('xSpeed=%d, ySpeed=%d, xAcc=%d, yAcc=%d', this.xSpeed, this.ySpeed, this.xAcc, this.yAcc);
        // 首先计算新的速度
        this.xSpeed += this.xAcc;
        this.ySpeed += this.yAcc;
        // 计算新的位置
        this.x += this.xSpeed;
        this.y += this.ySpeed;
        // 检测是否碰到了canvas边缘
        this.hitBoundary();
    }
- 检测组件是否碰到了canvas边缘
    hitBoundary() {


        if (this.y < 0) {


            this.y = 0;
            this.ySpeed = 0;
            if (this.yAcc < 0) {


                this.yAcc = 0;
            }
        }

        let bottom = this.y + this.height;
        if (bottom > this.canvasHeight) {


            this.y = this.canvasHeight - this.height;
            this.ySpeed = 0;
            if (this.yAcc > 0) {


                this.yAcc = 0;
            }
        }
    }
- 检测是否撞到了障碍物
   crashWith(otherobj) {


        let myleft = this.x;
        let myright = this.x + (this.width);
        let mytop = this.y;
        let mybottom = this.y + (this.height);
        let otherleft = otherobj.x;
        let otherright = otherobj.x + (otherobj.width);
        let othertop = otherobj.y;
        let otherbottom = otherobj.y + (otherobj.height);
        let crash = true;

        if (this.type == 'bird') {


            myleft += 5;
            myright -= 5;
            mytop += 5;
            mybottom -= 5;
        }

        if ((mybottom < othertop) || (mytop > otherbottom) || (myright < otherleft) || (myleft > otherright)) {


            crash = false;
        }
        return crash;
    }
- 在index这个page下新建一个game.js,对canvas进行定义。

- 实现canvas绘制随机生成障碍物。
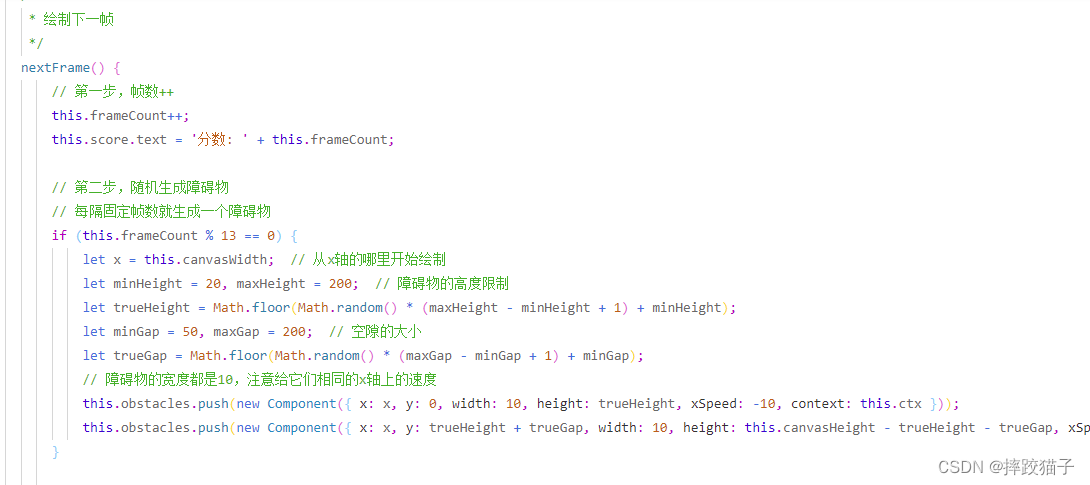
        // 第一步,帧数++
        this.frameCount++;
        this.score.text = '分数: ' + this.frameCount;

        // 第二步,随机生成障碍物
        // 每隔固定帧数就生成一个障碍物
        if (this.frameCount % 13 == 0) {


            let x = this.canvasWidth;  // 从x轴的哪里开始绘制
            let minHeight = 20, maxHeight = 200;  // 障碍物的高度限制
            let trueHeight = Math.floor(Math.random() * (maxHeight - minHeight + 1) + minHeight);
            let minGap = 50, maxGap = 200;  // 空隙的大小
            let trueGap = Math.floor(Math.random() * (maxGap - minGap + 1) + minGap);
            // 障碍物的宽度都是10,注意给它们相同的x轴上的速度
            this.obstacles.push(new Component({

     x: x, y: 0, width: 10, height: trueHeight, xSpeed: -10, context: this.ctx }));
            this.obstacles.push(new Component({

     x: x, y: trueHeight + trueGap, width: 10, height: this.canvasHeight - trueHeight - trueGap, xSpeed: -10, context: this.ctx }));
        }
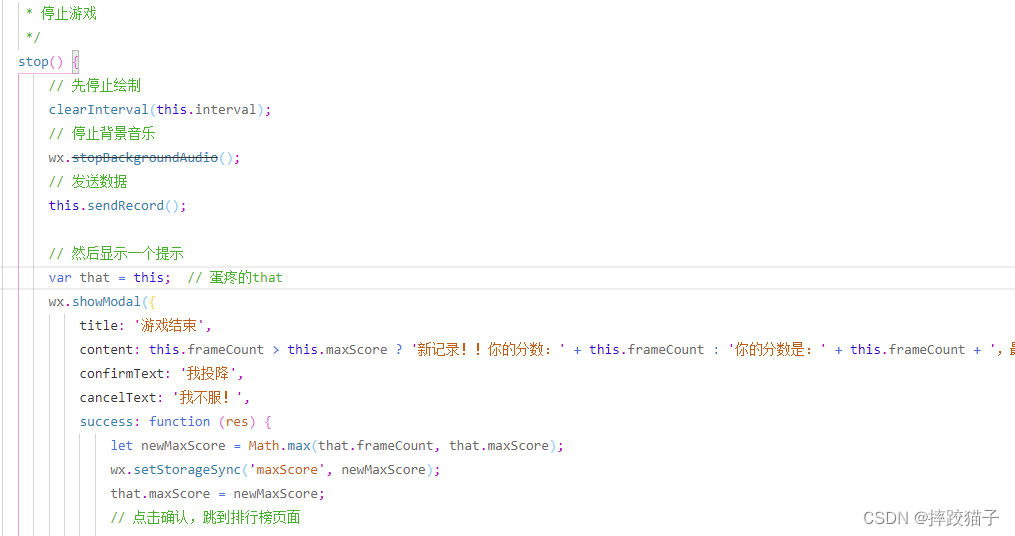
- 判断圣诞老人是否碰撞到了障碍物,并停止游戏。
 for (let obstacle of this.obstacles) {


     if (this.role.crashWith(obstacle)) {


         this.stop();  // 撞到障碍物就停止游戏
         break;
     }
 }
- 将玩家分数通过接口或者云函数的方式提交后在排行榜页面进行展示。
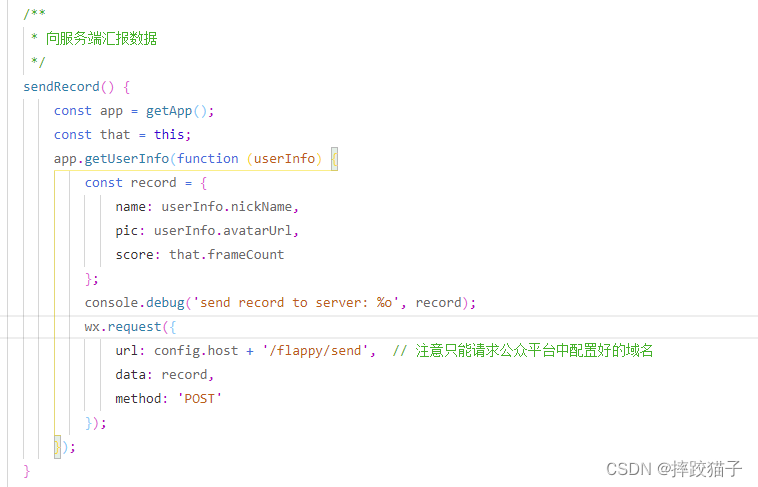
    /**
     * 向服务端汇报数据
     */
    sendRecord() {


        const app = getApp();
        const that = this;
        app.getUserInfo(function (userInfo) {


            const record = {


                name: userInfo.nickName,
                pic: userInfo.avatarUrl,
                score: that.frameCount
            };
            console.debug('send record to server: %o', record);
            wx.request({


                url: config.host + '/flappy/send',  // 注意只能请求公众平台中配置好的域名
                data: record,
                method: 'POST'
            });
        });
    }
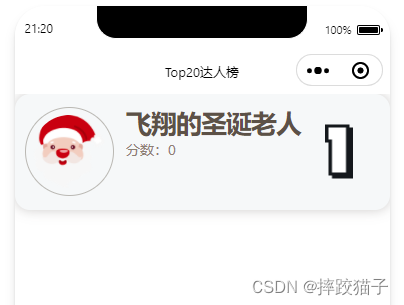
2.3、排行榜
- 新建一个排行榜页面,上面放几个view,能将用户头像、昵称、分数等信息展示出来就行。
- 准备一些排行榜图片素材,也可以直接通过css来实现。


- 通过云函数或者请求接口的方式读取数据
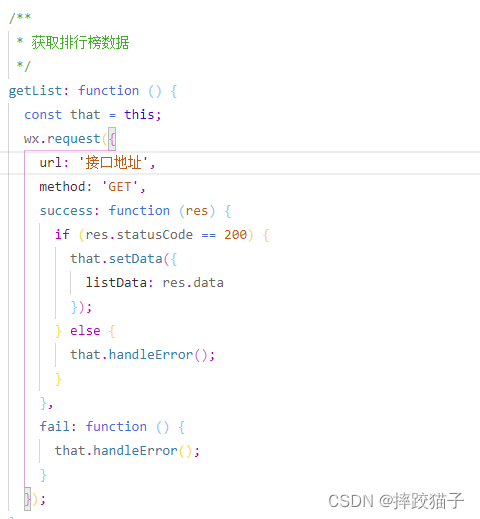
    const that = this;
    wx.request({


      url: '接口地址',
      method: 'GET',
      success: function (res) {


        if (res.statusCode == 200) {


          that.setData({


            listData: res.data
          });
        } else {


          that.handleError();
        }
      },
      fail: function () {


        that.handleError();
      }
    });
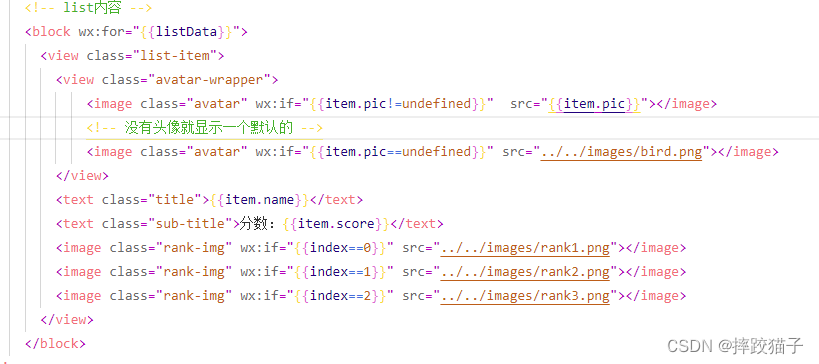
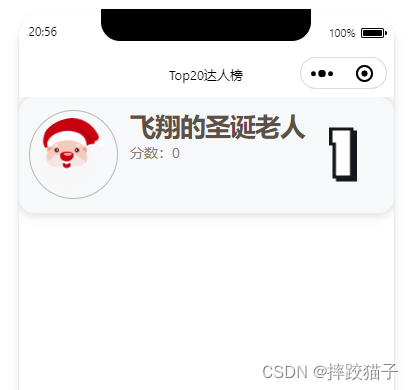
- 将接口数据渲染到界面如下图。
  <!-- list内容 -->
        <block wx:for="{

    {listData}}">
          <view class="list-item">
            <view class="avatar-wrapper">
                <image class="avatar" wx:if="{

    {item.pic!=undefined}}"  src="{

    {item.pic}}"></image>
            </view>
            <text class="title">{

    {

    item.name}}</text>
            <text class="sub-title">分数:{

    {

    item.score}}</text>
            <image class="rank-img" wx:if="{

    {index==0}}" src="../../images/rank1.png"></image>
            <image class="rank-img" wx:if="{

    {index==1}}" src="../../images/rank2.png"></image>
            <image class="rank-img" wx:if="{

    {index==2}}" src="../../images/rank3.png"></image>
          </view>
        </block>
三、代码块
<view>
  <canvas canvas-id="1"/>
  <button id="flyButton" type="primary" bindtouchstart="handleTouchStart" bindtouchend="handleTouchEnd">
    {

    {

    status===0?'开始游戏':''}}
    {

    {

    status===1?'点击起飞':''}}
    {

    {

    status===2?'重新挑战':''}}
  </button>
</view>
// pages/list/index.js
Page({


  data: {


    listData: []  // 排行榜数据,包括:用户名/头像/分数,没有头像就显示默认头像
  },

  /**
   * 设置当前页面标题
   */
  setTitle: function () {


    wx.setNavigationBarTitle({


      title: 'Top20达人榜'
    });
  },

  /**
   * 获取排行榜数据
   */
  getList: function () {


    const that = this;
    wx.request({


      url: '接口地址',
      method: 'GET',
      success: function (res) {


        if (res.statusCode == 200) {


          that.setData({


            listData: res.data
          });
        } else {


          that.handleError();
        }
      },
      fail: function () {


        that.handleError();
      }
    });
  },

  /**
   * 处理请求后端接口出错的情况
   */
  handleError: function () {


    this.setData({


      listData: [{

     name: '飞翔的圣诞老人', score: 0 }]
    });
  },


})
四、canvas介绍
- 什么是canvas
canvas 元素用于图形的绘制,通过脚本 (通常是JavaScript)来完成,canvas 标签只是图形容器,您必须使用脚本来绘制图形。你可以通过多种方法使用 canvas 绘制路径,盒、圆、字符以及添加图像。
- 如何创建canvas
一个画布在网页中是一个矩形框,通过 canvas元素来绘制注意: 默认情况下 canvas>元素没有边框和内容。
- 使用JavaScript来绘制图像
canvas 元素本身是没有绘图能力的。所有的绘制工作必须在 JavaScript 内部完成:
var c=document.getElementById("myCanvas");
var ctx=c.getContext("2d");
ctx.fillStyle="#FF0000";
ctx.fillRect(0,0,150,75);
- canvas坐标
canvas 是一个二维网格。canvas 的左上角坐标为 (0,0)上面的 fillRect 方法拥有参数 (0,0,150,75)。意思是:在画布上绘制 150x75 的矩形,从左上角开始 (0,0)。
- canvas路径
在Canvas上画线,我们将使用以下两种方法:moveTo(x,y) 定义线条开始坐标、lineTo(x,y) 定义线条结束坐标。绘制线条我们必须使用到 “ink” 的方法,就像stroke().
- canvas文本
使用 canvas 绘制文本,重要的属性和方法如下:font - 定义字体、fillText(text,x,y) - 在 canvas 上绘制实心的文本、strokeText(text,x,y) - 在 canvas 上绘制空心的文本
- canvas渐变
渐变可以填充在矩形, 圆形, 线条, 文本等等, 各种形状可以自己定义不同的颜色。以下有两种不同的方式来设置Canvas渐变:createLinearGradient(x,y,x1,y1) - 创建线条渐变、createRadialGradient(x,y,r,x1,y1,r1) - 创建一个径向/圆渐变
- canvas图像
把一幅图像放置到画布上, 使用以下方法:drawImage(image,x,y)