目录
一、损失函数
torch.nn — PyTorch 1.13 documentation
每一个样本经过模型后会得到一个预测值,然后得到的预测值和真实值的差值就成为损失(当然损失值越小证明模型越是成功),我们知道有许多不同种类的损失函数,这些函数本质上就是计算预测值和真实值的差距的一类型函数,然后经过库(如pytorch,tensorflow等)的封装形成了有具体名字的函数。
1.1 L1损失函数
1.1.1 简介
L1损失函数: 基于逐像素比较差异,然后取绝对值。

1.1.2 参数设定
L1Loss — PyTorch 1.13 documentation
CLASS torch.nn.L1Loss(size_average=None, reduce=None, reduction='mean')
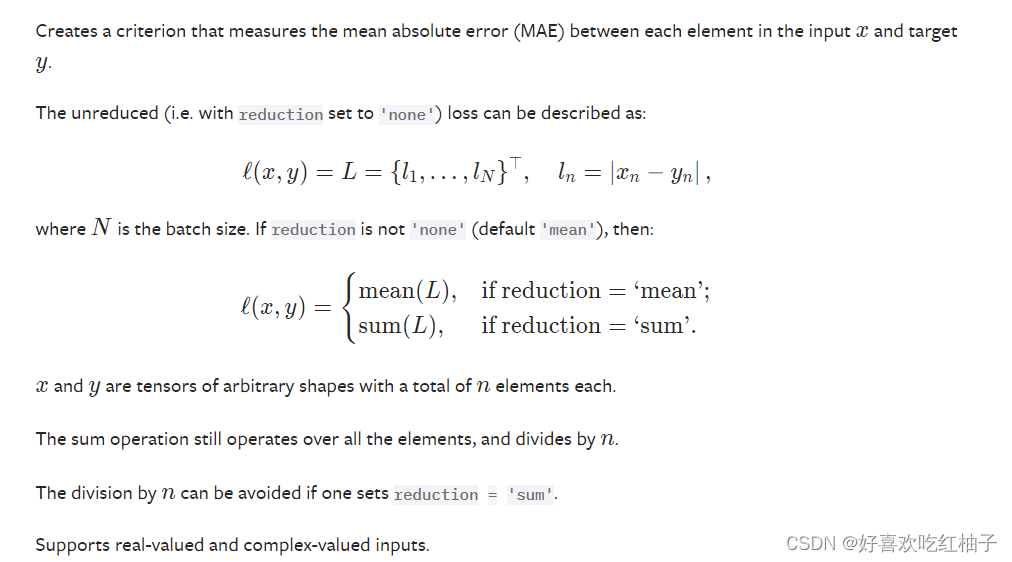
我们一般设定reduction的值来显示平均值或者和。
参数设定:
reduction可取的值:
'none'|'mean'|'sum'.
'none': no reduction will be applied
'mean': the sum of the output will be divided by the number of elements in the output,求的是平均值,即各个差求和之后除以总数。
'sum': the output will be summed. Note:size_averageandreduceare in the process of being deprecated, and in the meantime, specifying either of those two args will overridereduction.只求和,不除总数。Default:
'mean'
1.1.3 代码实现
设置reduction的值为默认值和sum,观察区别。
import torch
from torch.nn import L1Loss

inputs = torch.tensor([1,2,3],dtype=torch.float32)
targets = torch.tensor([1,2,5],dtype=torch.float32)

inputs = torch.reshape(inputs,(1,1,1,3))
targets = torch.reshape(targets,(1,1,1,3))

loss1 = L1Loss()
result1 = loss1(inputs,targets)
print(result1)

loss2 = L1Loss(reduction="sum")
result2 = loss2(inputs,targets)
print(result2)- 当取值为默认值mean时,求的是平均值,sum=(1-1+2-2+5-3)=2, n=3, result = sum/n=0.6667
- 当取值为sum时,求的是和,即result=2

1.2 MSE损失函数(平方和)
1.2.1 简介
均方误差(Mean Square Error,MSE)是回归损失函数中最常用的误差,它是预测值f(x)与目标值y之间差值平方和的均值,其公式如下所示:
1.2.2 参数介绍
MSELoss — PyTorch 1.13 documentation

与上面的L1损失函数一样,我们可以改变reduction的值来进行对应数值的输出。
1.2.3 代码实现
import torch
from torch.nn import L1Loss, MSELoss

inputs = torch.tensor([1,2,3],dtype=torch.float32)
targets = torch.tensor([1,2,5],dtype=torch.float32)

inputs = torch.reshape(inputs,(1,1,1,3))
targets = torch.reshape(targets,(1,1,1,3))

loss_mse1 = MSELoss()
result1 = loss_mse1(inputs,targets)
print(result1)

loss_mse2 = MSELoss(reduction="sum")
result2 = loss_mse2(inputs,targets)
print(result2)
可以看到reduction设置不同的值对应的输出也不同。

1.3 损失函数的作用
- 计算实际输出和目标之间的差距
- 为更新输出(反向传播)提供一定的依据
二、在神经网络中使用loss function
2.1 使用交叉熵损失函数
使用上次定义的神经网络和CIFAR10数据集进行图像分类,分类问题使用交叉熵损失函数。
import torch.nn
from torch import nn
import torchvision.datasets
from torch.nn import Conv2d, MaxPool2d, Flatten, Linear, Sequential
from torch.utils.data import DataLoader
from torch.utils.tensorboard import SummaryWriter

dataset = torchvision.datasets.CIFAR10(root="./CIFAR10",train=False,transform=torchvision.transforms.ToTensor(),download=True)
dataloader = DataLoader(dataset,batch_size=1)

class Maweiyi(torch.nn.Module):
    def __init__(self):
        super(Maweiyi, self).__init__()
        self.model1 = Sequential(
            Conv2d(in_channels=3, out_channels=32, kernel_size=5, padding=2),
            MaxPool2d(kernel_size=2),
            Conv2d(in_channels=32, out_channels=32, kernel_size=5, padding=2),
            MaxPool2d(kernel_size=2),
            Conv2d(in_channels=32, out_channels=64, kernel_size=5, padding=2),
            MaxPool2d(kernel_size=2),
            Flatten(),
            Linear(in_features=1024, out_features=64),
            Linear(in_features=64, out_features=10)
        )

    def forward(self, x):
         x = self.model1(x)
         return x

maweiyi = Maweiyi()
# 使用交叉熵损失函数
loss_cross = nn.CrossEntropyLoss()

for data in dataloader:
    imgs,labels = data
    outputs = maweiyi(imgs)
    results = loss_cross(outputs,labels)
    print(results)
可以看到使用loss function计算出了在神经网路中预测的output和真实值labels之间的差距大小。

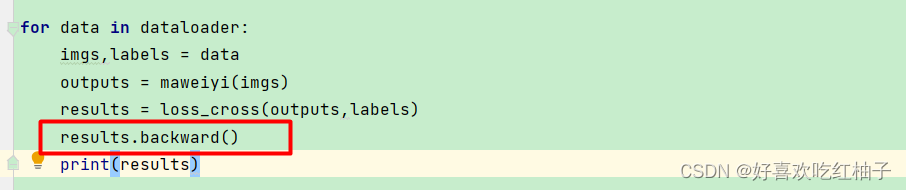
2.2 反向传播
results_loss.backward()